Measuring stairs might seem like a chore, but it can actually be quite fun! Imagine having the perfect measurements for your home improvement projects, making everything fit just right. With a little guidance, you can confidently tackle this task and impress your friends with your newfound skills.
Gather Your Tools
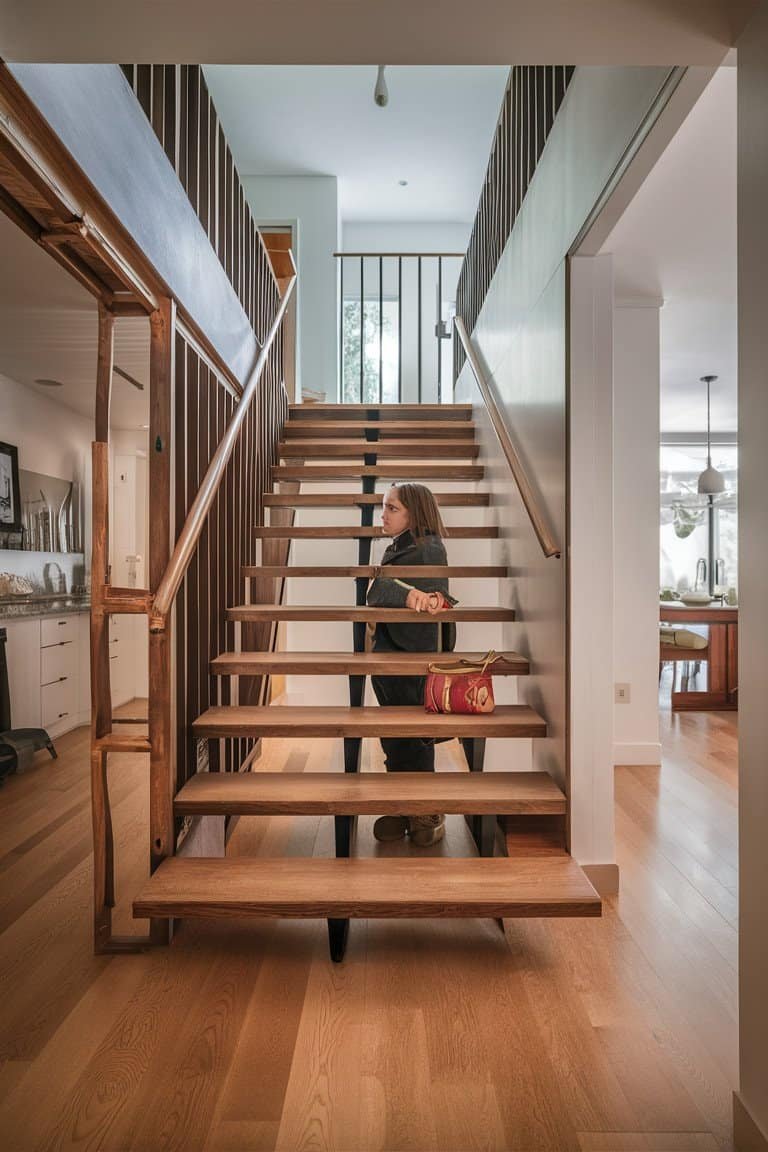
Before you start measuring, it’s important to gather all your tools. You’ll need a tape measure, a notepad, and a pencil. Some people even like to use a calculator for quick math, just in case. Having everything ready makes the process smooth and enjoyable.
Using a good-quality tape measure can make a huge difference. Look for one that is sturdy yet flexible enough to reach those tricky spots. And don’t forget about the notepad! Jotting down your measurements helps you keep track of everything. You’ll feel super organized and ready to take on any project!
Understand Your Stair Design
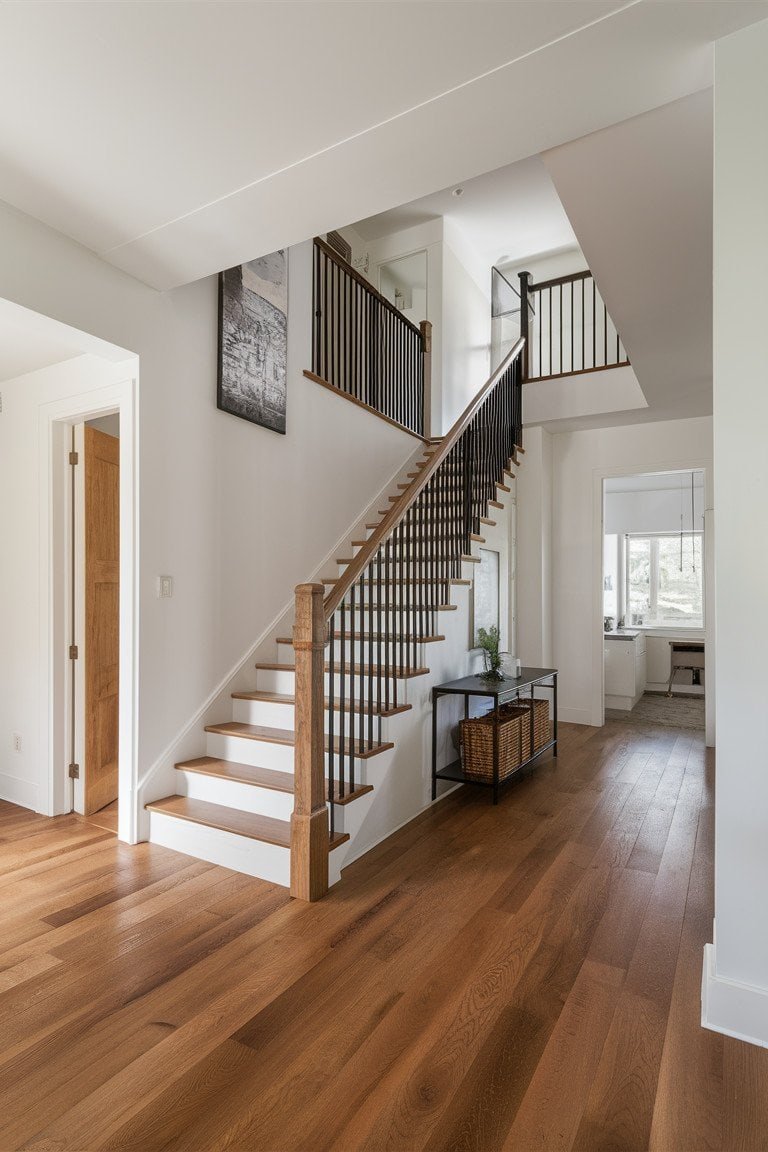
Every staircase is unique, and knowing its design will help you measure accurately. Take a moment to observe the number of steps, the width, and how steep it is. This understanding will guide your measuring process and ensure you get precise numbers. You might even find some cool design elements that you didn’t notice before!
Knowing the layout of your stairs can also inspire new ideas. Maybe you could add some decorative elements or even a fresh coat of paint. Understanding your stair design makes it easier to envision changes. Plus, it adds a personal touch to your home!
Measure the Width of Each Step
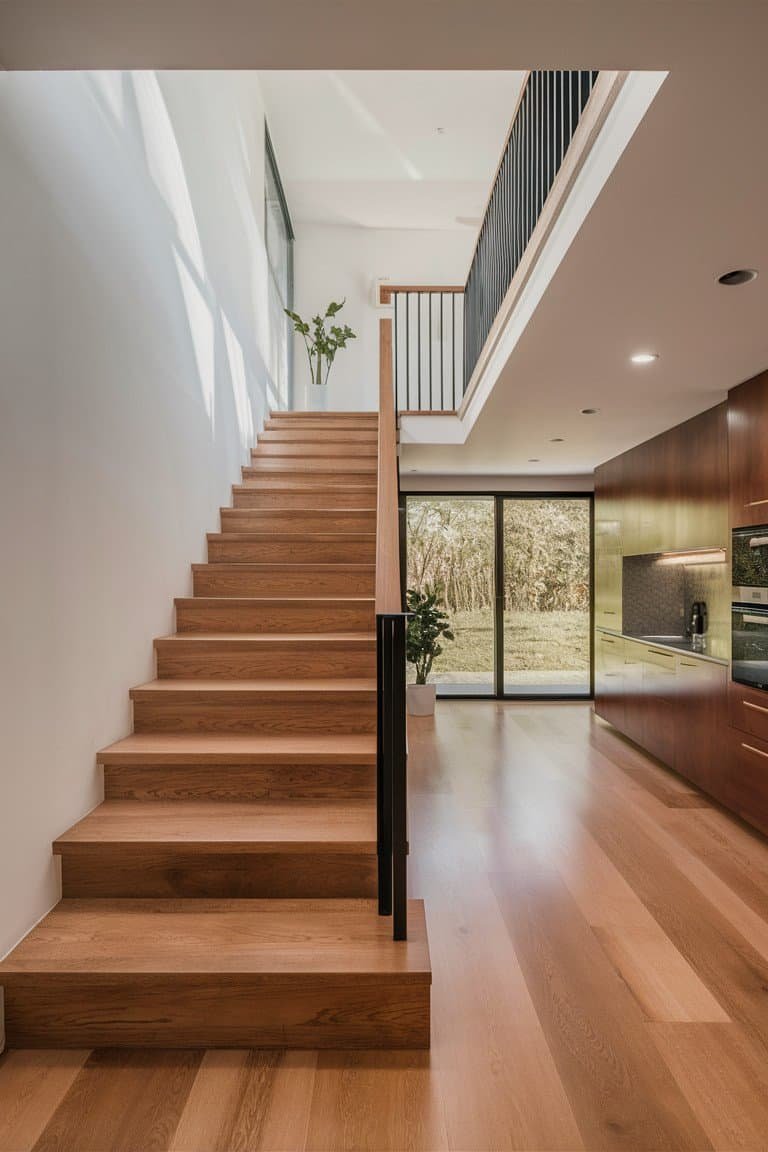
Start your measuring journey by checking the width of each stair. Place your tape measure from one edge of the step to the other. It’s best to measure each step individually, as they may not all be the same size. This way, you can ensure that your measurements are both accurate and reliable.
Taking this step allows you to plan for things like stair runners or decorative trim. You might find a stylish runner that fits perfectly! When you measure each step, you can also think about how to make them safer or more comfortable to walk on. Having those numbers handy opens up a world of possibilities!
Measure the Depth of Each Step
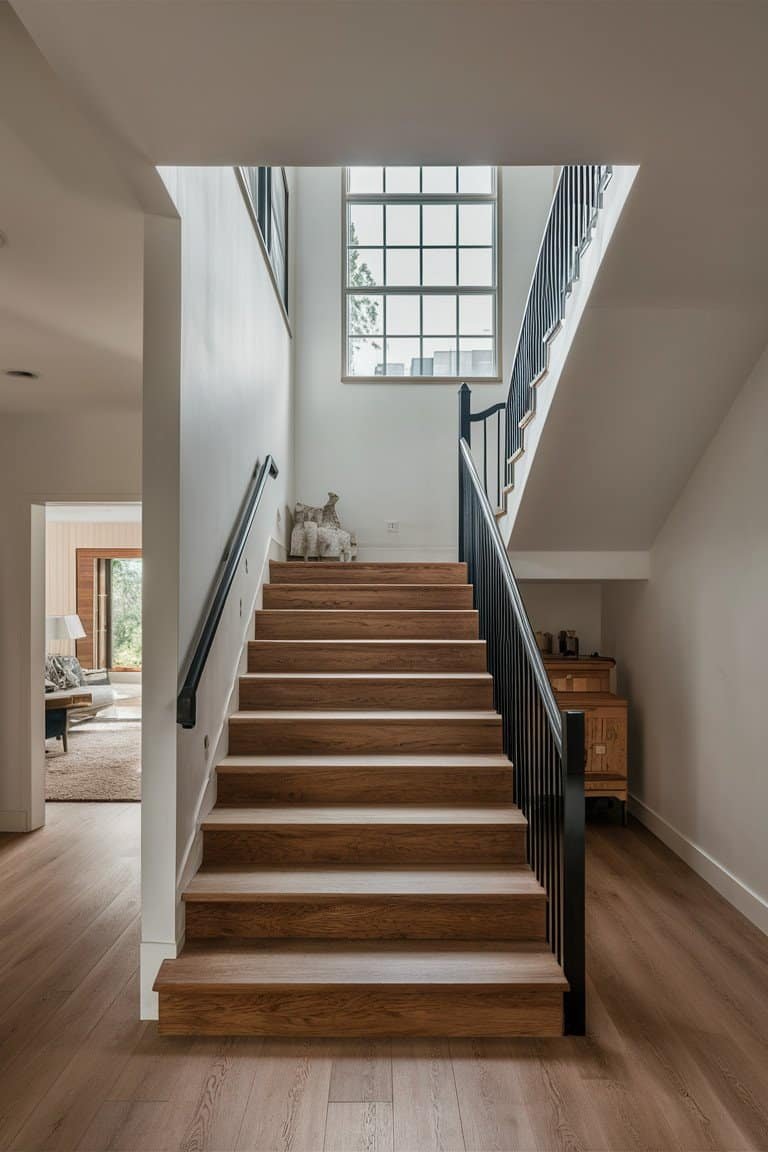
Next up, it’s time to measure the depth of each step. This is the part you stand on, not the riser! Use your tape measure to find out how deep each stair is. Again, measuring each one separately ensures that you get the most accurate information possible.
Knowing the depth can help you pick the right materials if you plan to cover the stairs or add something new. You might even want to use that information for future projects, like installing lighting or a decorative border. Each measure adds to your overall vision for your staircase, and it’s exciting to think about how you can enhance your space!
Calculate the Total Length of the Staircase
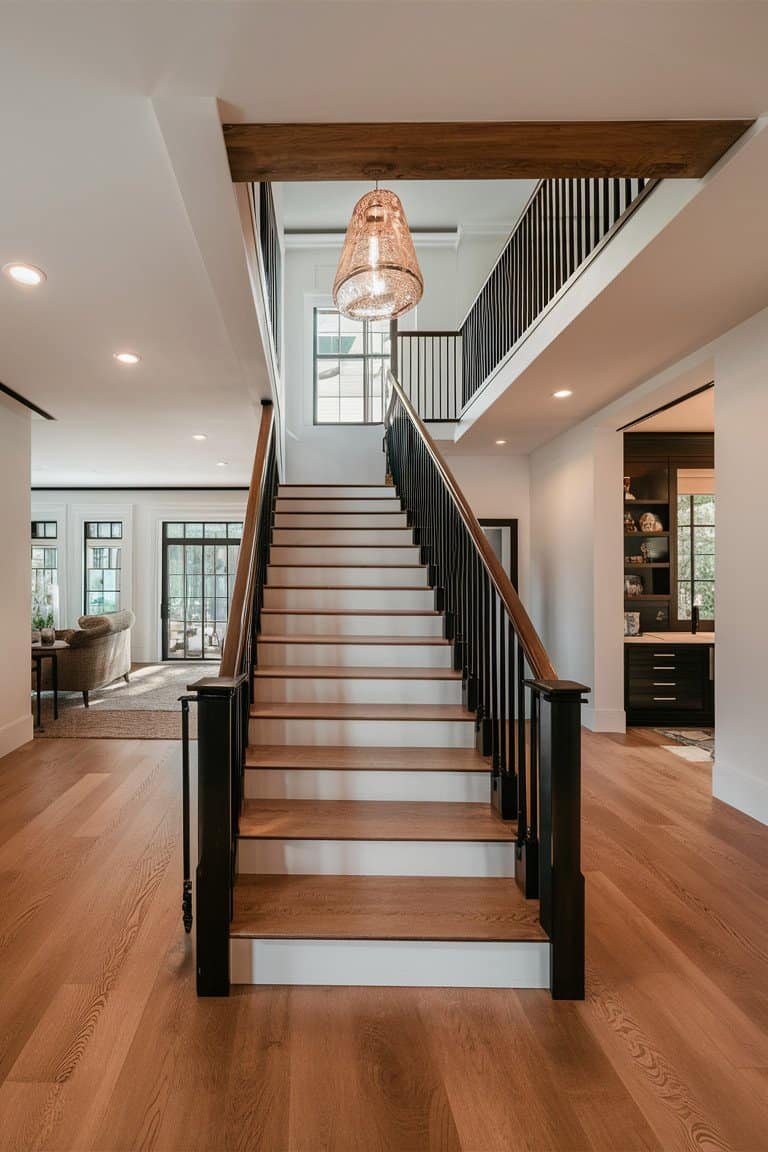
Once you have the width and depth of each step, it’s time to calculate the total length of your staircase. Add up the individual depths of all the steps to get the full length from the bottom to the top. This number is super important for any renovations or designs you might be considering. It’s like the backbone of your staircase project!
Calculating the total length also helps you figure out how much material you’ll need if you’re planning to make changes. Imagine the excitement of picking out new carpet or wood flooring! Plus, being precise with your measurements means fewer mistakes later on. You’ll feel like a pro in no time!
Measure the Rise of the Stairs
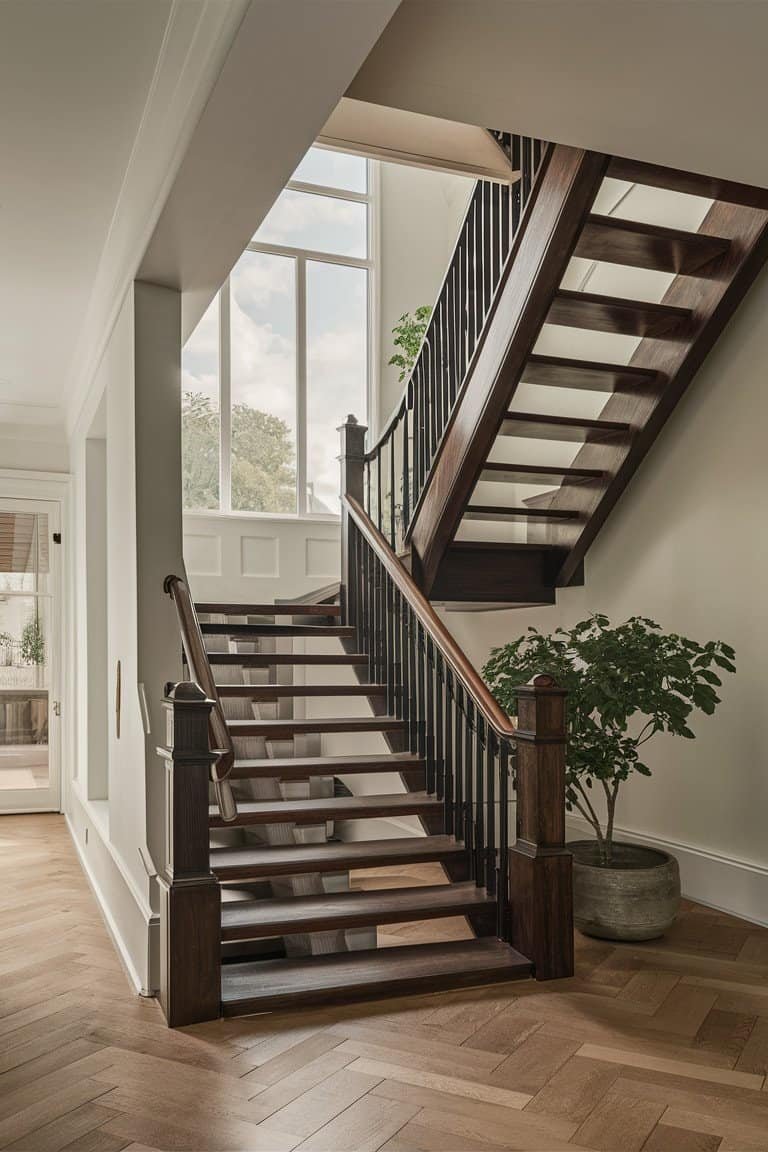
Now, let’s tackle the rise, which is the height of each step. Measure from the top of one step to the top of the next. This measurement is crucial for safety and comfort, ensuring that each step is easy to navigate. Remember, every little detail counts!
Understanding the rise can also spark ideas for future projects. If you notice that some steps are higher than others, you might want to consider leveling them out. This can make a huge difference in safety and aesthetics. Plus, it gives you a chance to personalize your staircase even more!
Check for Level and Consistency

With all your measurements taken, it’s time to double-check everything. Use a level tool to ensure that your stairs are even. If you find any inconsistencies, note them down. This step is vital, especially if you want to make your stairs safe and inviting!
Checking for levelness can inspire you to think about how you want to improve your staircase. Maybe you’ll consider adding handrails or lights to guide the way. Ensuring everything is consistent helps you create a beautiful and functional space. Plus, you’ll impress everyone with your attention to detail!
Plan Your Next Steps
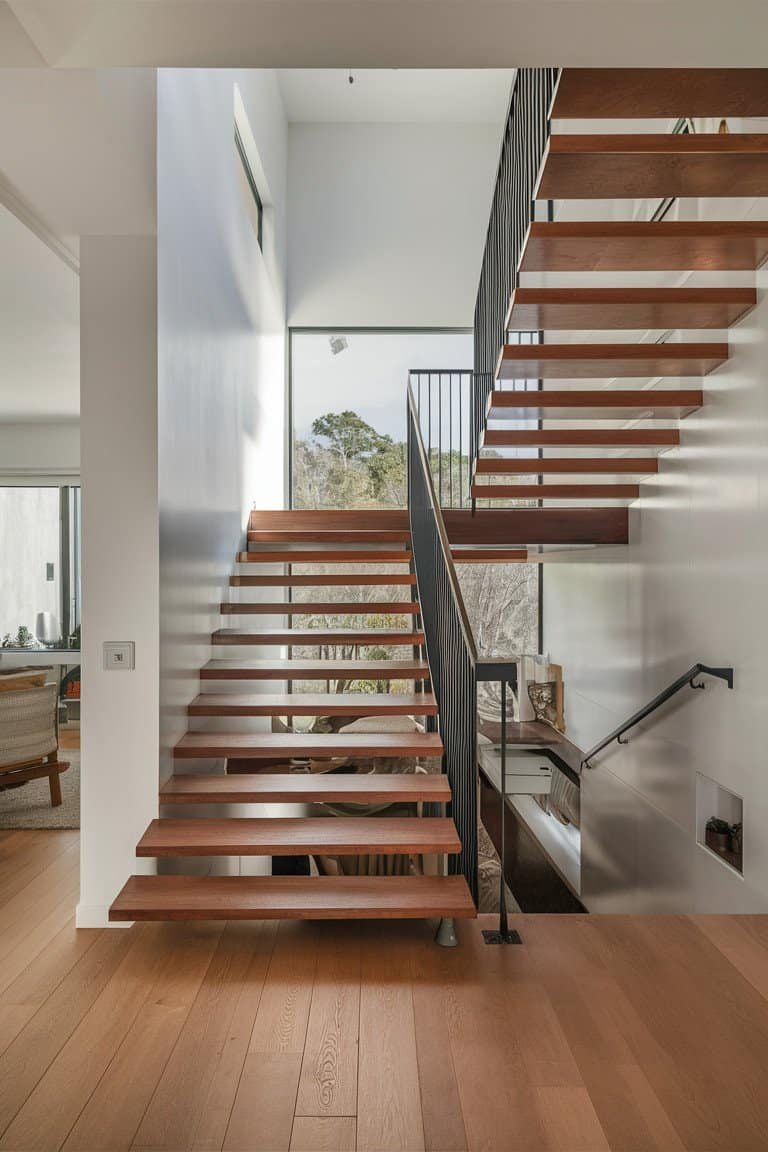
With all your measurements in hand, it’s time to plan your next steps. Think about the changes you want to make, whether it’s new flooring, paint, or even decorative elements. Having accurate measurements will make this part so much easier and more fun! You’ll feel empowered and ready to take on any project.
Consider creating a mood board or sketching out your ideas. This can help you visualize what your staircase will look like after the changes. And don’t forget to check out trends in staircase design for some inspiration! Planning becomes a creative outlet, making the process even more enjoyable.
Review Your Measurements with a Friend

Finally, before you jump into your project, it’s a great idea to review your measurements with a friend. Sometimes a fresh pair of eyes can catch something you might have missed. Plus, it’s always nice to have someone to share your excitement with! You might even get some new ideas from them.
Talking through your plans can also help you feel more confident about your project. Your friend might suggest different materials or colors that you hadn’t considered. And who doesn’t love bouncing ideas off someone else? It makes the whole experience even more fun and collaborative!


![How to Tell If a Mango is Ripe and Sweet: The Ultimate Guide [Steps] Two yellow mangoes on a wooden surface, one firm and unripe, the other soft and overripe, with text discussing ripeness and discard advice.](https://ostrali.com/wp-content/uploads/2024/02/RCg9BOqPh1U-150x150.jpg)


