Are you ready to add a splash of creativity to your walls? Using tissue paper for wall textures can be a fun and easy way to bring life to any room. With just a few simple supplies, you can create stunning designs that will impress your friends and family.
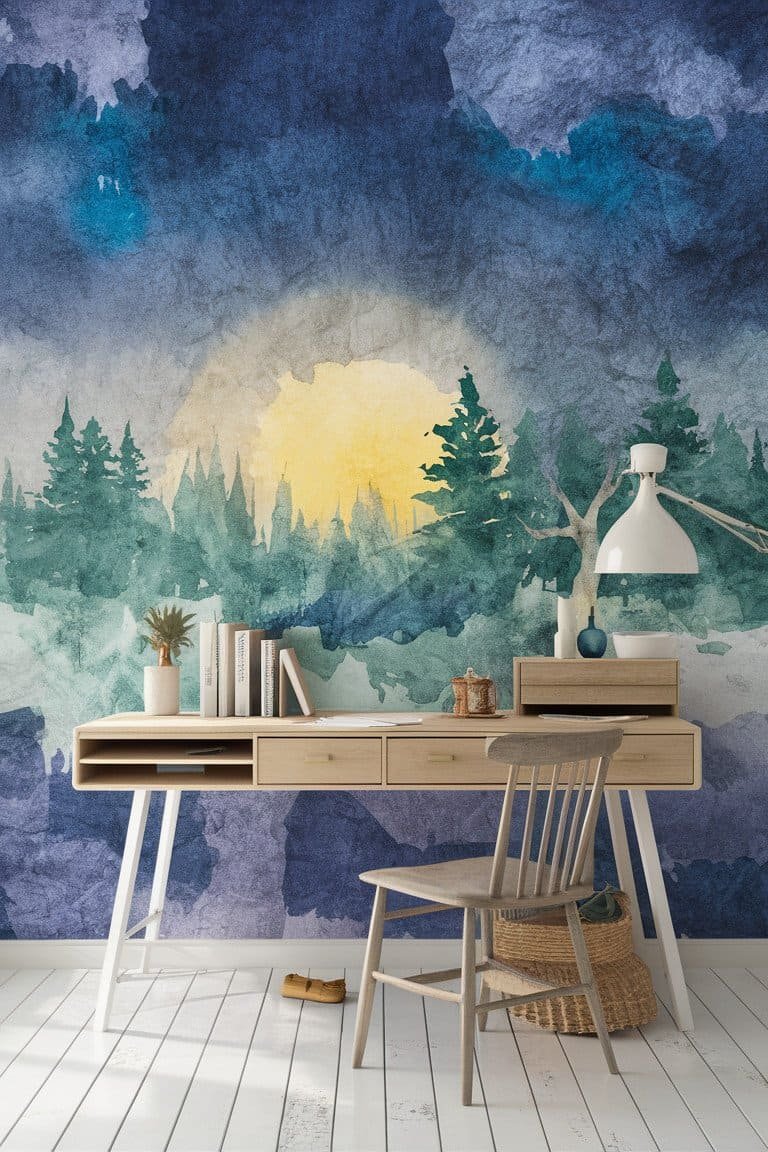
Watercolor Dreamscape

Imagine a wall that looks like it was painted by a master artist! With the watercolor dreamscape technique, you can create soft, beautiful patterns using tissue paper. Simply crumple different colors of tissue paper and apply them to the wall with a glue mixture. This method allows for blending colors and creating a dreamy effect that is both calming and cheerful.
The beauty of this technique lies in its uniqueness. Each wall will look different, making your space truly one-of-a-kind. Plus, it’s a great way to use leftover tissue paper from gifts or crafts. You can even mix shades to match your room’s color scheme for a personalized touch.
To get started, gather your favorite colors of tissue paper and some water, glue, and a sponge brush. Keep an eye on current trends, like pastel shades or bold, vibrant colors. Don’t forget to experiment with layering for added depth. This project is budget-friendly too, as tissue paper is inexpensive and you may already have glue at home!
Textured Mosaic Art

Creating a textured mosaic on your wall can be a fun way to express your artistic side! Using tissue paper, you can cut different shapes and sizes to form a stunning mosaic design. Think of it as a giant puzzle where each piece adds to the overall beauty of your wall. You can create anything from abstract designs to specific shapes like flowers or geometric patterns.
This idea stands out because it allows for so much personalization. You can choose colors that represent your personality or the mood you want to set in the room. The tactile quality of the tissue paper adds a unique texture that can’t be replicated with paint. Plus, it’s a great conversation starter when guests see your amazing handiwork!
To make your mosaic, start by sketching out your design on the wall lightly with a pencil. Cut the tissue paper into various shapes and sizes, and use a glue stick to apply them. It’s helpful to keep the shapes consistent or follow a theme for a cohesive look. If you want to keep up with trends, consider using monochromatic colors or metallics for an elegant touch!
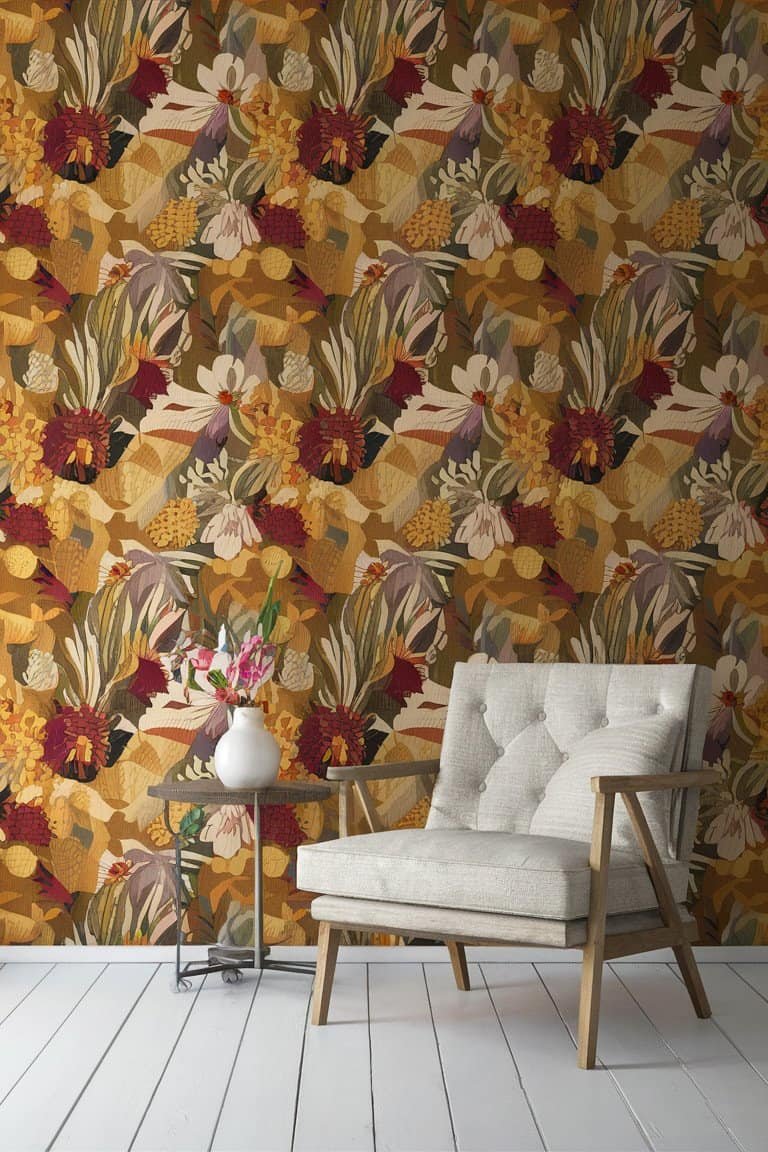
Whimsical Floral Wallpaper

Bring a touch of nature indoors with whimsical floral designs made from tissue paper! This idea is perfect for anyone who loves flowers and wants to brighten their space. Start by cutting tissue paper into flower shapes and layering them to create a 3D effect on your wall. You can arrange them in clusters or scatter them across the wall for a playful vibe.
The charm of this project is that it adds a cheerful, uplifting atmosphere to your home. It’s also an excellent way to bring the beauty of the outdoors inside, especially if you don’t have a green thumb! Personalization is key here; you can choose colors that match your decor or your favorite flowers. This creative outlet can also be a fun bonding activity with friends or family.
For a standout look, try mixing different sizes of flowers and varying the colors. If you’re feeling extra creative, add leaves and stems using green tissue paper! This project is quite affordable since tissue paper is easy to find and inexpensive. You’ll be amazed at how a few paper flowers can brighten a room!
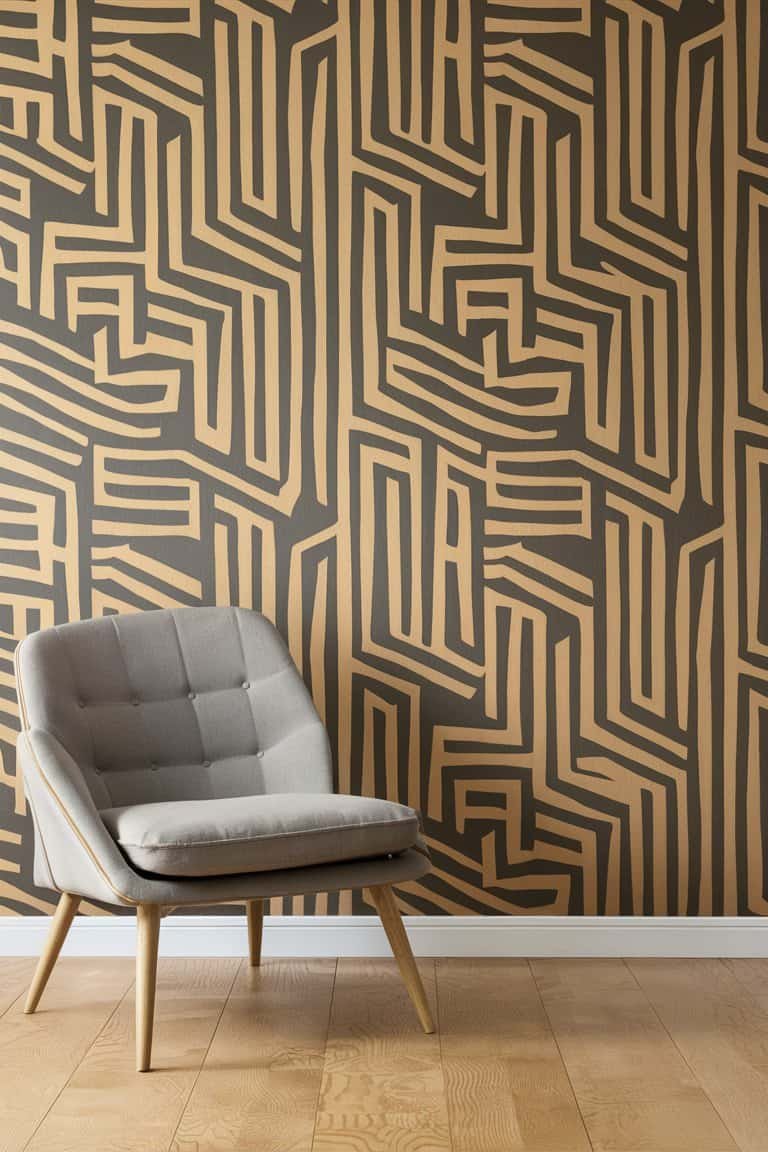
Bold Geometric Patterns

If you’re a fan of modern decor, bold geometric patterns using tissue paper will make your heart skip a beat! You can create a striking wall design by cutting tissue paper into triangles, squares, or other shapes. Arrange them in a fun pattern, alternating colors to make your wall pop with energy. It’s a simple way to add a trendy style without spending a fortune!
This idea is unique because it can easily fit into any room, from the living room to a playful kid’s space. The geometric shapes create a sense of movement that can energize your environment. It’s also a great way to use up scrap tissue paper or leftover gift wraps. Plus, you can change the design as the seasons change!
To get started, plan out your design on paper first and then replicate it on the wall. Using painter’s tape can help keep your shapes in line while you glue them down. If you want to follow current trends, consider using bold colors or even black and white for a chic look. This DIY project is not only fun but can be done in just a weekend!
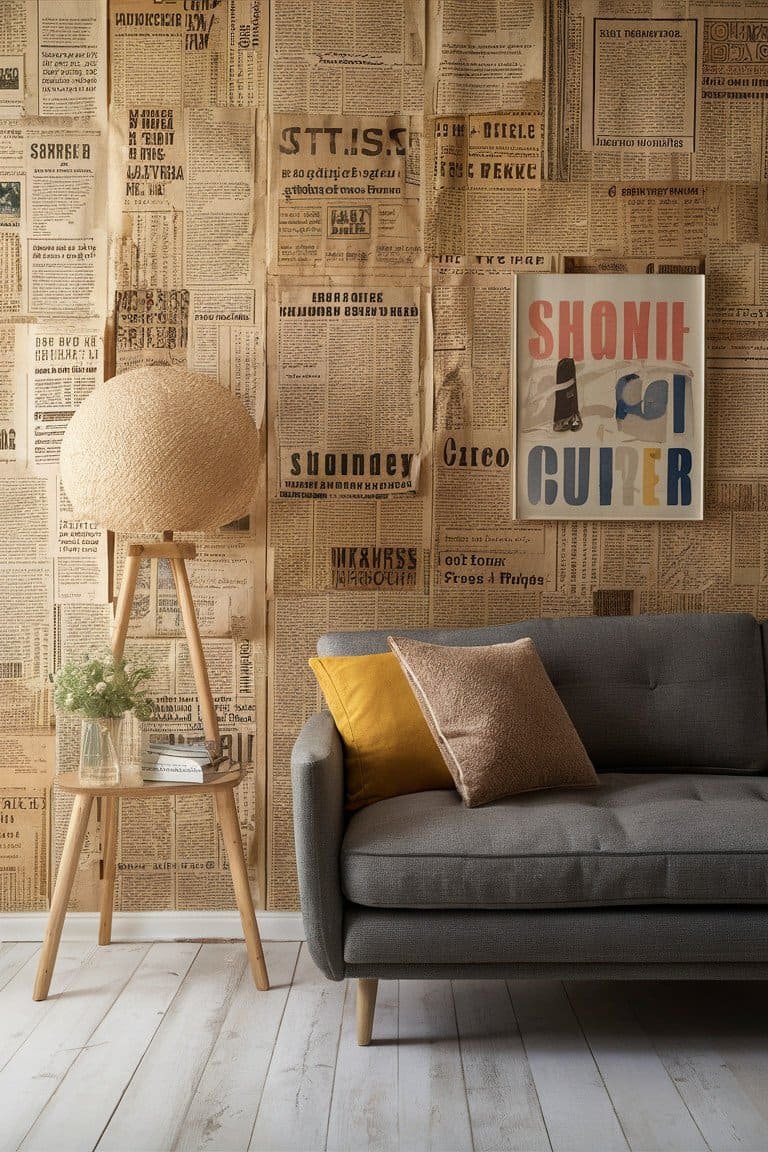
Vintage Newspaper Style

Who doesn’t love the charm of vintage decor? By using tissue paper printed with newspaper designs, you can create a nostalgic feel in your home. This technique involves tearing or cutting the tissue paper into different sections and applying them to your wall to mimic an old-fashioned wallpaper. The result is a warm, cozy space that looks like it’s straight out of a vintage magazine!
This idea is perfect for adding character to any room while being easy on the wallet. The uniqueness comes from the various newspaper prints you can find, which allows for endless creativity. You can even personalize it further by using papers with meaningful headlines or designs. It’s a lovely way to showcase your personality while also being stylish!
For the best results, consider mixing different newspaper patterns to create an eclectic look. Make sure to use a decoupage medium to seal the tissue paper and give it a polished finish. Staying on trend could mean using light colors or black-and-white prints for a classy touch. This project is simple, fun, and a fantastic way to recycle old newspapers!


