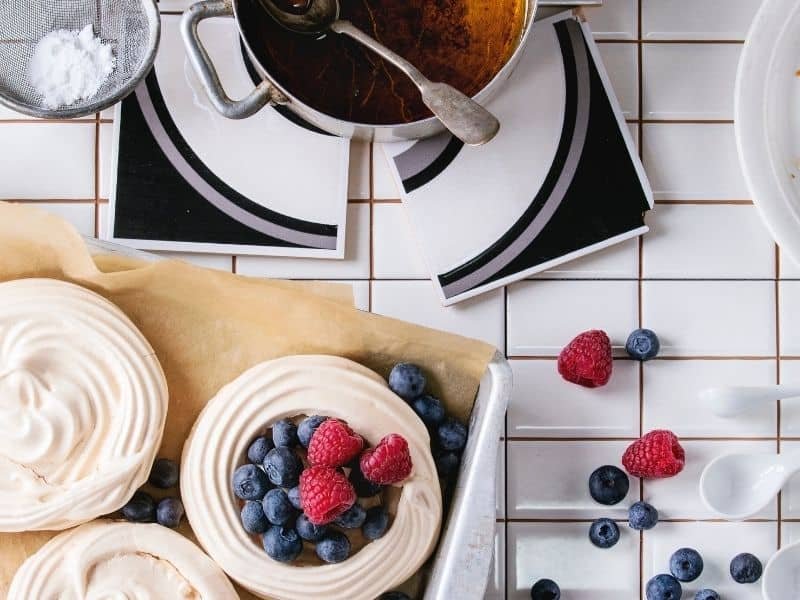
Imagine elevating the indulgence of your homemade pies with elegantly piped whipped cream, transforming your dessert presentation into a work of art worthy of any bakery showcase. The secret to keeping your swirls, rosettes, and flourishes in pristine condition is simpler than you might think. It’s all about the base—getting that perfect texture in your homemade whipped cream.
With a Wilton 1M piping tip and a steady hand, pie decoration effortlessly transitions from daunting to doable. But the true magic lies within a simple ingredient: gelatin. It’s the key to ensuring your whipped cream holds up, looking flawless on display for days after the first slice is cut. In this guide, you’ll learn how to master the technique of making stabilized whipped cream using just a few ingredients—heavy whipping cream, powdered sugar, vanilla extract, and the all-important gelatin. Get ready to whip up perfection and impress at your next gathering.
The Essentials of Perfect Whipped Cream for Piping
When your craving for a beautifully decorated dessert strikes, knowing how to make stabilized whipped cream is a game-changer. Let’s delve into the process that elevates your homemade whipped cream to the level of professional dessert shops. It’s all about texture, stability, and using the right ingredients.
To start, you’ll need heavy whipping cream, which is the cornerstone of achieving that rich and smooth texture. Don’t skimp on the quality here; a higher fat content is your ally in creating luscious peaks that hold their shape. But before you begin whipping, take a moment to chill your mixing bowl and whisk attachment. The colder these tools are, the faster your cream will thicken, making it more manageable when piping those delicate designs.
- Combine cold water and unflavored gelatin powder in a small dish to create the stabilizer that will safeguard your whipped cream from deflating.
- After dissolving the gelatin over gentle heat and allowing it to cool, you’ll gradually blend it into the whipping cream that’s already on its way to soft peaks.
- Add powdered sugar to sweeten and aid stabilization, along with a splash of vanilla for flavor depth as you continue to beat the mixture.
- Keep an eye out for stiff peaks that confidently stand up on their own – this is the hallmark of perfectly stabilized whipped cream ready for decorating with whipped cream.
Once achieved, your stabilized whipped cream becomes a reliable medium for your creativity. Pipe it onto your desserts, and watch as it maintains its form for days, defying the laws of pastry physics. Whether it’s a swirl on a cupcake or a rosette on a sundae, rest assured that your work will hold its appeal with no signs of drooping or melting away.
How to Pipe Whipped Cream on Pie
Mastering the art of dessert decorating begins with the foundation: a whipped cream mixture that retains its form thanks to the magic of gelatin stabilization. When you’re ready to pipe whipped cream onto your freshly baked pies, make sure the mixture is firm and ready. Choose your favorite pastry bag and tip to create those homemade whipped cream designs you adore. With a filled bag in hand, press gently and guide it in a circular motion over the pie, allowing your wrist to guide the swirls and forming patterns that are as delightful to the eye as they are to the palate.
Embrace the character of your homemade dessert. Your piped whipped cream need not be akin to the unattainable precision of commercial pastry chefs. Instead, find beauty in the artisanal allure of your dessert decorating efforts. Remember, a swoop that’s slightly off or a peak that’s a touch crooked adds to the charm and homemade feel of your pie, making it all the more inviting. With every application, aim for a professional pie presentation that speaks to the joy of making something by hand, and revel in the authenticity of your craft.
Aesthetics aside, a stable whipped cream topping dramatically enhances the sensory experience of your dessert. It’s not all about looks; the right whipped cream recipe elevates the overall flavor profile. Imagine the sublime combination of a velvety whipped cream atop a rich chocolate pie, the cozy complement to a spiced pumpkin filling, or the freshness it adds to a tangy fruit-based concoction. In dessert decorating, it’s essential to consider both the visual appeal and the symphony of tastes; pipe whipped cream that will not only impress the eyes but also tantalize the taste buds.
Source Links
- https://www.thegratefulgirlcooks.com/making-stabilized-whipped-cream/
- https://www.mirlandraskitchen.com/how-to-decorate-with-whipped-cream/
- https://www.pinterest.com/ideas/whipped-cream-pie-decoration/895954773506/


