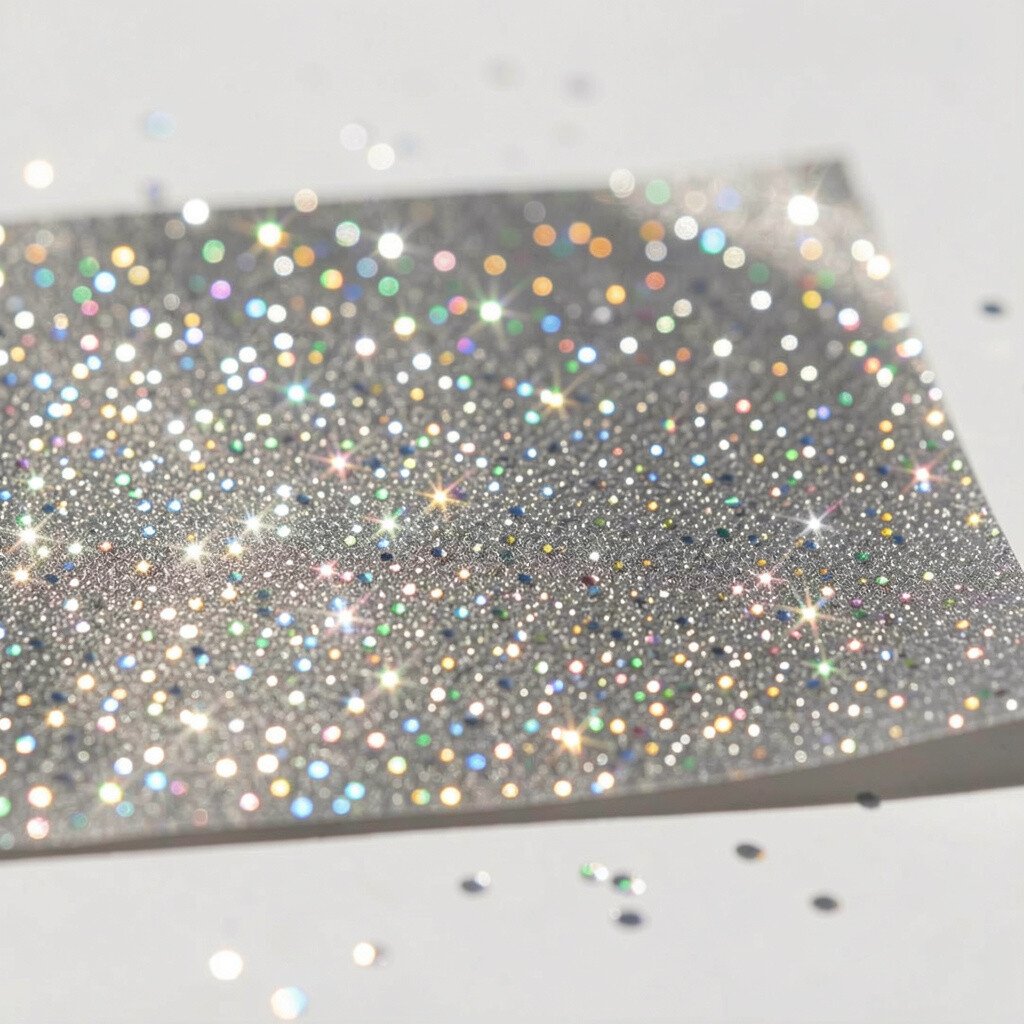
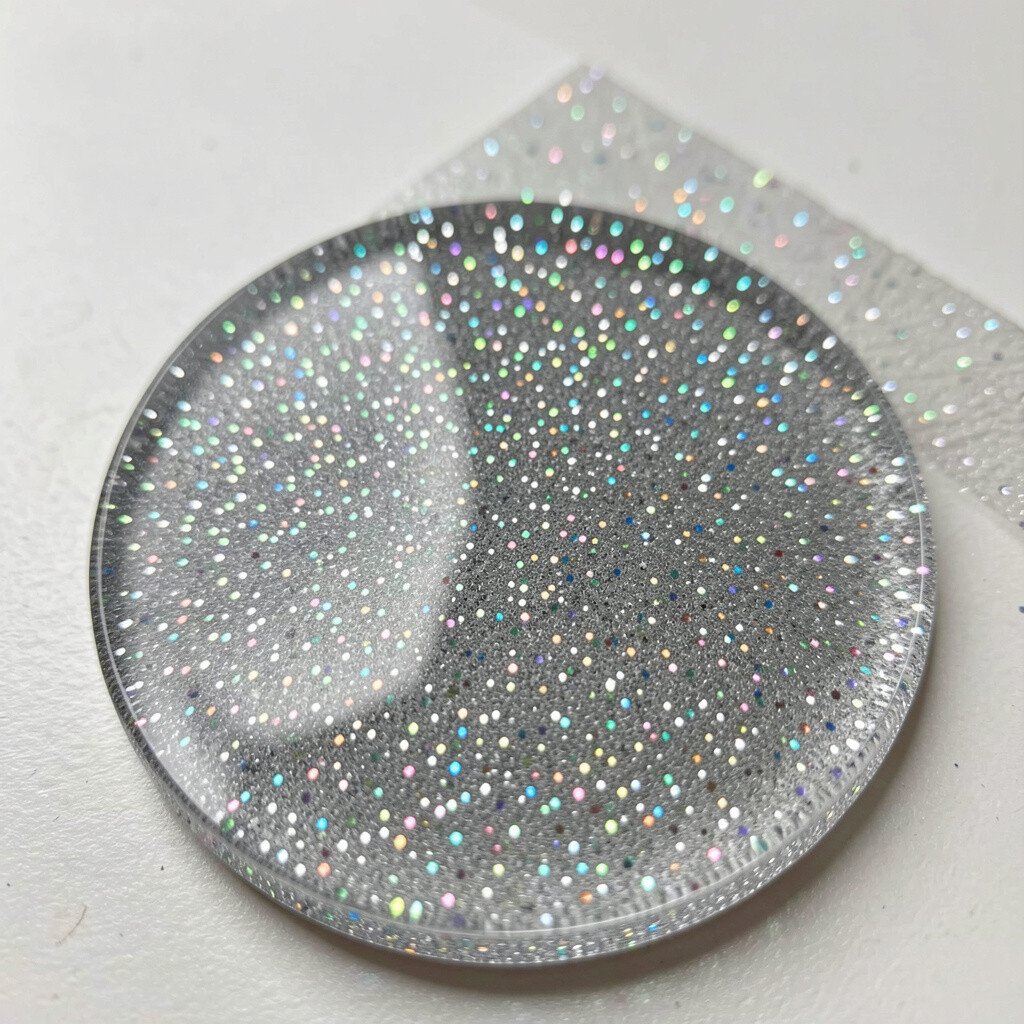
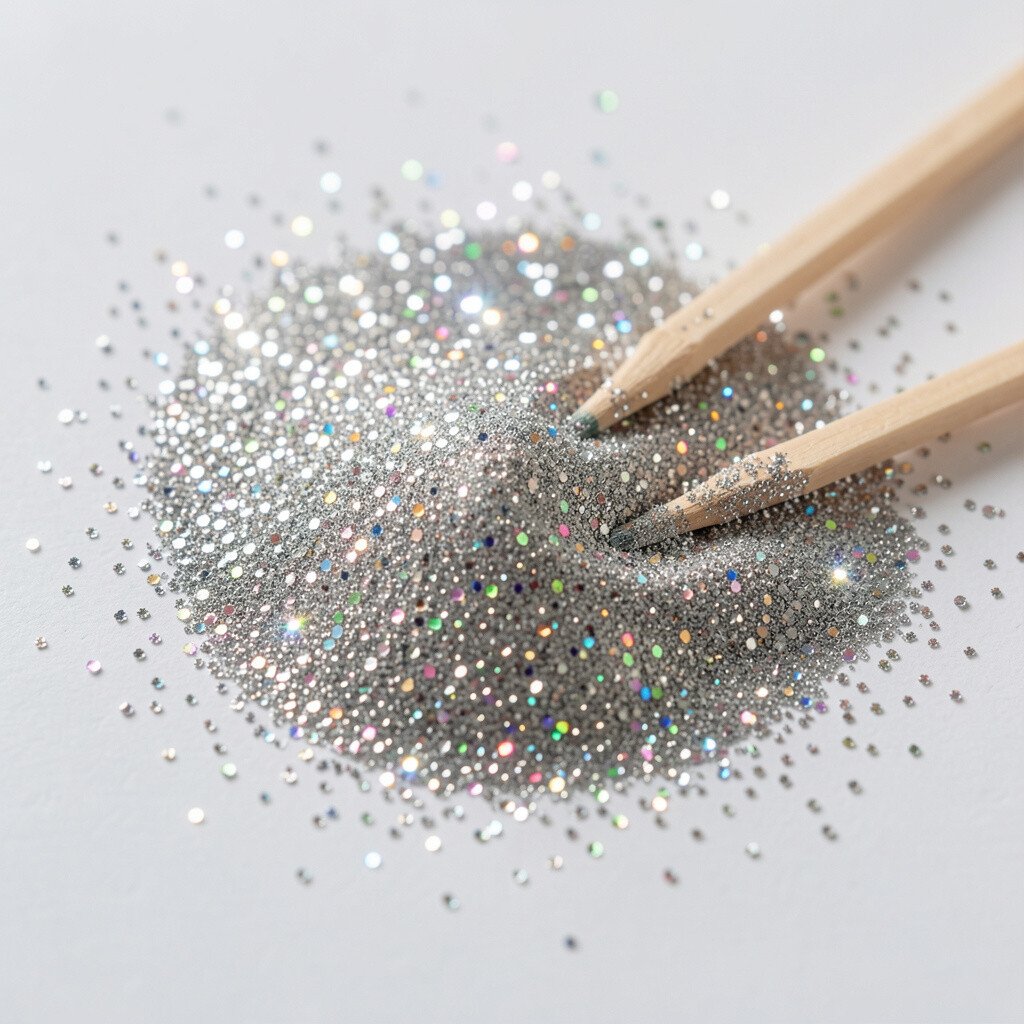
Start by picking a sparkle material that matches your project. Glitter, mica powder, holographic tape, and pearly paints each give a different look in the light.
For example, fine glitter works great for smooth surfaces, while chunky glitter looks fun on textured paper or foam. Mica powder is soft and shimmery, and it can be mixed into clear gel medium for a more even glow. Holographic tape and foil accents add a crisp shine that looks modern and clean.
2. Prep Your Surface for Maximum Shine
Prep Your Surface for Maximum Shine
Great sparkle depends on good prep, so don’t rush this step. Clean dust and oils first so the shimmer sticks instead of sliding around.
If your surface is shiny, lightly buff it with a gentle sanding sponge. Then wipe it with a dry cloth so the next layer bonds well.
For paper crafts, keep edges neat and flat, because extra bumps can show through glitter layers. For plastic and glass, use a primer made for that material so the sparkle stays put for a long time.
3. Use Adhesives That Hold Sparkle Without Mess
Use Adhesives That Hold Sparkle Without Mess
Choosing the adhesive is like picking the foundation of a building. A good glue makes sparkle look smooth and prevents it from falling off.
Craft glue gives you control for placing glitter precisely, while spray adhesive helps cover bigger areas quickly. Clear gel medium is a favorite because it dries glossy and keeps sparkly bits suspended.
To avoid stray glitter, apply glue in small patches and work one section at a time. Press glitter gently with your fingertip or a soft sponge so it seats into the sticky layer.
4. Seal Your Work for a Clean, Lasting Finish
Seal Your Work for a Clean, Lasting Finish
Sealing keeps sparkle bright and protects it from scratches and moisture. A clear top coat also helps glitter look more even, because it smooths the surface.
For paper and lightweight crafts, use a matte or satin sealer to reduce shine where you want a softer look. For ornaments, mugs, or items that get handled, pick a durable seal designed for that surface.
5. Add Sparkle in Layers for a Rich Look
Add Sparkle in Layers for a Rich Look
Instead of adding everything at once, build sparkle in layers. This creates depth, so your project looks like it has tiny light sources inside.
Start with a base layer of paint or clear gel, then sprinkle glitter lightly and let it set. After that, add a second layer only where you want extra pop.
Try mixing fine and medium glitter in different spots to get a “starfield” effect. You can also sprinkle a little glitter just along borders for a neat, polished finish.
6. Make Your Own Shimmery Paste With What You Have
Make Your Own Shimmery Paste With What You Have
You can make sparkle paste at home using simple materials you likely already own. Mix clear glue or gel medium with fine glitter or mica powder for a custom blend.
This is great when store-bought products feel too expensive or not quite the color you want. You can match your project theme by using a tiny bit of colored pigment or adding a drop of paint.
7. Use Light Tricks With Holographic and Foil Details
Use Light Tricks With Holographic and Foil Details
Some sparkly things don’t need glitter at all. Holographic tape, foil stickers, and reflective paper can create a bright shimmer that moves as you tilt the piece.
These materials look crisp and modern, especially for cards, gift tags, and small decorations. Place them in shapes like arrows, dots, or frames to guide the eye without overwhelming the design.
For a balanced look, choose one main reflective area and keep the rest simple. That contrast helps your sparkly part stand out while the whole project still feels clean.
8. Personalize With Names, Dates, and Tiny Symbols
Personalize With Names, Dates, and Tiny Symbols
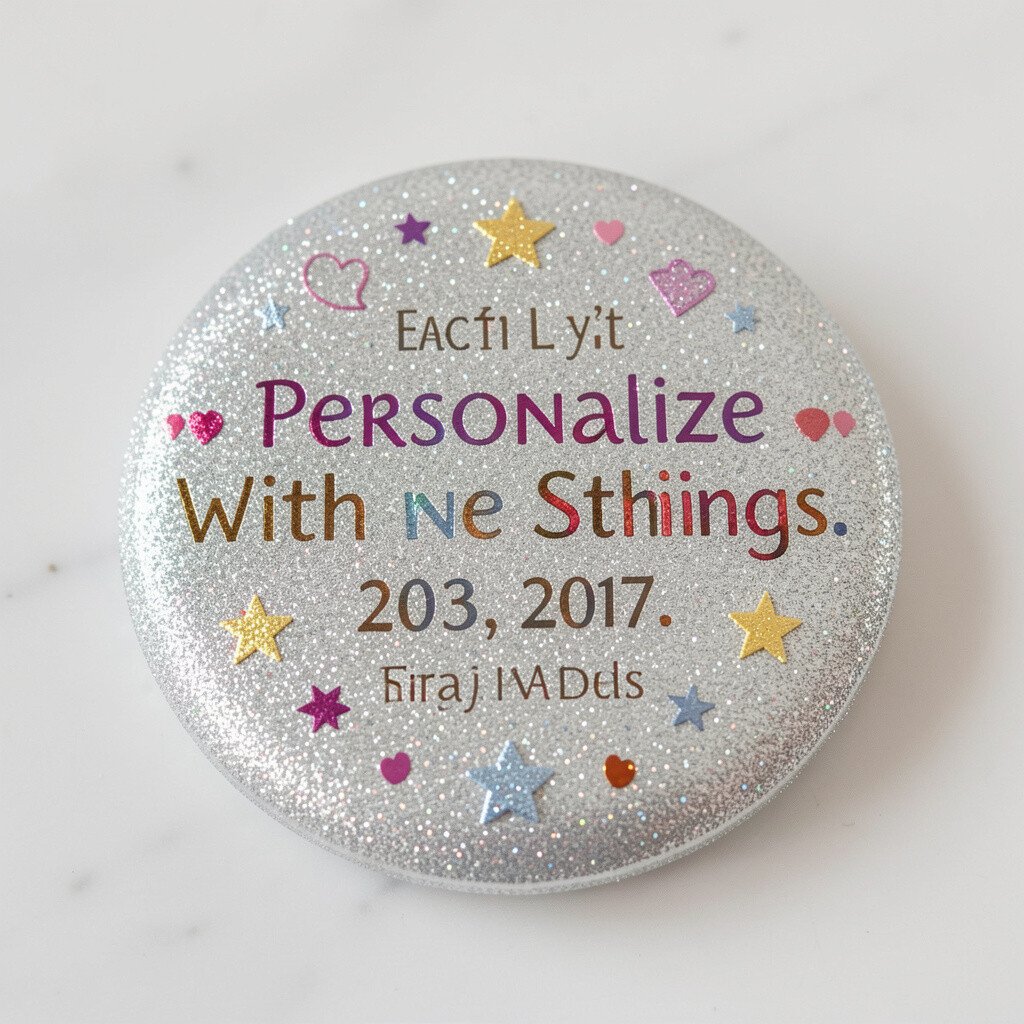
Your sparkle becomes more meaningful when it tells a story. Add a name, a short message, or a small icon like a heart, star, or flower to make the item feel personal.
Use a paint pen or marker to write first, then outline the letters with glitter gel. You can also stamp a shape and cover just the stamp edges for a neat shimmer ring.
9. Create Texture With Embossing and Shimmer Powder
Create Texture With Embossing and Shimmer Powder
Texture makes sparkle feel richer, because light catches uneven surfaces. Embossing powder and shimmer powder work nicely together for a bumpy, radiant effect.
Heat embossing can create raised designs on paper, and then shimmer dust can highlight the raised parts. Try embossing a pattern like stars or waves, then brush extra shimmer only on the top peaks.
This technique looks unique because it combines glossy shine and tactile texture. It also helps glitter look intentional instead of scattered.
10. Try Glitter Placement With Stencils and Tape Masks
Try Glitter Placement With Stencils and Tape Masks
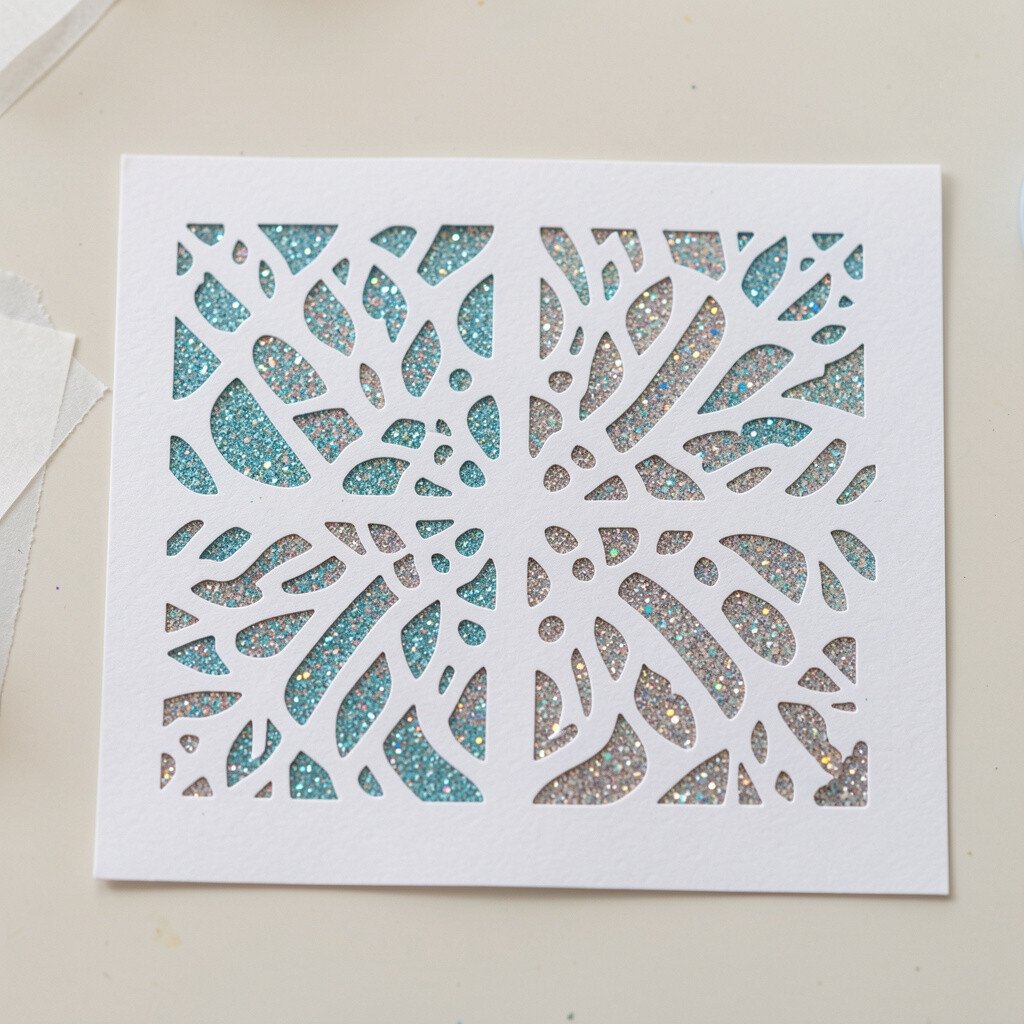
If you want sparkle but hate mess, stencils are your best friend. Tape masks and stencils let you create clear shapes with sharp edges.
Press the stencil firmly, spread adhesive through the openings, and sprinkle glitter carefully. When you lift the stencil, you get a design that looks neat and planned, like it came from a pro workshop.
For a gentle gradient, use a sponge to add glitter more lightly toward the edge. This creates a soft fade that still feels magical and modern.
Different projects deserve different kinds of shine. A cozy seasonal tag might love warm gold glitter, while a sleek organizer can look best with silver or holographic accents.
Think about the mood you want, like playful, elegant, or dreamy. If your item is for daily use, choose a sparkle finish that won’t feel scratchy or flake easily.
For gifts, use coordinated colors so the sparkle supports the theme instead of competing with it. When your shine matches the purpose, the final look feels more thoughtful and complete.
12. Control Cost by Using Small Quantities Smartly
Control Cost by Using Small Quantities Smartly
Sparkly supplies can add up, but you can keep costs low with smart planning. Buy smaller containers first, then use them in tiny amounts where they matter most.
Focus on accents rather than full coverage, like borders, corners, and focal symbols. This keeps your project looking luxurious while using less material than covering every inch.
You can also share supplies with friends or split a bulk glitter jar if it’s safe to store and label. Mixing a little glitter into clear gel makes even a small amount go further, and it helps your sparkle last longer on the surface.
13. Follow Current Sparkly Trends Without Overdoing It
Follow Current Sparkly Trends Without Overdoing It
Right now, sparkly projects often lean toward “intentional shine” instead of heavy glitter everywhere. Many makers prefer minimal reflective details, layered textures, and color blends that look soft and modern.
Try trend-friendly looks like pearly accents on pastel backgrounds, holographic lines that frame simple shapes, or subtle shimmer in the center only. These styles feel fresh because they let the sparkle do the talking while keeping the design easy to read.
Watch for ideas from recent craft reels and stationery communities, then pick one small trend to try. Your result will feel current, unique, and still doable with materials you can access nearby.