Your kitchen can look totally different without losing its function. The best changes feel like they were always meant to be there.
From small swaps to bigger style moves, these kitchen before-and-after ideas show how smart choices make daily life easier and prettier at the same time.
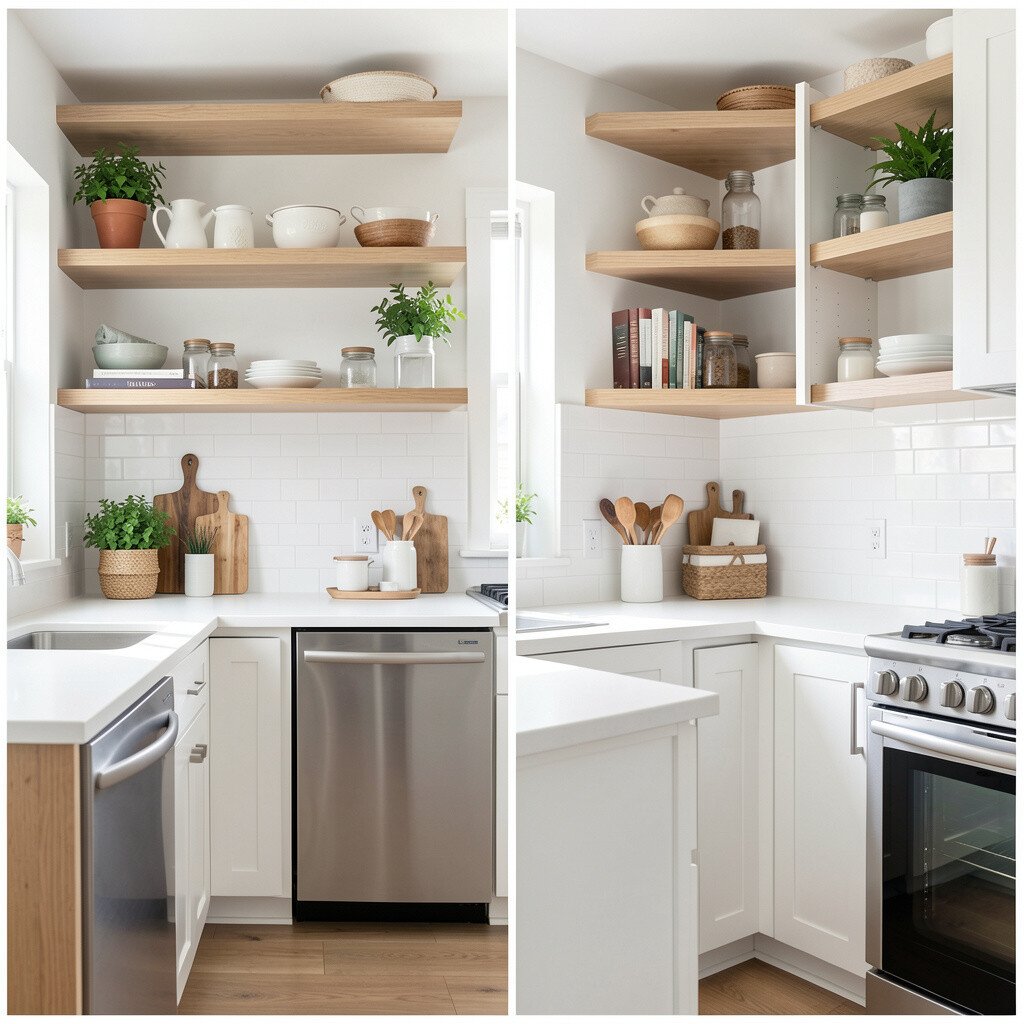
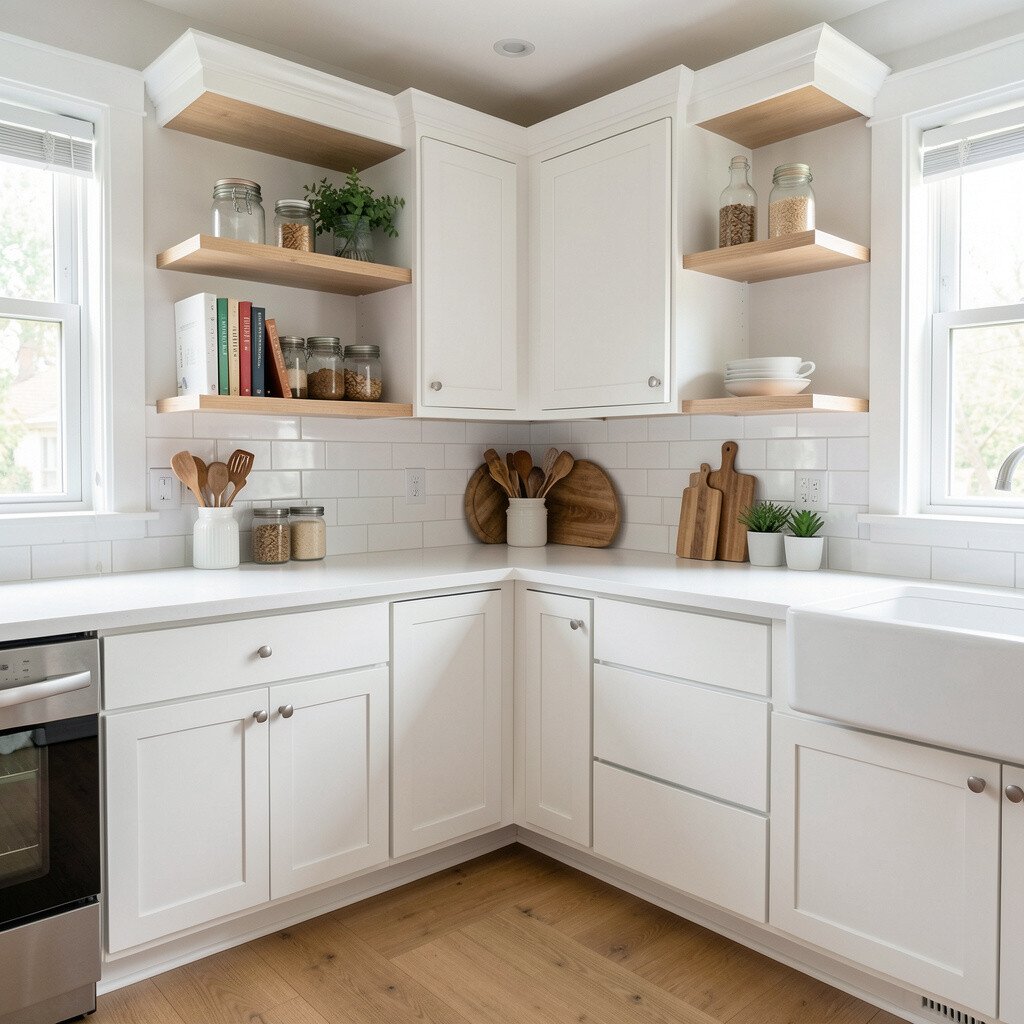
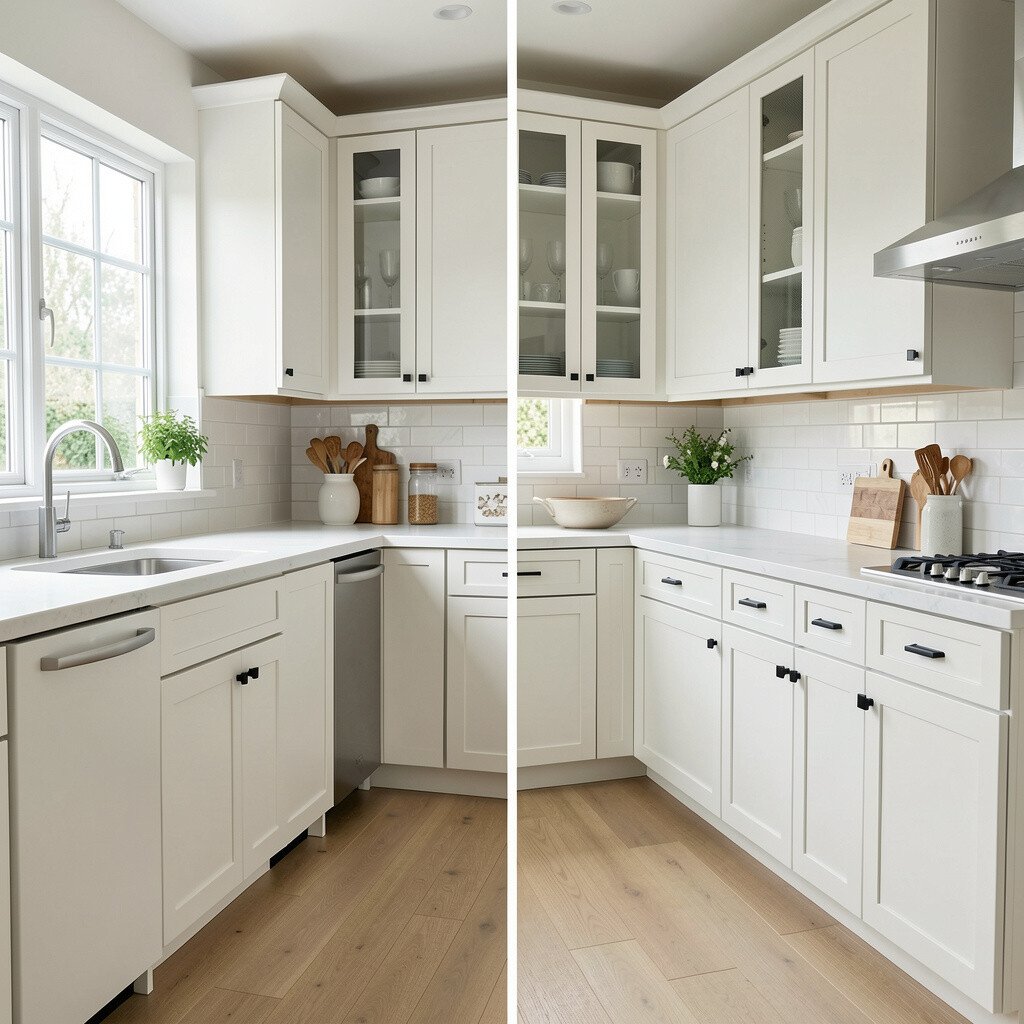
Picture a kitchen where some shelves show your favorite dishes while the mess stays out of sight. In the before version, cabinets can feel heavy and dark, so everything looks cluttered even when it is not.
After adding open shelving, the space feels lighter and more welcoming, and you can style it with everyday items like glass jars and stacked bowls. Keep the practical side strong by using matching baskets for baking sheets, wraps, and snack bags. Choose slim shelf brackets and paint the wall behind them a warm neutral so the shelves look tidy and intentional.
2. Two-Tone Cabinets That Look Custom
Two-Tone Cabinets That Look Custom
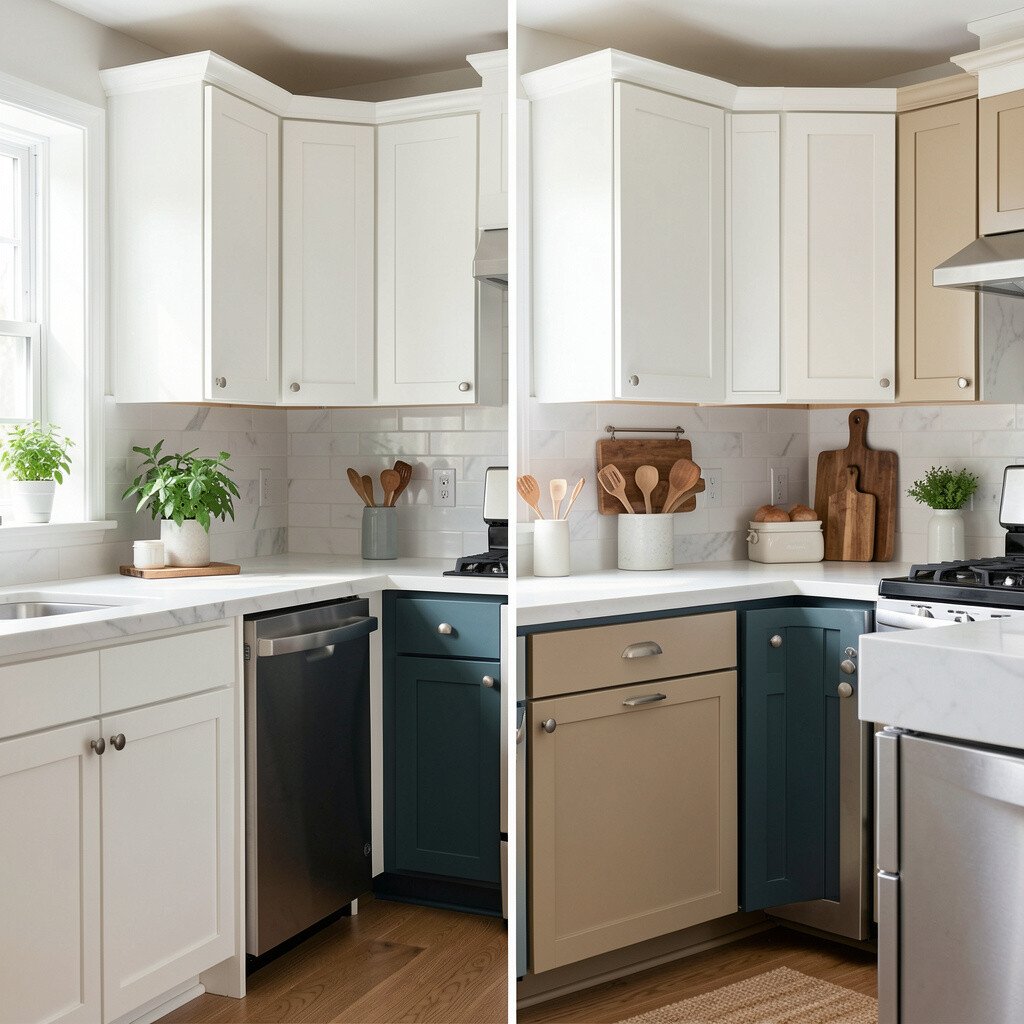
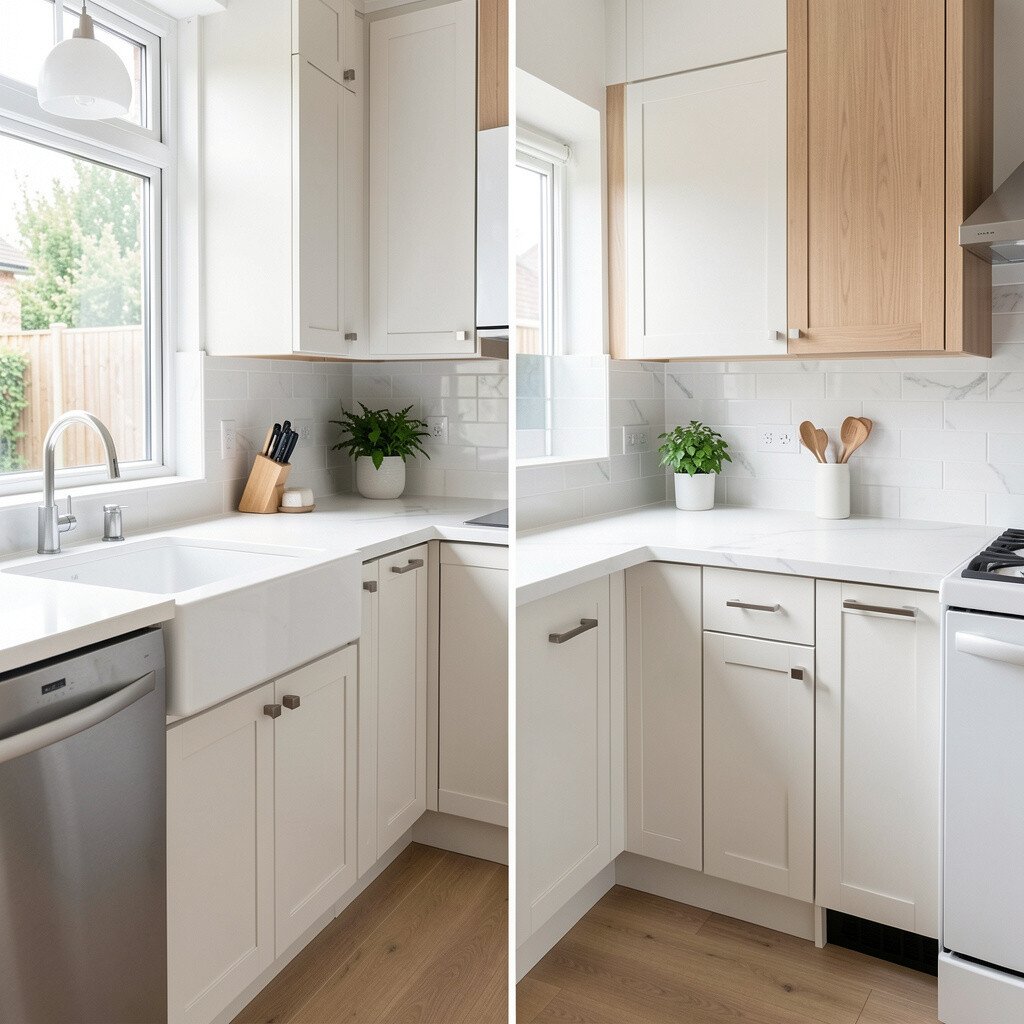
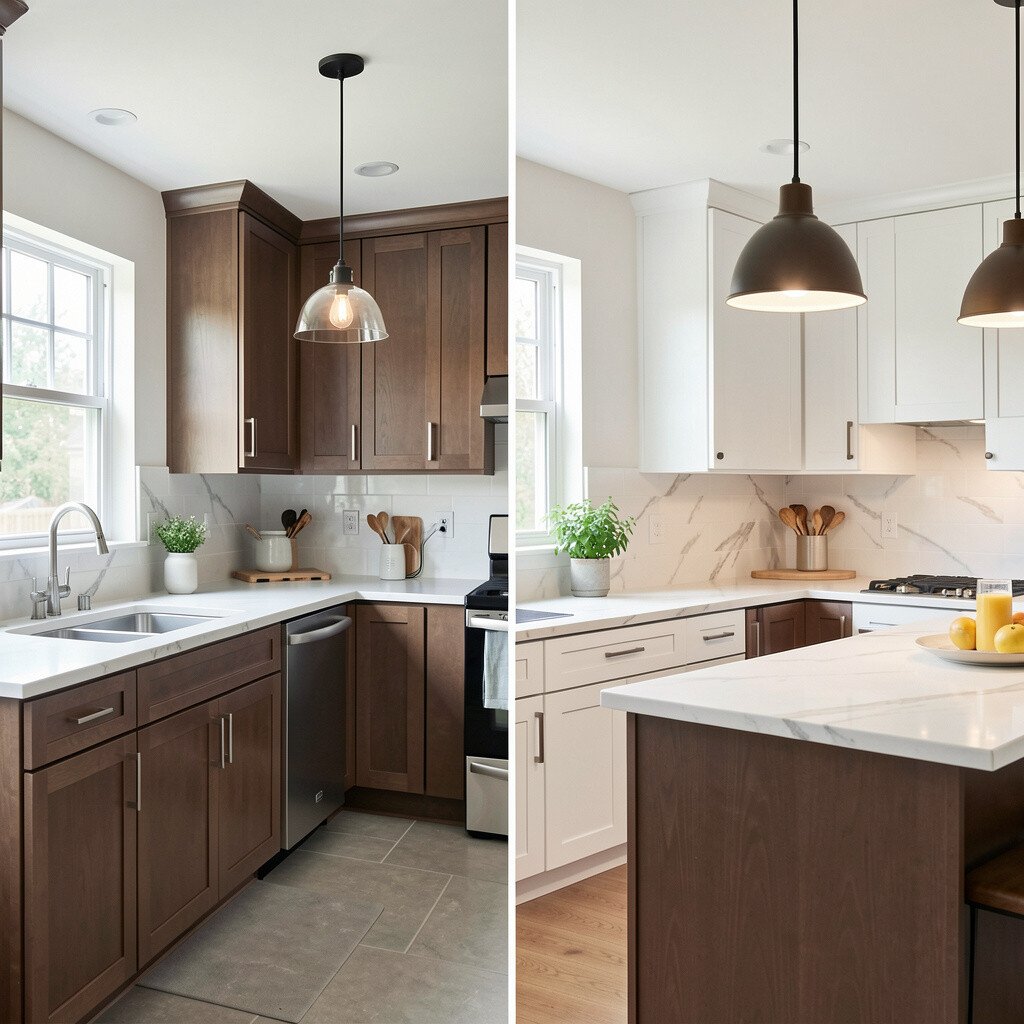
Start with cabinets you already have and give them a designer look using two colors. In many before kitchens, all the cabinetry shares the same finish, which can make the room feel flat and dated.
After, the upper cabinets can feel airy and bright while the lower ones feel grounded and rich. Pair a soft white or creamy finish above with a deeper tone like sage, navy, or espresso below for a bold but balanced look. For a practical win, install modern hardware that matches your faucet and lighting so every detail feels coordinated.
If you worry about cost, focus on painting or refinishing only the fronts that show most, and keep the interiors simple. For personalization, use the same color in small places such as the inside of a cabinet, a utensil drawer, or a backsplash niche. This look is a current trend because it adds contrast without requiring a full remodel.
3. Statement Backsplash That Changes the Mood
Statement Backsplash That Changes the Mood
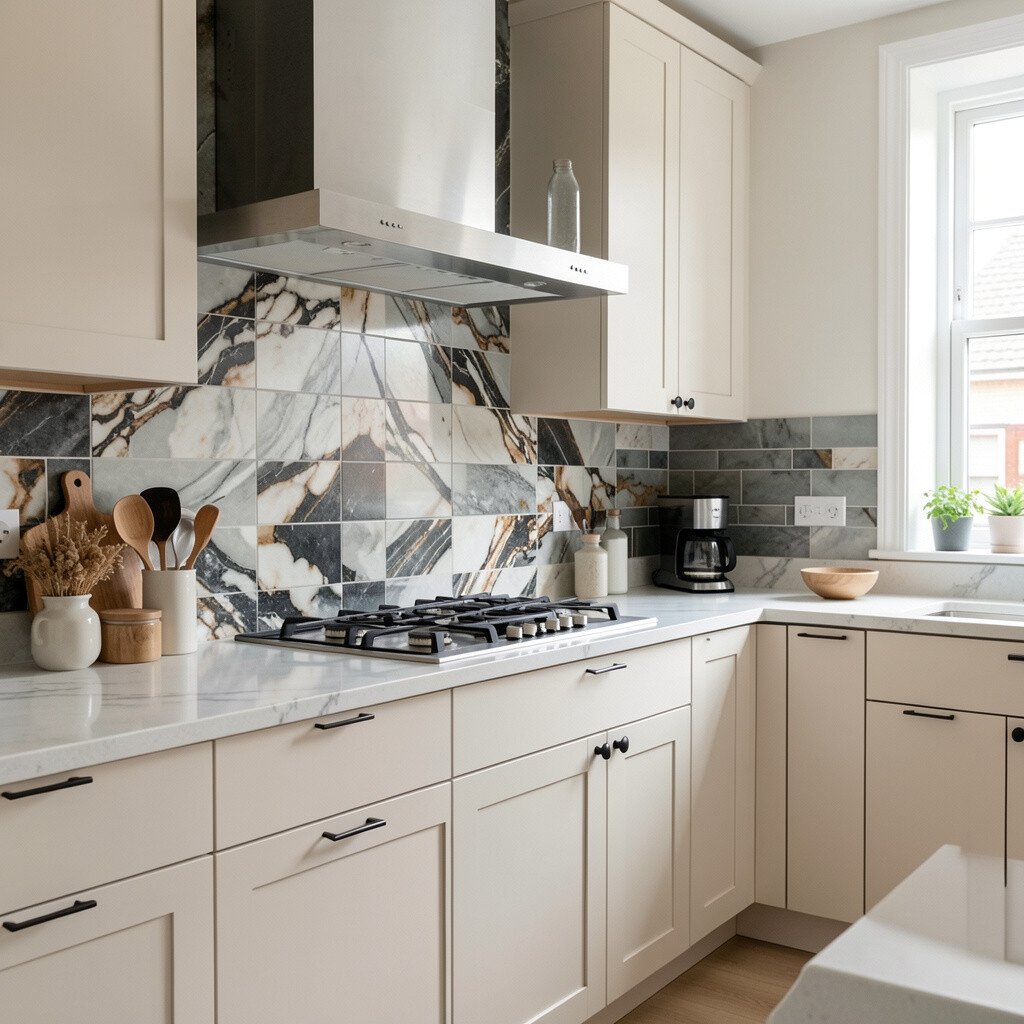
Think of the backsplash as the kitchen’s “wow” layer, right behind where you cook and wash. In the before setup, a plain tile or simple sheet can make the whole room look unfinished.
In the after look, a striking backsplash adds color, texture, and personality the moment you step in. Go for subway tiles with a glossy finish for classic shine, or choose patterned ceramic for a fun, artistic vibe. Use grout in a tone close to the tile so the lines look crisp instead of busy.
If you want it to be budget-friendly, consider peel-and-stick tile panels designed for kitchens, then seal the edges. For practical tips, plan around outlet covers so the design lines up and nothing feels crooked. Personalize the theme by selecting a backsplash color that repeats in your bar stools, rugs, or dish towels.
4. Under-Cabinet Lighting That Feels Like Daylight
Under-Cabinet Lighting That Feels Like Daylight
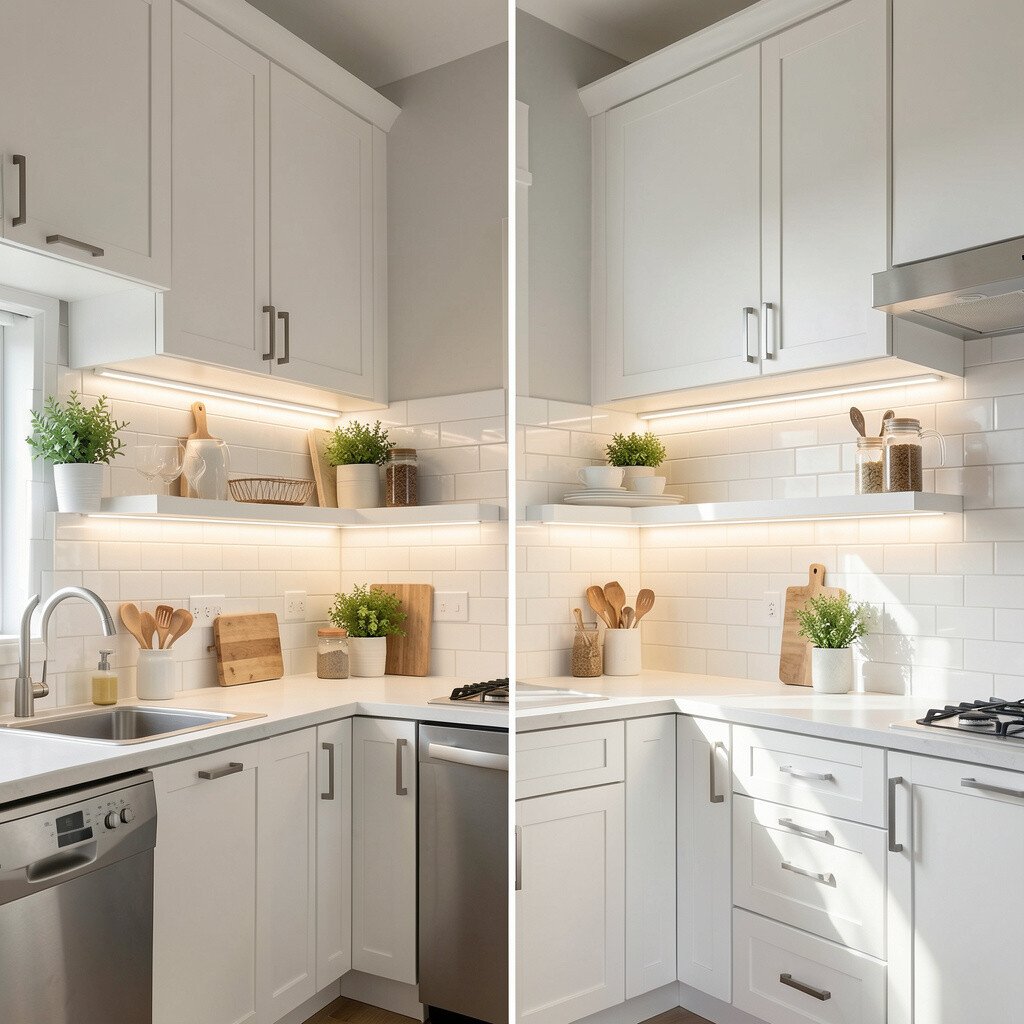
The before kitchen often has a lot of shadows, especially over counters where you chop and measure. Even with bright ceiling lights, the tasks area can feel dim and tiring.
After installing under-cabinet lighting, counters look clear and you can see details without straining your eyes. Choose warm white LEDs for a cozy glow, or cooler white for a crisp look that feels fresh. A simple dimmer switch helps you set the mood for cooking, hosting, or winding down.
For cost considerations, LED strips are usually more affordable than replacing light fixtures, and installation can be quick. Mount the lights so they shine forward, not upward, and keep wires hidden inside the cabinet space. Personalize by matching the finish of the light switch plate with your cabinet hardware.
In the before kitchen, appliances often sit everywhere, turning the counters into a busy landing pad. That makes the room feel smaller and slows you down while cooking.
After, you create appliance zones so your toaster lives in one spot, your coffee tools stay together, and your prep space stays open. Move small appliances into a dedicated corner or a shallow cart and keep the center of the counter calmer. You will notice the benefit right away because meal prep feels smoother when the tools are grouped.
To keep it practical, measure the space where you want the zones and check clearance for cabinet doors. If storage is tight, pick a slim appliance garage or a rolling cart that can tuck away. Personalize by adding matching trays so each zone looks neat, not stuffed.
6. Upgraded Faucets and Sink Pairing for Instant Shine
Upgraded Faucets and Sink Pairing for Instant Shine
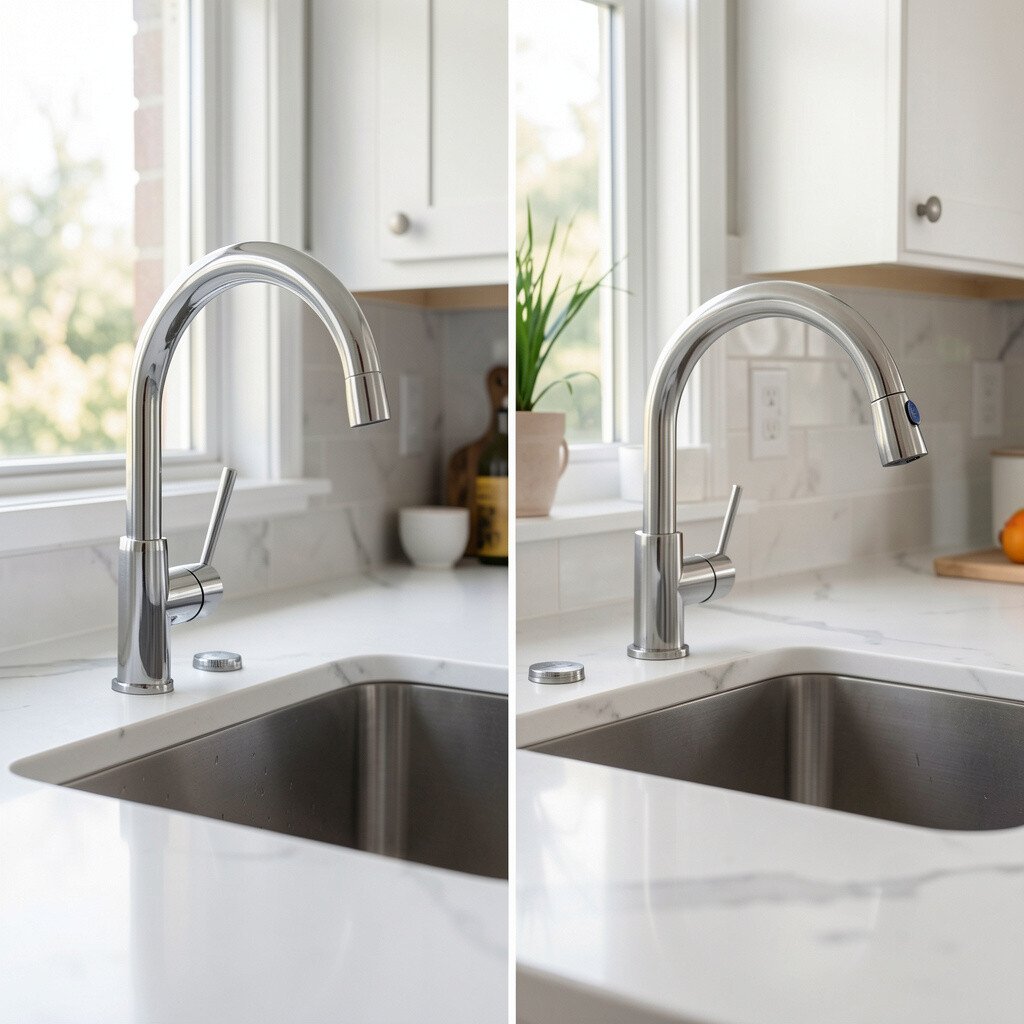
Before, your kitchen sink might look fine but feels mismatched or worn next to modern faucets. A dated fixture can make even new countertops seem less polished.
After, a cohesive sink and faucet combo adds visual clarity and daily comfort. Choose a faucet with a finish that matches your hardware, and consider a deep sink for easier dishwashing. Look for a pull-down sprayer if you rinse pots often, because it saves time during cleanup.
If you want a mid-range approach, replace the faucet first and keep the sink if it is in good shape. For personalization, pick a finish like matte black or brushed brass and repeat it in cabinet pulls or light fixtures. This change is popular right now because it upgrades the “high-touch” parts of the kitchen without tearing everything apart.
7. Fresh Paint and Trim for a Bigger-Feeling Space
Fresh Paint and Trim for a Bigger-Feeling Space
In many kitchens, the before version looks tired because walls and trim are the same dull tone. When the room lacks contrast, everything blends together and the layout feels smaller.
After repainting cabinets, walls, or trim with purposeful contrast, the whole kitchen feels more defined and brighter. Try a clean off-white on walls and a slightly deeper shade on trim to add depth. Pair this with a light-colored countertop or backsplash to make the room feel open and welcoming.
For cost considerations, paint is one of the best budget upgrades, and it also works well for renters when you choose a removable option. Prep the surfaces carefully and use painter’s tape for sharp lines. Personalize by testing two or three paint samples at different times of day so the color shifts look right.
8. Wall-Mounted Rail for Utensils and Vibes
Wall-Mounted Rail for Utensils and Vibes
Before, your utensils might be stored in drawers where they become hard to find. That can lead to digging around while cooking, which is frustrating when you are in a rush.
After adding a wall-mounted rail, you get both style and convenience, because tools are visible and within reach. Hang the everyday items you use most, like spatulas, measuring spoons, and a ladle. This setup also makes the kitchen feel more lived-in and personalized.
Keep it practical by spacing hooks evenly and grouping utensils by cooking type. For personalization, choose a rail finish that matches your faucet or hardware so it looks built-in. If you are worried about cost, rails are often cheaper than cabinet changes, and installation is usually quick.
9. Pantry Makeover With Pull-Out Organizers
Pantry Makeover With Pull-Out Organizers
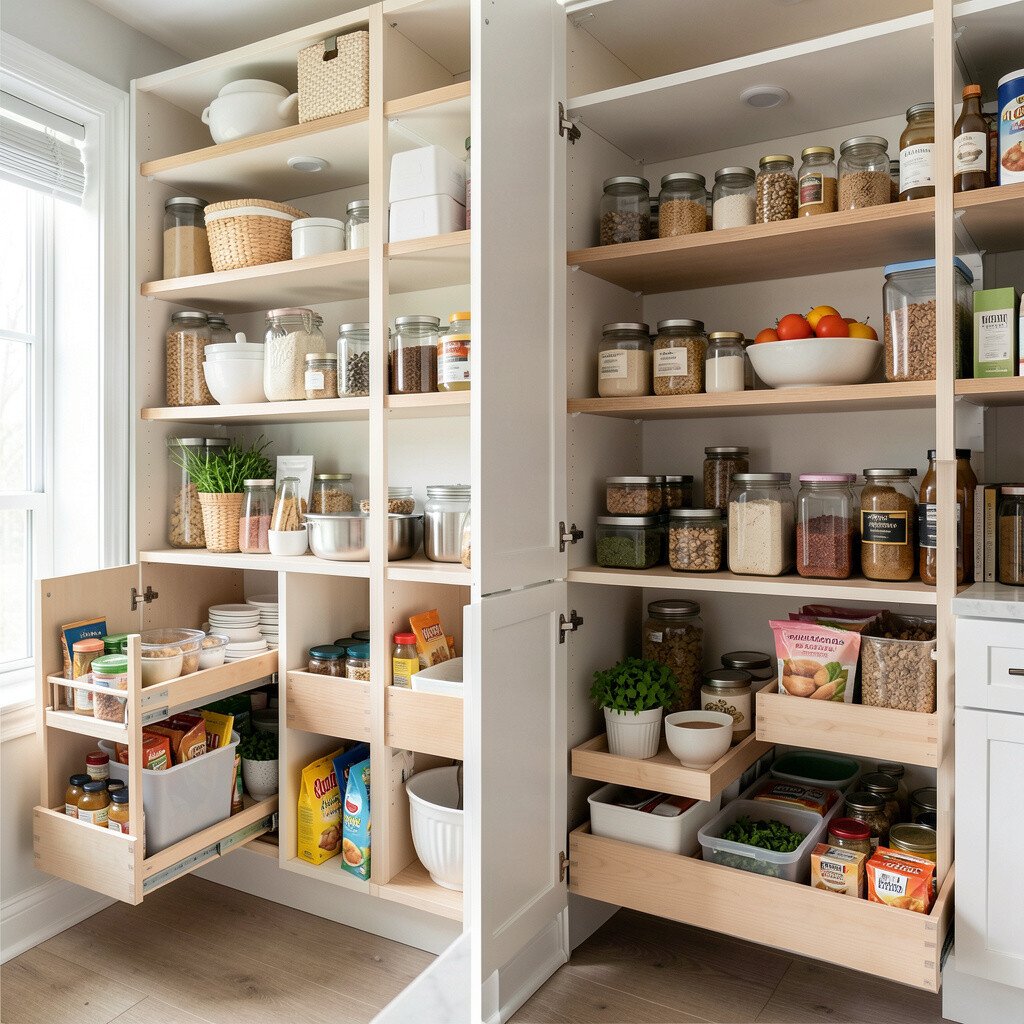
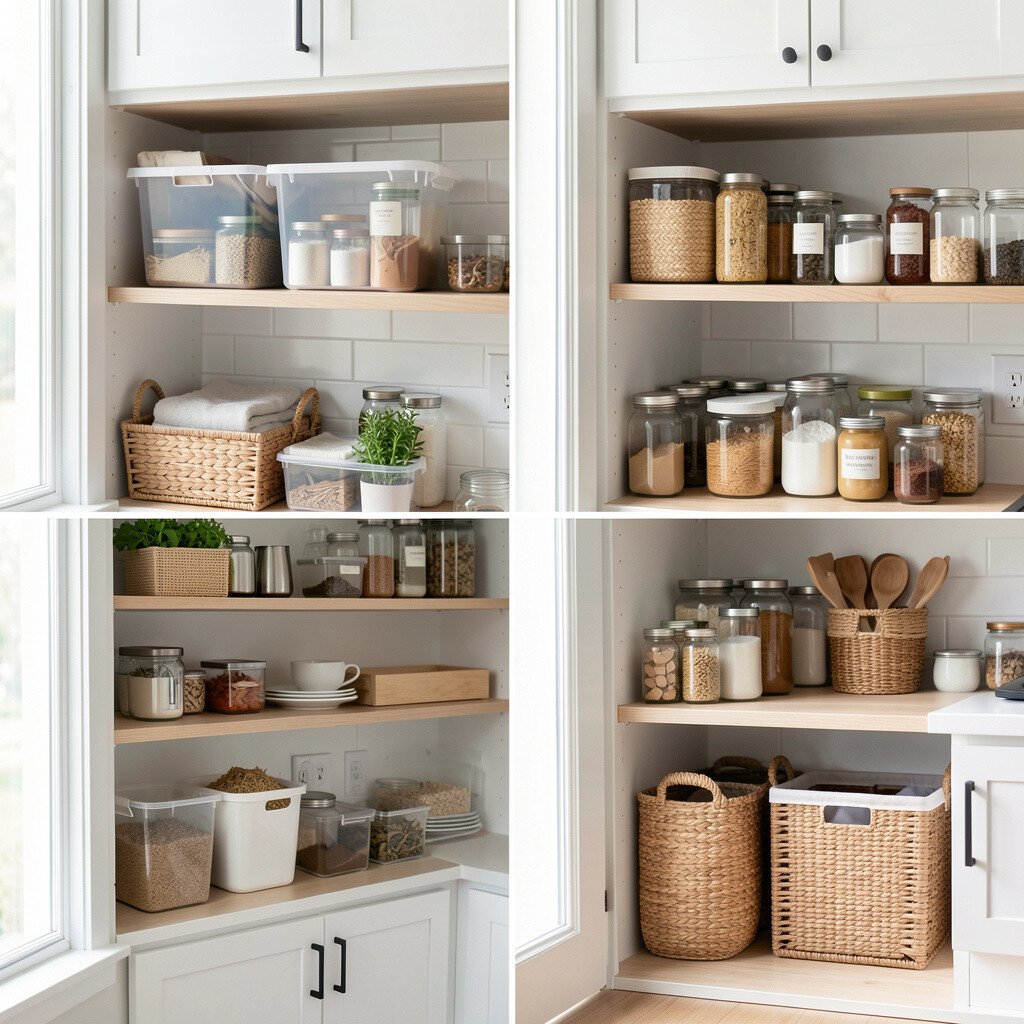
In the before kitchen, the pantry shelves can be stacked in a way that hides items behind other items. You may find yourself buying ingredients twice because the labels are not easy to read.
After adding pull-out shelves, bins, and clear containers, you can see everything at a glance. This makes restocking faster and helps you keep spices and snacks in a tidy system. Use adjustable bins so you can customize the height for bags, cereal boxes, and baking mixes.
For cost considerations, start with the most used shelves first, like the ones for snacks, breakfast items, and baking essentials. Labeling helps, but you can personalize by using color-coded labels that match your kitchen style. Keep it current by using airtight containers for dry goods and a bin for “grab-and-go” items.
Before, corner cabinets are often awkward and hard to reach, so they stay half-empty. That wastes space and keeps your kitchen from feeling efficient.
After, a smart corner solution like a carousel, pull-out shelves, or a diagonal drawer system turns that area into usable storage. You will love the benefit during cooking because pots, pans, and baking trays are easier to grab. Choose a finish that blends with your cabinet color so the hardware looks seamless.
For personalization, store baking sheets vertically on a pull-out rack to keep edges from bending. If budget is tight, consider upgrading just one corner and start with the one closest to your main cooking zone. This idea is unique because it fixes a common pain point many kitchens share.
11. Soft-Close Everything for a Calm Kitchen
Soft-Close Everything for a Calm Kitchen
Before, drawers might slam shut and cabinets can feel clunky, especially when you are moving fast. That noise can make the room feel less relaxing.
After installing soft-close hinges and drawer slides, daily tasks become quieter and smoother. The benefit is subtle but real because you will stop worrying about gentle closing and focus on cooking. It also helps kids and guests use the kitchen more comfortably.
For cost considerations, you can often upgrade hardware in phases by starting with the most used drawers first. Make sure you choose components that match your existing drawer type and cabinet hinge style. Personalize by replacing worn knobs with sleek pulls that feel comfortable in your hand.
This is also a modern upgrade people notice immediately, even if they cannot name it.
12. Lighter Countertops With a Patterned Edge
Lighter Countertops With a Patterned Edge
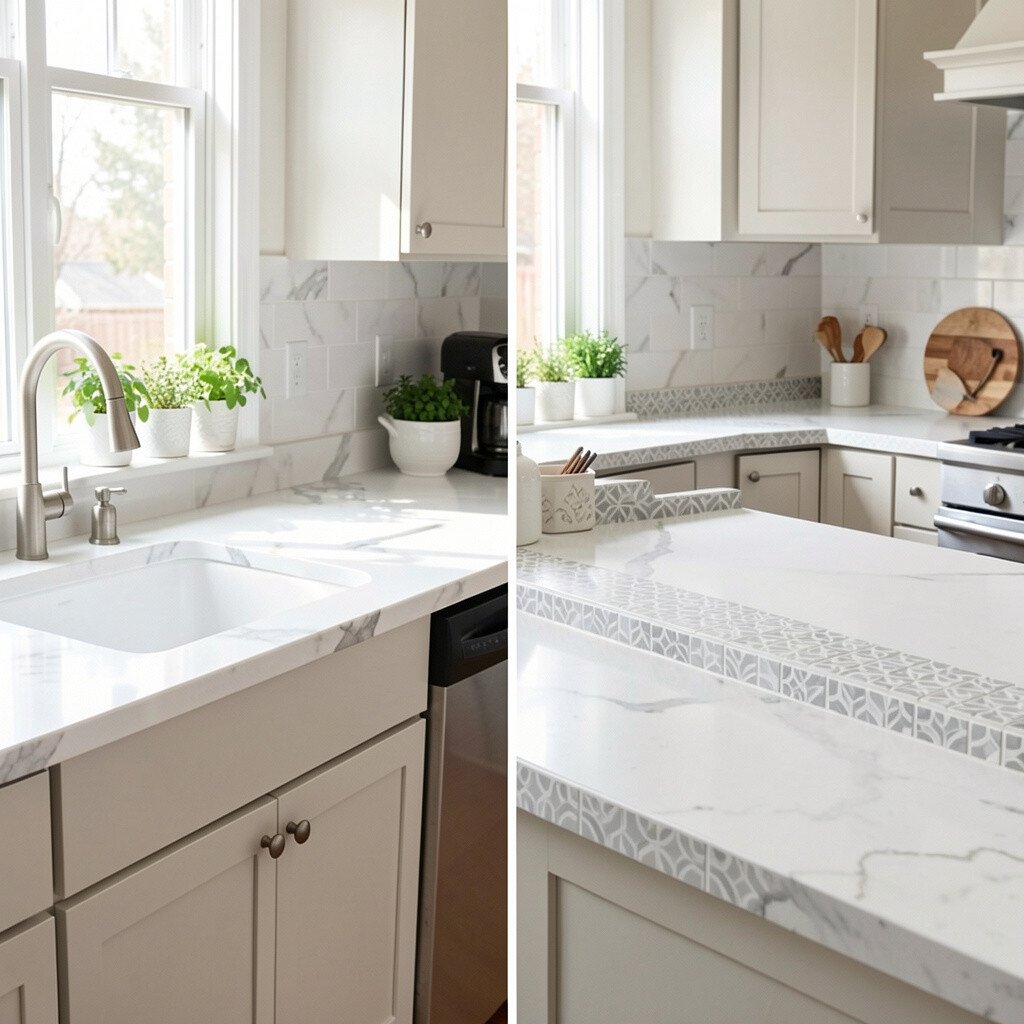
In the before kitchen, countertops might look too heavy or too busy for the room. Dark surfaces can also make small messes stand out more.
After switching to a lighter countertop color, the kitchen feels cleaner and more open. Choose materials like quartz for stain resistance, or a durable laminate with a natural look if you want to stay budget-conscious. A patterned edge detail adds uniqueness, making the countertop feel custom without needing fancy work on the whole kitchen.
To keep maintenance easy, use a sealing-friendly material and wipe spills quickly. For practical tips, confirm your sink cutout and backsplash compatibility before ordering. Personalize by matching the countertop pattern to your backsplash tones so the room looks like it belongs together.
13. A Renovated But Still Realistic Lighting Plan
A Renovated But Still Realistic Lighting Plan
Before, many kitchens rely on one ceiling light, so corners stay dark and glare shows on counters. The lighting can also make the kitchen feel flat at night.
After, you can layer task lighting with ambient glow so the space feels warm and functional. Add pendant lights over the dining or island area and install smaller lights for the main cooking zone. Keep a consistent bulb color across fixtures so the kitchen looks cohesive.
For cost considerations, swapping bulbs and adding a plug-in light strip can be a low-cost start. Personalize by choosing shades that match your kitchen vibe, like linen for softness or glass for sparkle. This is a current trend because layered lighting looks high-end without a full rebuild.
14. Flooring Refresh With Warm Underfoot Feel
Flooring Refresh With Warm Underfoot Feel
Before, flooring can make the entire kitchen feel cold or outdated, especially if it is hard to clean. Cracked grout lines or worn finishes can also steal attention from nicer upgrades.
After updating the flooring with a warmer tone, the room immediately feels more comfortable. Choose vinyl plank for a budget-friendly, water-friendly option, or go with tile if you want a long-lasting look. Patterned floors can add uniqueness, especially if your cabinets are simple.
For practical tips, check for moisture levels and install an underlayment if you want extra comfort. Personalize by selecting a color that works with your backsplash and wall paint so the room flows smoothly. If you want cost control, focus on the main kitchen area first and plan steps later for transitions.
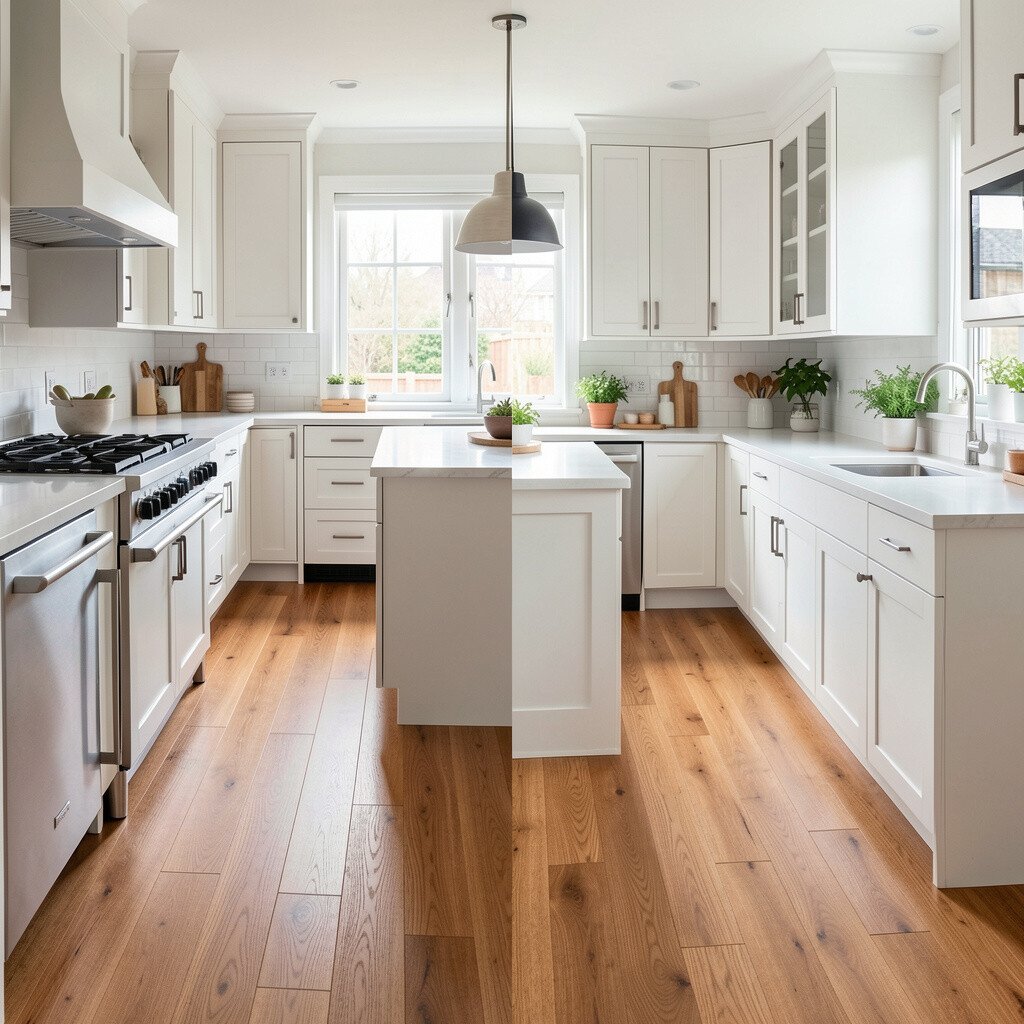
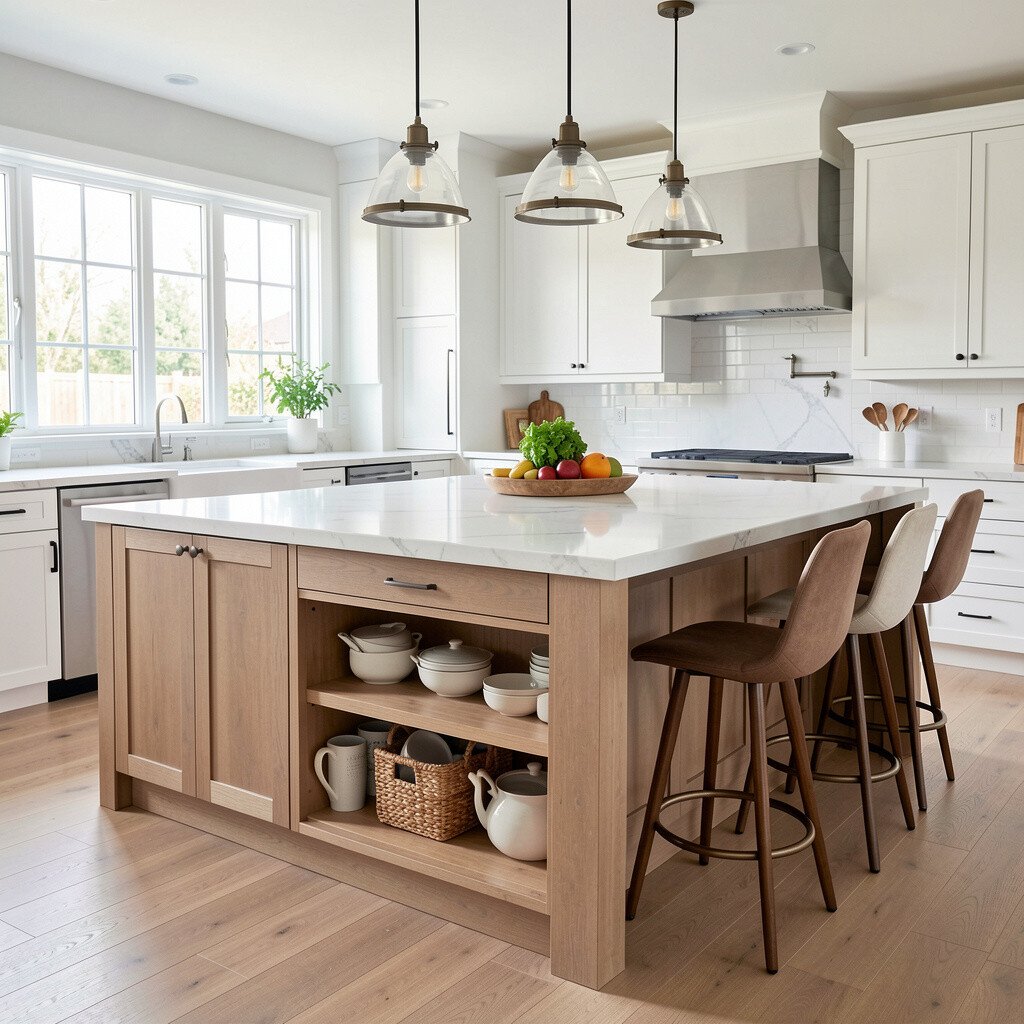
Before, the island might be decorative but not useful, or it might block movement through the kitchen. Sometimes it is just too small for real prep work.
After, a refreshed island with added storage and seating becomes the heart of the kitchen. Add drawers for utensils and pull-out shelves for tools, then include overhang seating for casual meals. The benefit is more than looks because the island supports everyday routines.
For personalization, pick a countertop color that stands out against surrounding counters and consider a contrasting base cabinet paint. If cost is a concern, you can refinish the island instead of replacing it and then upgrade the top and hardware. This idea feels unique because it combines style with actual daily function.
16. Window Treatment Upgrade That Adds Style and Privacy
Window Treatment Upgrade That Adds Style and Privacy
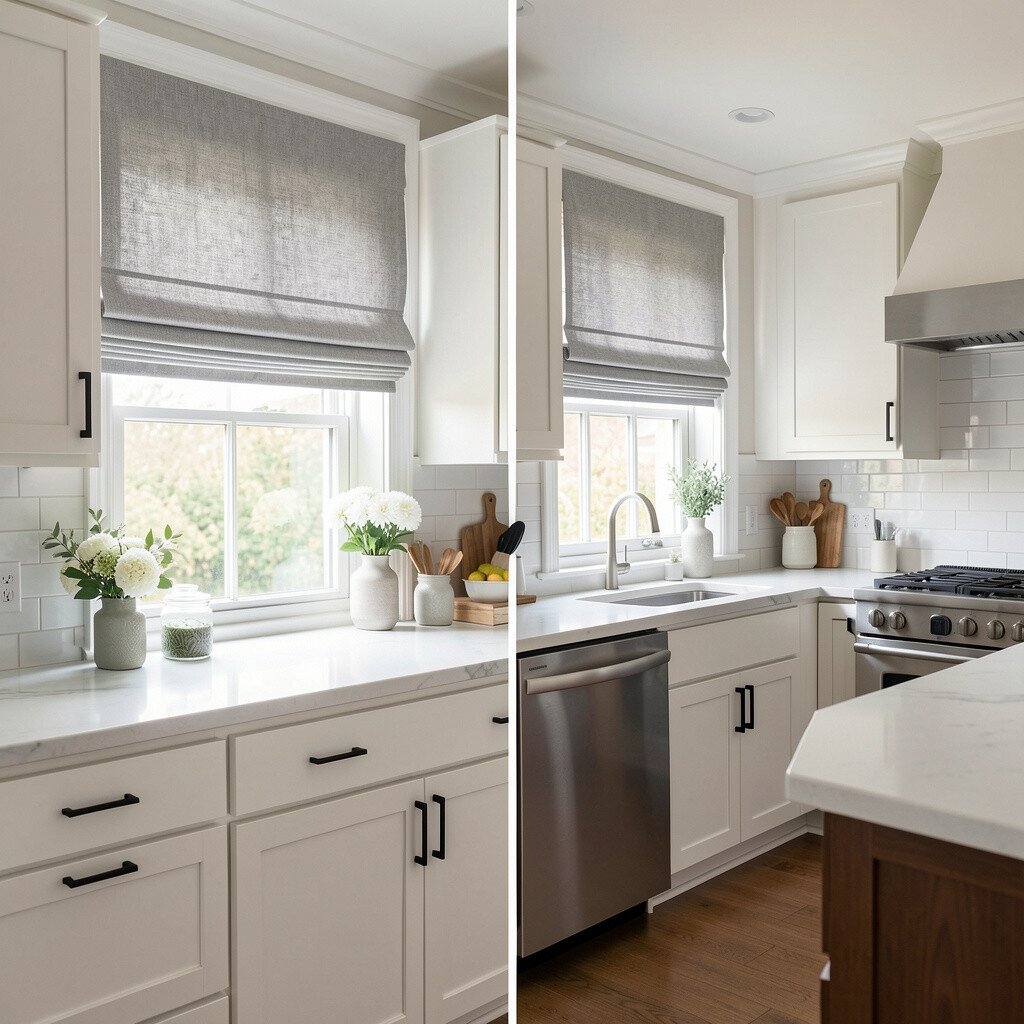
Before, window coverings may be outdated or too sheer, so the kitchen feels either exposed or dim. The wrong treatment can also block useful light.
After adding blinds, shades, or curtains that fit properly, the kitchen looks polished and comfortable. Choose a style that balances privacy and brightness, like light-filtering shades paired with a simple valance or roman shade. The benefit is immediate because morning light looks better and cooking feels more pleasant.
For practical tips, measure the window opening carefully and consider inside mount options for a clean look. Personalize the pattern by repeating a color from your backsplash or dishware. If you are on a budget, ready-made shades are often less expensive than custom curtains, and they still look crisp.
17. Hardware Swap With Matching Finishes Throughout
Hardware Swap With Matching Finishes Throughout
Before, cabinet hardware may not match your faucet, light fixtures, or appliances. That mismatch can make the kitchen feel scattered even when everything else is decent.
After swapping hardware to a single finish, the kitchen looks instantly more put-together. Try brushed nickel, satin brass, blackened steel, or matte chrome depending on your overall style. The benefit is that everything feels coordinated, which makes the room look more expensive.
For cost considerations, hardware is usually one of the most budget-friendly upgrades with a big impact. Plan the spacing and screw sizes so the new pulls fit without extra patching. Personalize by choosing shapes that match your kitchen style, like rounded pulls for soft modern looks or bar pulls for sleek minimal vibes.
18. Colorful Dining Nook or Wall Accent for Personality
Colorful Dining Nook or Wall Accent for Personality
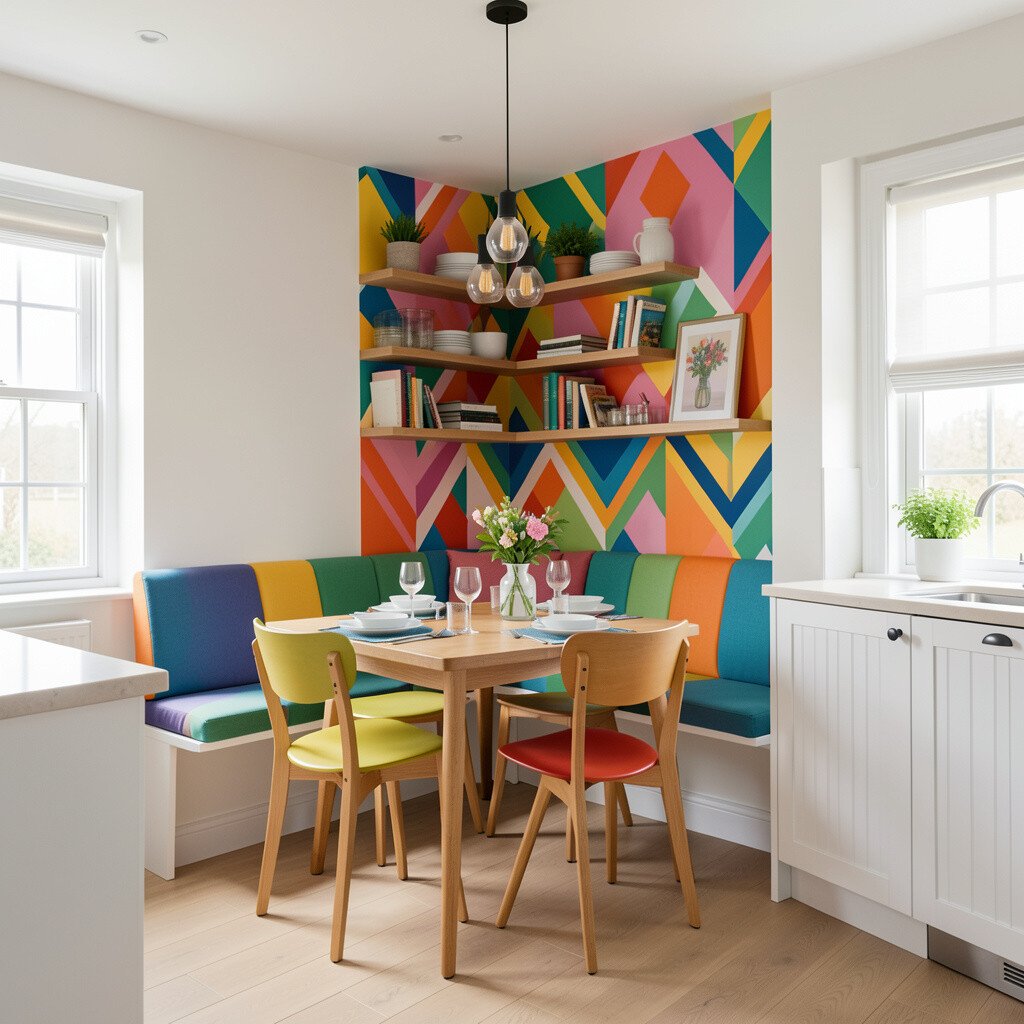
Before, the kitchen might have no place for happy moments, so it feels like only a work room. A blank wall or dull dining corner can make everyday meals feel less special.
After adding a color accent wall, a cozy nook, or a small gallery, the kitchen becomes a place you want to linger. Paint a small section in a tone that matches your backsplash or choose peel-and-stick wallpaper for texture. Add a bench or two chairs that fit the space and keep the area comfortable.
For practical tips, keep the color balanced by using neutral plates, simple curtains, and light flooring nearby. Personalize by framing seasonal art or adding a chalkboard panel for daily reminders and menus. This idea is unique because it brings emotion and warmth into the same room where you cook.
19. Smart Reusable Storage and Label-Free Organization
Smart Reusable Storage and Label-Free Organization
Before, pantry items and leftovers might end up in random containers, so the kitchen feels messy fast. You might also spend time searching for lids or measuring cups.
After switching to matching reusable containers and clear organization, the kitchen looks neat even on busy days. Choose a consistent shape and color so the shelves feel calm and design-forward. The benefit is that you waste less food and cook with what you actually have.
For cost considerations, start with the most used categories like flour, pasta, snacks, and coffee, then add more over time. Personalize the system with custom chalk markers, colored bands on lids, or a simple organizer rack for spices. A current trend is using label-free labeling through uniform containers and clear sightlines, which looks sleek and still stays practical.
Make it feel like your kitchen by aligning your storage style with your daily habits, not just your favorite photos.