Clear a small patch of ground and sketch a constellation path on poster board. When you step into the shapes with a flashlight glow, the night feels like a story.
Use a marker to trace the main star patterns you can usually spot where you live, then label them lightly with numbers or short names so you don’t need your phone. Make the map match your direction by facing it toward the sky you’re studying, which helps you aim faster. This setup can reduce fumbling and makes new stargazers feel calmer because the path is already drawn.
2. Craft a Glow-in-the-Dark Milky Way Blanket Corner
Craft a Glow-in-the-Dark Milky Way Blanket Corner
Spread a plain blanket on a picnic table and paint tiny specks with fabric glow paint. In the dark, it looks like clouds of starlight drifting across a soft galaxy.
Pair it with warm LED string lights wrapped around a nearby chair so the glow stays steady while you relax. Add a small pocket sewn from an old sock for snacks or a lens cloth, which saves you from hunting around. This is a low-cost upgrade that feels special, and it also helps kids keep their hands busy while their eyes adjust to the dark.
Choose colors that suit your mood, like cool blue for calm nights or pale silver for a moonlit look. If you want to stay practical, test the glow color under a lamp the next day so you know how long it lasts. For a current trend, many people are using fabric markers and heat-set paint because they dry quickly and survive outdoor breezes.
3. Make a DIY “Moon Phase” Lantern Calendar
Make a DIY “Moon Phase” Lantern Calendar
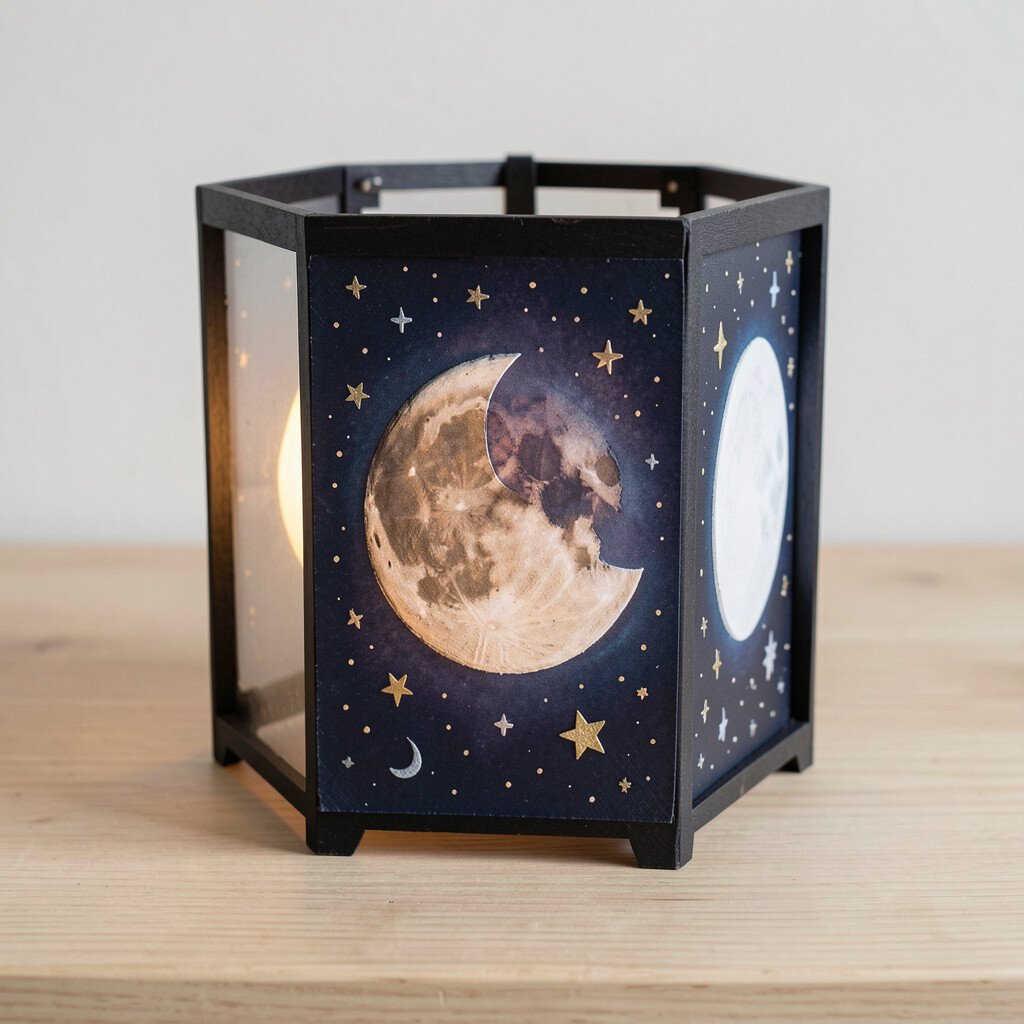
Hang small paper moons from string over a lantern or battery tea light. Each night, swap the paper moon piece to match what you see outside.
Cut the moon shapes from matte black, cream, and gray craft paper, then keep them in a little envelope so you can reuse them. Position the lantern so the light falls on your blanket and your eyes stay comfortable while you check the sky. Watching the moon shift over time builds patience and helps you notice subtle changes like shadows and brightness.
If you like personalization, decorate the border with your favorite star theme, such as tiny dots, a shooting-star streak, or a simple zodiac badge. For cost, you can use leftover paper scraps and thrift-store lanterns, and you only need small materials. A popular approach right now is mixing DIY paper crafts with warm LEDs, because it looks cozy without needing special gear.
4. Create a Telescope Stand With a Reclaimed Wooden Base
Create a Telescope Stand With a Reclaimed Wooden Base
Use a sturdy wooden block, a short plank, and a clamp to build a simple stand for a small telescope or binoculars. A reclaimed base adds a rustic look that feels grounded, like your sky hobby has roots.
Sand edges smooth, then add felt under the base to protect surfaces and reduce wobble. Angle the mount so you can look comfortably without bending, which helps you spend longer time on the eyepiece. Keep your tools simple and safe, and remember that a stable setup improves clarity more than fancy upgrades.
5. Build a Star Projector From a Scrap Box
Build a Star Projector From a Scrap Box
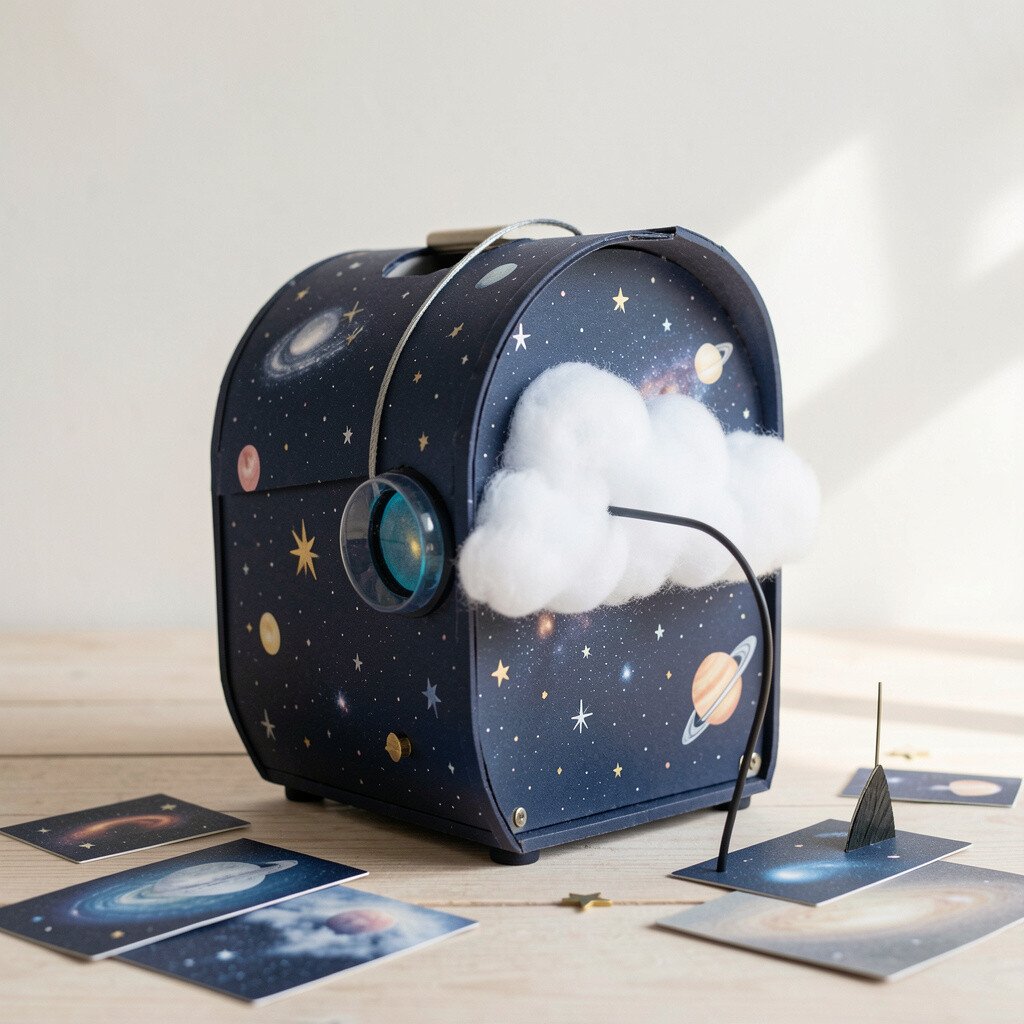
Take a cardboard box and cover one end with thin foil, then poke small holes in a pattern you love. When the light turns on, you get a soft sprinkle of “stars” on nearby walls.
Set the projector near your viewing spot so you can practice identifying shapes before the real sky appears. Try moving the box slowly to change the pattern and match it to what you’re seeing outside. This is a fun skill-builder, and it can make stargazing feel less intimidating for first-timers.
Personalize the holes with a few larger gaps for bright points and smaller ones for faint dots, so your wall image feels layered. Keep it budget-friendly by using a desk lamp, a phone light app, or a small LED cube. Many hobbyists are pairing DIY projectors with dark-sky rules, like turning off all overhead lights to preserve your night vision.
6. Design a Backyard “Northern Trail” Walkway
Design a Backyard “Northern Trail” Walkway
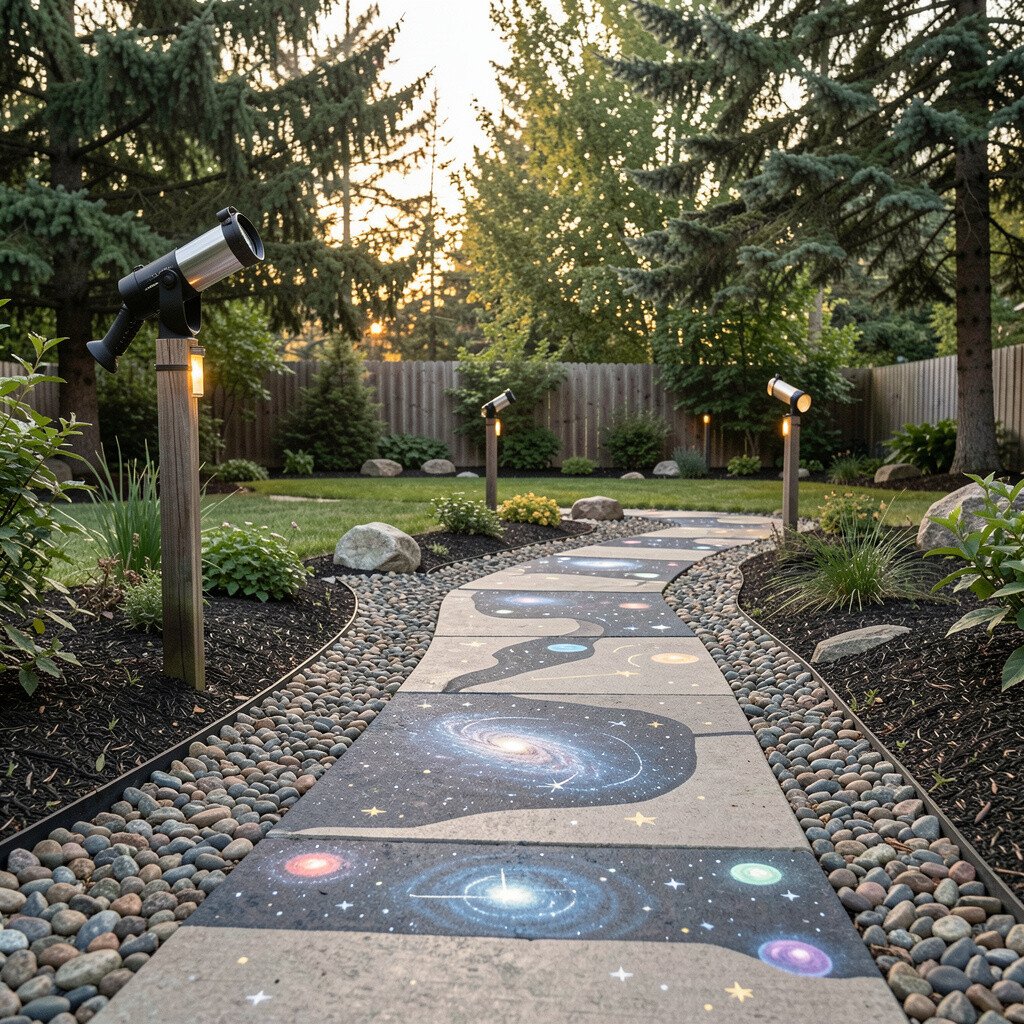
Lay down soft string lights or reflective tape in a line that guides you from door to blanket. The line helps you step carefully and keeps your direction steady as your eyes adjust.
Choose a route that points toward a clear patch of sky, then keep the path dim and warm so it won’t glare. Add one or two small reflective markers along the route so you never feel lost when it’s late. This setup also helps your group gather quickly, which is a big comfort during cooler seasons.
7. Sew a Mini Astronomy Pouch for Accessories
Sew a Mini Astronomy Pouch for Accessories
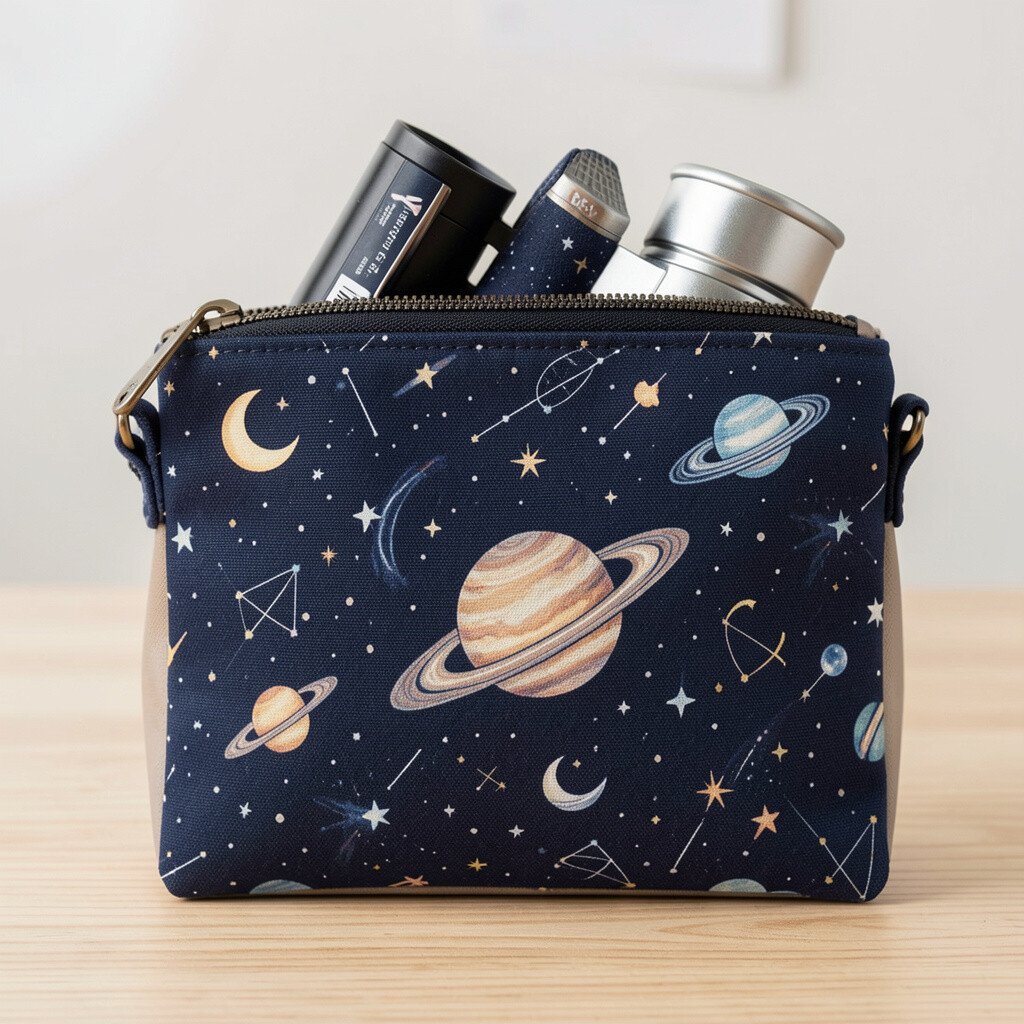
Hand-stitch a small pouch to hold lens cloths, spare batteries, and a simple star guide. When everything has a home, you spend less time searching and more time looking.
Pick fabric that matches your theme, like navy canvas or moon-print cotton, and reinforce the top seam so it lasts. Add a zipper or drawstring closure, and include a tiny clip to keep your cloth from getting lost. Comfort matters, so choose a size that sits easily near your blanket rather than swinging around.
8. Make a Constellation Coaster Set for Hot Drinks
Make a Constellation Coaster Set for Hot Drinks
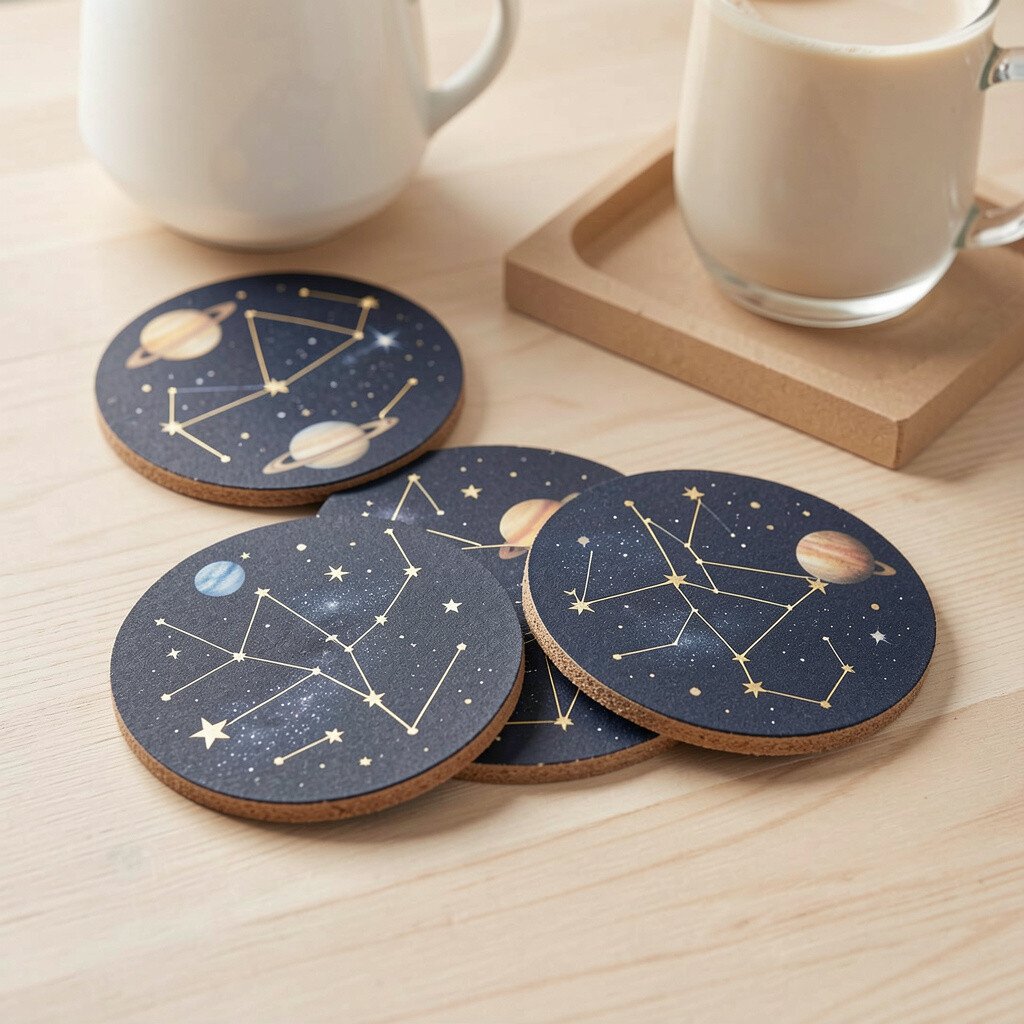
Cut circles from cork or thick felt, then glue small star stickers in matching rows. Set your mug down and enjoy the quiet ritual while you wait for your eyes to adjust.
Use waterproof sealant if you expect condensation, and place a non-slip backing so the coasters stay stable. Since you can personalize them with your favorite constellations, each night feels like a fresh edition. This small project also keeps your drinks safer, which is a practical win during windy evenings.
If you want to match current trends, look for minimal “line art” stickers that look clean instead of flashy. For cost, thrift coasters or repurpose old cork placemats to get the materials cheaply. You’ll feel more ready to host when guests can grab a coaster and settle in right away.
9. Craft a Planisphere-Style Card for Quick Star Finding
Craft a Planisphere-Style Card for Quick Star Finding
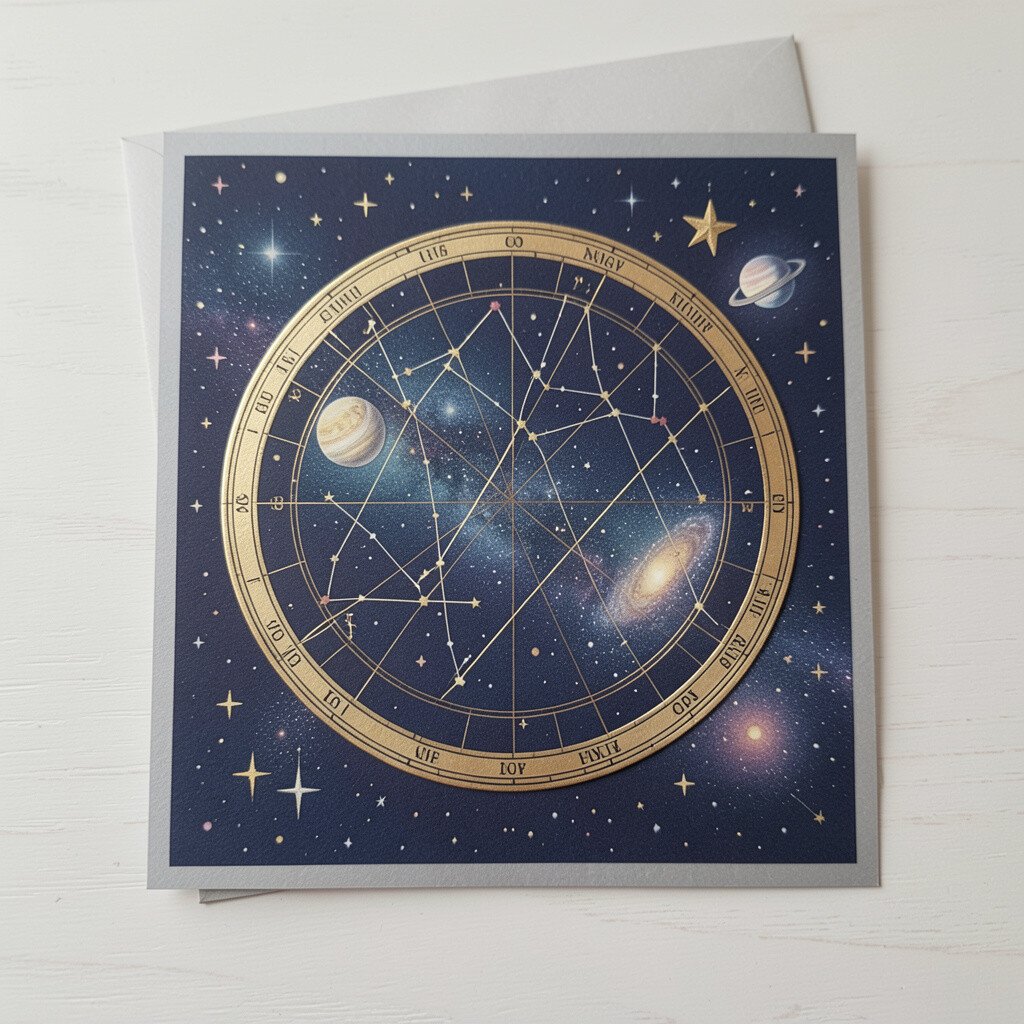
Create a simple rotating card from cardstock that acts like a rough guide to sky zones. Even if it’s not perfect, it gives you a helpful starting point on unfamiliar nights.
Print or draw a few visible regions, then cut windows where stars tend to appear in your season. Keep the card lightweight and attach it to a small ring so you can hold it easily. This can save time because you don’t need to memorize as much when you’re tired.
Personalize the card with your own notes, like what time you usually see certain patterns. For a budget approach, use free printable sky charts and trace them onto your cardstock. Many stargazers now enjoy “slow learning” tools like these because they feel personal and low-pressure.
10. Hang a Celestial Wind Chime for Calm Listening
Hang a Celestial Wind Chime for Calm Listening
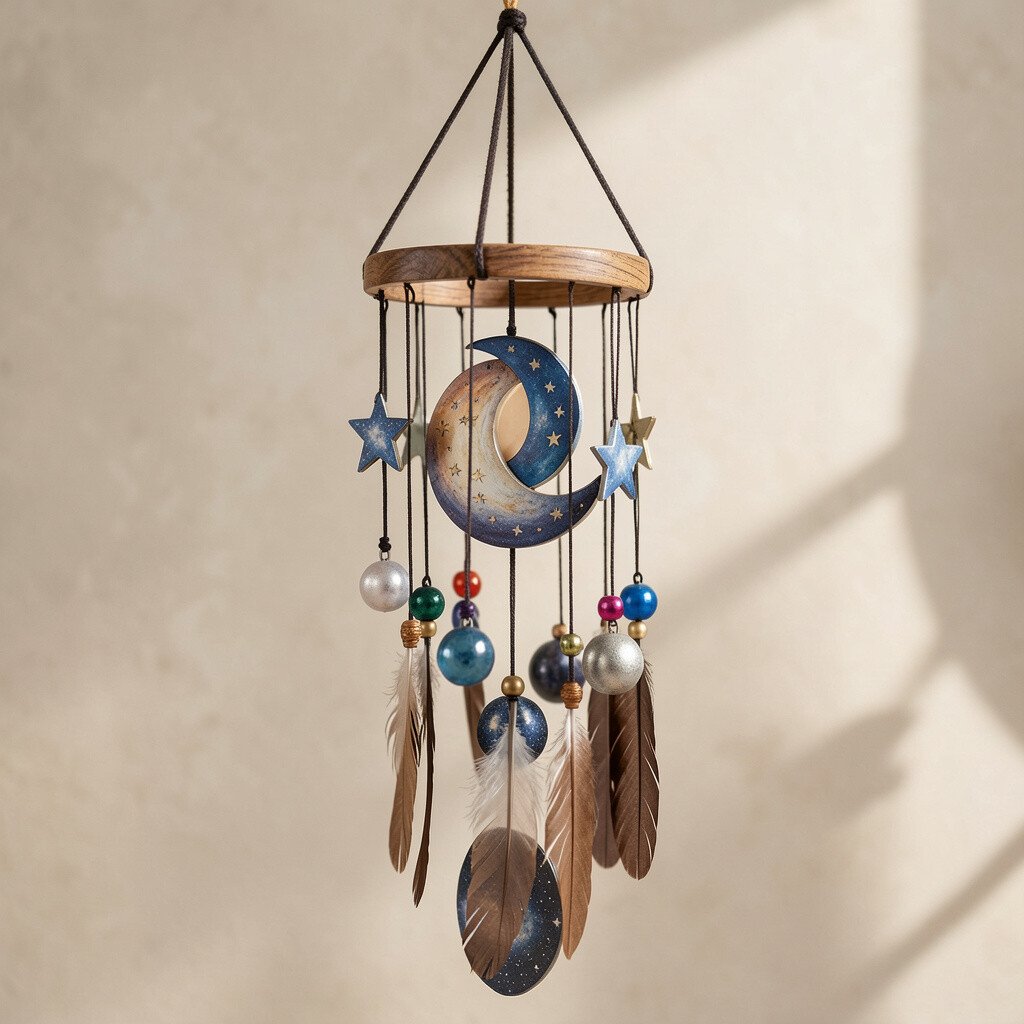
Use small metal or bamboo pieces cut into different lengths and string them so they sway gently. Each sound feels like a soft countdown while you watch the sky glow darker.
Choose materials that don’t clank loudly, like light chimes with softer tones, so you can still hear your group. Suspend it near your seating spot so you connect the sound to your stargazing rhythm. This project adds sensory comfort, which can help you stay patient for slower celestial moments.
For uniqueness, paint tiny star icons on a few pieces, or wrap one section with dark ribbon. Keep cost low by using an old wind chime from a garage sale and replacing the parts you like. A current trend is adding nature-friendly materials, which helps your DIY feel both pretty and mindful.
11. Paint a “Shooting Star” Door Sign
Paint a “Shooting Star” Door Sign
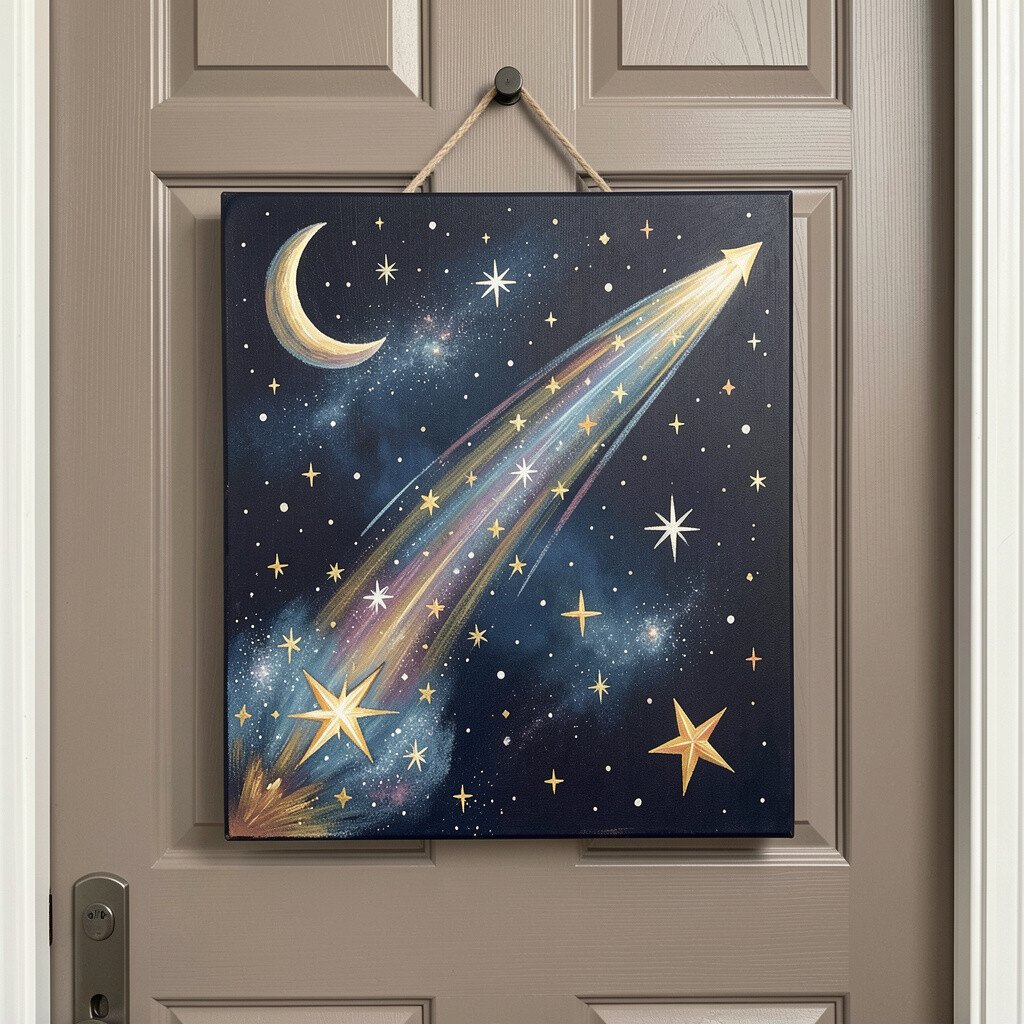
Decorate a wooden or cardboard sign that hangs near your door and points toward your viewing area. A simple message like “Sky Time” sets the mood without needing fancy tech.
Use weather-safe paint and add a small arrow or constellation line so guests know where to go. This is surprisingly helpful during colder months because people find the spot faster and keep the pace relaxed. When you personalize it with your family’s favorite symbols, hosting feels warmer and more intentional.
To keep it practical, use a design that’s visible in dim light, like white stars on dark blue. For cost, recycle old scrap wood or use a backboard from a thrift store. Many people now make seasonal home accents to build routine, and it can make stargazing nights feel like an event.
12. Arrange a Star-themed “Observation Shelf” With Layers
Arrange a Star-themed “Observation Shelf” With Layers
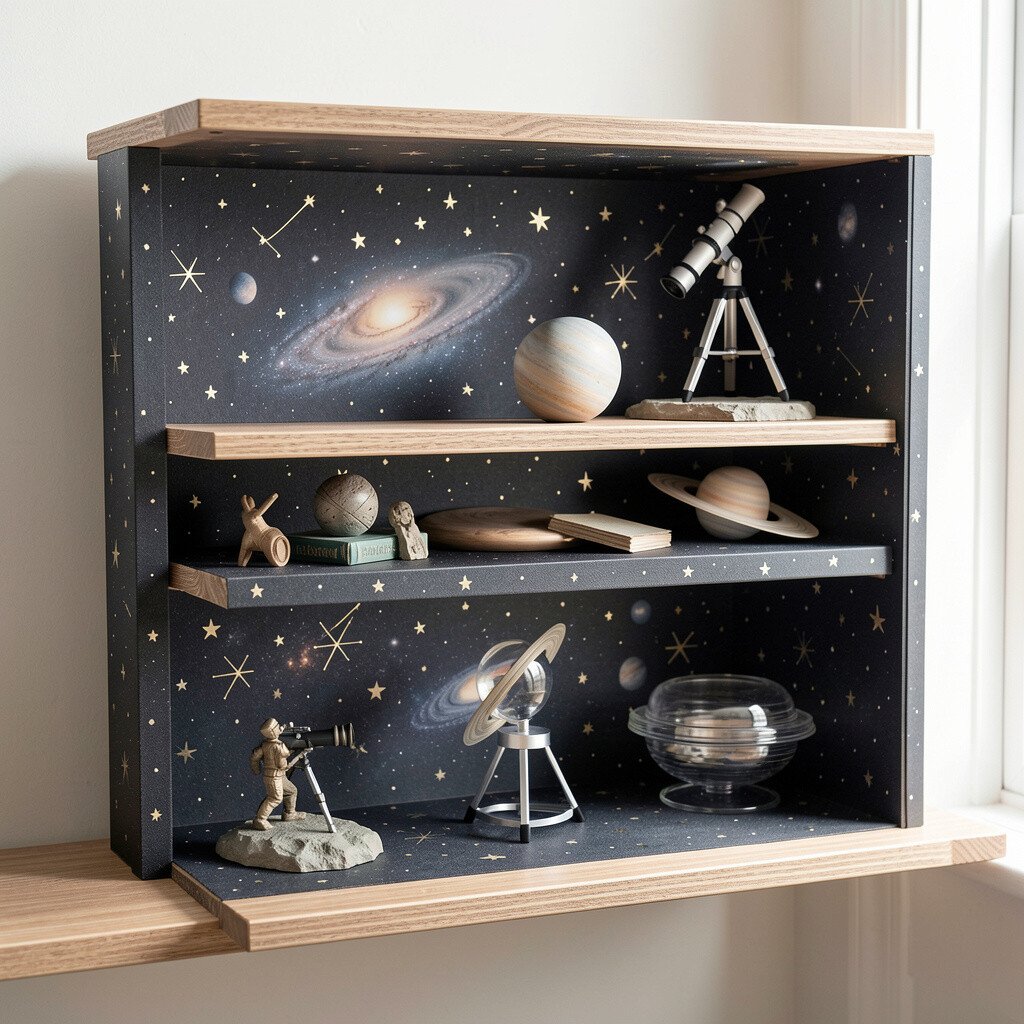
Create a small shelf from crates, stacked boxes, or a slim wall ledge and decorate it with sky colors. Layering your items helps you grab what you need without waking others or turning on bright lights.
Store binoculars, a flashlight with a red cover, and a notepad in separate sections so you can stay organized. Add a small light shield so the shelf light doesn’t spill into your eyes. This makes the night smoother, and smoother nights make it easier to keep the habit going.
Personalize the shelf with labels on the outside of each container, like “Star Notes” or “Lens Care,” written in your style. If you’re watching costs, use clear plastic containers from your recycling and thrift-store trays. A current trend is “micro-stations” for hobbies, where small setups reduce clutter and make routines feel effortless.
13. Make a DIY Red-Filter Flashlight for Night Vision
Make a DIY Red-Filter Flashlight for Night Vision
Cover a flashlight lens with a red film sheet so your light stays gentle. It helps you move around and check your gear without blinding your eyes.
Secure the film with tape or a snap-on holder, and test the brightness so it’s visible but not harsh. Keep the filter removable so you can switch back in emergencies. This simple change is a big benefit because your night vision is precious and improves how long you can enjoy faint stars.
14. Build a Hanging “Orbit” Mobile Above Your Seating Spot
Build a Hanging “Orbit” Mobile Above Your Seating Spot
Make a mobile from hoops or rings and hang it above your blanket with strings of different lengths. As you move, the rings shift like tiny planets in orbit.
Use lightweight materials so it moves slowly and doesn’t smack into people, then keep the colors muted and starry. This creates a cozy visual layer that keeps your eyes engaged while you wait for the clouds to thin. It’s unique because it turns the space around you into part of the sky scene.
Personalize the orbit rings by cutting small planet shapes and adding tiny etched lines to mimic craters. For cost, repurpose old embroidery hoops and lightweight paper from crafts. Many recent DIY parties feature hanging mobiles because they look cinematic in photos while also calming the mood.
15. Create a Constellation Sticker and Notebook Night Journal
Create a Constellation Sticker and Notebook Night Journal
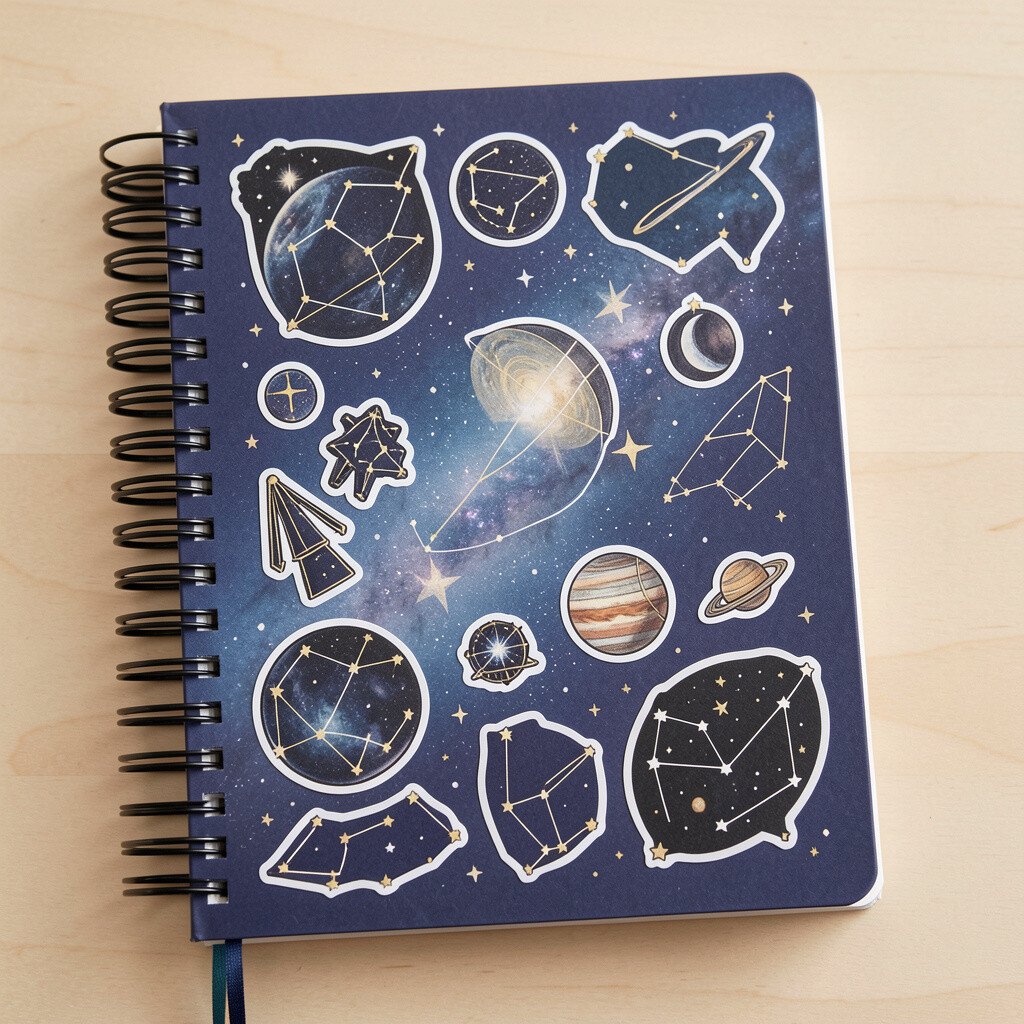
Start a notebook with a cover that fits your celestial theme, then add a pocket for small sticker sheets. Each time you spot a constellation, place a sticker and write one sentence about what it looked like.
This helps you remember the night and track patterns, like which stars appear best on clearer evenings. Choose simple prompts you enjoy, such as the color of the sky near the horizon or how the wind felt. The benefit is emotional too, because you’ll see your progress and feel proud.
For personalization, add a “favorite page” corner with pressed leaves or a scrap of fabric from your blanket. Keep costs low by using a thrift notebook and printing stickers from free designs. A current trend is gratitude journaling paired with nature hobbies, which makes stargazing feel more meaningful.
16. Set Up a Cozy “Meteor Watch” Bucket Station
Set Up a Cozy “Meteor Watch” Bucket Station
Put together a bucket station with snacks, warm socks, and a small blanket folded neatly on top. When a meteor streak happens, you won’t have to scramble for comfort.
Include a thermos holder, a mini trash bag, and a seat cushion so you can stay put longer. Practical setup prevents interruptions, which makes the whole experience better for everyone. Uniqueness comes from your personal mix, like adding cocoa packets, flavored tea, or a tiny playlist controller for background music.
To keep costs in check, use items you already have and only buy one or two extras like seat pads or a better flashlight. Many people now prioritize “warmth stations” because comfort leads to longer observing sessions, especially during fall and winter.
17. Turn Old Photo Frames Into a “Sky Window” Display
Turn Old Photo Frames Into a “Sky Window” Display
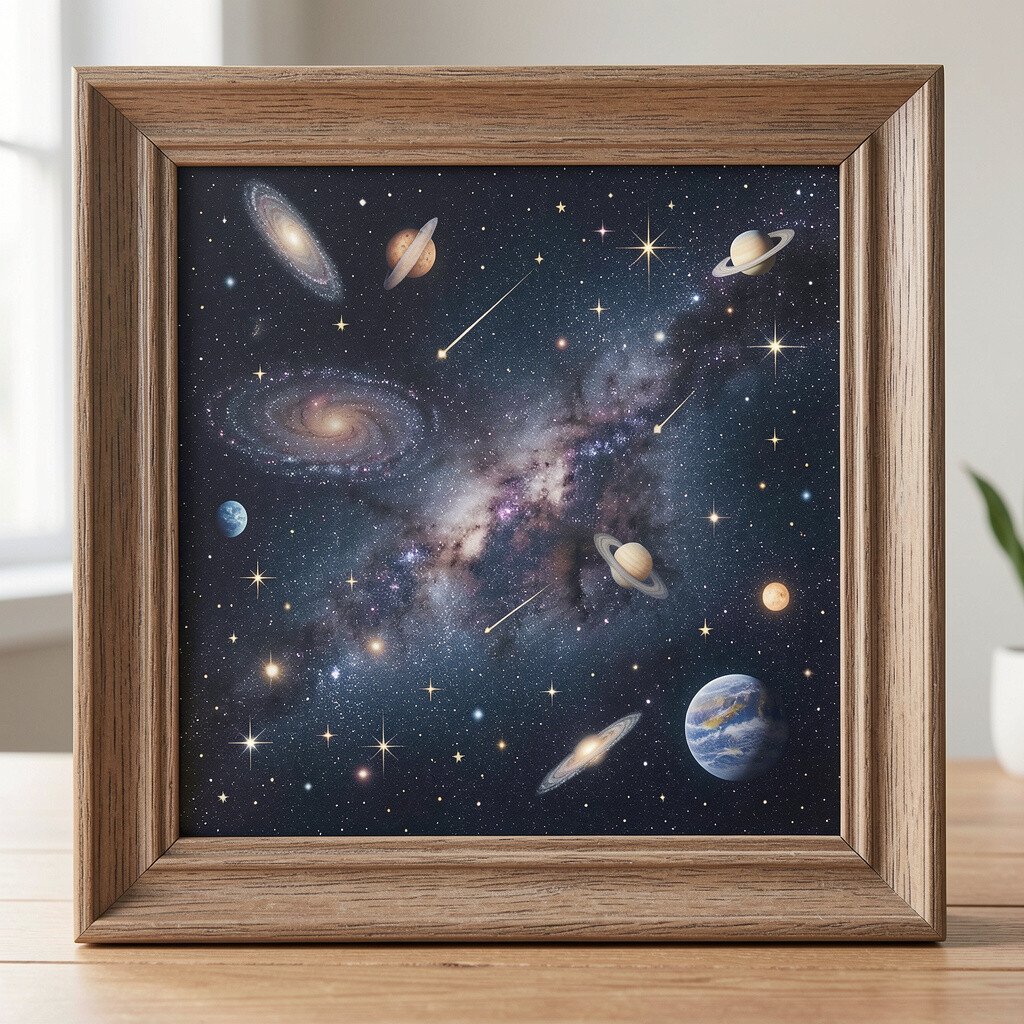
Use old frames to create a window wall that shows your favorite sky photos or simple sketch copies. Place it where you’ll view it from your blanket so you get inspiration while waiting.
Back the frames with black paper, then add a small handwritten note about what you saw on that night. This gives you a personal gallery feel without needing new expensive decor. It also helps guests connect because they can ask questions about what you captured.
Personalize by using different frame sizes and aligning them like a constellation board. For cost considerations, repurpose thrift frames and print free images from your own sky photos if you have them. The current trend of “maker galleries” at home makes this idea feel modern and charming.
18. Build a “Cloud Detector” With Motion and Sound
Build a “Cloud Detector” With Motion and Sound
Hang a small wind indicator near your viewing spot, like a ribbon strip or lightweight streamer. When the air changes, you can tell if clouds might shift before you feel disappointed.
You can also add a gentle chime that responds to breeze so you notice movement without constantly checking the sky. This benefits your planning because you can adjust your timing for clearer patches. It’s unique because it turns the waiting into something you can read like a weather poem.
Personalize the indicator with your favorite colors or tiny star decals so it matches your theme. For cost, ribbon, fishing line, and a little tape are enough, especially if you keep it lightweight. Many stargazers are using simple “sensory cues” because it’s less screen time and more hands-on attention.
19. Create a DIY Celestial “Time Capsule” for Future Nights
Create a DIY Celestial “Time Capsule” for Future Nights
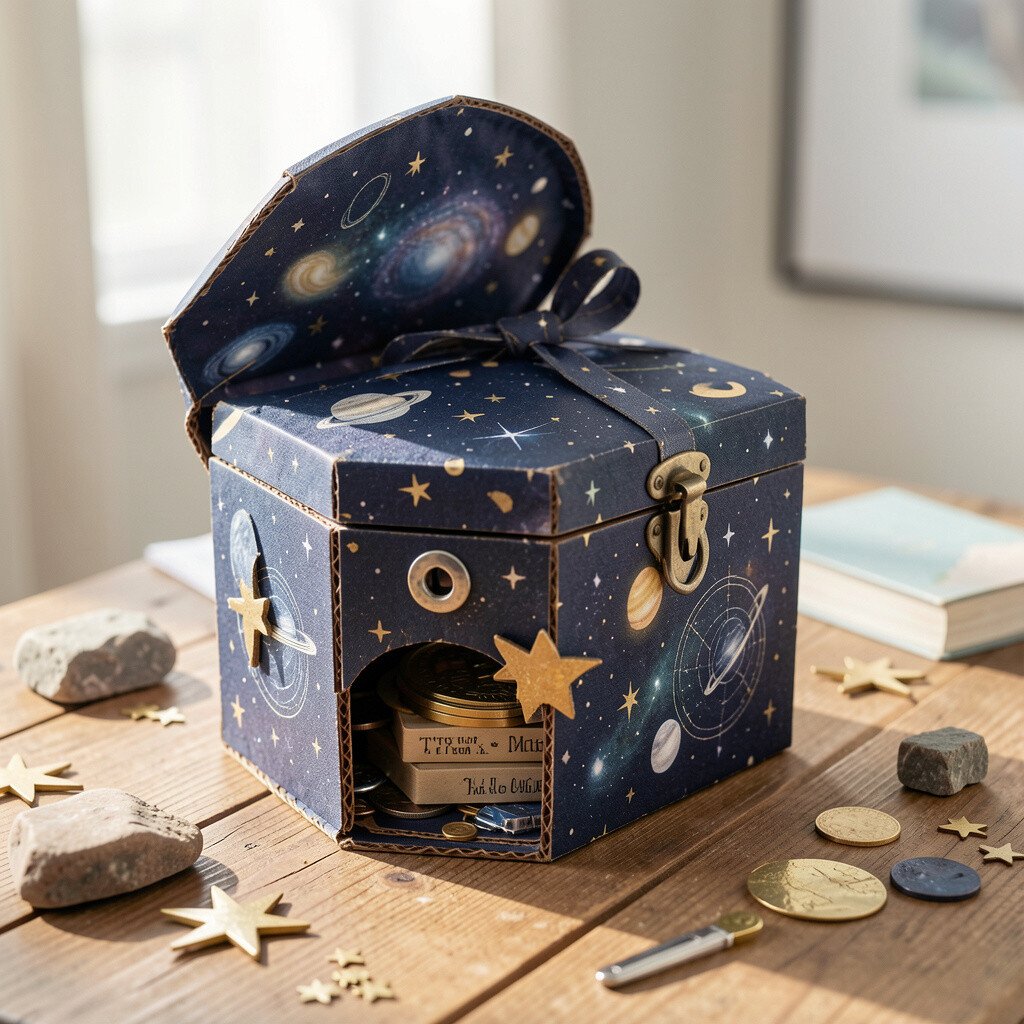
Choose a small container and add items you want to remember from tonight, like a ticket stub or a note about what you hoped to see. Seal it and label the outside with a future date or season so it becomes a mini tradition.
This gives stargazing emotional weight, which is a real benefit because you’re not just watching the sky, you’re keeping a story. Add a tiny sketch of your favorite constellation spot, plus a photo of your setup for easy comparison next time. Personalization is easy since you can tailor the capsule to your group’s jokes, goals, or favorite comfort foods.
If you’re cost-conscious, reuse jars and decorate with spare paper and twine. A current trend is “slow rituals,” where people create repeating moments at home, and a sky capsule fits that vibe perfectly. When you open it later, it turns past nights into motivation for the next star-gazing session.