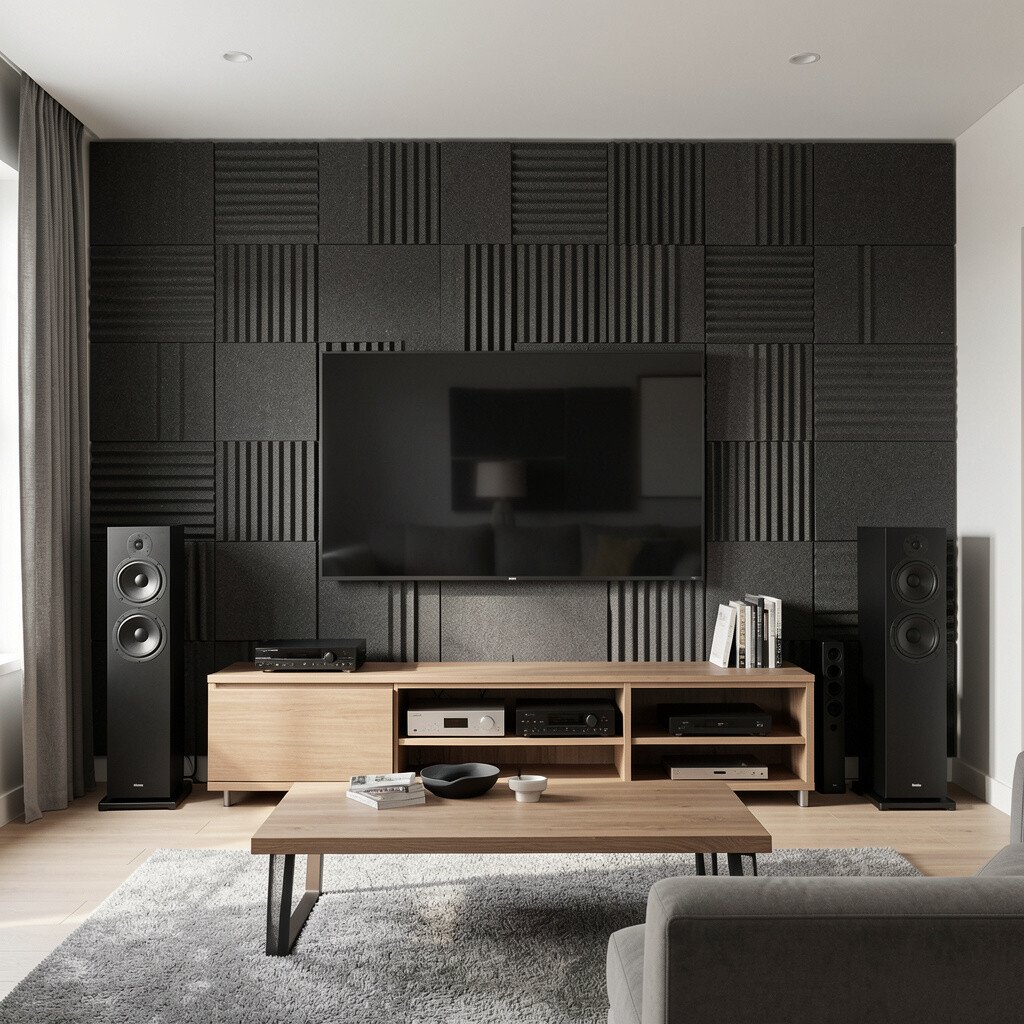
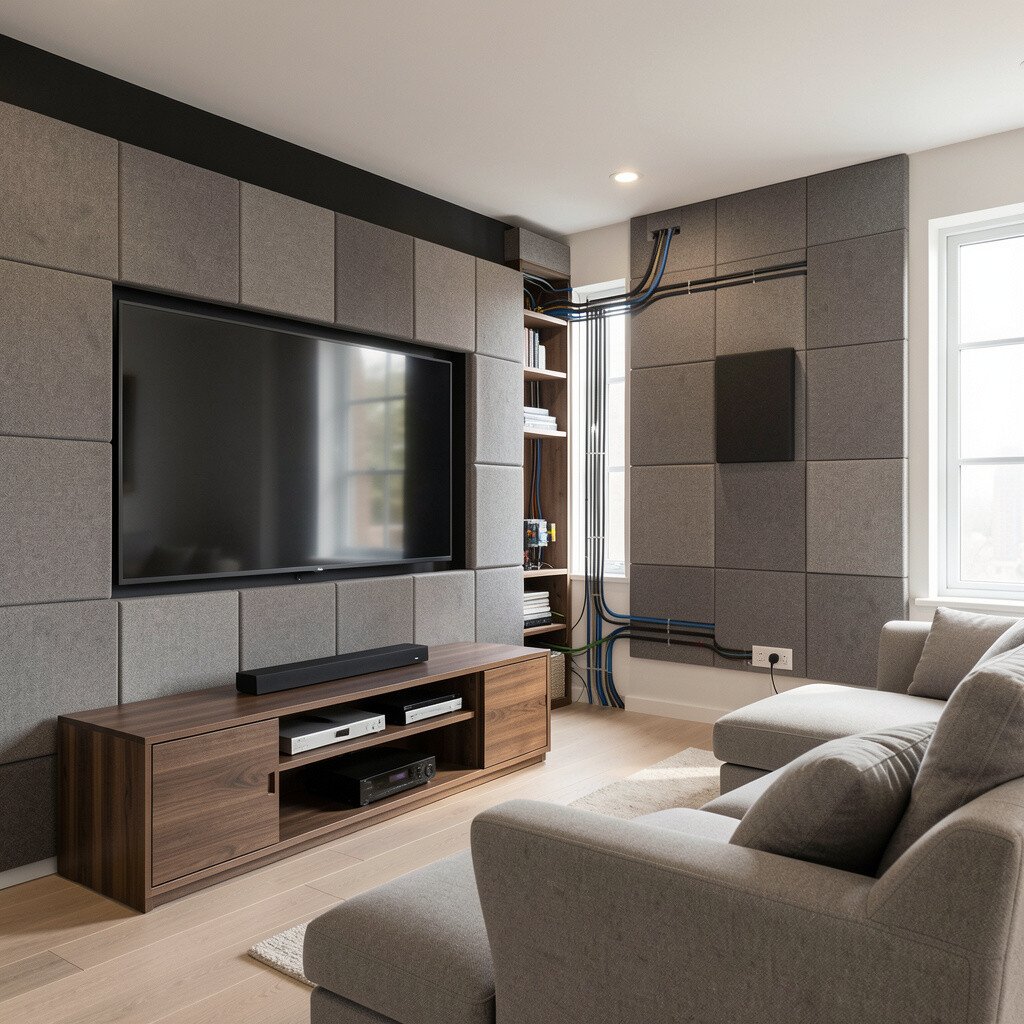
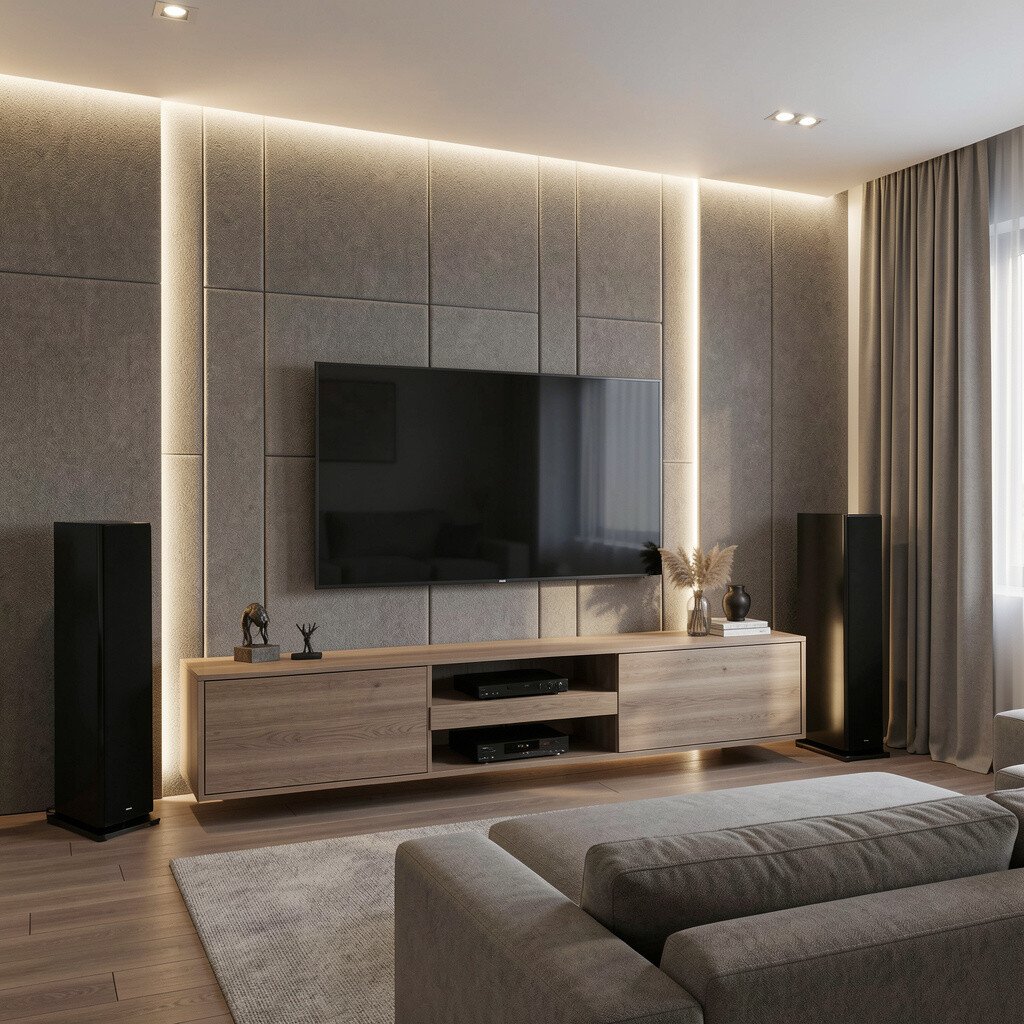
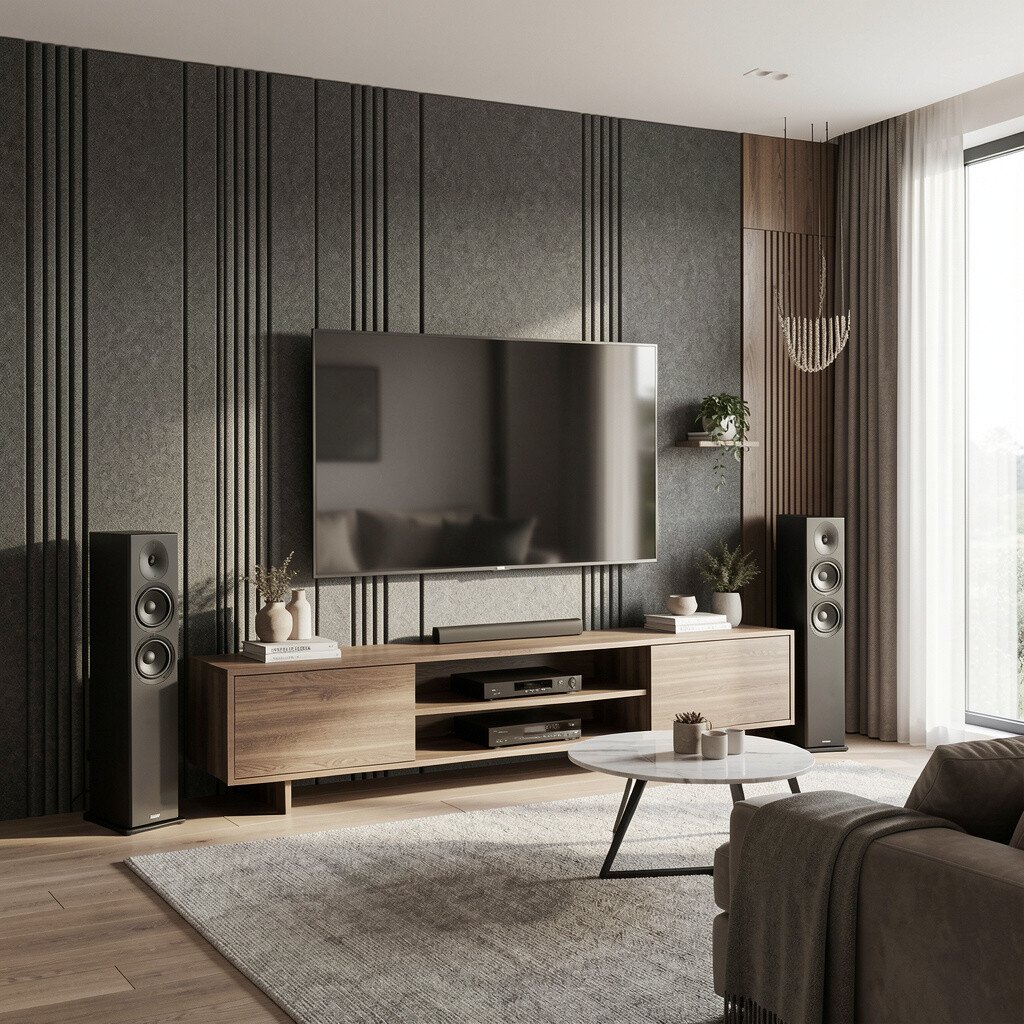
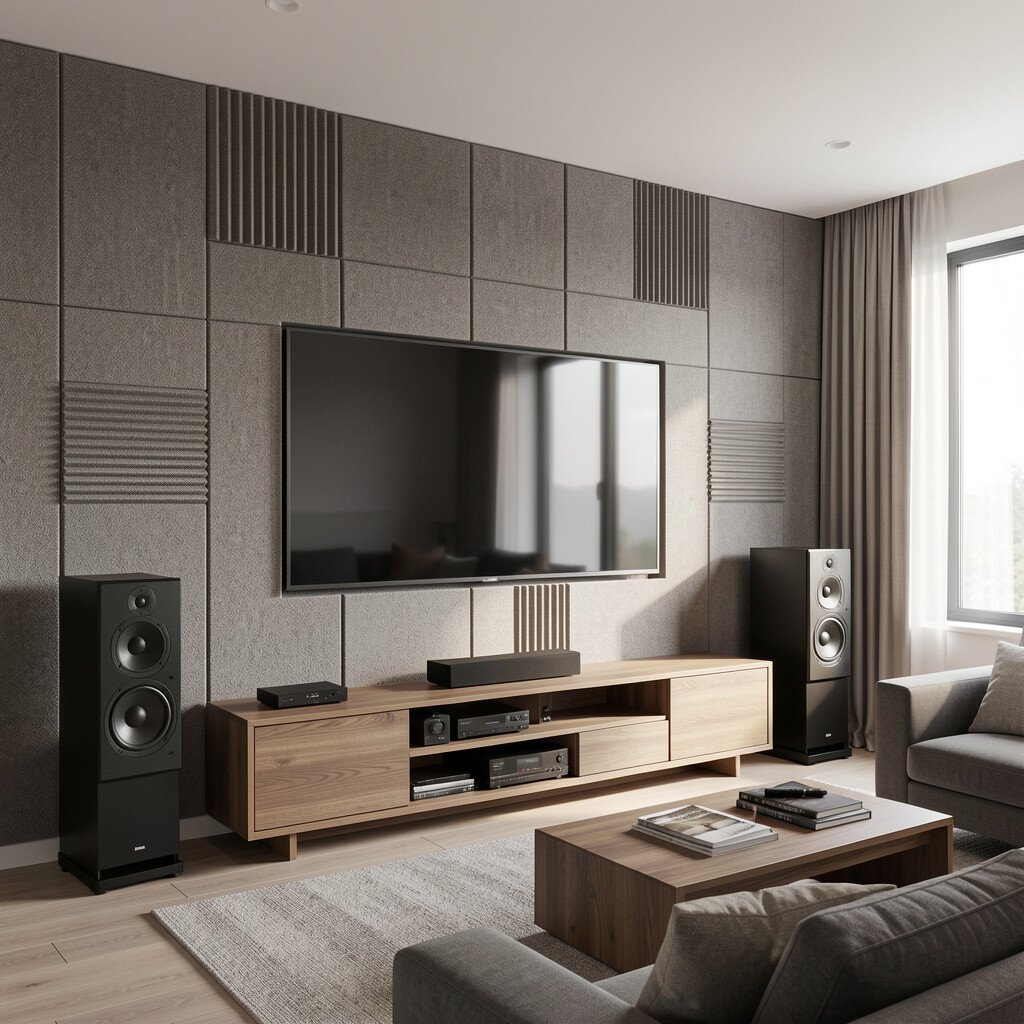
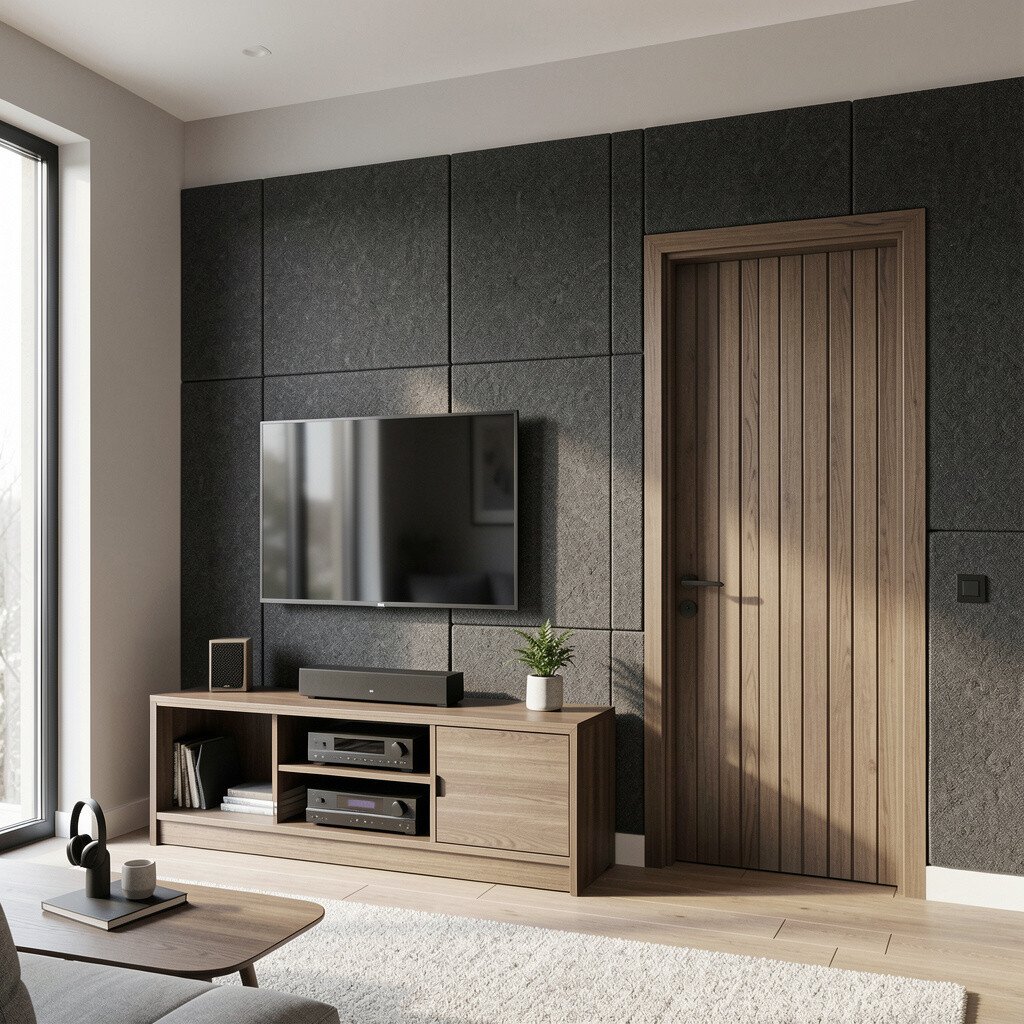
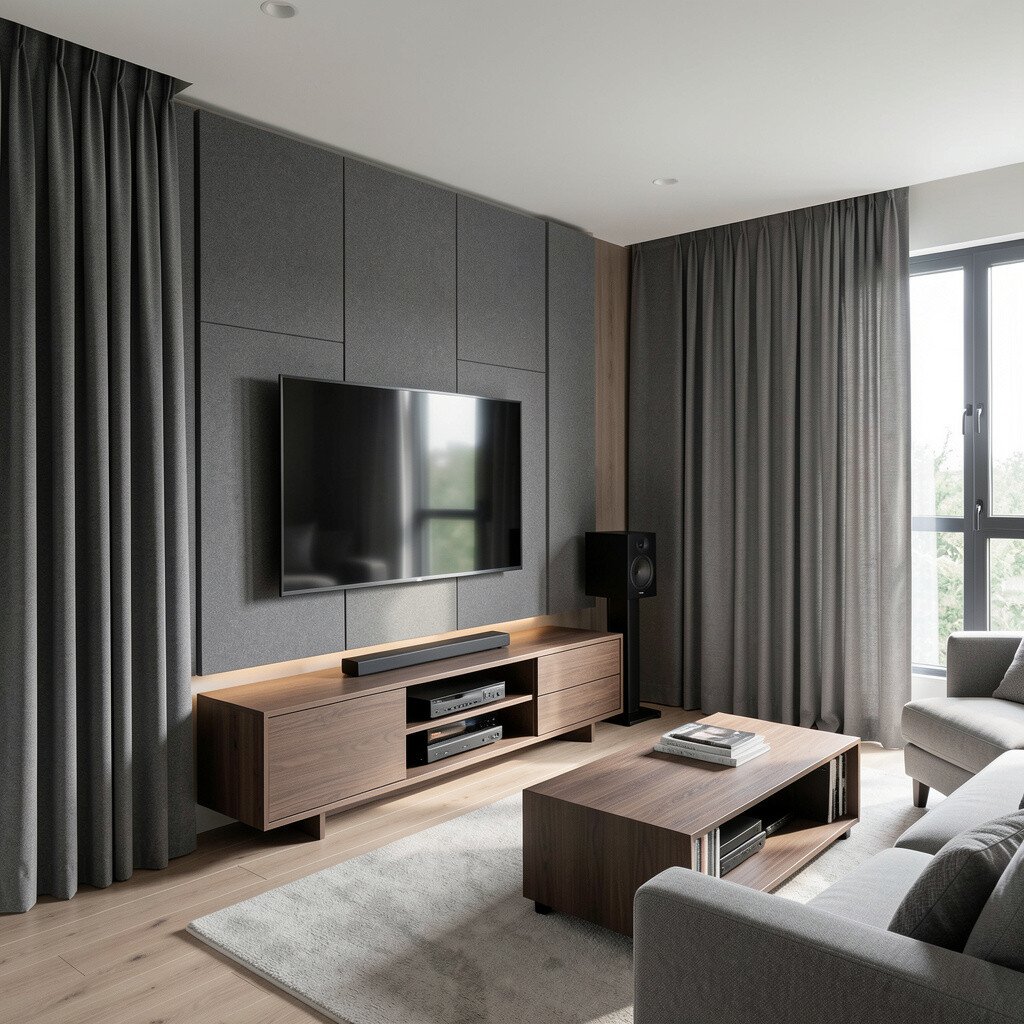
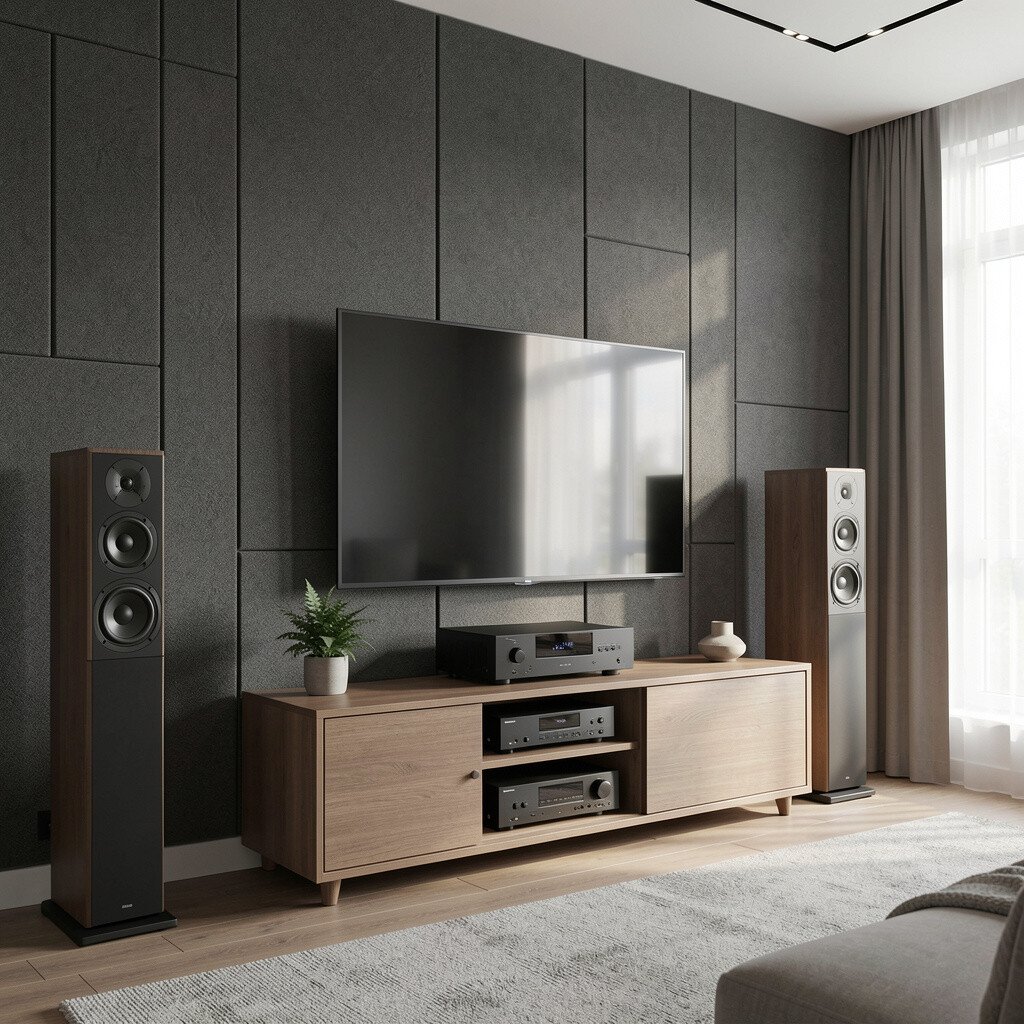
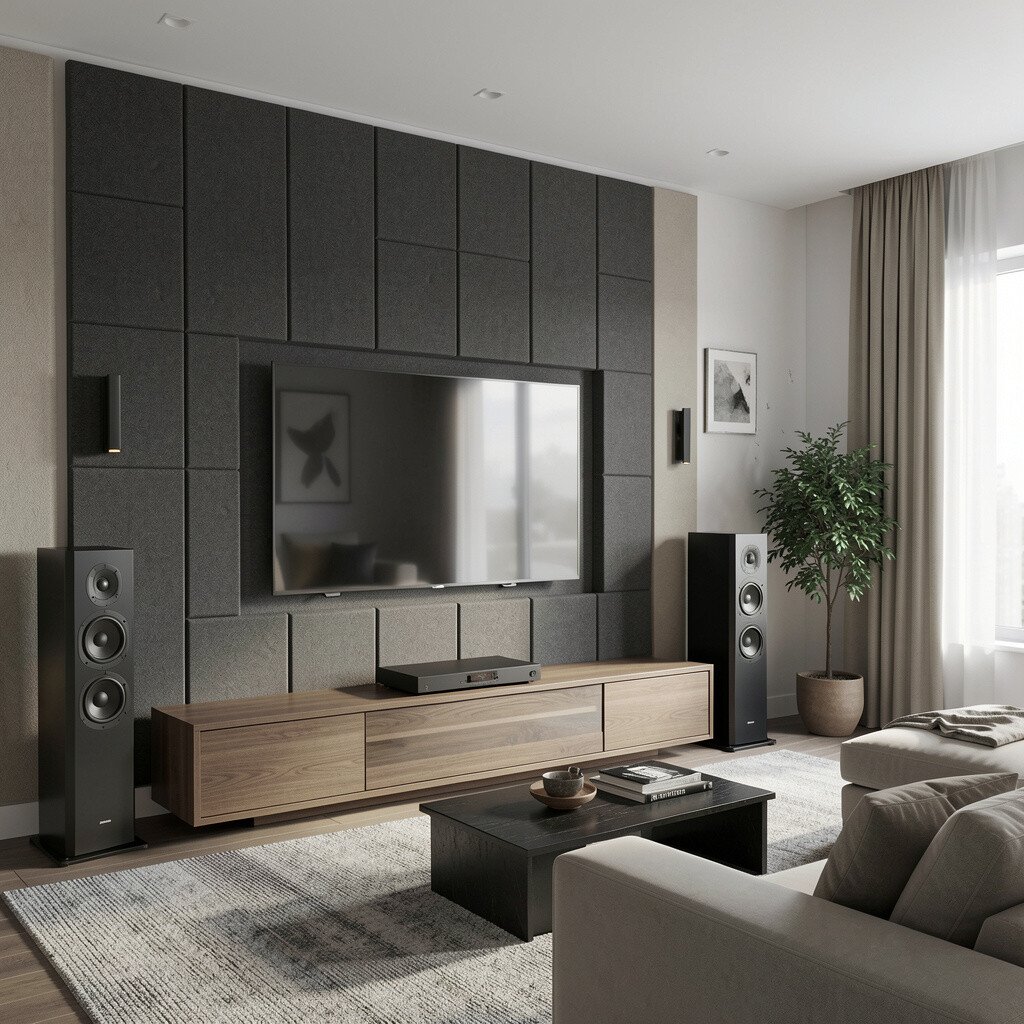
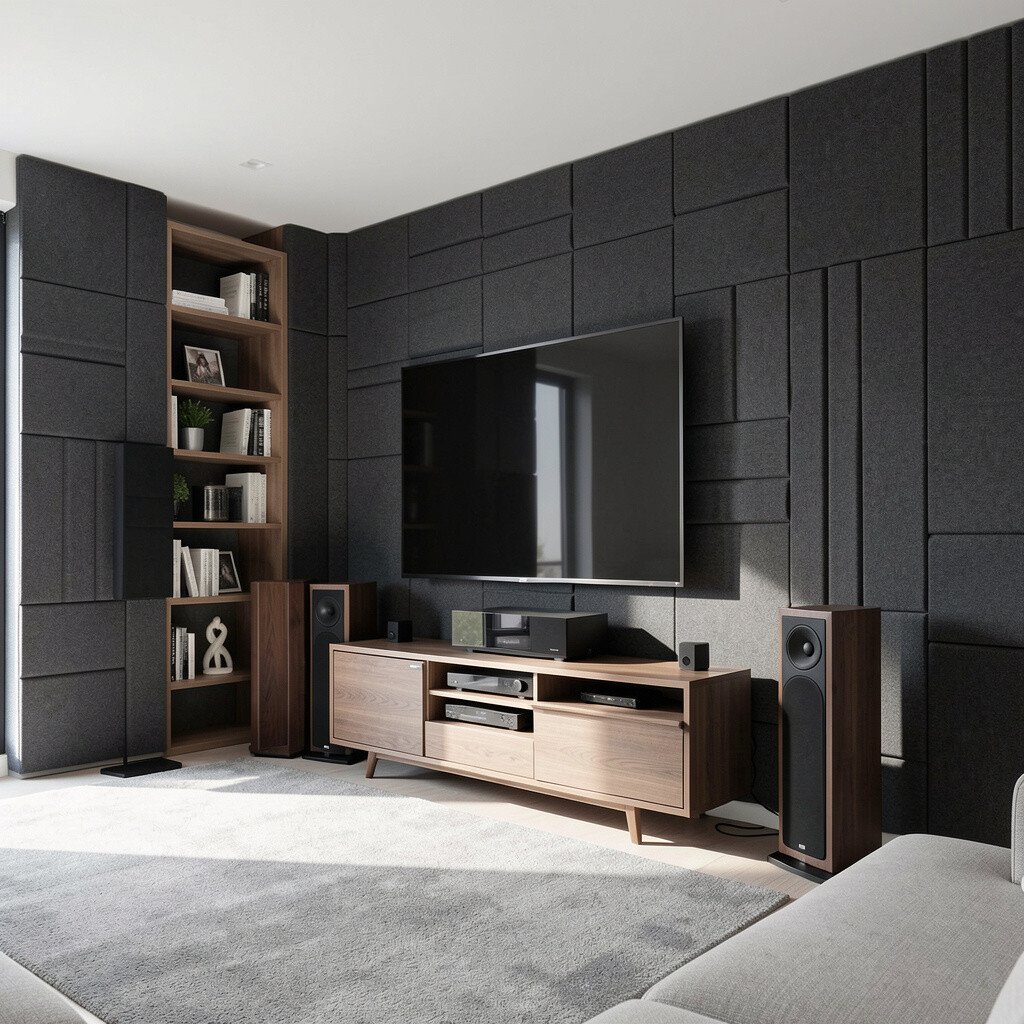
A soundproof wall starts with the right layers, not just heavy drywall. When you picture your space, think of a clean, sturdy wall surface with no visible gaps and a calm, solid look.
You’ll notice less noise leaking in from hallways and neighbors, and that helps voices stay crisp on dialogue-heavy scenes. For a practical upgrade, ask your contractor about resilient channels, insulation type, and sealing edges with acoustic caulk. If you want to personalize, choose wall finishes that match the rest of your room so it still feels stylish, not industrial.
2. Seal Every Gap Like You Mean It
Seal Every Gap Like You Mean It
Even a small opening can undo the work of your soundproofing. Picture the wall like a vault, with clean trim lines and carefully finished corners that look neat rather than rushed.
When gaps are sealed, your system sounds quieter and cleaner because fewer outside sounds compete with the audio. For a hands-on step, check around outlet boxes, baseboards, and door edges, then confirm there’s proper acoustic sealing. This usually costs less than rebuilding a wall, and it often delivers an immediate difference during movie nights.
If you’re aiming for a modern vibe, keep trim slim and consistent, since neat lines make the room feel sophisticated. Consider using door sweeps and well-fitted thresholds, especially if you have a nearby entry or HVAC duct.
3. Choose Wall Finishes That Look High-End
Choose Wall Finishes That Look High-End
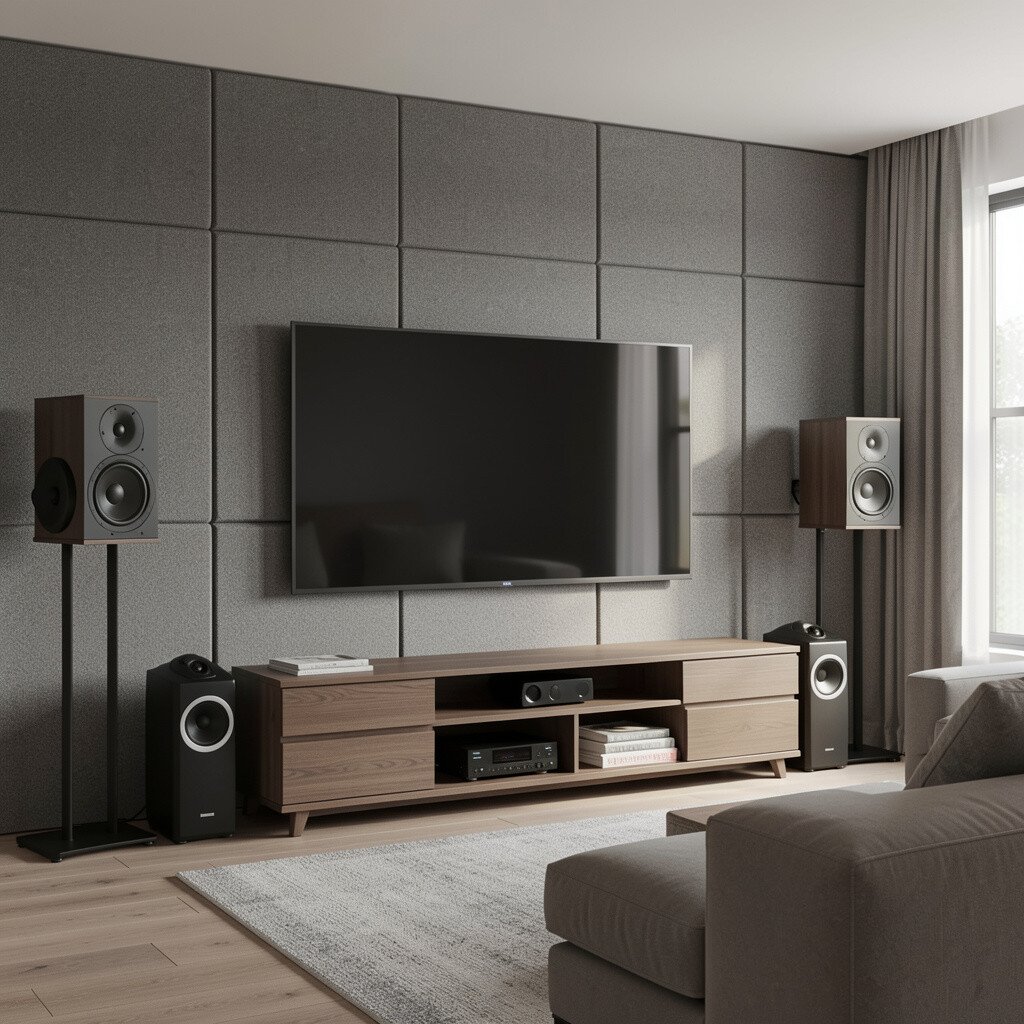
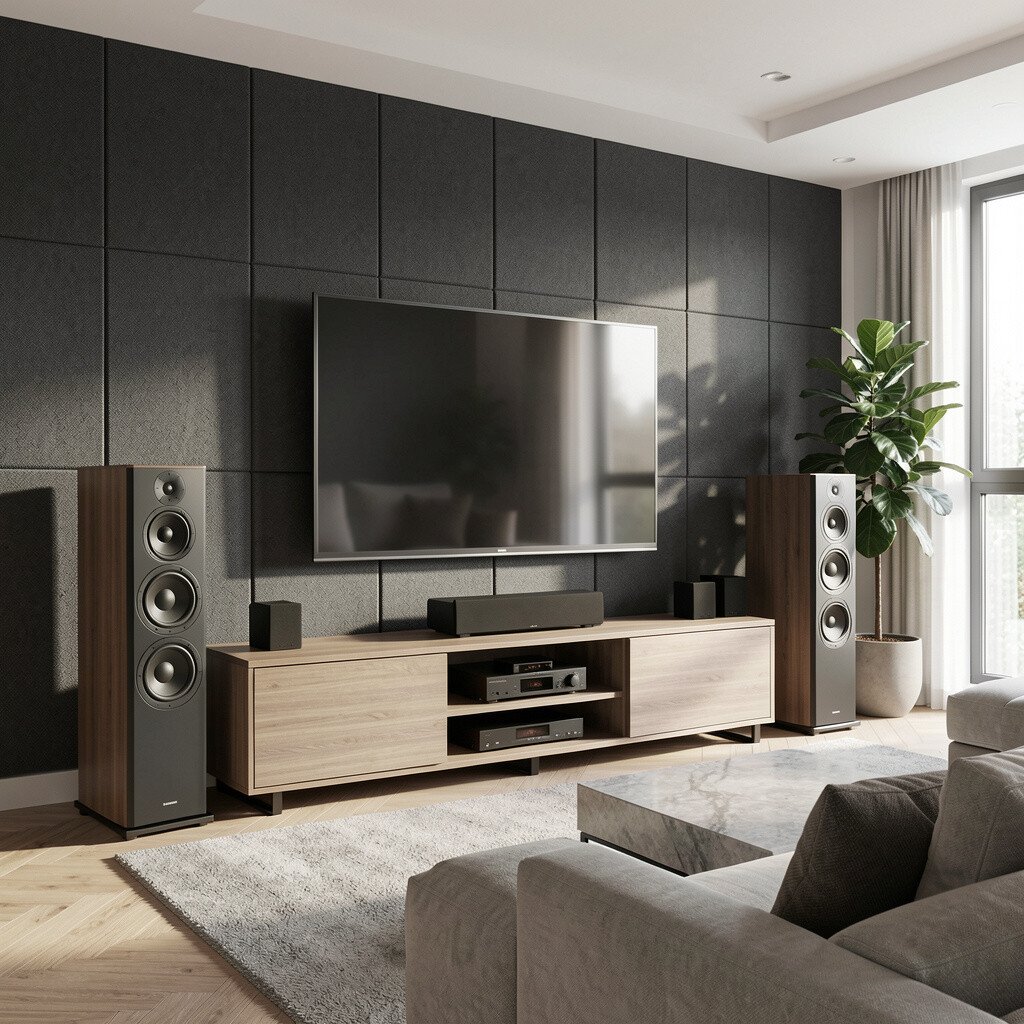
Soundproof wall systems can still look elegant when you pick the right surface. Imagine a smooth matte panel or tasteful acoustic fabric that catches light softly, not harshly.
Good finishes help the room feel polished while keeping the acoustic goal intact. For practical tips, opt for fabric-wrapped panels where you want a warm look, and use durable paints or specialty boards where you want easy cleaning.
To personalize on a budget, match the color palette to your furniture and choose a texture that hides minor marks. Current trends favor warm neutrals and subtle patterns, which pair nicely with theater seating and darker screen walls.
4. Position Your Screen to Avoid Sound Reflections
Position Your Screen to Avoid Sound Reflections
Your screen placement affects how sound bounces, so the room can feel clearer without any extra gear. Picture the screen centered on a clean wall with enough space around it for comfortable viewing and smooth airflow.
When reflections are managed, dialogue stays natural and music feels more grounded. Use practical tools like simple placement tests, then consider adding soft treatments behind you so the room doesn’t turn into an echo chamber.
5. Add Acoustic Absorption Behind and Beside the Audience
Add Acoustic Absorption Behind and Beside the Audience
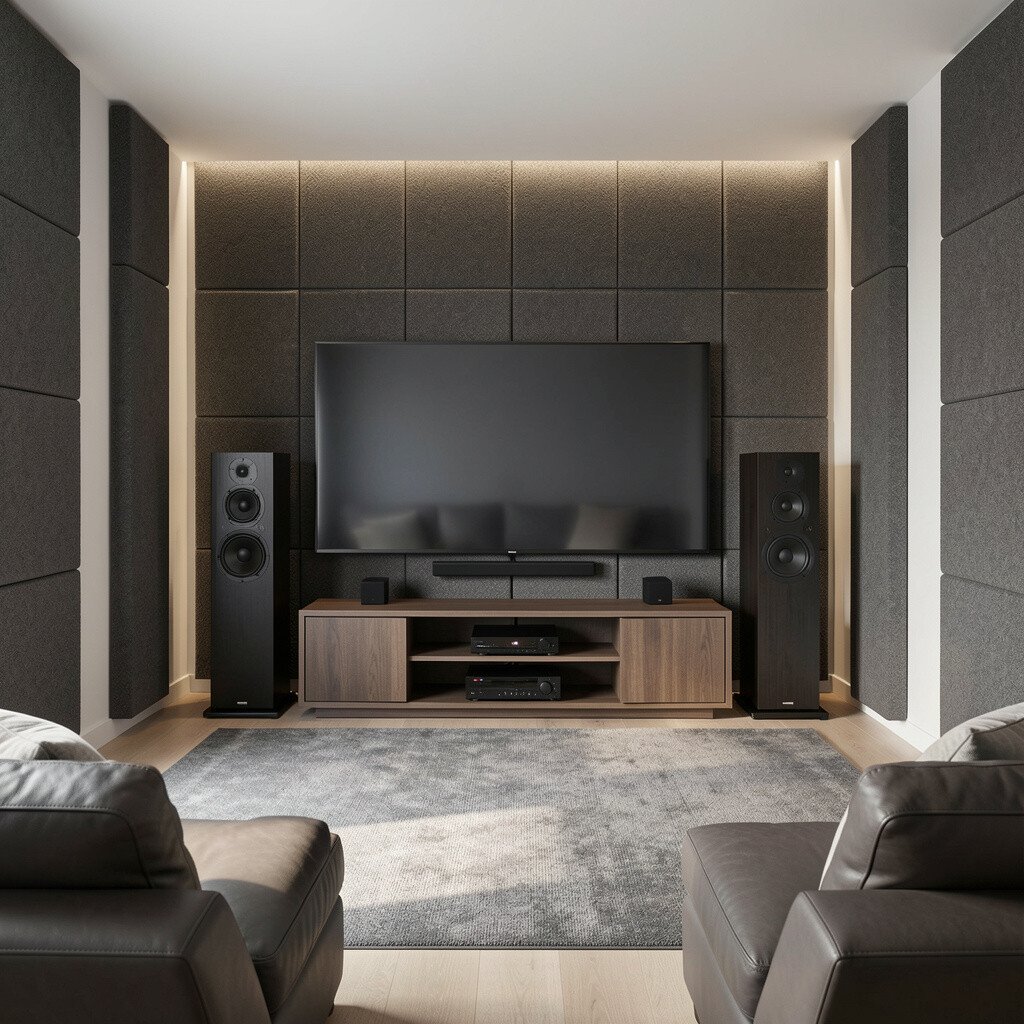
You can keep your theater feeling “studio quiet” by controlling reflections around the seats. Think of the side walls and back wall with elegant panels that look like design, not equipment.
Better absorption gives you more focus, which helps surround effects feel tight instead of smeared. For action steps, place panels at ear height on side walls and add a rear treatment behind the couch area.
If you want to match a sophisticated style, use fabric panels in deep colors and keep the shapes clean and symmetrical. This can be cost-effective, especially if you DIY frames, because the results often beat more expensive upgrades that don’t control reflections.
6. Upgrade Seating for Both Comfort and Soundstage
Upgrade Seating for Both Comfort and Soundstage
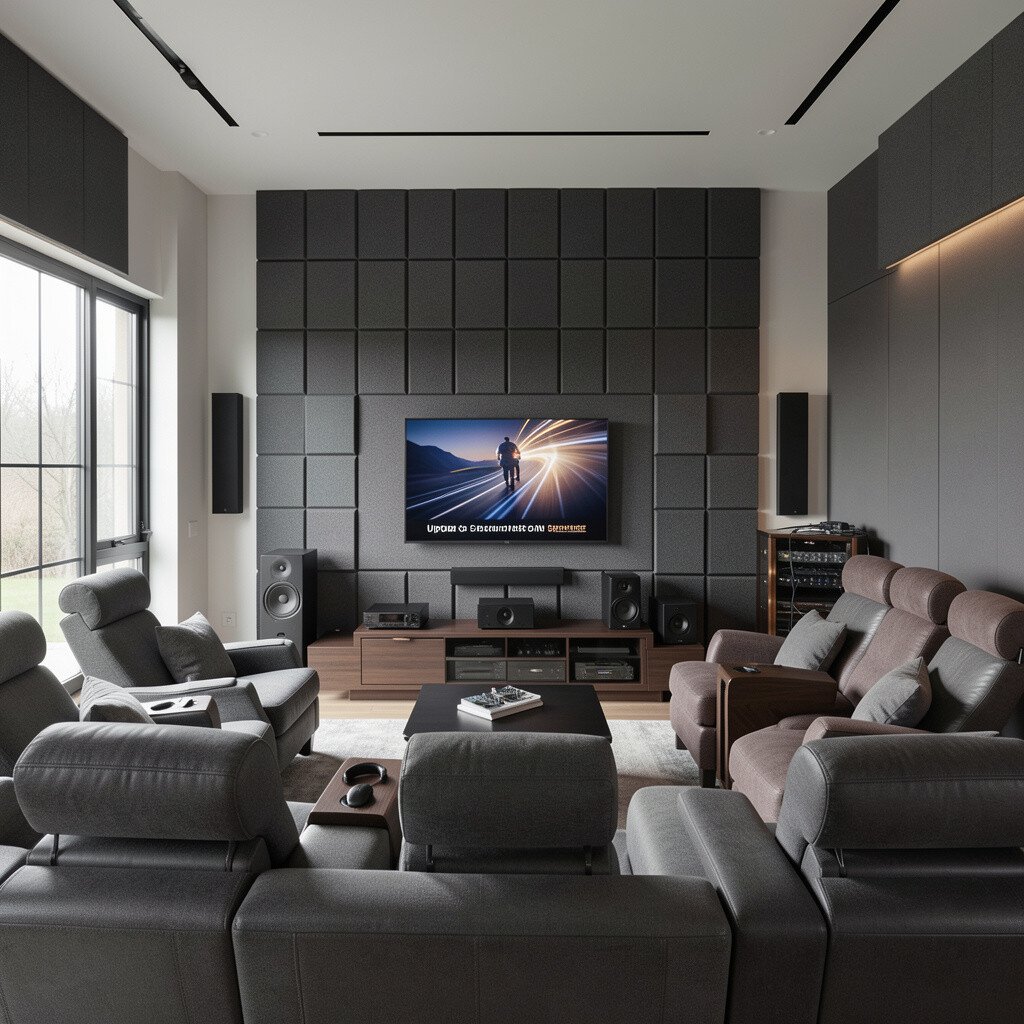
Great seats do more than look good; they influence how you feel sound in your body. Imagine sinking into plush recliners with a low profile that keeps your sightlines steady and your posture relaxed.
When seating is chosen well, bass feels more even and surround channels sound more immersive. Look for models with stable frames, supportive cushions, and enough space between rows so you don’t block each other’s viewing.
To personalize, pick fabric shades that match your wall finish and lighting, and consider cup holders or hidden storage for a neat look. While upgraded seats can cost more upfront, they save you from upgrading twice, since comfort and acoustics work together.
7. Use a Ceiling Strategy That Complements Your Wall
Use a Ceiling Strategy That Complements Your Wall
Soundproof walls are only part of the story, so the ceiling matters for a truly quiet room. Picture a ceiling that looks intentional, with clean seams and lighting that feels soft and flattering.
When the ceiling is treated, you reduce overhead noise and improve how sound travels across the space. For practical tips, consider insulation above the ceiling, plus acoustic panels or a tuned drop system if your layout allows it.
Home theater trends often favor layered lighting and concealed fixtures, so plan channels that look modern while still supporting acoustic goals. If budget is tight, treat the areas most likely to reflect sound first, like over the front half of the room.
8. Plan Power and Cable Runs Before Finishing the Walls
Plan Power and Cable Runs Before Finishing the Walls
Nothing kills the “sophisticated” feel like visible wires and last-minute fixes. Imagine cable paths hidden behind the wall edges, with a tidy rack area that’s easy to access.
When you plan early, your audio setup becomes reliable, and you can upgrade gear without tearing up finishes. Practical tips include using conduit, labeling both ends, and leaving service loops so equipment connections stay flexible.
If you’re working with soundproof walls, confirm your installers seal all cable penetrations properly to preserve the barrier. Cost can rise a bit for preplanning, but it usually prevents expensive rework later.
9. Build a Dedicated Equipment Nook for a Clean Look
Build a Dedicated Equipment Nook for a Clean Look
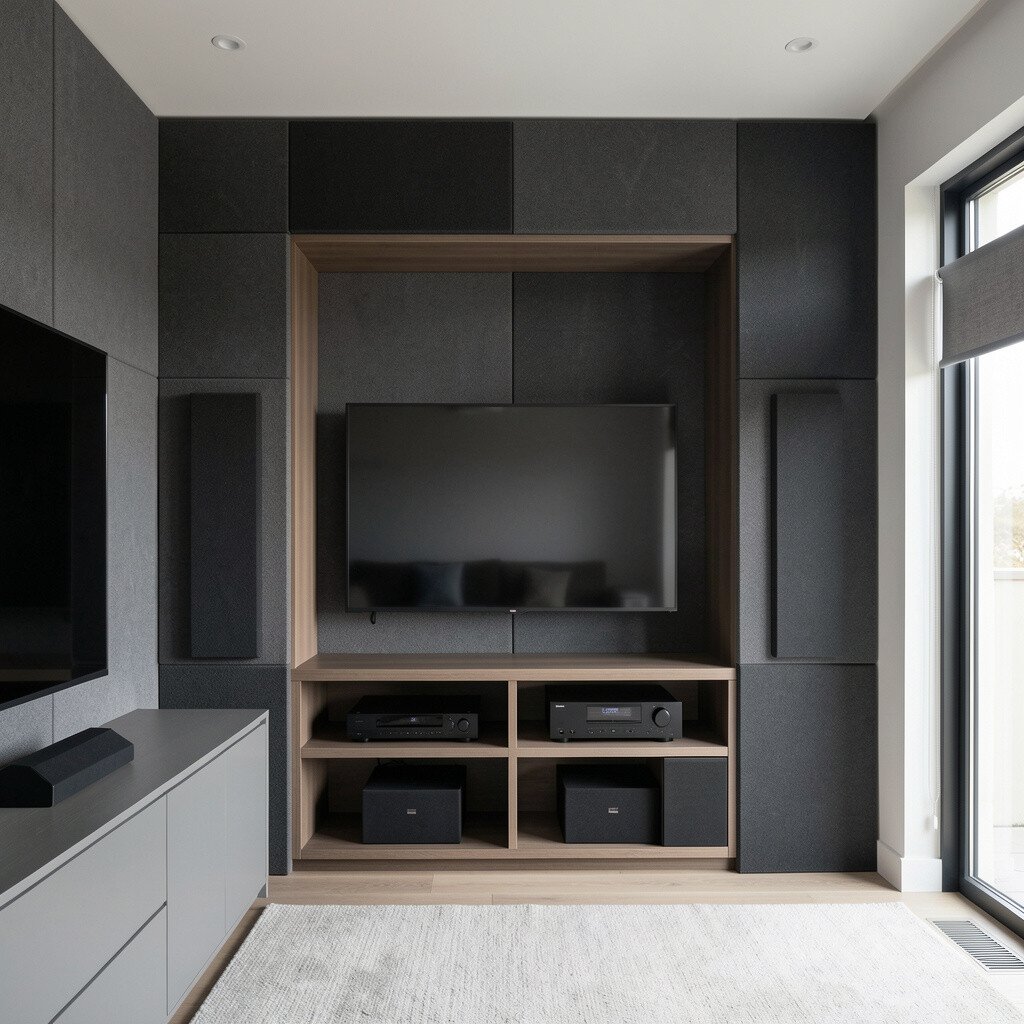
A neat equipment area makes the whole theater feel intentional. Picture a recessed niche or side cabinet with ventilation, hidden doors, and indicator lights that glow subtly.
When your components are properly housed, cooling improves and performance stays stable. For a practical choice, use a media rack with proper spacing, then route audio and video cleanly to the screen wall.
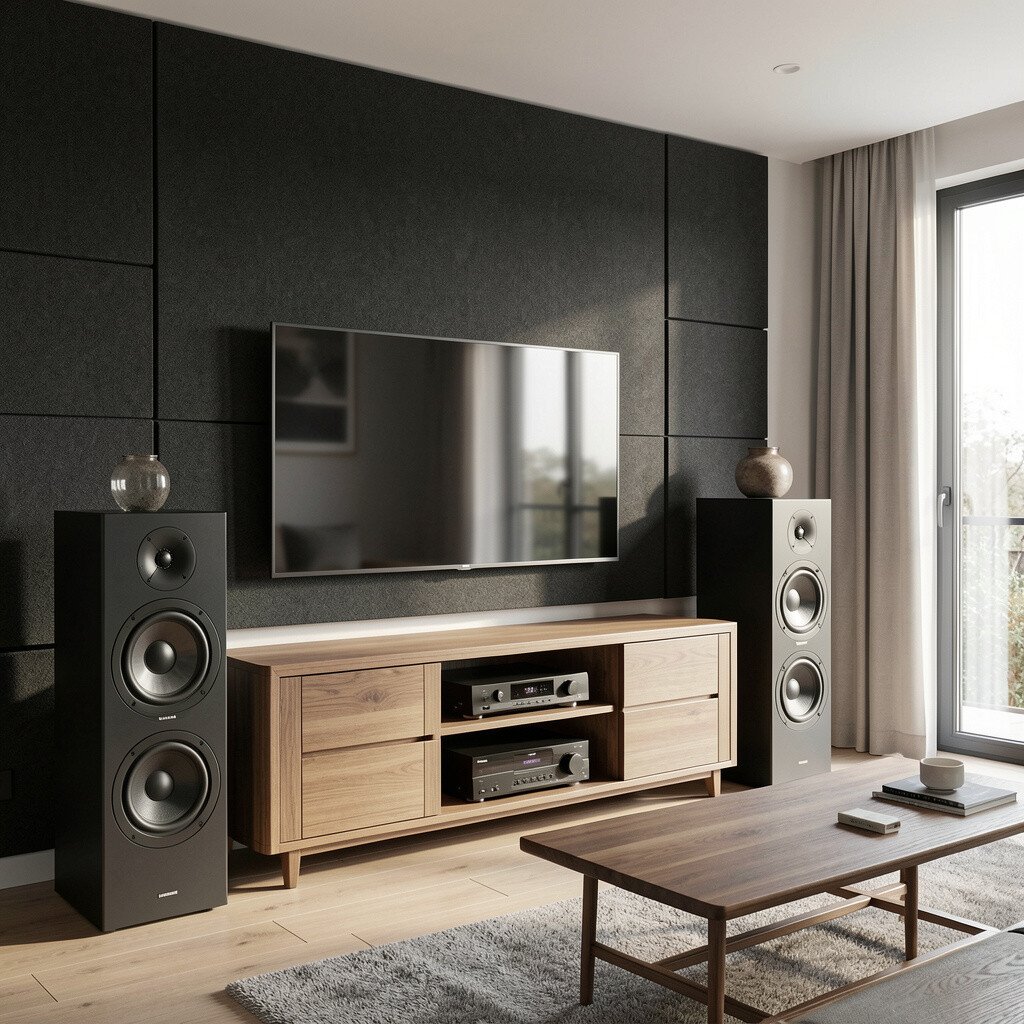
Surround systems work best when they’re placed with the room in mind, not copied blindly. Picture speakers mounted at balanced heights and distances, with no one corner feeling louder than the rest.
When your layout matches the room size and seating position, effects feel natural and immersive. Start by measuring your listening spot, then adjust speaker angles slowly while you test familiar scenes for clarity.
If you want personalization, use a calibration mic and save multiple profiles for movie and music nights. Costs vary based on speaker count and brands, but careful placement often improves results more than jumping to the most expensive model.
11. Add a Subwoofer Strategy for Deep, Controlled Bass
Add a Subwoofer Strategy for Deep, Controlled Bass
Bass is where many theaters feel “premium,” but it can also cause rumble if handled poorly. Imagine deep notes that feel powerful yet controlled, with no harsh booming shaking the room.
When your subwoofer is placed thoughtfully, bass becomes smooth across seats. Practical tips include trying a few positions around the front wall area and then running room correction if your receiver supports it.
12. Use Backlighting and Edge Lighting for a Movie-Ready Mood
Use Backlighting and Edge Lighting for a Movie-Ready Mood
Lighting sets the mood more than you might think, especially in a dark, cinematic room. Picture LED strips glowing softly behind the screen or along the back wall, creating a calm halo effect.
When light is indirect, eyes strain less and the room feels sophisticated instead of harsh. For action steps, choose dimmable options and set presets for pre-show, main movie, and late-night comfort. This can be a moderate cost upgrade, and it instantly makes the space feel custom.
Current trends lean toward warm-to-neutral tones rather than icy blue, so pick a color temperature that feels inviting. If you want personalization, hide the lighting behind acoustic panels so you keep the clean, quiet look.
13. Add a Small Design Touch That Makes It Yours
Add a Small Design Touch That Makes It Yours
Personal style turns a theater from a room into a ritual. Imagine a tasteful display shelf with a few framed posters, a sleek soundbar cover, or a signature color accent on the wall.
When the space reflects your taste, you’ll actually use it more often, even for everyday shows. Practical tips include choosing a limited color palette and using materials that match your soundproof wall finish so everything looks connected.
For budgeting, focus on one or two visual features rather than decorating every surface. A thoughtful accent helps the room feel unique without breaking the bank.
14. Create an Acoustic Treatment Plan for the Screen Wall
Create an Acoustic Treatment Plan for the Screen Wall
The screen wall is the biggest audio surface, so it deserves a smart plan. Picture a front wall that’s visually clean, with panels or treatments placed with intention around the screen.
When you balance reflection and absorption, the sound stays clear and the screen image feels anchored. Practical tips include adding absorption to the sides of the screen and using diffusive elements where it fits your layout.
15. Use a Soundproof Door That Matches the Wall System
Use a Soundproof Door That Matches the Wall System
A soundproof wall won’t fully work if the door leaks sound. Picture a door that closes smoothly, with a solid feel and tidy trim lines that look like a built-in feature.
When the door is properly sealed, you keep the theater private and reduce noise travel both ways. For practical steps, choose a door designed for acoustic performance, then ensure the frame is installed correctly with proper seals.
This is often a higher cost item, but it can be one of the most effective upgrades if you share walls or have thin corridors. Personalize the look with hardware finishes that match your room, like matte black or brushed metal.
16. Add Soundproof Curtains and Layered Options for Flexibility
Add Soundproof Curtains and Layered Options for Flexibility
If you rent or want flexibility, layered acoustic curtains can help without permanent work. Imagine thick, elegant drapes that frame the screen area or cover windows while adding a rich, designer look.
When curtains are layered with an airflow-safe plan, they reduce flutter echoes and soften the room. Practical tips include adding them at the sides and back, then selecting a fabric weight that actually hangs heavy and dense.
Costs can be controlled because you can start small and expand later, and it’s easy to swap colors. Current trends use bold yet warm tones, so you can pick a look that matches your furniture and still supports quieter sound.
17. Choose a Receiver and Settings That Respect Your Room
Choose a Receiver and Settings That Respect Your Room
Even the best speakers sound average if settings don’t match your space. Picture a receiver setup menu that you can return to easily, with clean labels for your presets and sources.
When you calibrate properly, dialogue becomes clearer and surround effects line up more naturally. Practical tips include using room correction, setting speaker distances carefully, and adjusting crossover points to keep bass smooth.
If you want personalization, create scene-based profiles for action movies, streaming shows, and background music. Cost considerations matter here, because higher-end calibration features can be worth it if you adjust settings consistently.
18. Control Noise From HVAC and Electrical Sources
Control Noise From HVAC and Electrical Sources
Quiet isn’t only about walls; it’s also about what hums, buzzes, or vibrates in the background. Imagine a theater where fans are quiet, outlets are stable, and the room feels calm even before the movie starts.
When you manage HVAC noise and electrical interference, you hear more detail at lower volumes. Practical tips include isolating noisy equipment, using vibration control feet, and checking that vents don’t blast directly into the room.
To personalize, you can also add a smart thermostat schedule so the room feels ready when you are. Spending on small noise-control steps can feel cheaper than replacing speakers, and results often show right away during quiet scenes.
19. Use Furniture Layout to Keep Sound Balanced and Comfortable
Use Furniture Layout to Keep Sound Balanced and Comfortable
How you place furniture affects both acoustics and comfort. Picture your seating arranged so everyone has a clear view and the sound feels even, with walking paths left open.
When you avoid placing soft seats too close to walls, sound reflections become smoother and the room feels more controlled. Practical tips include leaving space around the front and side areas and keeping bulky items off the main reflection points.
Personalize with a drinks table, a small side cabinet, or a neat rug that ties the color theme together. Costs can be flexible since even small layout changes can improve sound quality without buying new gear.
20. Create a Simple Maintenance Routine for Long-Term Quality
Create a Simple Maintenance Routine for Long-Term Quality
A sophisticated theater stays impressive when you keep it maintained. Imagine your wall finishes looking fresh, your screen surface clean, and your equipment rack free from dust buildup.
When you maintain your system, sound stays consistent and components last longer. Practical tips include wiping panels gently, checking speaker cable connections yearly, and cleaning intake vents so cooling stays strong.
For personalization, set a small monthly “movie tune-up” where you test a favorite scene and confirm settings still feel right. This kind of routine costs little, yet it keeps your investment sounding and looking its best.