There’s something magical about bread that’s made slowly and with care. Set up the right station and your kitchen starts to feel like a bakery.
Fresh dough, warm flour dust, and a rhythm you can repeat make every loaf more fun to bake. When your workflow is smooth, your confidence grows and your results get better.
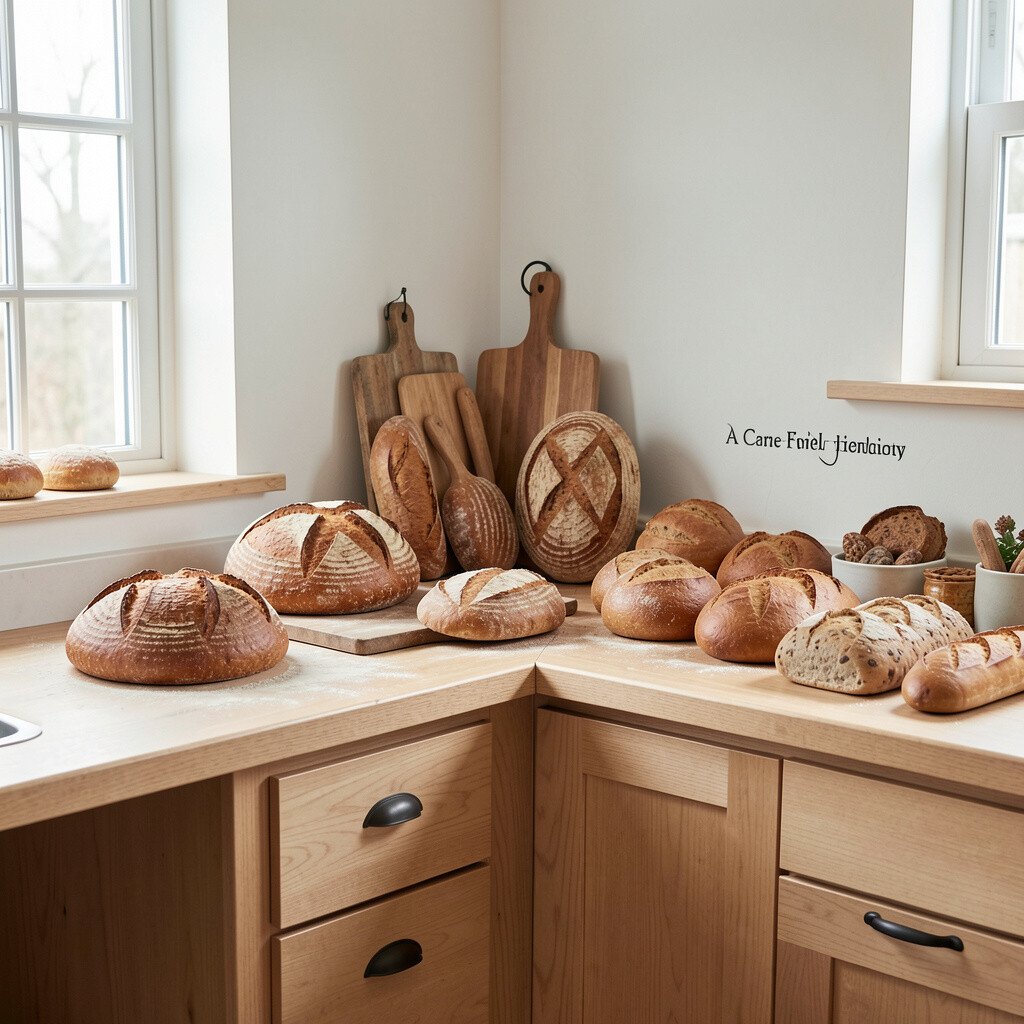
Choose one sturdy spot on your counter and treat it like a bread landing pad. You’ll want clear space for shaping and a nearby bowl for mixing so the flow feels natural.
Use a washable silicone mat or a dedicated pastry board to help dough release easily. Keep flour, a bench scraper, and a small whisk within arm’s reach, so you’re not hunting while dough gets sticky. A clutter-free zone also makes clean-up faster, which helps you bake more often.
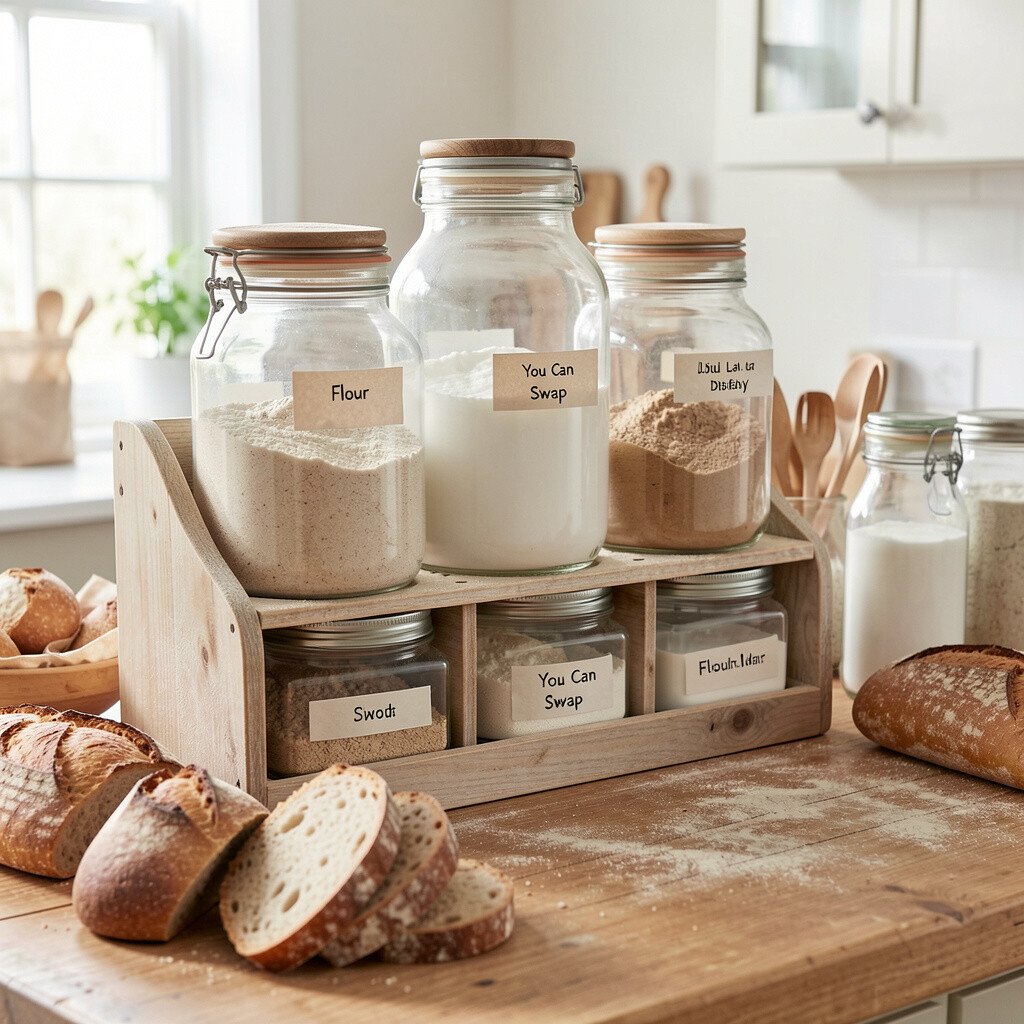
2. Flour Jar Display With Labels You Can Swap
Flour Jar Display With Labels You Can Swap
Place a row of airtight jars for your flours where you can see them. Seeing white, whole wheat, rye, and specialty blends makes your pantry feel organized and inspiring.
Use plain labels on removable tape so you can change what’s inside as your rotation shifts. Airtight storage helps flour stay fresh, and that freshness shows up in flavor and texture. Keep a small scoop with each jar so measuring feels quick and mess-free.
If you want to match your kitchen style, choose jars in clear glass or matching matte lids. This small setup also supports trend-friendly baking because many home bakers now mix grains and grains-with-add-ins for more depth. It can cost more at first, but a few quality jars last for years.
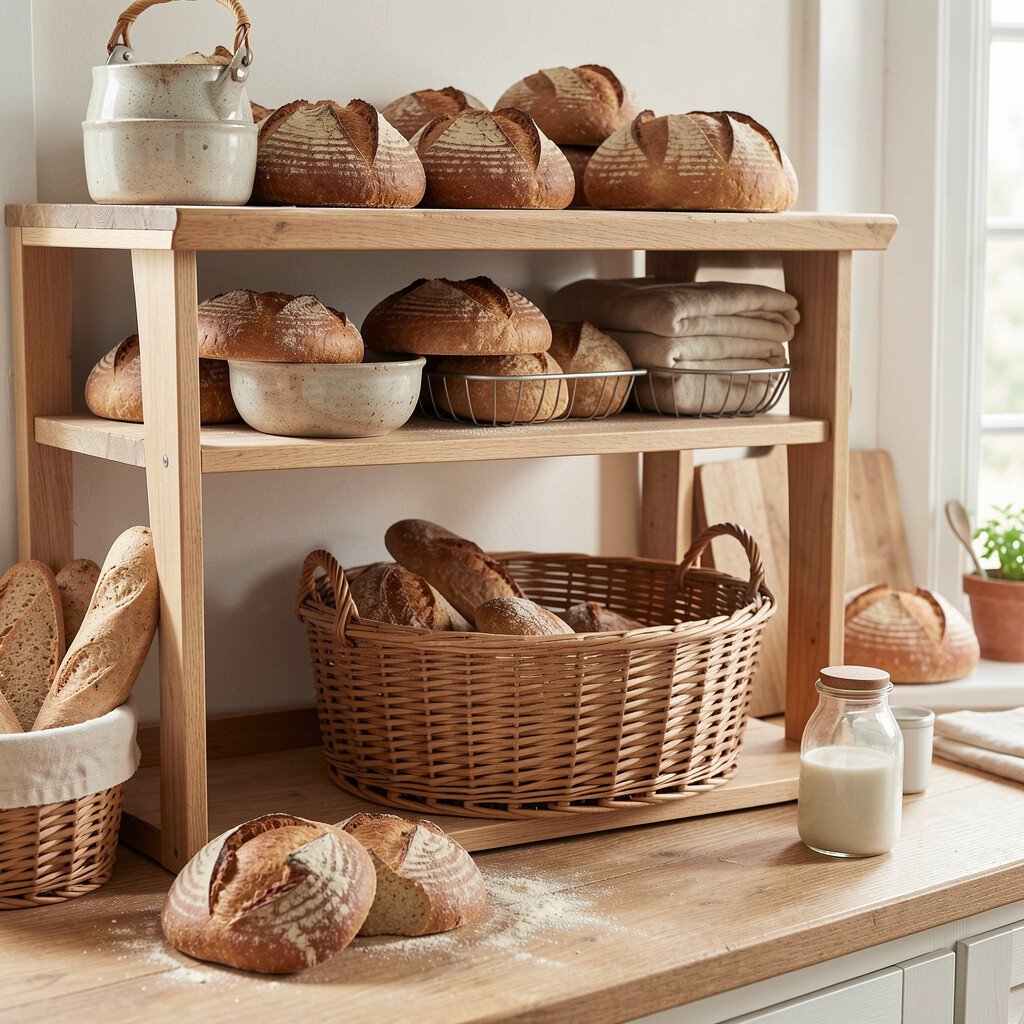
3. A Proofing Basket Shelf for Cozy Fermentation
A Proofing Basket Shelf for Cozy Fermentation
Dedicate a shelf or cabinet drawer to proofing baskets, liners, and bowls. When baskets are easy to grab, you’ll naturally use them instead of skipping steps.
Line the baskets with light cloth or parchment liners so dough doesn’t tear during shaping. Place them near a container of rice flour or semolina for easy dusting. The visual payoff is real too, since baskets create those signature artisan lines and rustic folds.
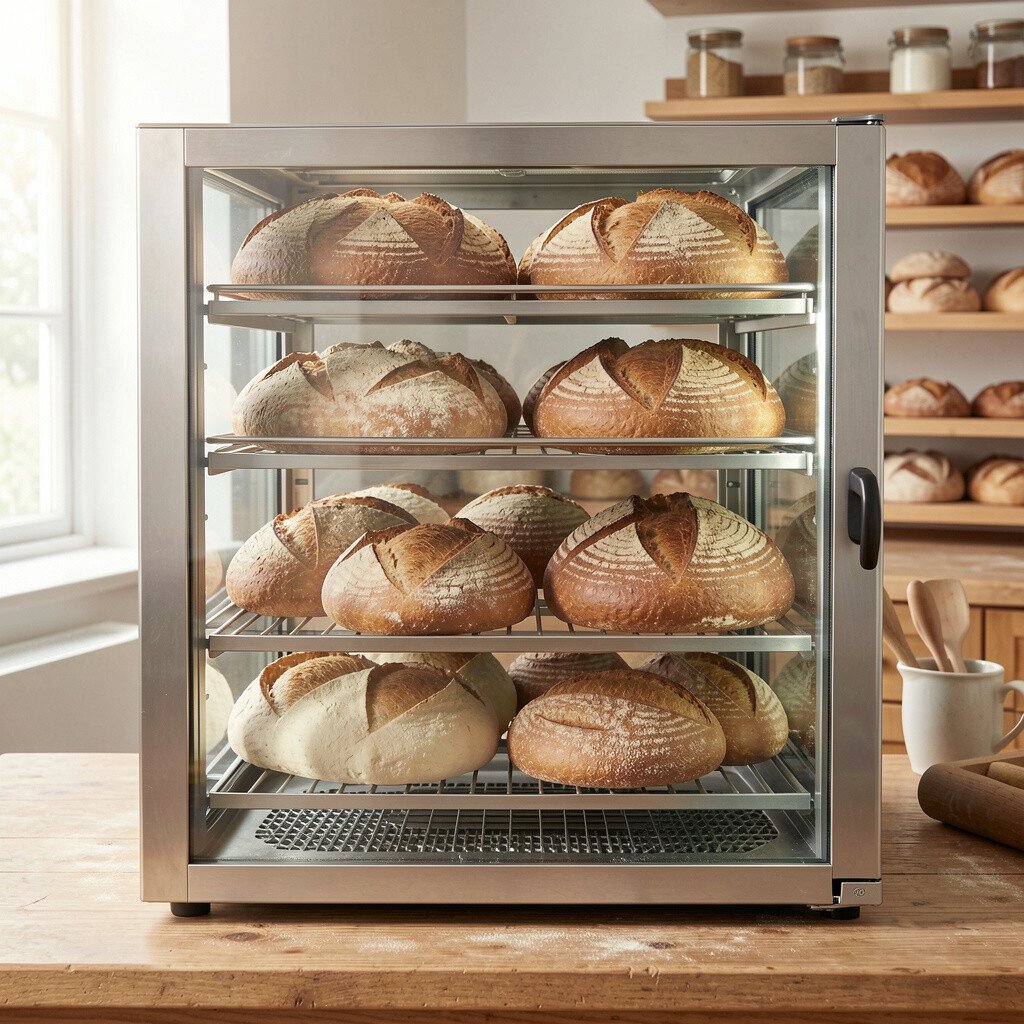
Try adding a small fan in the drawer area during cooler months to keep proofing consistent. Many modern bakers aim for predictable rise times, and stable proofing conditions make that easier. You can personalize the shelf with woven baskets in different sizes for sandwich loaves, boules, and smaller rolls.
4. The Warm Proofing Spot Using a Simple Light Box
The Warm Proofing Spot Using a Simple Light Box
Some kitchens stay cool, especially in winter, and dough can feel sluggish. A light box approach uses gentle warmth without needing expensive equipment.
Set a covered container with a low-watt bulb or a safe warming device at a steady height. Keep a thermometer nearby so you can repeat your results. Your dough will rise more evenly, and that even fermentation helps flavor develop.
For personalization, place a small timer or sticky notes with your typical dough schedule. It feels cozy and gives your station a bakery-like workflow. The setup is usually budget-friendly compared to specialty proofing cabinets, and it works well for beginners.
5. Baking Stone and Steam Tray Station
Baking Stone and Steam Tray Station
Keep your baking stone, steel, or tray right where you preheat. When tools live near the oven, preheating and loading feel faster and safer.
Store a steam tray or a cast-iron skillet in the same area so you remember to add moisture. Steam supports better oven spring, giving you that coveted crust with a crackly top. A designated station also helps prevent accidental burns because you handle the hot parts in one consistent way.
For practical tips, organize oven mitts, a spray bottle, and a long-handled utensil together. Many current home-baking trends emphasize crisp crusts and bold scoring, both of which benefit from steam. Choose a stone size that matches your usual loaf so you don’t waste space or energy.
6. A Scoring and Lame-Friendly Corner
A Scoring and Lame-Friendly Corner
Create a small corner for shaping tools like a lame, sharp knife, and templates. When you can see your blades, you’ll be more willing to score boldly.
Use a magnetic strip or a small wooden tray so tools stay protected and easy to grab. Add a damp towel nearby to wipe hands and keep flour off your work surface. This station boosts uniqueness because your cuts turn each loaf into a personal fingerprint.
7. The Dough Mixing Station With Two-Speed Setup
The Dough Mixing Station With Two-Speed Setup
Set up mixing bowls, a spoon, and a stand mixer if you use one in the same area. You’ll want everything ready before flour goes on the counter to keep your process calm.
Include a scale, measuring cups, and a dough whisk for quick adjustments. Using consistent measurements helps fermentation and crumb structure, so your loaves become more reliable. For budget planning, start with a simple scale and upgrade later to higher-end bowls if you’re hooked.
Try personalization by setting up two mixing bowls for different doughs, like one for sourdough starter maintenance and one for a weekly loaf. Current trends often focus on easier routines, and a two-bowl setup cuts down on cleaning. You can also add a small notebook where you jot down hydration ratios and favorite flavors.
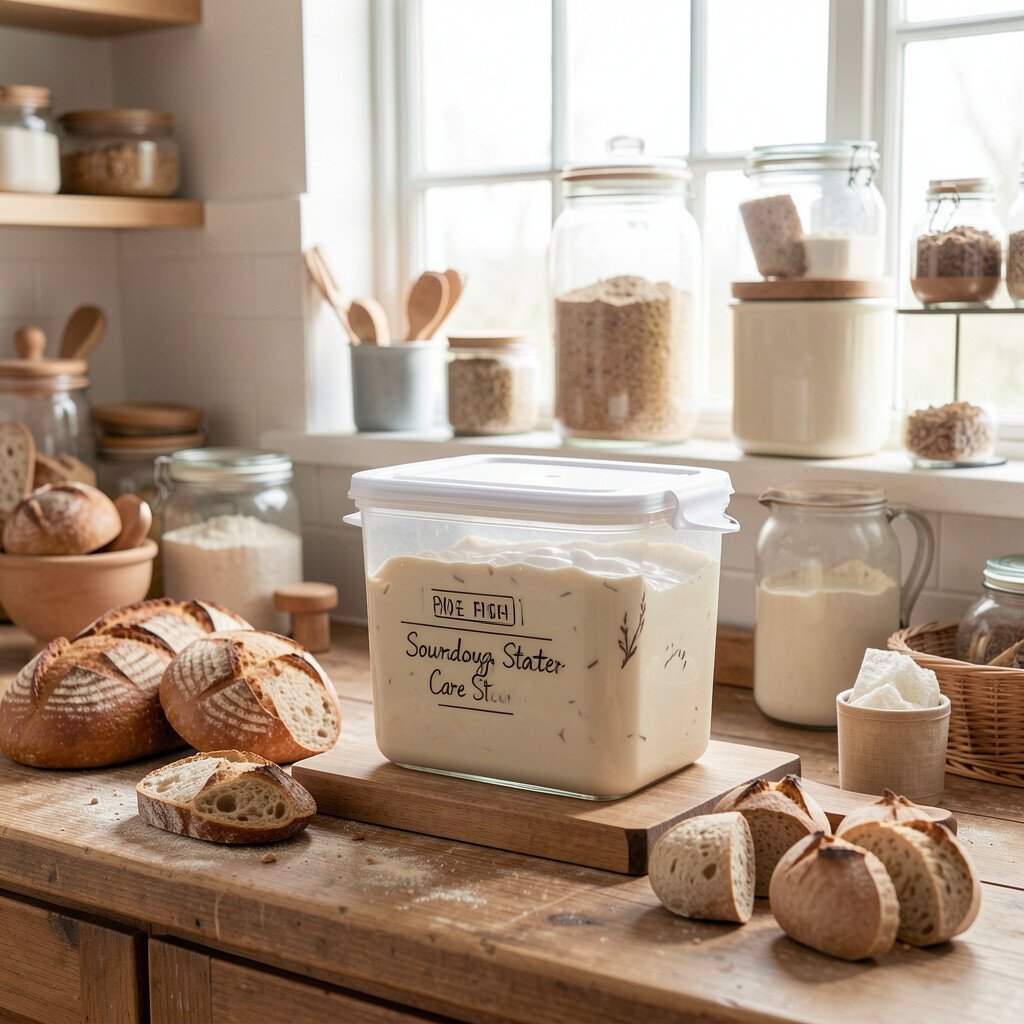
8. Sourdough Starter Care Station
Sourdough Starter Care Station
Pick a clear spot for your starter and make it part of your daily rhythm. A starter feels alive, and that feeling grows when it has a home base.
Use a glass jar with a loose cover, plus rubber bands or a marker to track rise. Keep a spoon for feeding and a small container for discard where it’s easy to grab. The benefit is smoother feeding habits, which leads to stronger starter activity and better fermentation.
Set aside a drawer or cabinet shelf for proofing liners, clean towels, and spare cloths. When your materials are ready, you’re less likely to rush the last steps.
Wash and store cloths so they smell fresh, and keep a few sized pieces for different loaf shapes. Using liners improves the look of the crust and helps prevent sticking. It also saves time because you’re not trying to cut new parchment moments before baking.
For a personal touch, fold cloths neatly and stack them by loaf size. Many bakers now focus on mindful routines, and having everything organized makes the process feel steady. This setup can be low-cost if you start with a few reliable towels and upgrade as you learn what you love.
10. A Refrigeration-Friendly Dough Rotation Shelf
A Refrigeration-Friendly Dough Rotation Shelf
If you cold-ferment, your station should support it. A dedicated shelf in the fridge for dough containers makes timing easier and prevents dough from getting lost.
Use labeled containers with lids that hold shape and don’t leak. Cold fermentation deepens flavor, and better timing helps you plan meals without last-minute panic. The uniqueness comes from experimenting with different proof lengths, creating loaves with distinct tang and aroma.
Try planning a rotation so you bake on a schedule you enjoy. Current trends lean toward batch cooking, and a cold dough shelf fits that lifestyle perfectly. For cost, reusable containers are usually cheaper than constantly buying disposable items, and they last a long time.
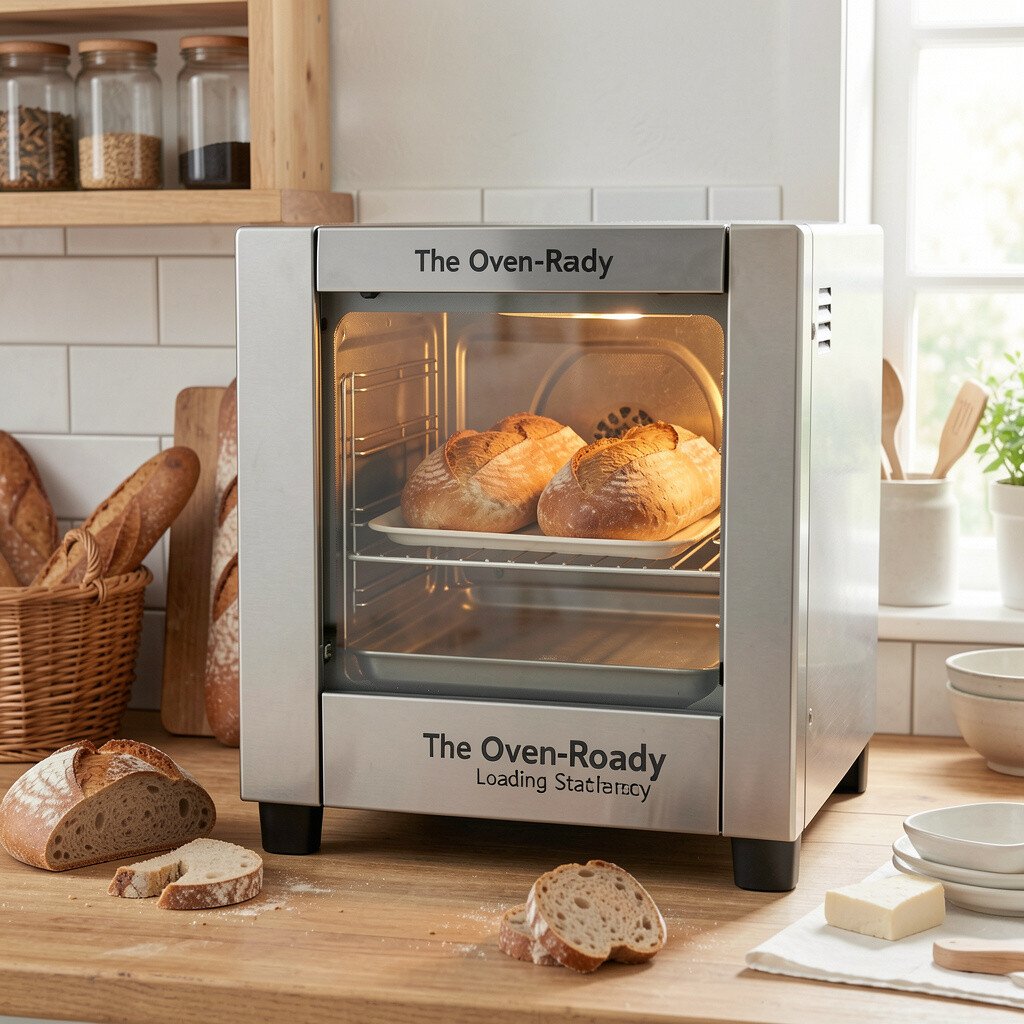
11. The Oven-Ready Loading Station With Heat Safety
The Oven-Ready Loading Station With Heat Safety
Set up a safe area near the oven door for loading and finishing. When you keep a cutting board, lame, and oven mitts close, you avoid stressful scrambling.
Use a dedicated peel or board for transferring loaves and keep it stored clean and dry. This helps scoring stay sharp and dough keep its shape. The visual benefit is that your loaf goes into the oven quickly, which supports a bold rise and a crisp finish.
Personalize the station with a small heat-resistant mat and a simple way to manage timing. Many home bakers want consistent results, and a loading workflow is one of the easiest ways to improve repeatability. Even with minimal gear, you can achieve bakery-style outcomes by being organized around heat safety.
12. A Seed, Nut, and Topping Bar
A Seed, Nut, and Topping Bar
Make a topping bar with seeds, nuts, oats, dried herbs, and flaky salt. When you can grab toppings quickly, your loaves feel like they belong to you.
Prepare a few blends in small jars so you can sprinkle evenly without stress. Adding seeds on top creates a fun texture and a beautiful speckled look. It also lets you customize nutrition and flavor without changing your whole recipe.
To keep costs sensible, start with a small set of your favorite seeds and buy in bulk when possible. Current trends favor flavorful crusts and clean ingredient profiles, and toppings fit right in. Personalize by matching seasonal flavors, like roasted garlic herbs in cooler months or bright lemon zest for spring.
13. The Sandwich Loaf Prep Bench With Perfect Portions
The Sandwich Loaf Prep Bench With Perfect Portions
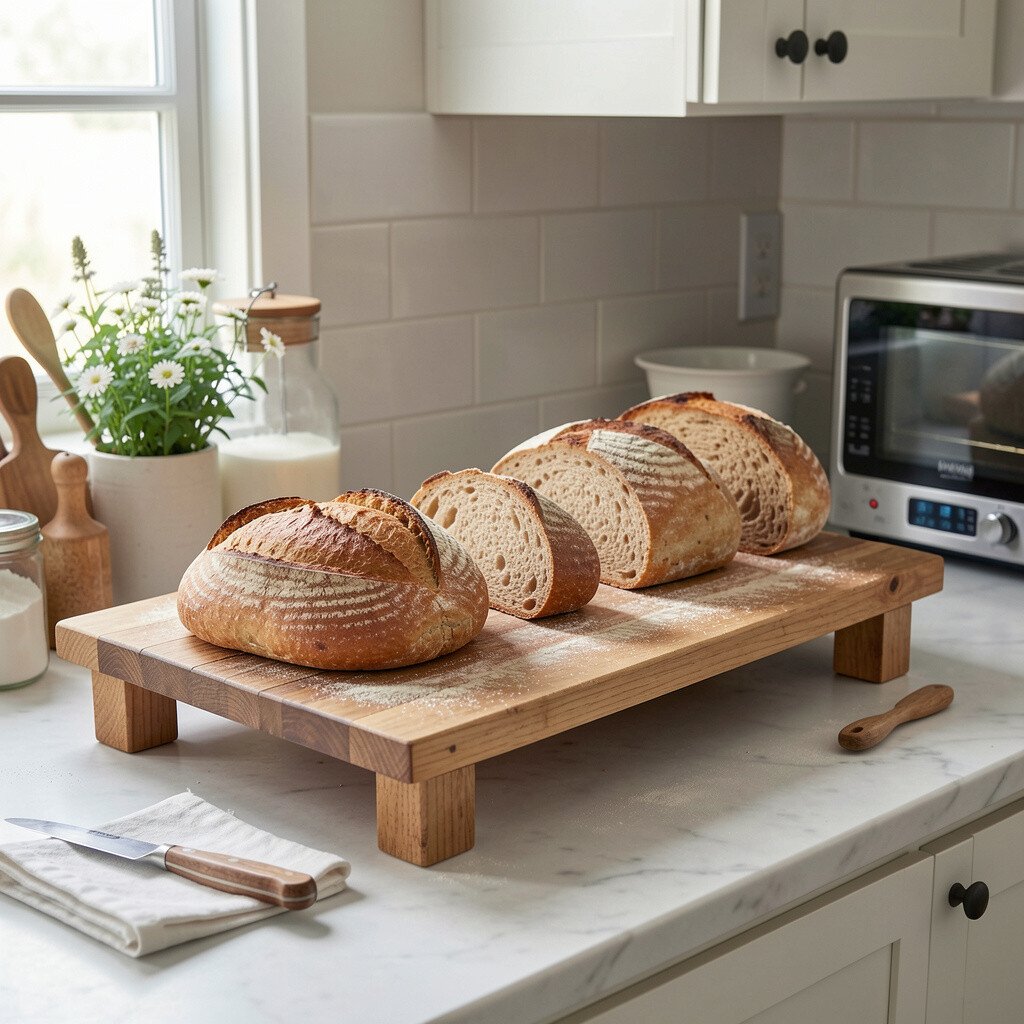
If you love sandwiches, build a station that focuses on even portions. Regular loaf size makes your meals feel consistent and your slices look neat.
Keep a dough divider guide or a measuring tool near your shaping area. Even dough pieces bake more uniformly, improving crust color and crumb softness. The benefit is that you get better slices for toast, grilled cheese, and fresh breakfast sandwiches.
Personalize by using parchment loaf liners or trying braided shapes for special occasions. Many bakers now use artisan techniques for everyday bread, and this station supports that modern idea. For cost, you can start with one affordable divider guide and upgrade only if you start baking more frequently.
14. A Brew-Style Coffee and Bread Pairing Corner
A Brew-Style Coffee and Bread Pairing Corner
Set your station so the kitchen encourages bread culture, not only bread making. Pairing tools help you move from baking to enjoying without delay.
Keep a small kettle, a few mugs, and a board for tasting bread ready nearby. Warm drinks complement the aroma of fresh loaves, and that makes your baking feel like an event. You’ll also notice flavors better when you taste thoughtfully, which improves your next loaf decisions.
For practical tips, label your favorite tasting slices and note what worked, like a crust thickness or a sweeter flour blend. This kind of routine is trending because home bakers want more joy in everyday meals. Cost stays manageable since most of these items already live in kitchens; you’re just arranging them with intention.
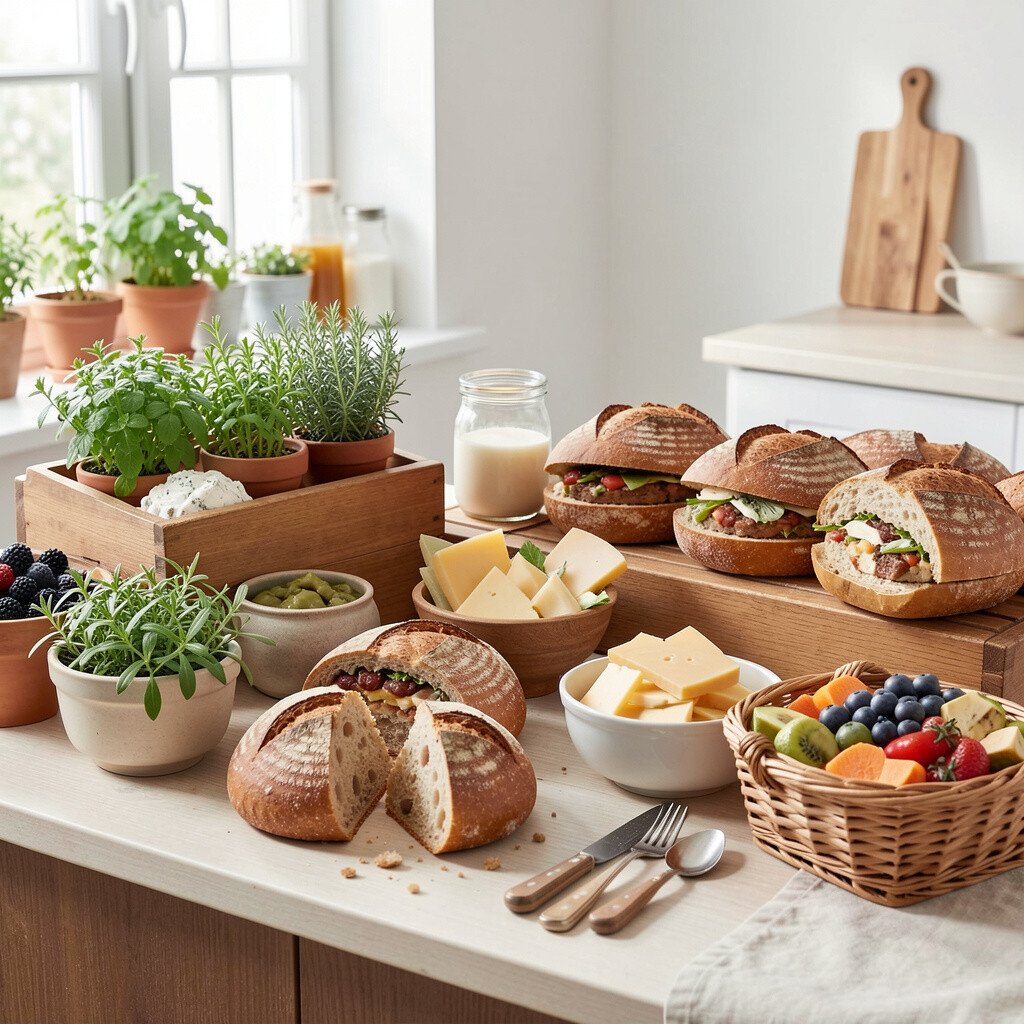
15. Herb, Cheese, and Fillings Station for Stuffed Loaves
Herb, Cheese, and Fillings Station for Stuffed Loaves
Create a station for mix-ins so stuffed loaves become simple instead of messy. When fillings are organized, you can roll, fold, and seal without panic.
Store grated cheese, chopped herbs, and jarred fillings in small containers so portioning is fast. Stuffed bread tastes rich and unique, and it can turn simple dinners into something special. The benefit is better control over moisture, which helps prevent leaks and keeps the crumb tender.
Personalize by using flavors you already love, like garlic and basil, roasted peppers, or spicy greens. Current trends often highlight comfort-food twists on artisan bread, and this station fits that craving. For cost, start with one premium ingredient you enjoy, like a good cheese, and use smaller amounts of the rest.
16. The Bread Journal and Recipe Clipping Station
The Bread Journal and Recipe Clipping Station
Give your station a place for notes, photos, and favorite timings. A bread journal turns your practice into a friendly learning journey.
Use a binder or small folder for recipe printouts and a notebook for changes you make. Tracking hydration, flour types, and proofing times helps you repeat success and fix issues faster. Your uniqueness grows when you write down what you love, because your preferences become your signature.
For practical tips, keep a pen magnetically attached to the side of your flour shelf. Add a page for dough habits, like how long your bulk fermentation usually takes and how your kitchen feels on different days. The cost is minimal, but the payoff is huge because your future loaves get smarter every bake.