1. Folded Paper Butterflies for a Bright Room Accent
Folded Paper Butterflies for a Bright Room Accent
Hold a strip of craft paper against the light and fold it into gentle wings that almost flutter. When you finish, the butterfly shapes look airy, with crisp edges and soft color bands.
Use two or three shades of paper so the wings show subtle contrast. Try adding a little sparkle thread or a tiny dot of gel pen for the body, and press the folds firmly so they stay sharp. For personalization, write a short word on the back edge of each butterfly, like a nickname or a favorite mood.
2. Paper Garland With Secret Messages Along the String
Paper Garland With Secret Messages Along the String
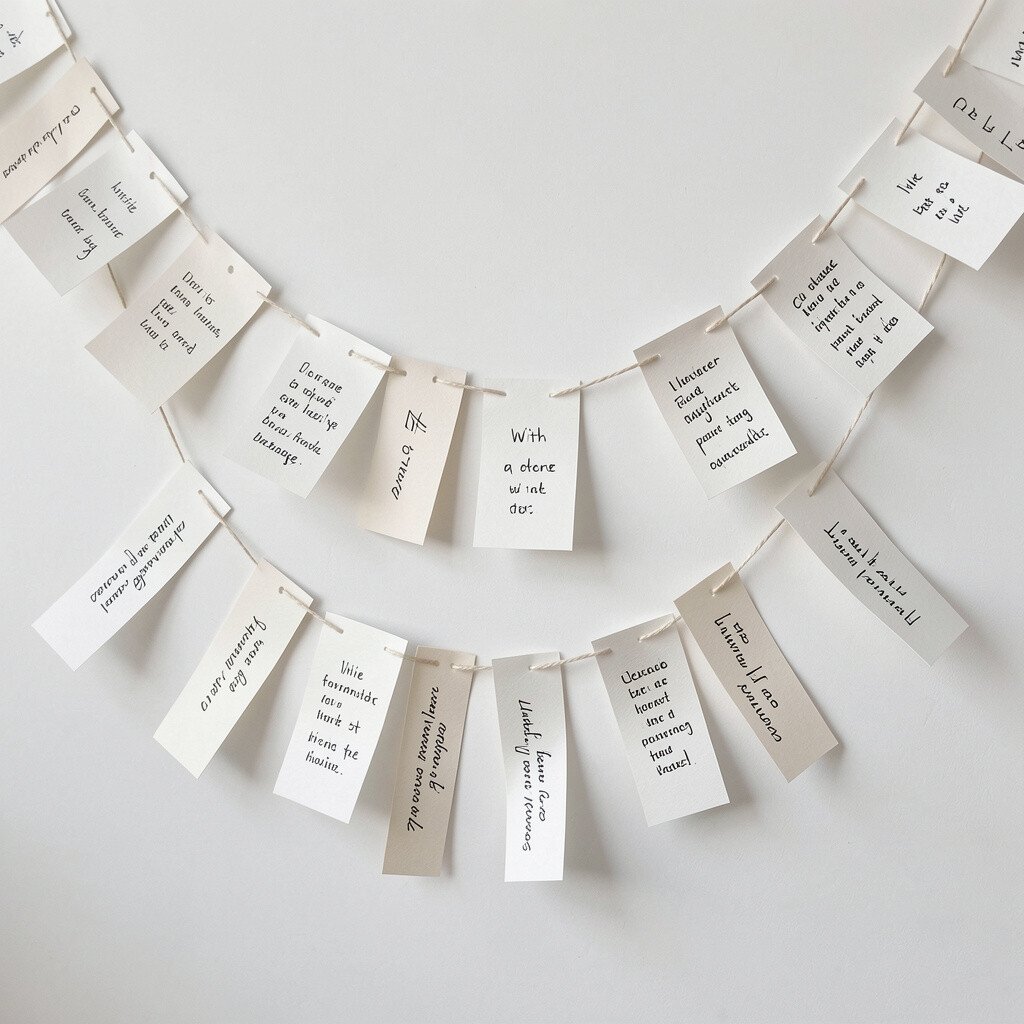
Cut triangles or rounded pennants from craft paper and string them into a cheerful garland that sways when you walk by. Each piece can be colored like confetti, with patterns that make the whole wall feel warmer.
For a fun twist, write small messages on the inner side so you only see them when the paper flips or catches the light. Use a hole punch and sturdy twine so the garland hangs flat and doesn’t stretch out. You can also layer two thin papers back to back to make the colors richer without buying thick sheets.
Keep an eye on what’s popular right now, like muted pastels and playful rainbow gradients, and match your garland to that style. If you want it to last longer, use matte tape on the back and avoid glossy paper that can peel. Cost stays low when you use scrap sheets, and your message makes it feel truly yours.
3. Layered Paper Flower Cards With Real-Feeling Petals
Layered Paper Flower Cards With Real-Feeling Petals
Cut petal shapes from craft paper and stack them in layers so the card looks like a blooming flower. The best part is the texture, because the edges create shadows and make everything look lively.
Fold a card base, then glue petals from largest to smallest, leaving a tiny gap so each layer stands out. Add a center circle with a contrasting color and a short strip of paper curled like a tiny stamen. Keep it simple with rounded scissors cuts, and practice a few petals first so you get comfortable quickly.
To personalize, choose colors that match a person’s favorite sweatshirt or room palette. This is a great low-cost gift because you can use older paper scraps, and craft glue goes a long way when you use small dots. A current trend is soft, layered paper art in social media style, so your card will feel modern even with basic supplies.
4. Paper Bag Puppets for Silly Skits at Home
Paper Bag Puppets for Silly Skits at Home
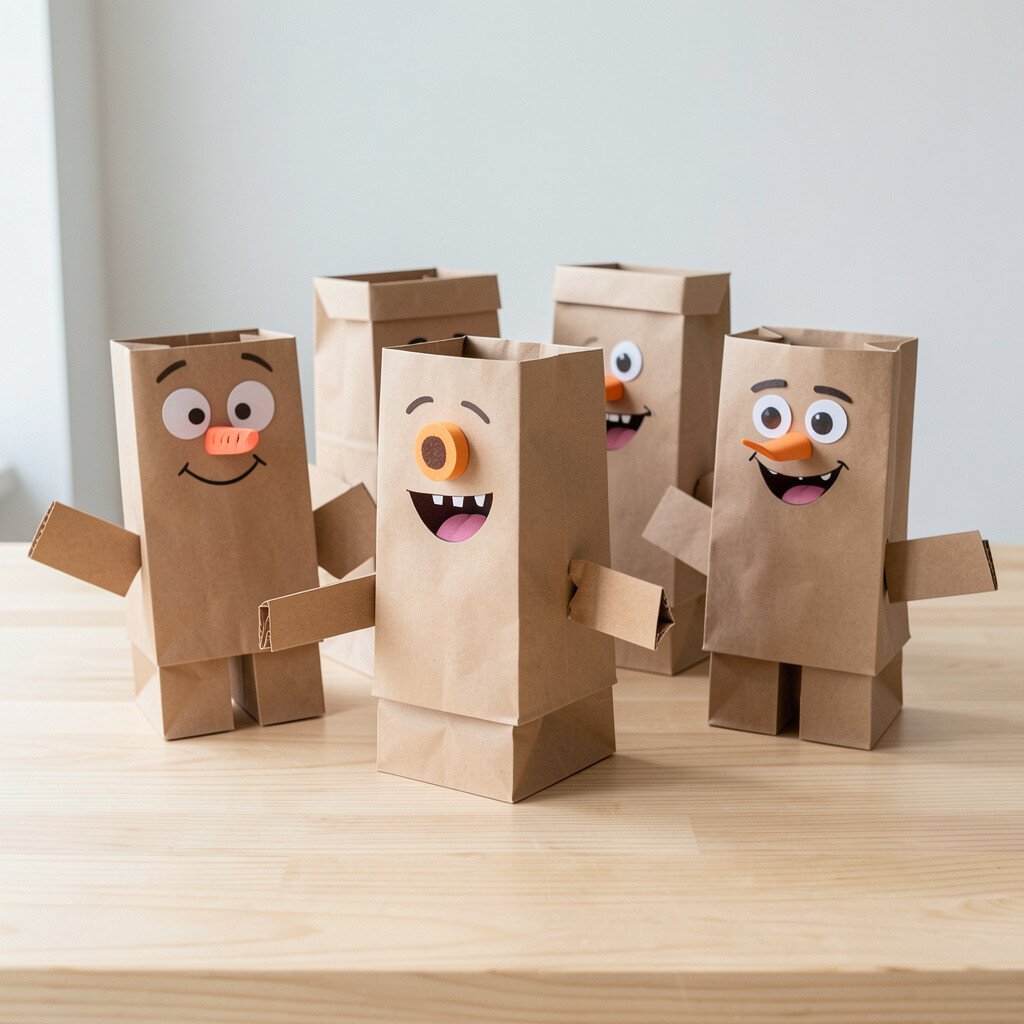
Turn craft paper into faces, costumes, and accessories for paper bag puppets. You can make wide eyes, dramatic eyebrows, and even little hats that stand up proudly when the puppet “talks.”
Use glue to attach cutout shapes, then add yarn for hair or a strip of paper folded into a collar. Make arm flaps from extra paper so the puppet can “gesture” during play. Personalize with names, tiny birthstone colors, or a favorite hobby symbol like a tennis racket or musical note.
If you’re watching budgets, paper bags and scraps are usually the cheapest materials in the craft drawer. A useful tip is to laminate the puppet pieces with clear packing tape so they wipe clean after lots of pretend performances. For a trend touch, try a simple monochrome character set where each puppet has one color theme.
5. Cutout Skyline Art That Looks Like City Lights
Cutout Skyline Art That Looks Like City Lights
Draw a skyline on craft paper and cut building shapes so they overlap like real city layers. When you place it on a dark background, the paper edges catch light and feel like glowing windows.
Use a craft knife carefully, or choose pre-printed stencils to make cutting easier. Glue the tallest buildings first, then add shorter ones in front so the scene has depth. Personalize by choosing a city you love and swapping the shapes for landmarks you recognize.
For practical setup, place a cutting mat under your paper so you protect your table and cut more safely. Cost stays low because one sheet can make multiple layers, and scrap paper can fill gaps. This kind of silhouette art fits current trends like moody night aesthetics and minimal line-and-shape designs.
6. Bookmarks Made From Folded Paper Strips With Texture
Bookmarks Made From Folded Paper Strips With Texture
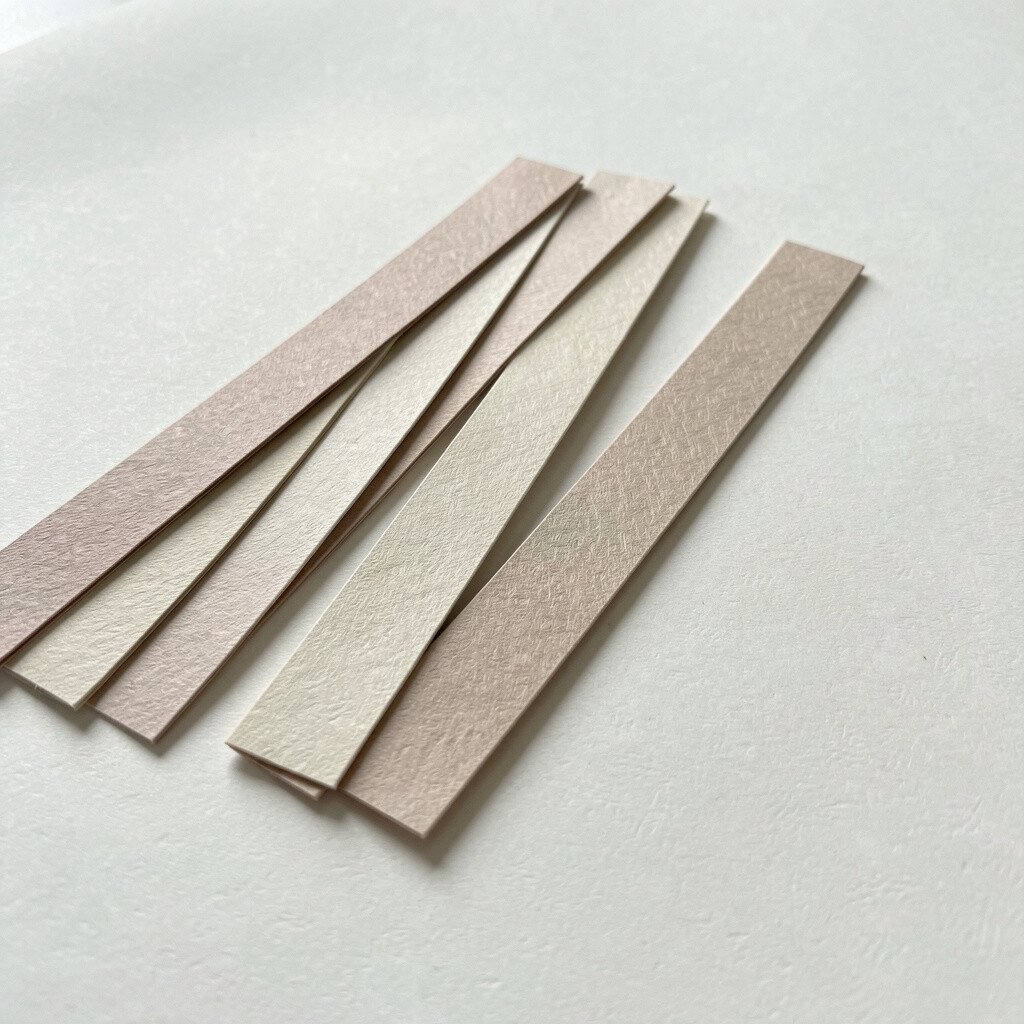
Fold thin strips of craft paper into neat bookmarks that hold their shape and feel handmade. You’ll love how the folds make a gentle ribbed texture that stands out in a stack of books.
Try weaving two paper strips together, or fold one strip into a pocket that can hold a tiny scrap of fabric. Use a corner punch to make the ends rounded and less likely to crease. Personalize by adding a small paper charm, like a tiny leaf or a moon, tied with string.
7. Geometric Paper Ornaments for a Modern Holiday Look
Geometric Paper Ornaments for a Modern Holiday Look
Cut triangles and rectangles from craft paper, then fold and glue them into ornaments with clean edges. The finished pieces look modern, with repeating shapes that catch light like little sculptures.
Use a thin craft wire or a loop of string through a punched hole so you can hang them easily. For personalization, pick a color theme such as silver, cream, and deep blue, or go bold with bright primary colors for a playful style. If you want extra shine without spending a lot, rub a little chalk or colored pencil on the edges for a soft glow.
To keep costs down, use both sides of your paper and avoid big waste by planning patterns before you cut. A practical tip is to test one ornament first, then repeat the fold style so you get consistent results. Current trends often lean toward geometric shapes and clean symmetry, so these will feel fresh even if you keep it simple.
8. Paper “Marbling” Effects Using Rubbing Alcohol and Ink
Paper “Marbling” Effects Using Rubbing Alcohol and Ink
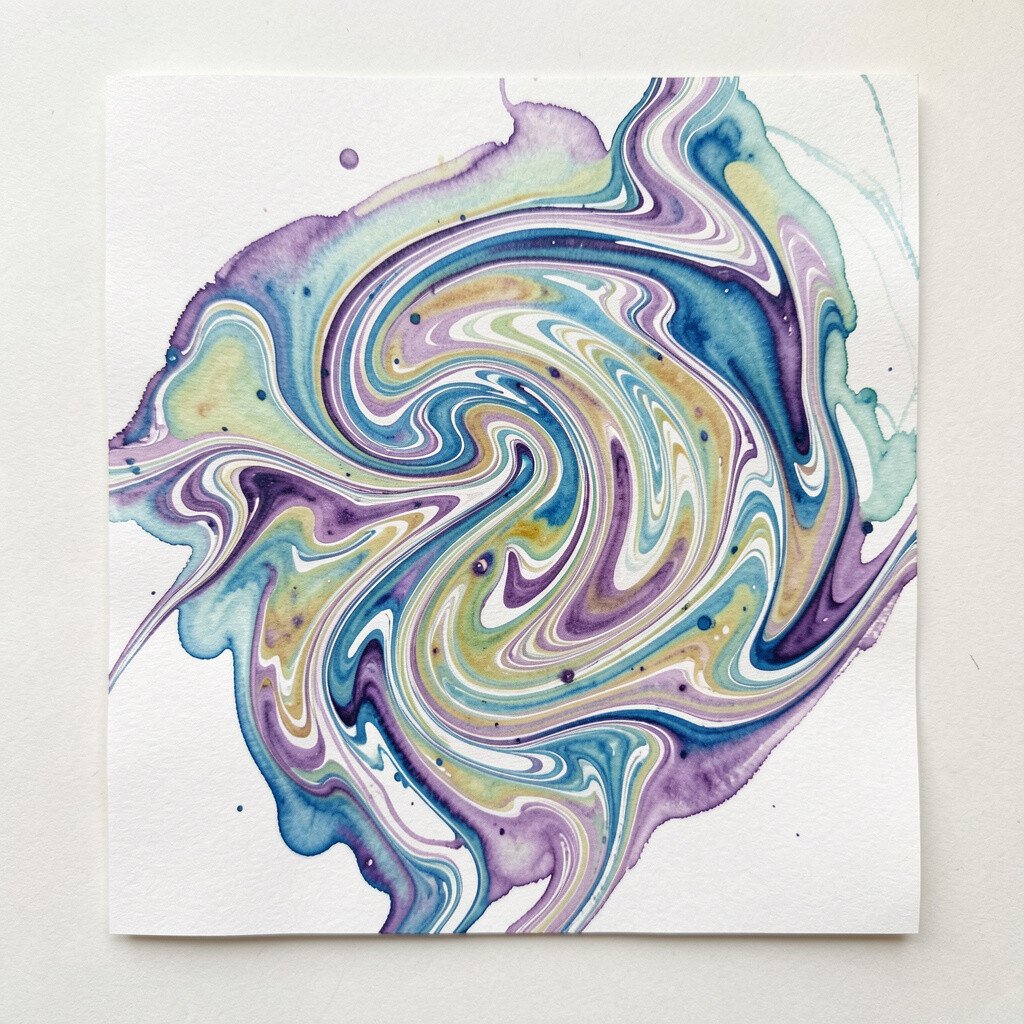
Swirl ink or food coloring into a flat tray, then gently move craft paper through the pattern for a marbled look. The result looks like stone, waves, or cloudy skies, with swirls that feel magical even on simple paper.
Make sure you use a well-ventilated area and protect your workspace with plastic. After you lift the paper, let it dry flat, then trim it into bookmarks, card panels, or gift tags. Personalize by choosing colors that match the season, like warm browns for cozy vibes or bright blues for a beach theme.
9. Handmade Envelope Budget for Event Invitations
Handmade Envelope Budget for Event Invitations
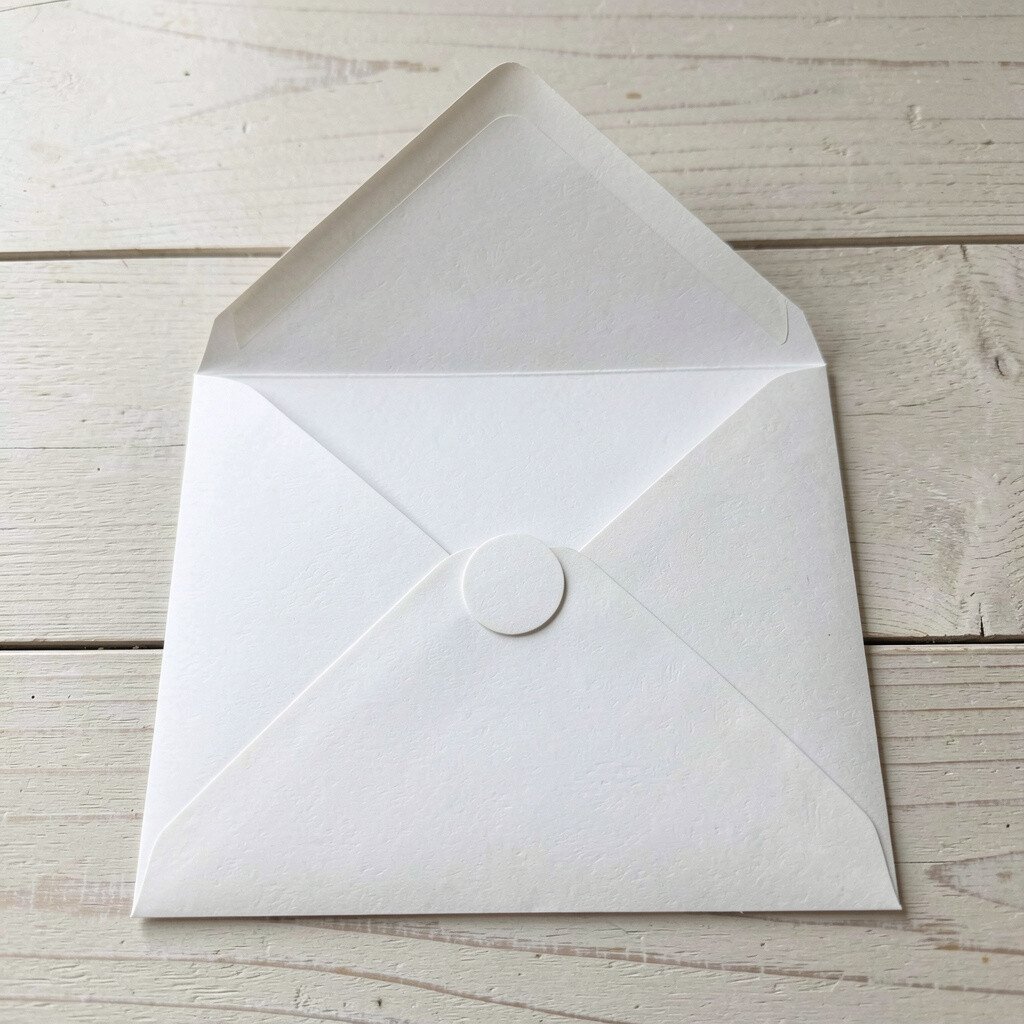
Use craft paper to make envelopes that feel sturdy and special, even if the design is simple. The texture of paper adds a cozy vibe, and neat folds make everything look thoughtful.
Measure your card first, then add a little extra space so the envelope closes easily without bending. Try adding a flap closure with a small paper tab and a dot of glue so it stays shut. For personalization, stamp a tiny icon or write a short line in neat handwriting before assembling.
If you want to save money, use leftover paper from packaging or old craft pads as long as it’s thick enough. This is perfect for quick invitations and also works great for party keepsakes. A trend you’ll see often is handmade stationery with earthy tones, so craft paper fits right in.
10. Paper Mosaic Coasters With Scraps and Color Blocks
Paper Mosaic Coasters With Scraps and Color Blocks
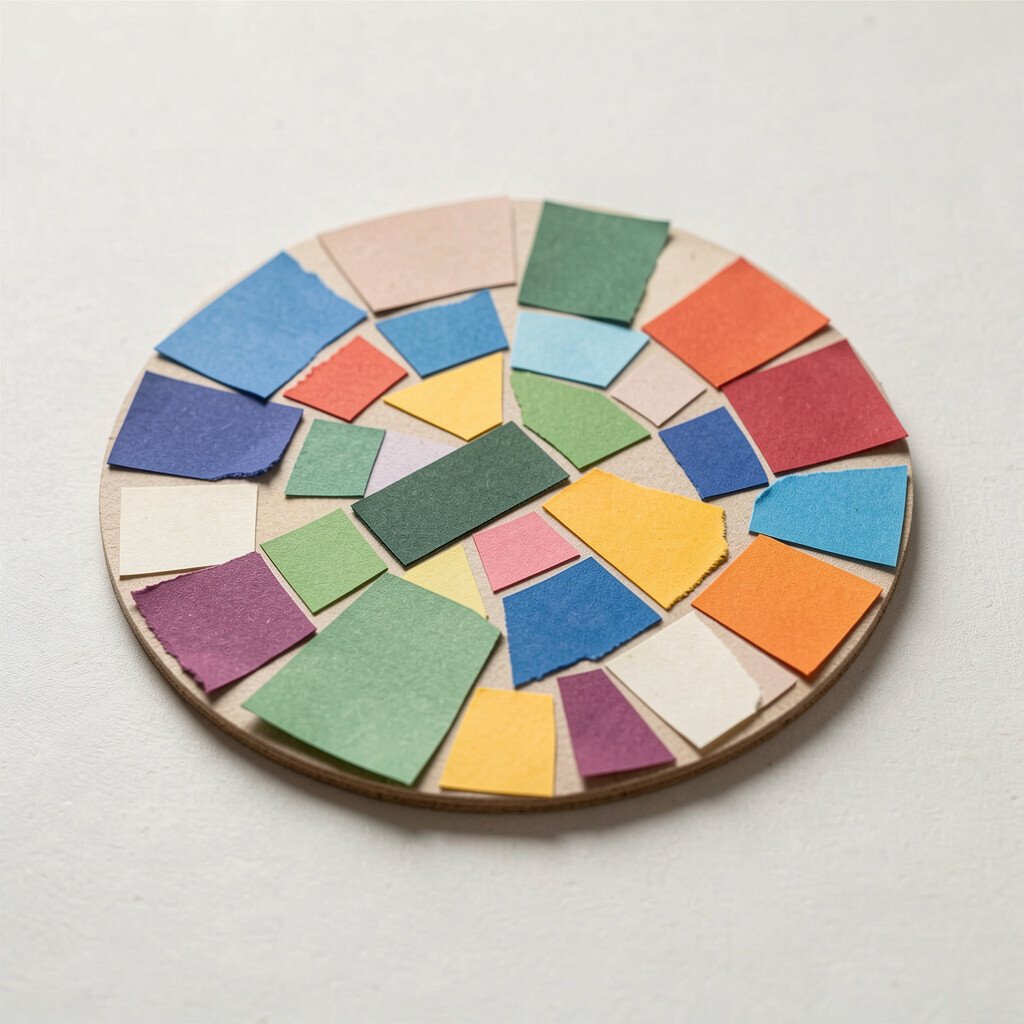
Cut tiny squares or shapes from craft paper scraps and glue them onto a coaster base. When the pieces are arranged in bright color blocks, the coaster looks like a mini mosaic wall.
Seal the surface with a clear finishing layer so it’s easier to wipe after drinks. Keep the pattern random or plan it like a rainbow arc, whichever fits your mood. Personalize by using colors from a favorite cup or matching the coaster set to your kitchen decor.
A practical tip is to let glue dry fully between layers so the pieces don’t slide. Cost is low because coasters can be made from scraps and cheap backing material. People love crafty home touches right now, and mosaic-style decor is always a crowd-pleaser.
11. Paper Mask Making for Costume Parties
Paper Mask Making for Costume Parties
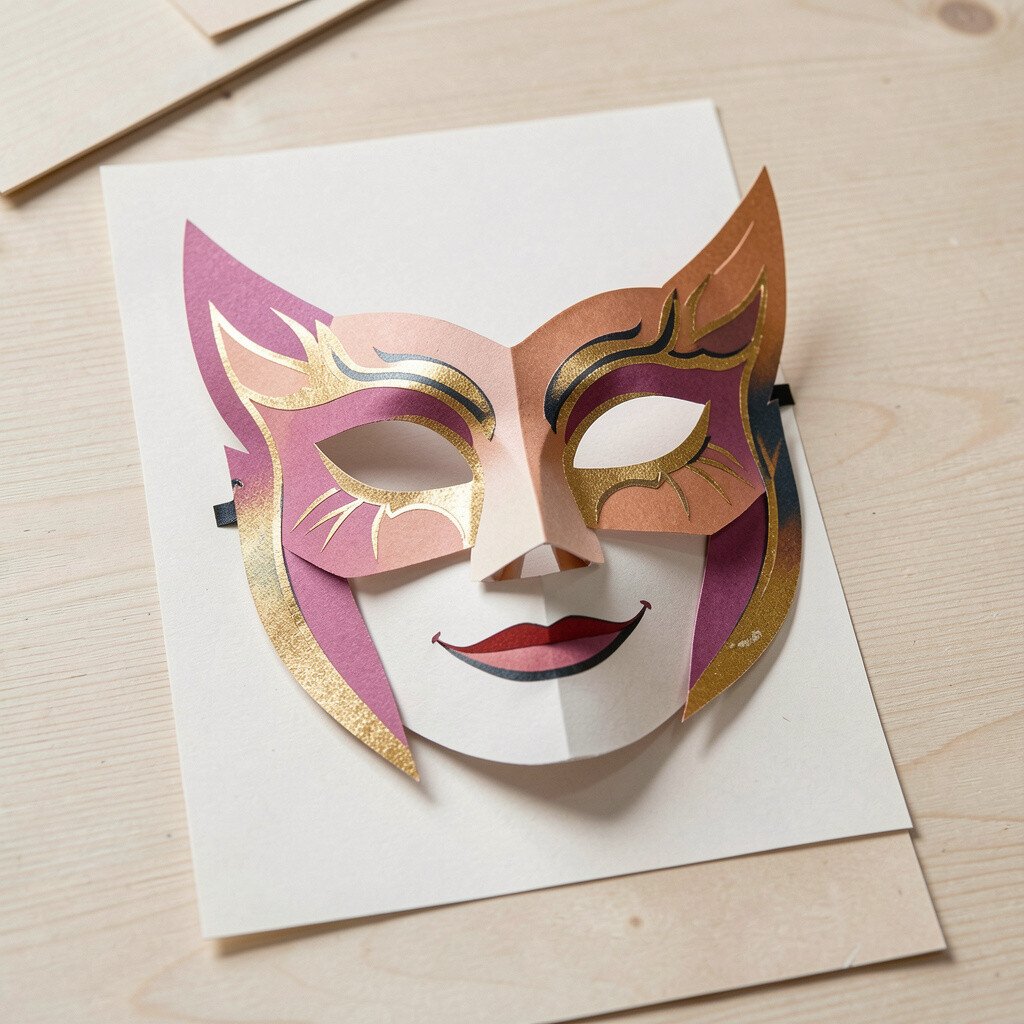
Cut paper into mask shapes with eye holes and decorate them with cutouts and layered strips. The result can look dramatic, playful, or elegant, depending on the paper colors you choose.
Use a flexible band made from elastic or a folded strip wrapped around the head so the mask stays comfortable. Add feathers made from thin paper curls or fringe cut along an edge to create movement. Personalize by drawing patterns like stars, stripes, or a favorite pet face.
12. Collage Frames That Turn Leftover Paper Into Wall Art
Collage Frames That Turn Leftover Paper Into Wall Art
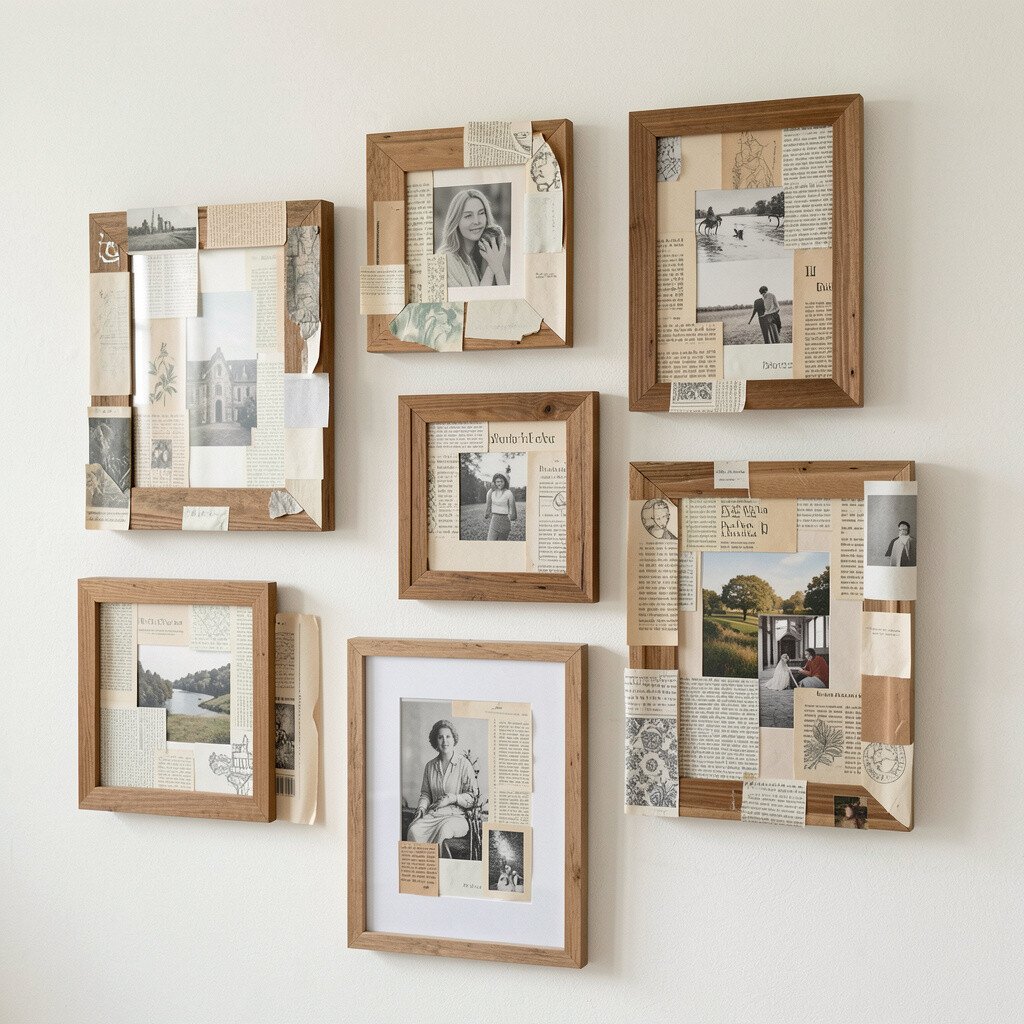
Build a simple frame collage by gluing paper scraps onto a backing and layering them like a colorful quilt. It looks lively up close, with bits of texture that make you want to stare for a while.
Choose one main theme, like nature, space, or pastel sweets, and let each scrap contribute to the theme. You can trim pieces into tiny leaves, planets, or candy shapes to keep it cohesive. For practical handling, use a thin glue layer so paper doesn’t ripple, and press gently under a book for a short time.
Costs stay friendly since you’ll use what you already have, and you can upgrade by choosing a few special patterned sheets. Current trends in home decor often highlight handmade collage and layered paper textures, so this fits right in. Personalize by adding a date, a family name, or a small doodle that makes it feel like your story.
13. Paper Lanterns That Glow With Everyday Light
Paper Lanterns That Glow With Everyday Light
Create a small paper lantern by cutting slits into strips and folding them into a cylinder shape. When you shine a light behind it, the openings cast gentle patterns that feel warm and calming.
Use thicker craft paper if you want a stronger structure, and keep the cuts evenly spaced for a neat look. Add a handle or loop made from string so you can carry it or hang it. Personalize by choosing a theme like hearts, stars, or simple dots, then cut matching shapes across each side.
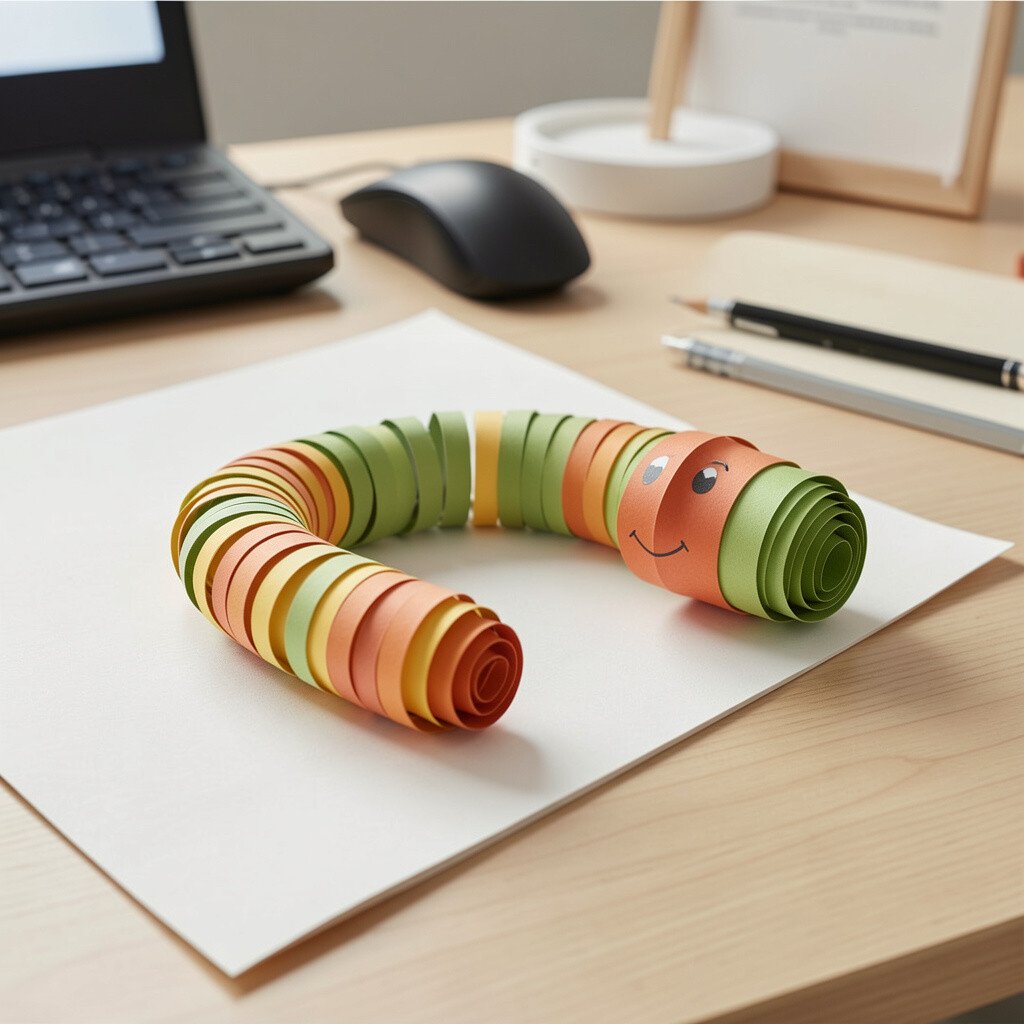
14. Paper Coiled Snake or Caterpillar for Desk Fun
Paper Coiled Snake or Caterpillar for Desk Fun
Roll and coil craft paper strips to make a snake or caterpillar that looks cute and playful. The layered coils create a spiral texture that looks like it has scales or tiny segments.
Secure the coil with a small dot of glue and add googly eyes or drawn faces. For personalization, color each segment with a pattern, like stripes, dots, or ombre shades. A practical tip is to measure strip width before you start so the coils stay consistent and don’t end up lopsided.
If you want low cost, use scrap paper and cut strips with scissors so you don’t need fancy tools. This kind of desk decoration matches current tastes for small, charming tabletop crafts. It also makes a fun gift for friends who love cute, simple things.
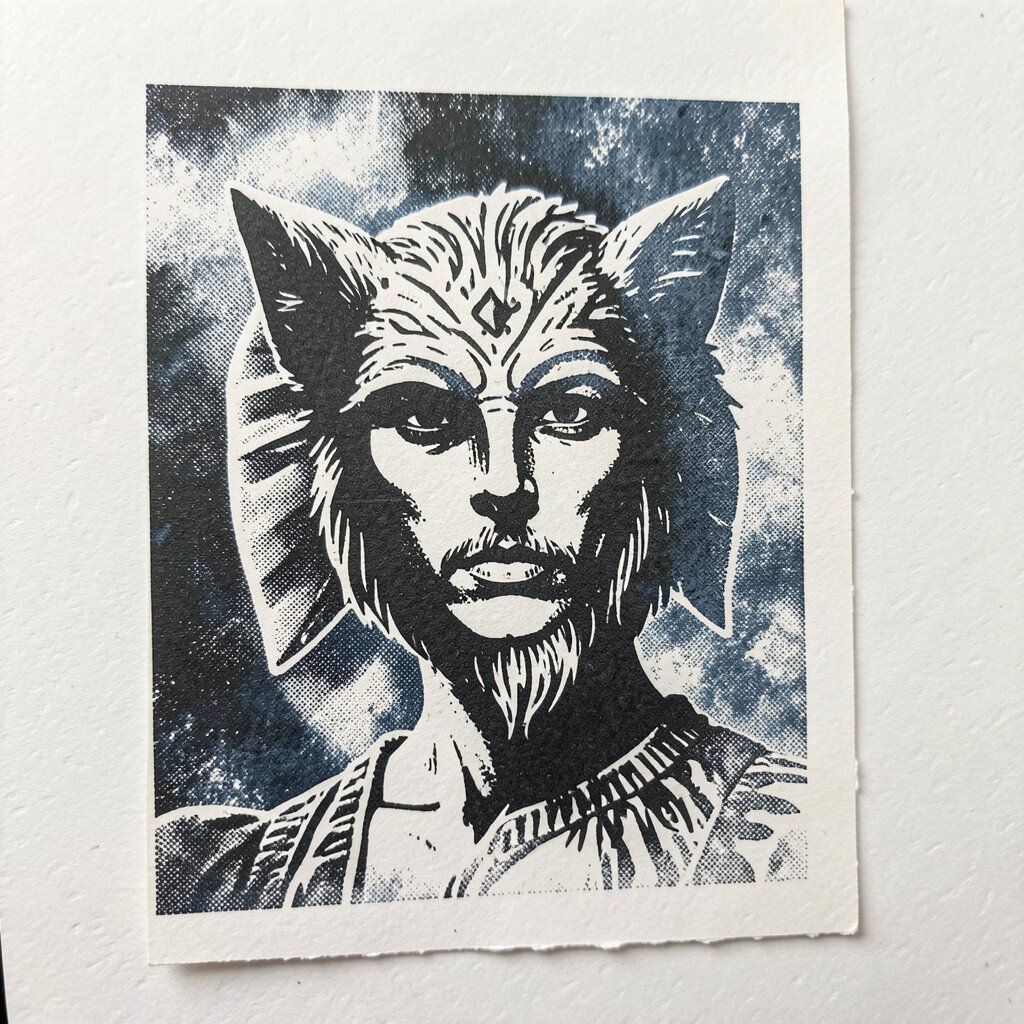
15. Paper Screen-Printed Look Using Stencil and Sponge
Paper Screen-Printed Look Using Stencil and Sponge
Make a stencil from craft paper and use a sponge to dab paint for a screen-printed style. The result has bold shapes and a clean look that feels like printed art without expensive tools.
Place the stencil on your paper panel, then dab paint in small amounts to avoid smudging. Let it dry, then remove the stencil to reveal crisp edges and strong color blocks. Personalize by repeating a pattern like flowers or waves, or by changing colors for different sections.
16. Folded Paper Boxes for Tiny Gifts and Treats
Folded Paper Boxes for Tiny Gifts and Treats
Create folded craft paper boxes that close neatly and hold small treasures. They look especially nice when the folds are sharp and the paper has a subtle pattern.
Use a sturdy craft paper so the box doesn’t bend, and test the fold on a scrap before making the final one. Add a ribbon or a small paper belly band to keep it shut. Personalize by cutting a window shape in the lid and adding tissue paper behind it for a window display.
Costs are usually very low because boxes use small amounts of paper, and you can reuse decorative scraps. A helpful tip is to use a bone folder or the back of a spoon for crisp creases. Current trend energy includes small gift packaging and charming unboxing moments, so these boxes fit right in.
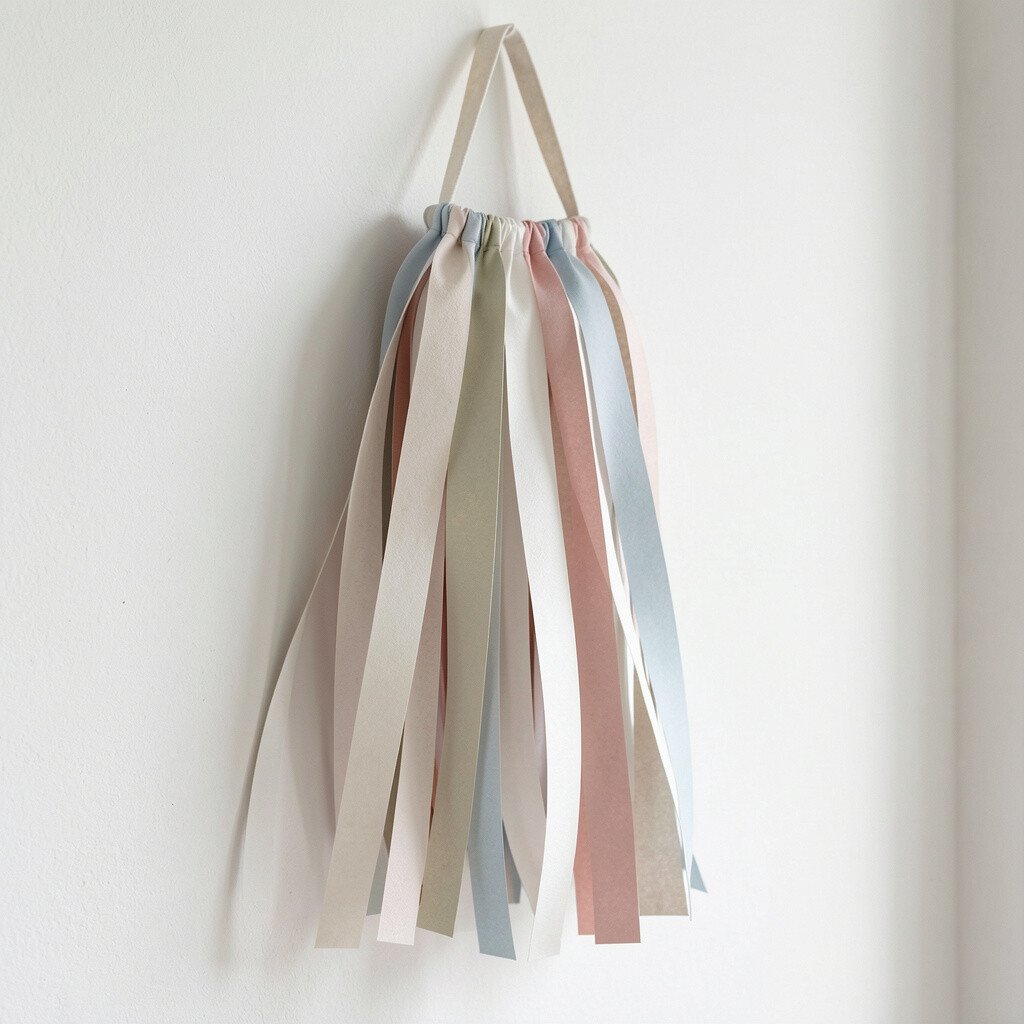
17. Paper Ribbons Wall Hanging With Soft Hanging Loops
Paper Ribbons Wall Hanging With Soft Hanging Loops
Cut long strips of craft paper and tie them into loops so they hang like ribbons. When the loops sway, the wall looks playful and textured, with gentle movement that feels relaxing.
Use a thicker paper or double layer strips to keep the loops from drooping too much. Attach the top to a stick or string, then spread the loops out so the colors look balanced. Personalize by using a gradient from light to dark, or by mixing metallic paper accents for a tiny sparkle effect.
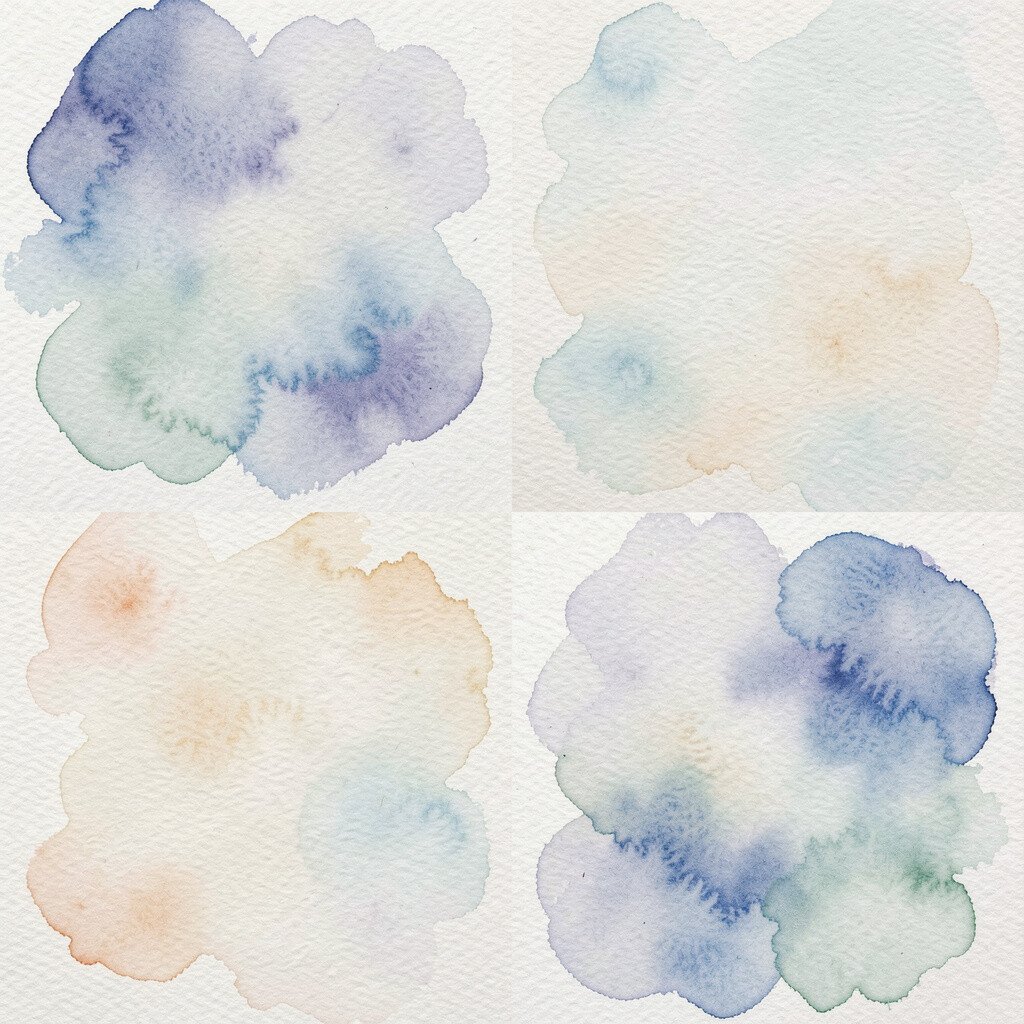
18. Paper Texture “Watercolor” Backgrounds for Card Making
Paper Texture “Watercolor” Backgrounds for Card Making
Wet a piece of craft paper lightly and dab color on top to create soft, watercolor-like effects. The fibers of craft paper help the color spread, giving you natural texture that looks artistic.
Work slowly by adding a little color at a time, then letting each layer dry before adding more. Once the background looks right, trim it into card fronts or collage pieces. Personalize by choosing colors that match birthdays, holidays, or your favorite cozy palette.
Cost considerations are simple because you can use inexpensive markers watered down or diluted ink. A practical tip is to test on scrap first since craft paper can drink color quickly. This style is popular right now because it looks handmade, not factory-perfect, and people love that cozy imperfection.
19. Paper Pinwheel Spinner With a Finger-Flick Moment
Paper Pinwheel Spinner With a Finger-Flick Moment
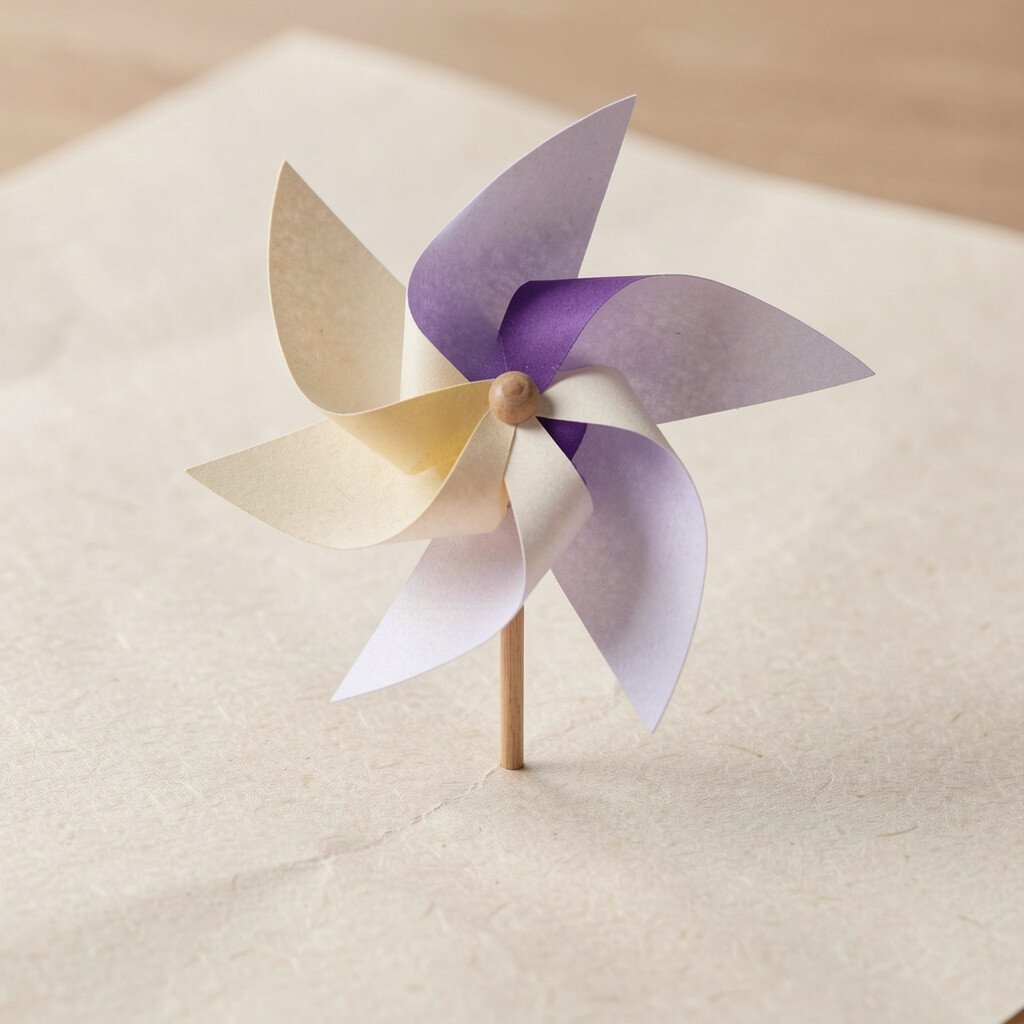
Cut a pinwheel from craft paper and attach it to a brad so it spins with a quick flick. The bright, geometric pattern looks fun in daylight and turns any small corner into a mini celebration.
Use a heavier paper so the pinwheel spins smoothly, and seal the edges with a tiny bit of clear tape if the paper starts to fray. Personalize by making each wing a different color or by using patterned paper so the motion creates a soft blur. If you want it to be practical, add a stick handle made from a skewer so you can take it outside for fresh air fun.
Cost stays low because you need only small shapes, and you can reuse brads if you have them. A trend that keeps popping up is handmade motion crafts, and pinwheels always feel playful and nostalgic. Put your own slogan or tiny icon in the center so the spinner looks like it belongs to you.