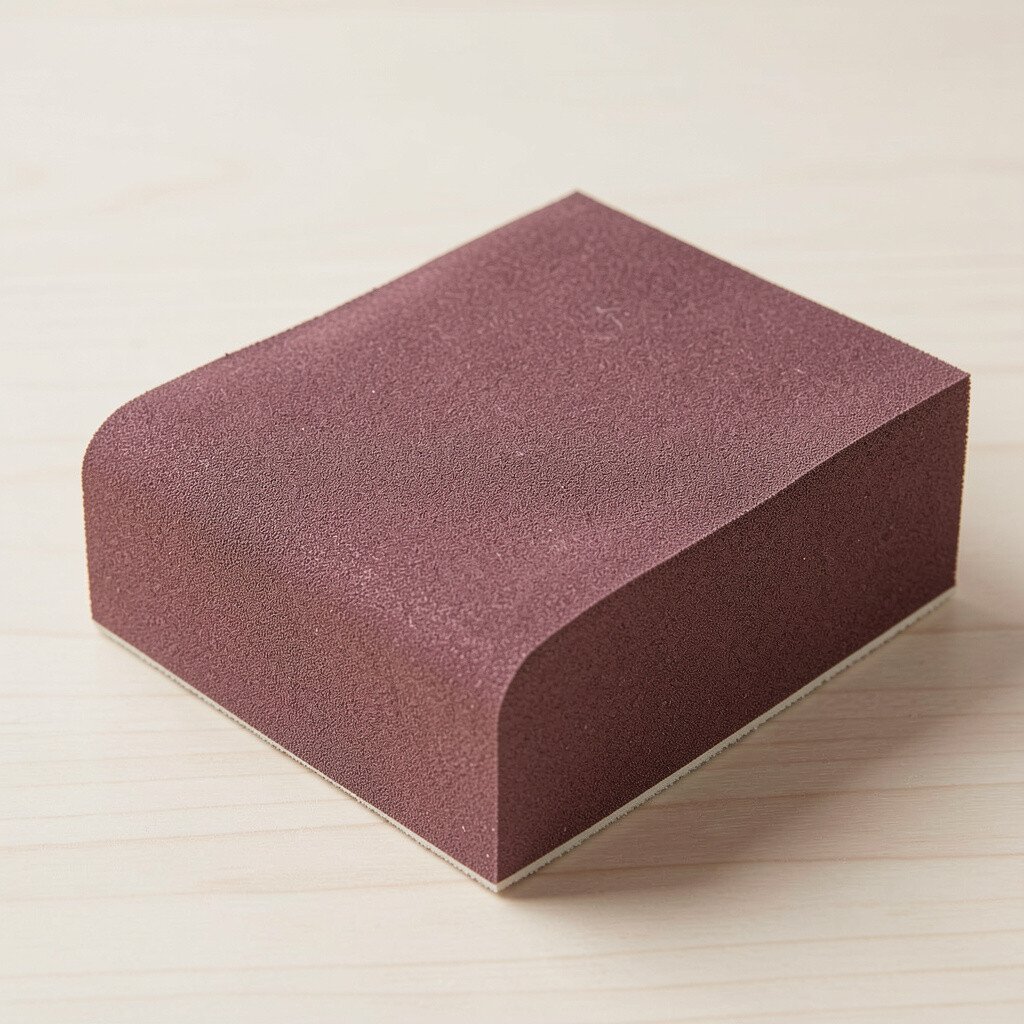
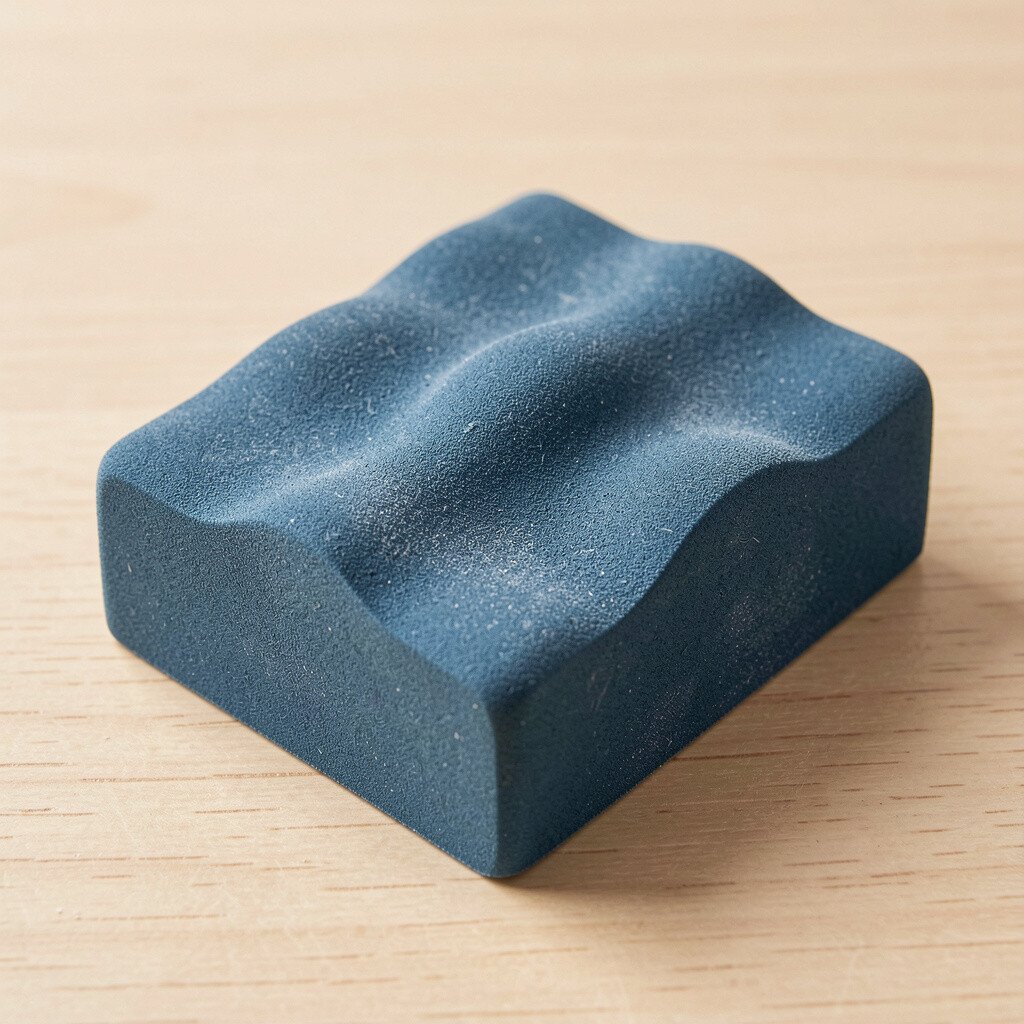
Use a foam sanding block with a soft, grippy outer surface for comfort. It helps you sand without digging into your palm, especially on long sessions.
Choose a block that matches your hand size so pressure stays even. For best results, wrap sandpaper tightly and keep edges flat to avoid ridges. Try it on painted wood, drywall patches, or lightly rusted metal where you want a gentle touch.
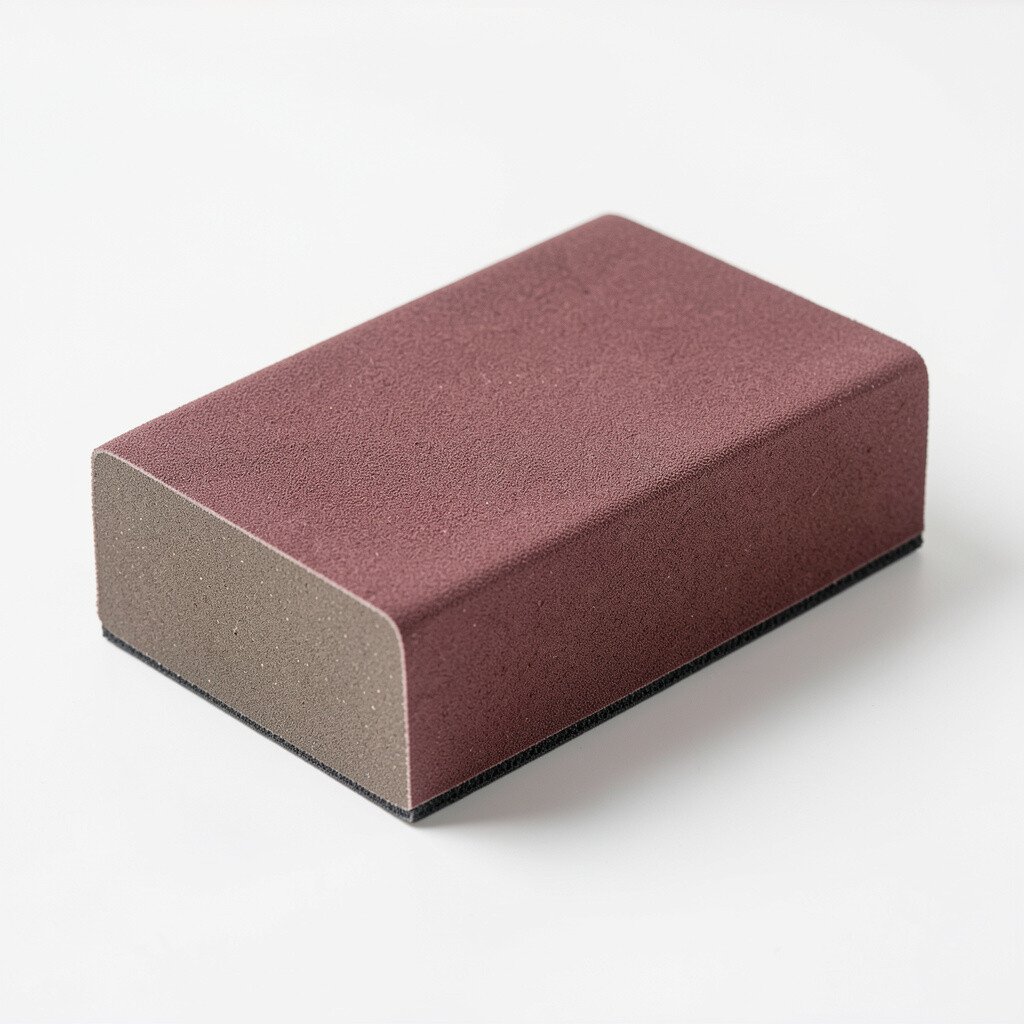
2. Rubberized Edge Contour Block
Rubberized Edge Contour Block
A rubberized edge contour block makes it easier to sand around corners without losing shape. The surface grips better than hard plastic, so you can guide the paper with less slipping.
Use it for chair legs, cabinet frames, and decorative trim where small curves matter. Keep your strokes short and consistent, and check often by running your fingertips over the area. If you find spots that stay rough, switch to a slightly finer grit instead of pressing harder.
For personalization, mark the handle with a small color dot to remind you which grit you use. You can also pair it with an easy strap that keeps the paper from shifting when you stop mid-project.
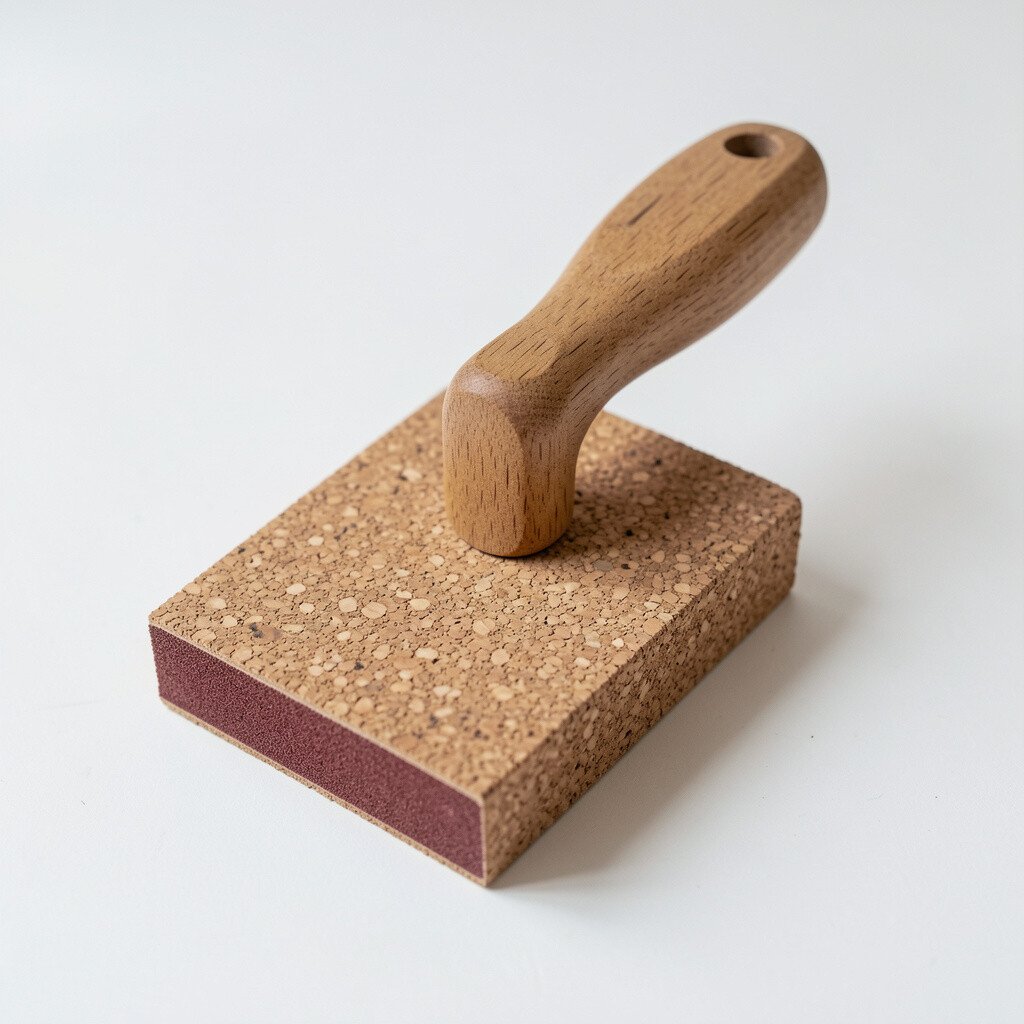
3. DIY Cork Sanding Paddle With Handle
DIY Cork Sanding Paddle With Handle
Cut a piece of cork to create a sanding paddle, then attach a small wooden handle. Cork has a natural give, so it follows tiny waves instead of flattening them too aggressively.
Sandpaper clings well to cork, and the finish tends to look more even on rough boards. Try this on reclaimed lumber and on older furniture where the grain has dips you don’t want to overwork.
Wrap the paper around the cork and secure it with snug tape so the edges stay aligned. If you want a smoother feel, sand the cork handle lightly and add a thin coat of clear varnish. Cost stays low because cork scraps are often cheaper than specialty blocks.
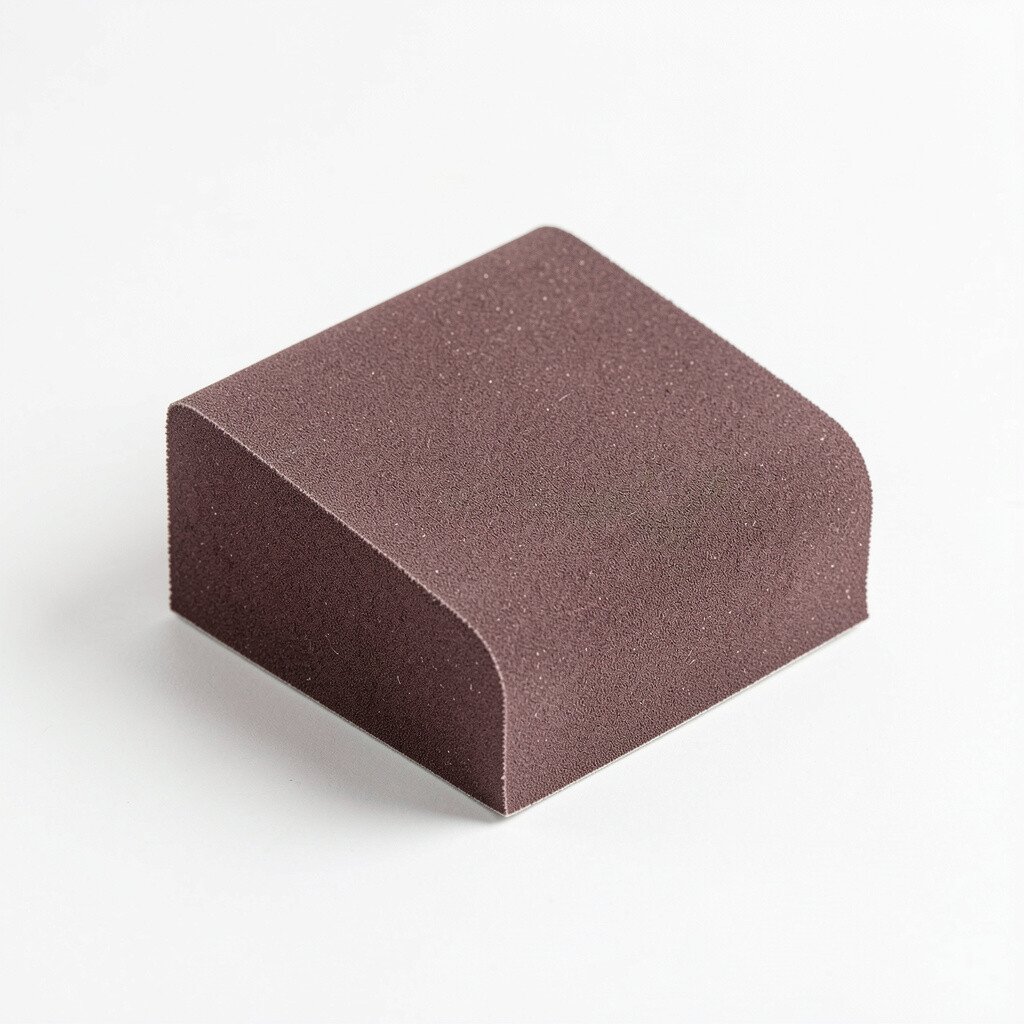
4. Flexible Sanding Block for Curves and Edges
Flexible Sanding Block for Curves and Edges
A flexible sanding block is perfect for curved surfaces like rounded tabletops and curved metal guards. It bends slightly under pressure, which helps you avoid creating flat spots on curved shapes.
When using it, let the paper do the work and move in gentle arcs. Pair it with medium grit to remove roughness, then finish with fine grit for a soft touch. A quick visual check in bright light helps you see dull areas that need more passes.
5. Wrap-and-Snap Block With Replaceable Sheets
Wrap-and-Snap Block With Replaceable Sheets
A wrap-and-snap block saves time because you can swap sandpaper quickly. The snap system holds the paper tight, so the grit stays flat instead of bunching.
Look for one that fits common sheet sizes so you can keep a steady supply without measuring every time. It’s great for projects like doors, tabletops, and built-in shelving where you need consistent coverage.
For personalization, write the grit number on a corner with a marker that wipes clean. This small habit keeps your workflow smooth and helps you avoid accidentally jumping to too fine or too coarse.
6. Magnetic Sanding Block for Easy Grit Changes
Magnetic Sanding Block for Easy Grit Changes
A magnetic sanding block uses strong magnets to hold sandpaper in place. This design makes grit changes faster, which is helpful when you alternate between removal and finishing.
Use it for cabinet refinishing, where you might move from rough prep to gentle smoothing often. Keep the sanding surface clean so magnets grip evenly, and store sheets flat to prevent curling.
If you like customization, choose different magnetic pads for different tasks, like one for flats and one for edges. This can reduce tool clutter and lower your long-term cost because you buy fewer adapters.
7. Microfiber-Backed Sanding Block for Final Touches
Microfiber-Backed Sanding Block for Final Touches
A microfiber-backed sanding block helps you get a silky feel without harsh streaks. The soft backing supports the grit and reduces scratch marks on delicate finishes.
This is a smart pick for sanding between coats on varnish, paint, or stain. Use fine grit and light pressure, then wipe away dust so the finish stays clear and smooth.
An angled corner sanding block tackles inside corners and tight joints where flat blocks struggle. The angle lets you reach the edges without rounding them off too much.
Use it on window trim corners, picture frame miter joints, and built-in cabinetry. Work slowly, and keep the corner tool aligned so you remove dust and texture evenly rather than in one heavy patch.
If you want better control, wear a snug glove on your sanding hand and steady your wrist with the other hand. This small setup makes it easier to maintain consistent pressure and improves how clean your final seam looks.
9. Sanding Block for Power Tools and Hand Blending
Sanding Block for Power Tools and Hand Blending
A sanding block built to pair with a palm or random-orbit setup helps you blend transitions smoothly. It keeps your paper aligned, so you get a flatter, more uniform surface across a wider area.
Use it when you’ve got an area that needs both quick leveling and careful finishing. Start with controlled passes, then switch to a finer grit and blend outward so edges don’t look darker. Dust control matters here, so vacuum as you go and wipe often.
10. Squeegee-Style Sanding Block for Flat Panels
Squeegee-Style Sanding Block for Flat Panels
A squeegee-style sanding block gives you a strong, controlled sweep across flat panels. The straight, firm edge helps keep the sanding plane consistent, which reduces waves in large surfaces.
Use it on doors, plywood panels, and tabletops after you’ve filled holes or removed old coating. Move in long strokes, then finish with lighter passes across the grain. For personalization, you can add a small foam strip on the back side for comfort during longer work.
Cost-wise, you may be able to repurpose a rigid squeegee handle, making this a budget-friendly option. It’s also a fun trend in maker circles to use everyday tools in smarter sanding ways.
11. Sander With Built-In Dust Shroud
Sander With Built-In Dust Shroud
A sanding block with a dust shroud makes the whole job cleaner and easier to manage. When dust stays under control, you see your progress more clearly and your finish stays smoother.
Choose a model that fits your vacuum hose and holds the paper tightly. Use it for drywall repairs, paint prep, and any time you’re sanding filler or primer so the air stays more comfortable to breathe.
To personalize, keep a small brush nearby to clear the shroud between grits. This kind of dust control matches current workshop habits, since cleaner benches lead to more consistent final results.
12. Contoured Silicone Block for Non-Slip Gripping
Contoured Silicone Block for Non-Slip Gripping
A contoured silicone block is flexible enough to prevent slipping but firm enough to guide sanding. The soft texture grips your hand, which helps you apply steady pressure across grain lines.
Use it on stairs, railing parts, and rounded furniture pieces where hand grip matters. If you’re sanding textured paint, let the silicone backing absorb minor unevenness so you don’t create fresh scratches.
For cost considerations, silicone blocks are often reusable and resist wear from common solvents. They also tend to clean easily, so you can keep dust from building up and interfering with sanding.
13. Sanding Sponge Block for Lightweight Smoothing
Sanding Sponge Block for Lightweight Smoothing
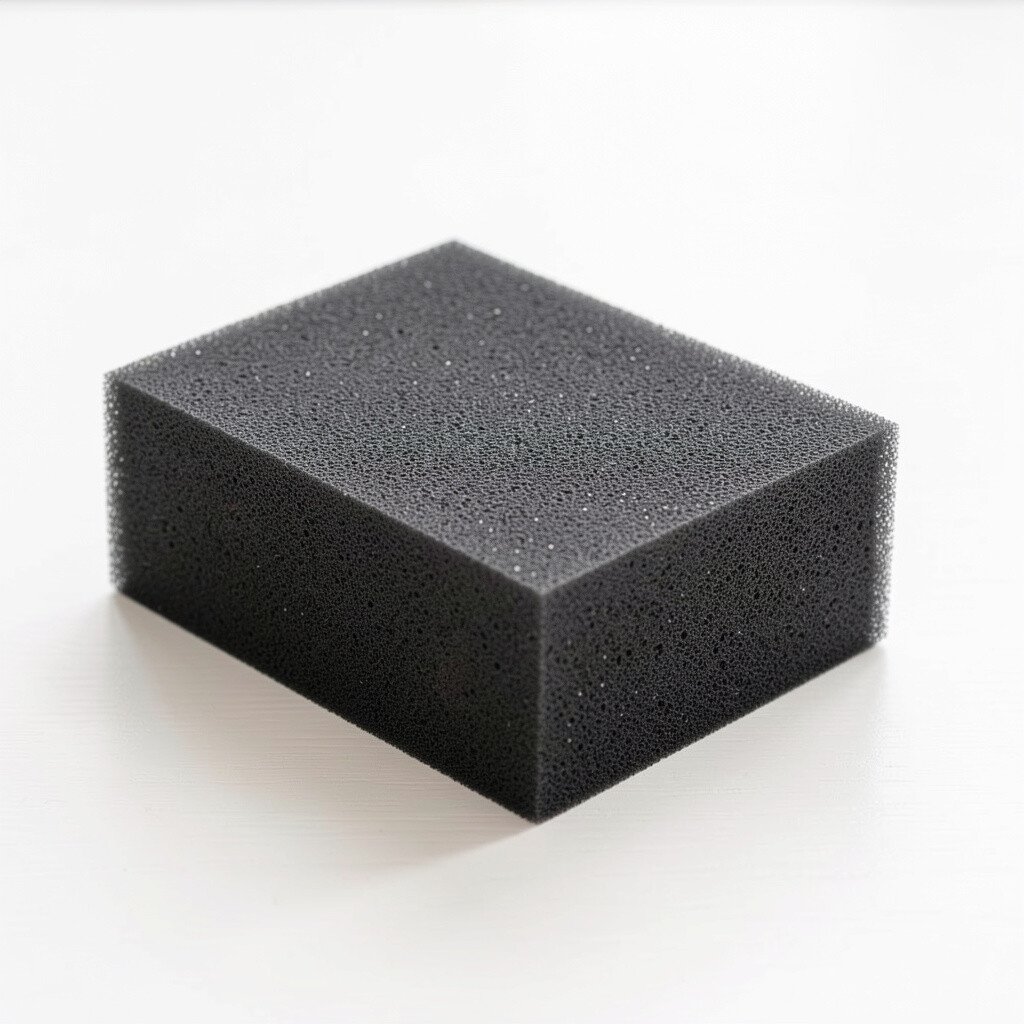
A sanding sponge block is an easy choice when you want quick smoothing without too much control. It’s forgiving on uneven surfaces and good for everyday touch-ups.
Use it on scuffs, edges of shelves, and small drywall patches where you want a soft, even feel. Keep the sponge slightly damp if your process allows it, and let it dry fully before finishing.
14. Layered Felt Block for Burnish-Like Finishes
Layered Felt Block for Burnish-Like Finishes
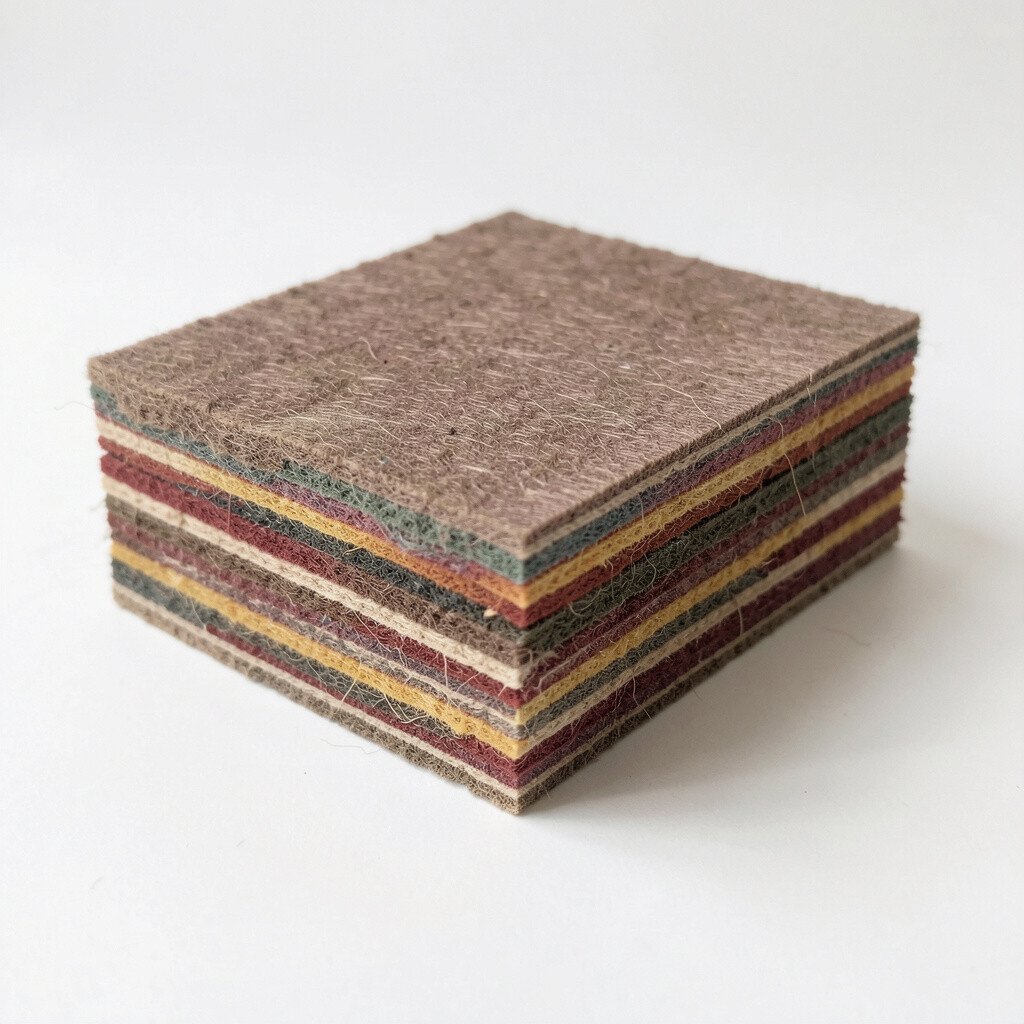
A layered felt block can act like a burnishing tool after sanding. Felt doesn’t just remove roughness, it helps level tiny ridges, which can improve how light reflects off the surface.
Use it after fine grit sanding on wood, metal, or painted areas for a polished look. Try applying a light finishing wax or a compatible lubricant if your workflow allows it, then use gentle pressure.
For personalization, cut felt layers to different thicknesses so you can match how firm you want the feel to be. This idea is unique because it blends sanding and finishing in one step, which many hobbyists love when they want speed.
15. Reclaimed Wood Block With Custom Shaped Face
Reclaimed Wood Block With Custom Shaped Face
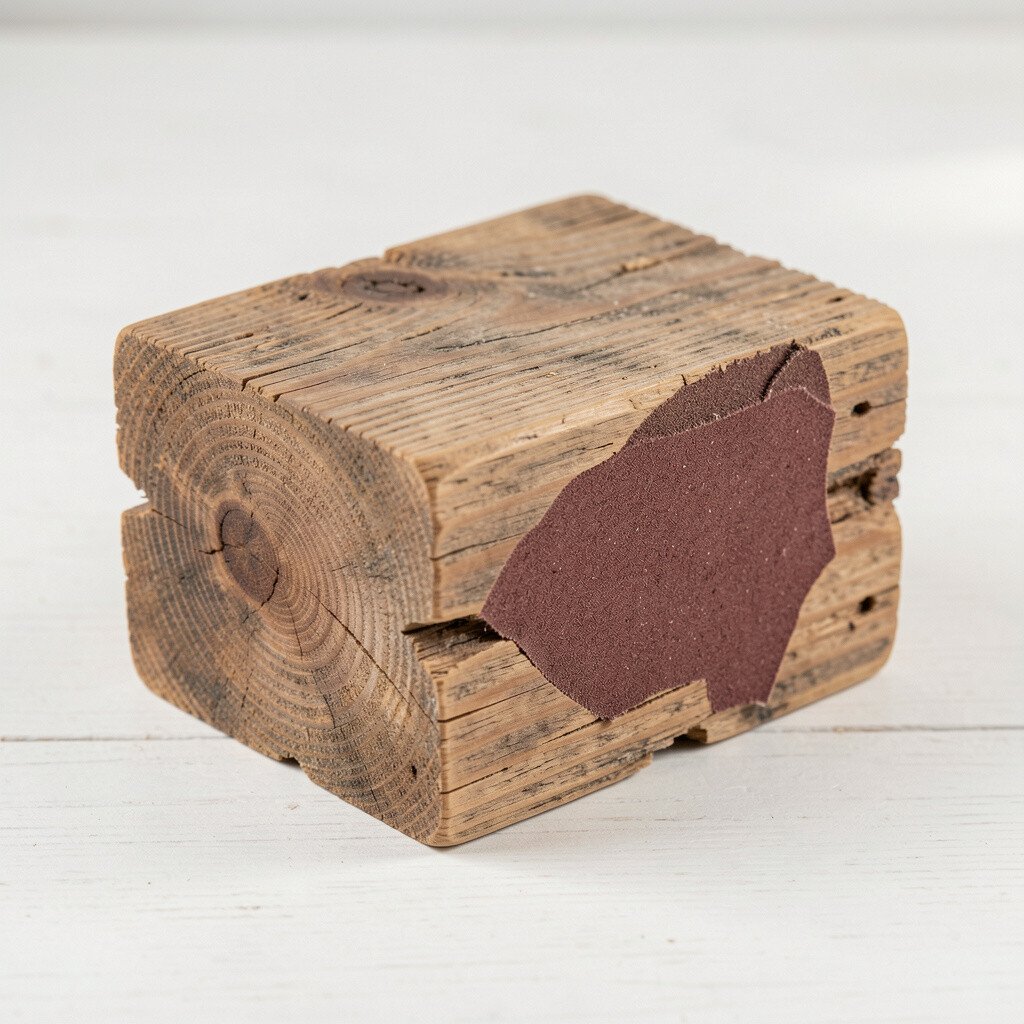
A reclaimed wood sanding block feels sturdy, and you can shape its face to fit your favorite tools. Carve shallow grooves or a slight curve into the wood so the block matches the edges you sand most often.
Use it for hands-on projects like picture frames, curved banisters, and furniture repairs. After shaping, wrap sandpaper securely and keep the surface smooth so grit doesn’t catch and create scratches.
If you want the best cost value, save scraps from old projects and pick a hardwood block that’s already in your shop. It’s also a great way to personalize your toolkit and keep your sanding routine enjoyable instead of boring.