19+ Creative Block Building Area With Varied Shapes For Kindergarten Ideas
The room can feel magical when blocks fit the space like they belong there. Small changes in shape and layout can make building safer, calmer, and more fun.
Here are creative block building area ideas that use varied shapes to spark hands-on play and friendly teamwork.
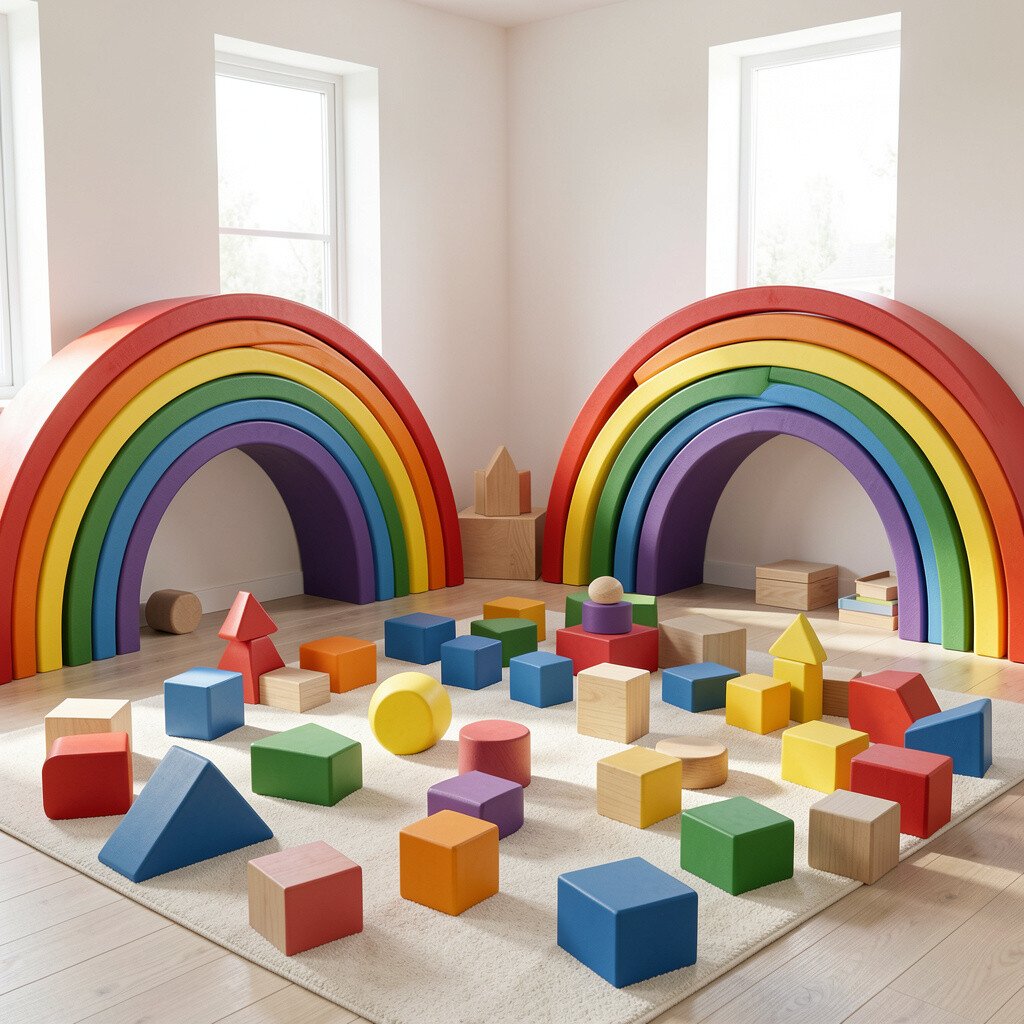
Carve a wide crescent out of carpet or foam matting so kids can circle around while they build. A rainbow-like curve also helps children aim their bricks toward a clear “home base” in the middle.
To set it up, use low shelving or soft dividers to create a gentle boundary. This curved space keeps blocks from spilling into busy walkways and gives each child a satisfying sense of place and ownership.
2. Twisting River Path for Block “Travel”
Twisting River Path for Block “Travel”
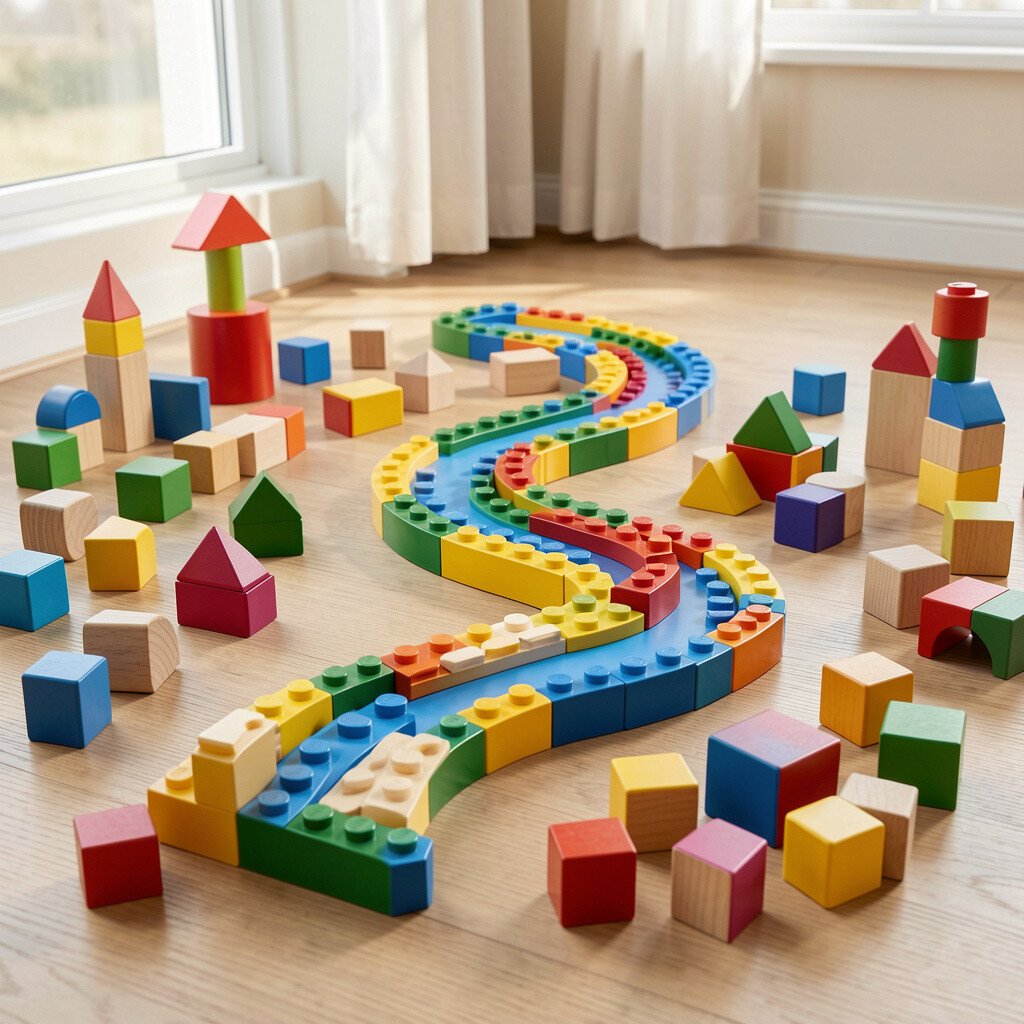
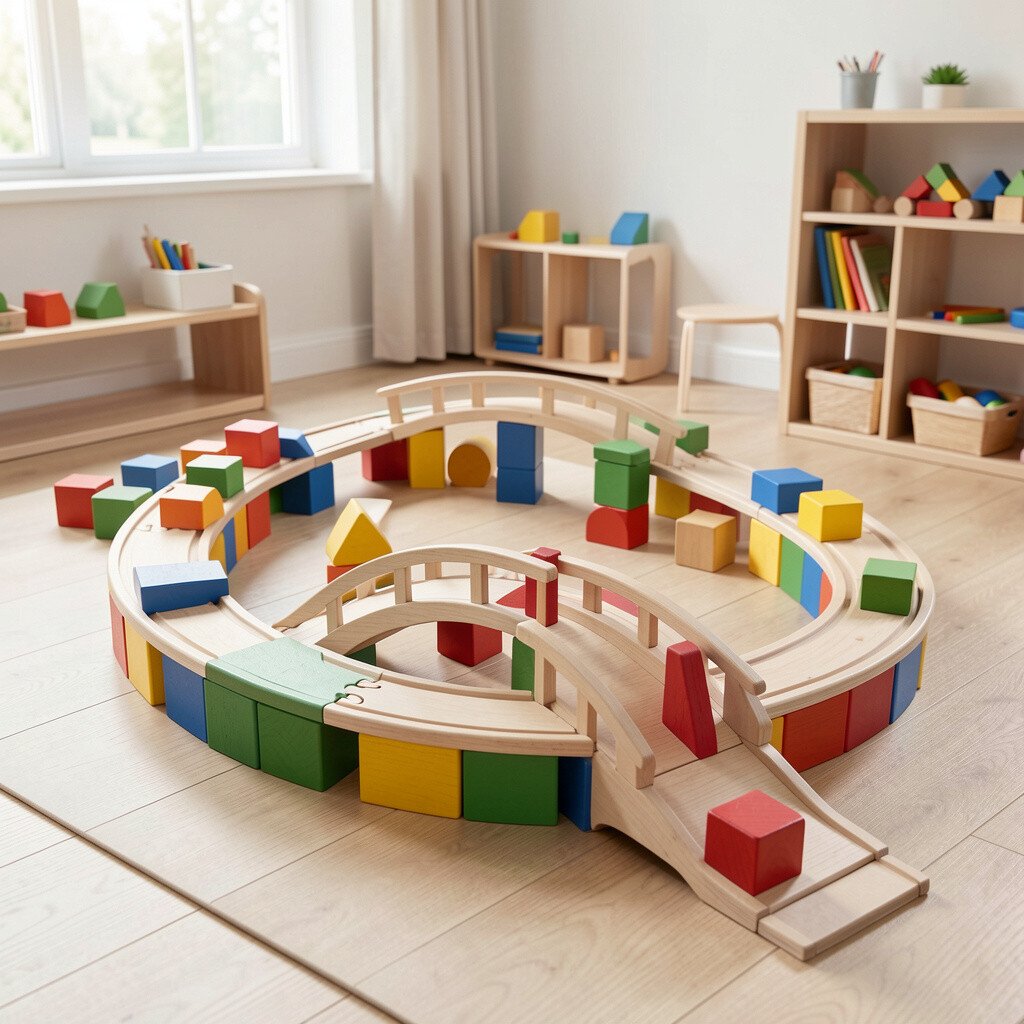
Lay down tape or rug shapes that look like a winding river, with smooth bends and a few gentle forks. Children can slide blocks like “boats” along the path and build small bridge spots where the river narrows.
Choose foam blocks and flat tiles that match the curve so building stays steady. A river layout naturally supports turn-taking because kids can build in separate bend zones.
For personalization, add toy animals, wave patterns, or color markers along the route. Current classroom trends favor sensory-friendly floor play, and a soft path is easy on knees during floor builds.
3. Circle Town With Concentric Building Rings
Circle Town With Concentric Building Rings
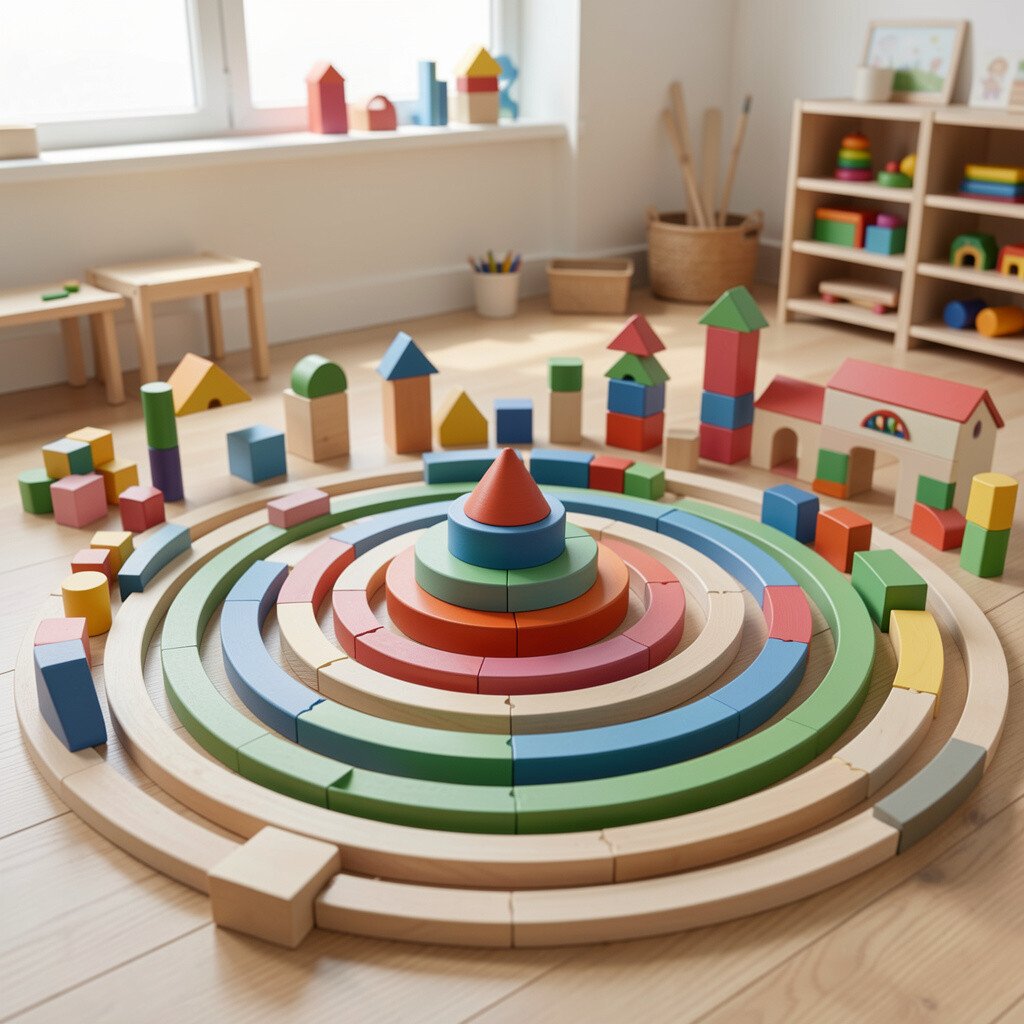
Set up a large circle mat with smaller rings inside, so blocks can be placed ring by ring like neighborhoods. Kids will love watching their towers grow at the edges, while quieter builders can stay in the inner zones.
Use flat foam letters or picture cards as prompts for what each ring can hold, such as homes in the outer ring and roads in the middle. This structure supports independence because children can choose a ring and start immediately without crowding.
For cost considerations, many rings can be made from rug remnants, kid-safe tape, or washable vinyl dots. You can also swap seasonal colors to match holidays and themes while keeping the layout the same.
If you want extra movement, add a “delivery lane” ring where kids carry block pieces to each station. The varied shapes keep attention longer because the floor feels like a game board.
4. Star-Shaped Build Zones With Soft Corners
Star-Shaped Build Zones With Soft Corners
Create star outlines using thick carpet tape and place padding under sharp corners. A star plan gives clear boundaries and invites dramatic “finish lines” when kids complete each point.
Put different types of blocks in each point, such as thick wooden planks in one point and small stacking pieces in another. This makes sorting feel like part of the play, not a separate cleanup chore.
Use three large triangle rugs to form a simple community layout, like rooftops sharing a common courtyard. Children can build “houses” on each triangle and connect them with bridges in the center.
Keep the center open with a low fence line so the courtyard stays a shared meeting spot. This design supports social play because groups can collaborate on the connecting parts.
Personalize the triangles with picture clues, like a sun, a tree, and a cloud, to guide building themes without strict rules. If you want a budget-friendly version, use large poster board triangles wrapped with contact paper for wipeable surfaces.
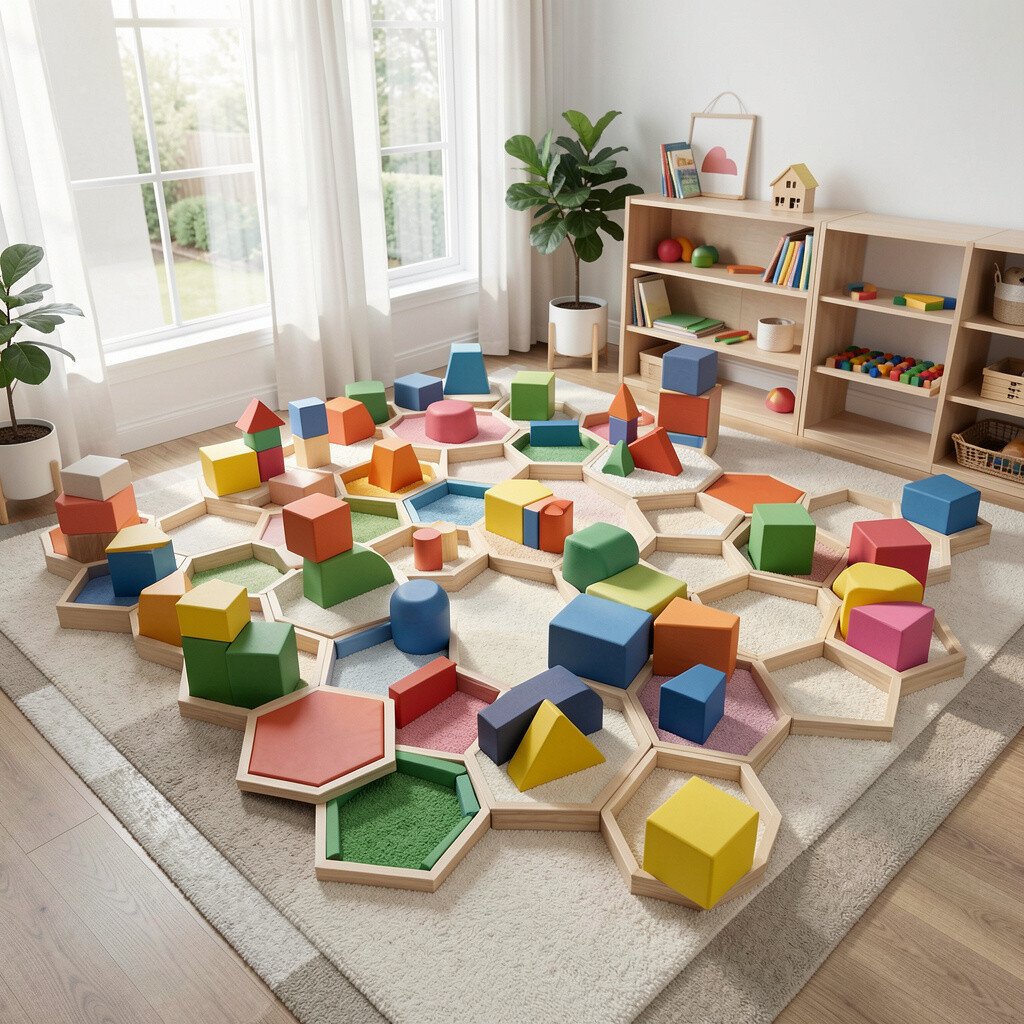
6. Hexagon Honeycomb Layout for Team Structures
Hexagon Honeycomb Layout for Team Structures
Arrange hexagon mats in a honeycomb pattern so kids can build into connected cells. The repeating shape helps children understand how separate pieces can make one bigger plan.
Try dividing cells into roles, such as builders, bridge makers, and “inspectors” who check stability. Kids get a sense of teamwork because each hexagon feels like a shared task.
For practical tips, keep connectors and small parts in labeled baskets near the center so kids don’t walk far to gather supplies. This layout also fits the current trend of learning through stations, where activities feel organized but still playful.
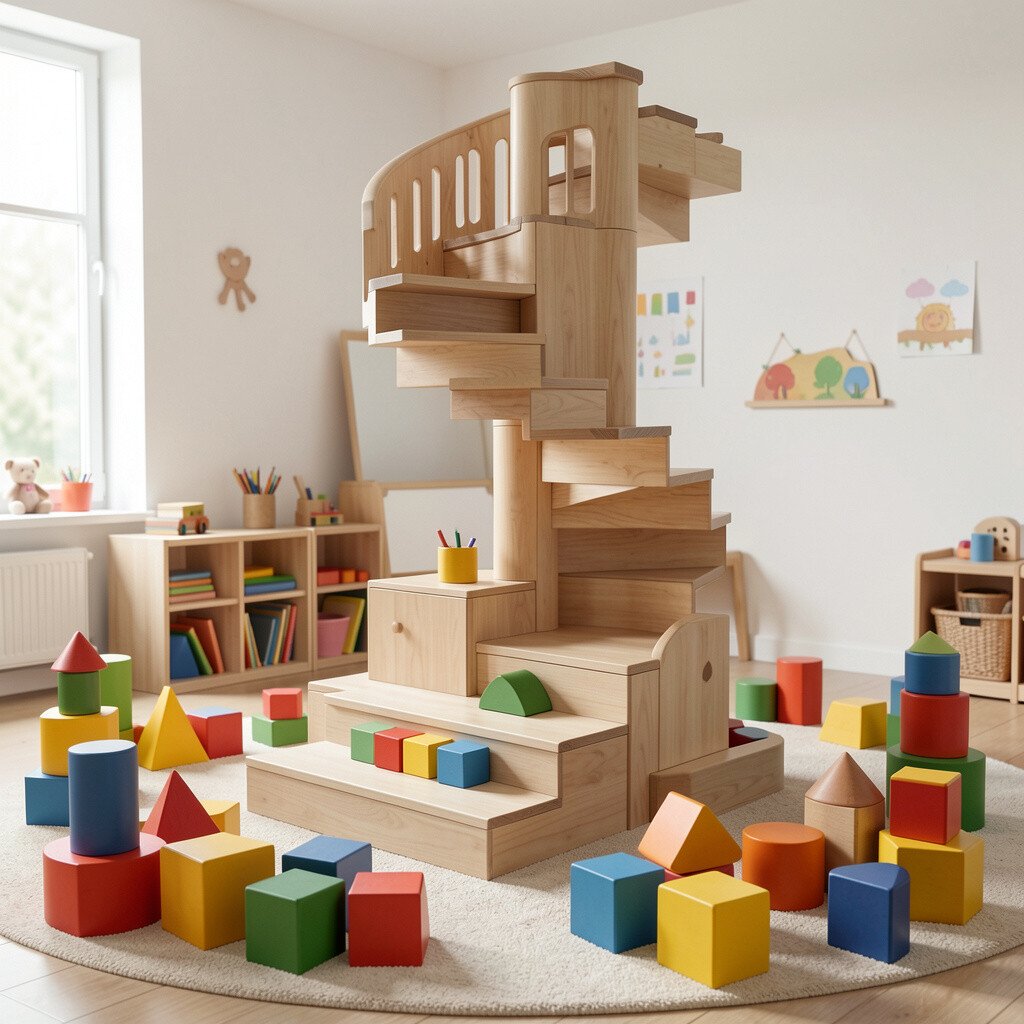
7. Spiral Stair Tower With Raised Steps
Spiral Stair Tower With Raised Steps
Design a spiral ramp path using foam steps or stacked yoga mats, then add blocks right along the spiral. Children can build tall towers and test whether they hold up as the base climbs upward.
The raised steps make it easy to see building height, which helps kids notice balance and spacing. It also reduces frustration because the spiral naturally gives them a clear direction for building.
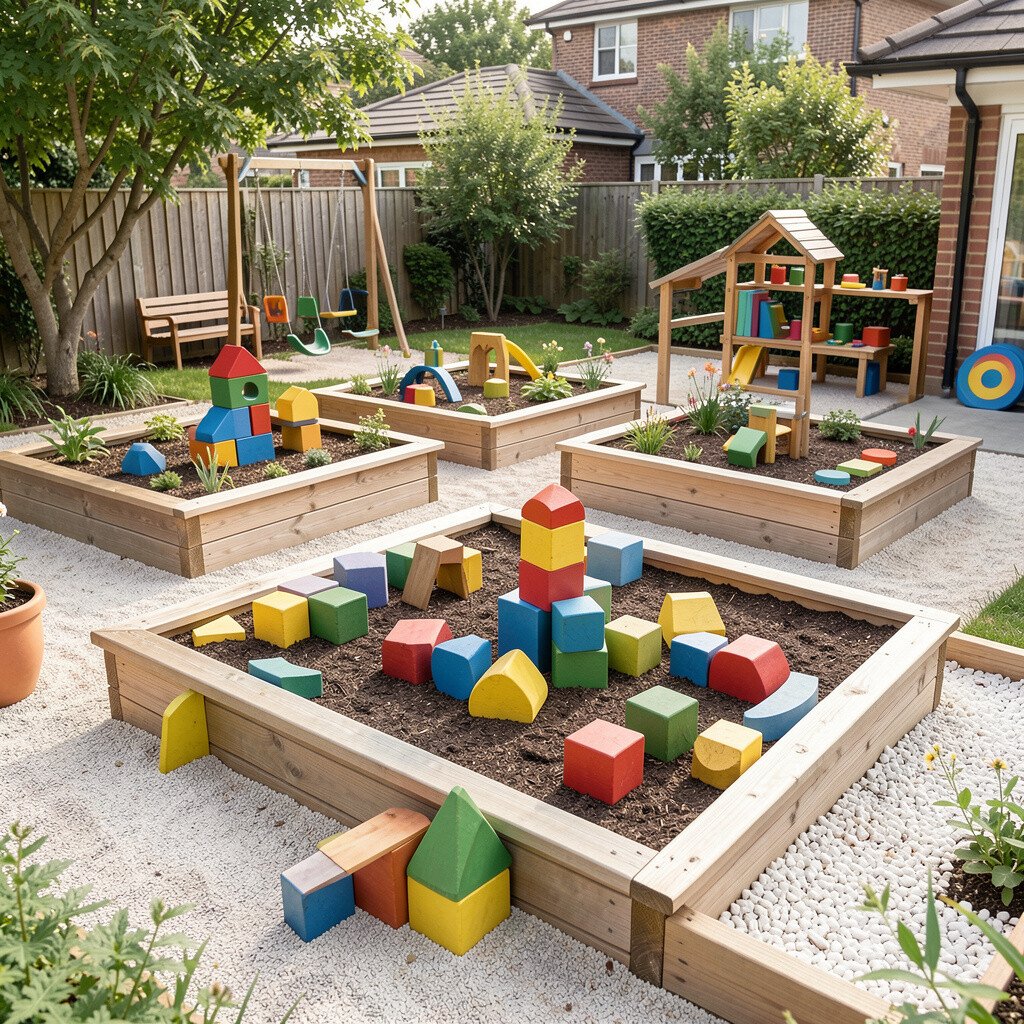
8. Square Garden Courtyards With Label-Free Play Prompts
Square Garden Courtyards With Label-Free Play Prompts
Build around square courtyards made from rugs or interlocking tiles, with open space in the middle of each square. Kids can create fences, courtyards, and mini parks inside the borders.
To keep things friendly and label-free, use picture cards as visual prompts near baskets instead of printed signs inside the play space. Children choose what to build and still feel guided by what they see at a glance.
For cost considerations, use affordable vinyl tablecloth material for the borders, weighed down at the corners. You’ll get a wipeable surface that holds up well to block dust and spills.
This square setup is great for beginners because straight sides help blocks line up, reducing wobbling. When kids succeed quickly, their confidence grows and they try bigger ideas.
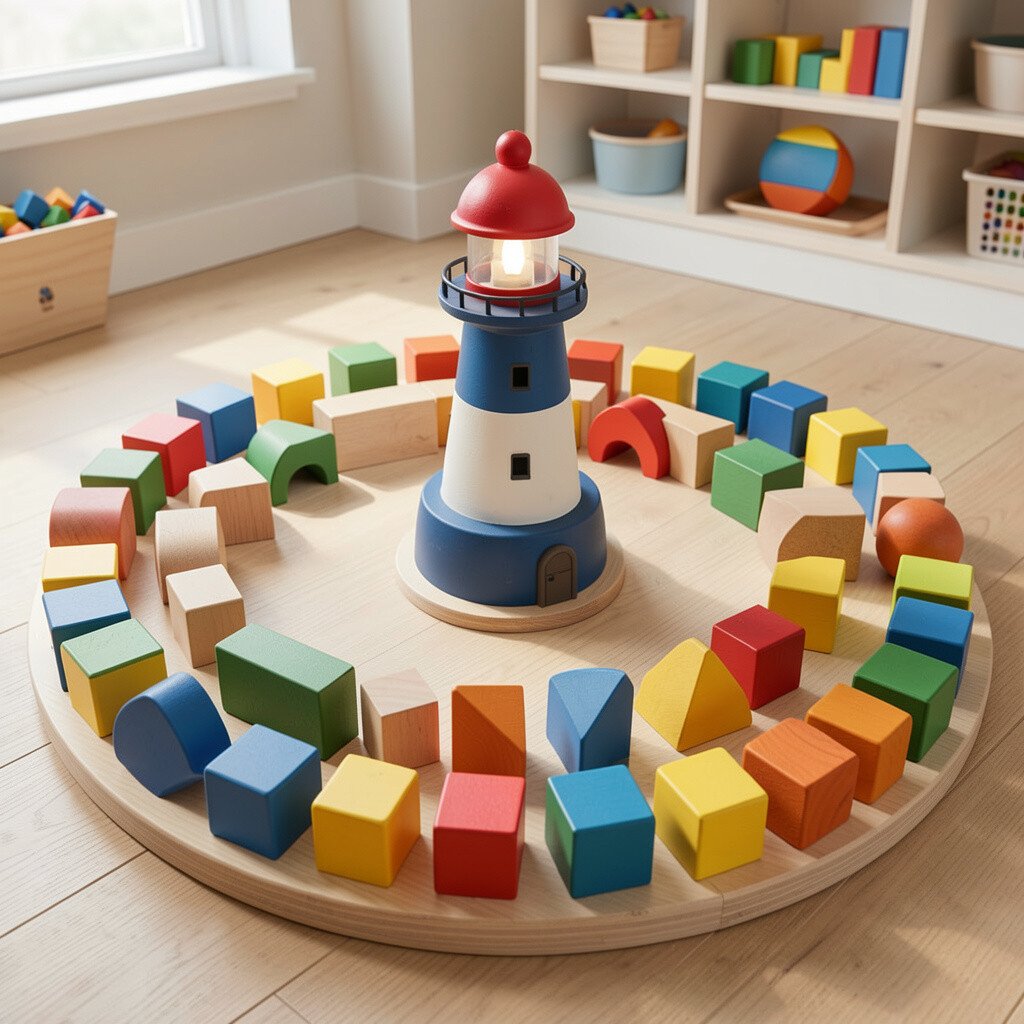
9. Lighthouse Loop Builder’s Circle
Lighthouse Loop Builder’s Circle
Create a loop shaped like a lighthouse ring with a wide opening where kids can enter and set materials down. Place a tall cone or foam lighthouse centerpiece in the middle for a natural “goal spot.”
Use the loop to encourage building around a theme, like a harbor with walls and docks. The loop shape also prevents blocks from rolling away because kids build close to their boundary line.
Personalize it by adding themed mini figures, such as boats in summer or stars in winter. You can rotate the centerpiece with inexpensive props to keep the area feeling new without buying all new supplies.
10. Crescent Dockline With Bridge Connections
Crescent Dockline With Bridge Connections
Use two curved docks facing each other across a soft gap where children place bridge pieces. This setup makes the play feel like a real connection challenge with clear start and finish spots.
Put longer blocks near one dock and flatter connector pieces near the other dock to encourage cooperative building. Kids learn planning because they must match bridge lengths before stacking.
11. Y-Shaped Roadways for Building and Sorting
Y-Shaped Roadways for Building and Sorting
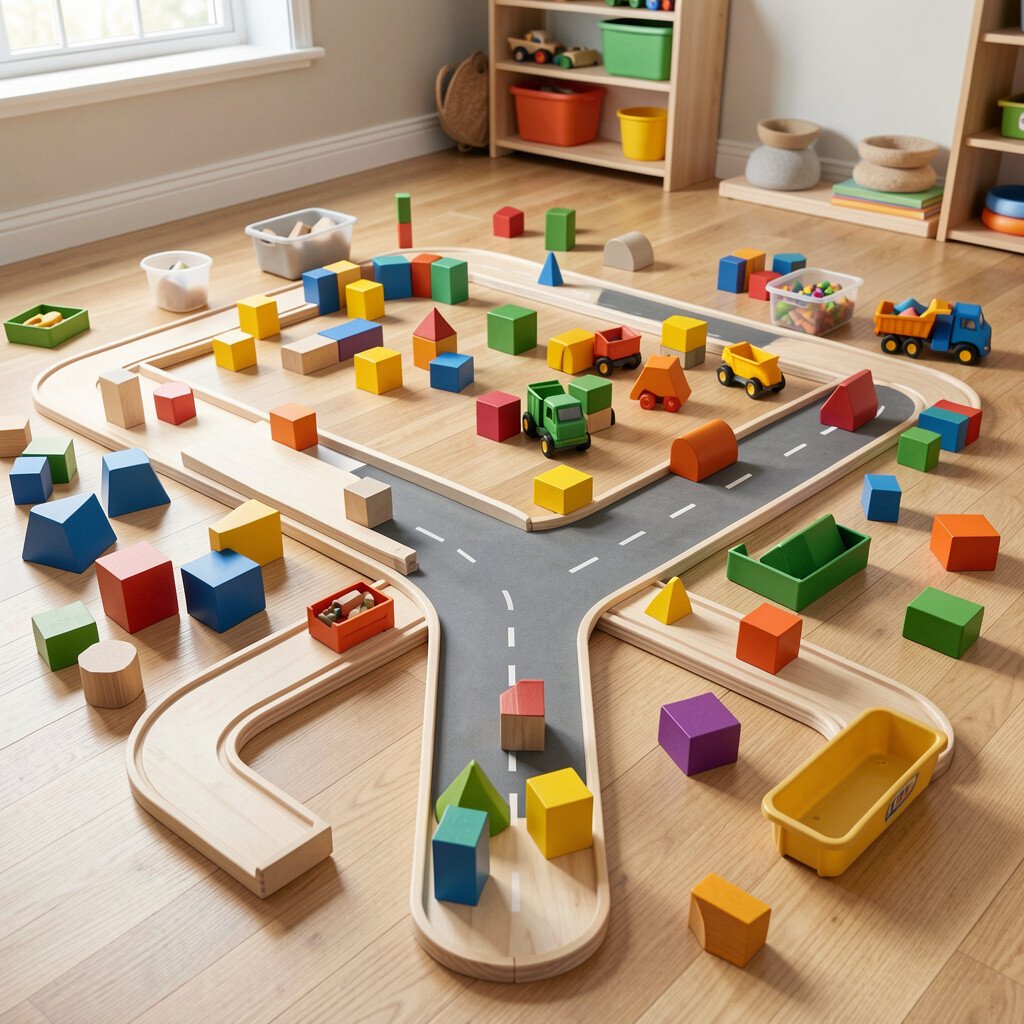
Make a Y-shaped roadway with three branches leading to three storage baskets. Children can build on the branches and then carry pieces back along the road by type.
The shape supports sorting automatically because each branch becomes a place to put certain blocks. It also reduces cleanup time since kids already understand where their pieces belong.
For practical tips, use low walls made from foam so kids won’t fall into the Y gap. You can add small icons at each branch end so kids can match blocks by color or picture.
Parents often love how organized the floor looks, and it fits current classroom priorities for tidy, calm learning spaces. Even a small budget works because tape and rug scraps can create the Y design.
12. Octagon Market With Selling and Building Shelves
Octagon Market With Selling and Building Shelves
Arrange an octagon play mat with eight smaller zones around it, like booths in a market. Kids can build shelves, counters, and display stands while the octagon center becomes the “market plaza.”
This layout helps kids practice turn-taking because one group sets up booths while another builds central structures. It also supports language play since children naturally talk about what is being sold or stored.
13. Paper-City Doorway Lanes in Block Form
Paper-City Doorway Lanes in Block Form
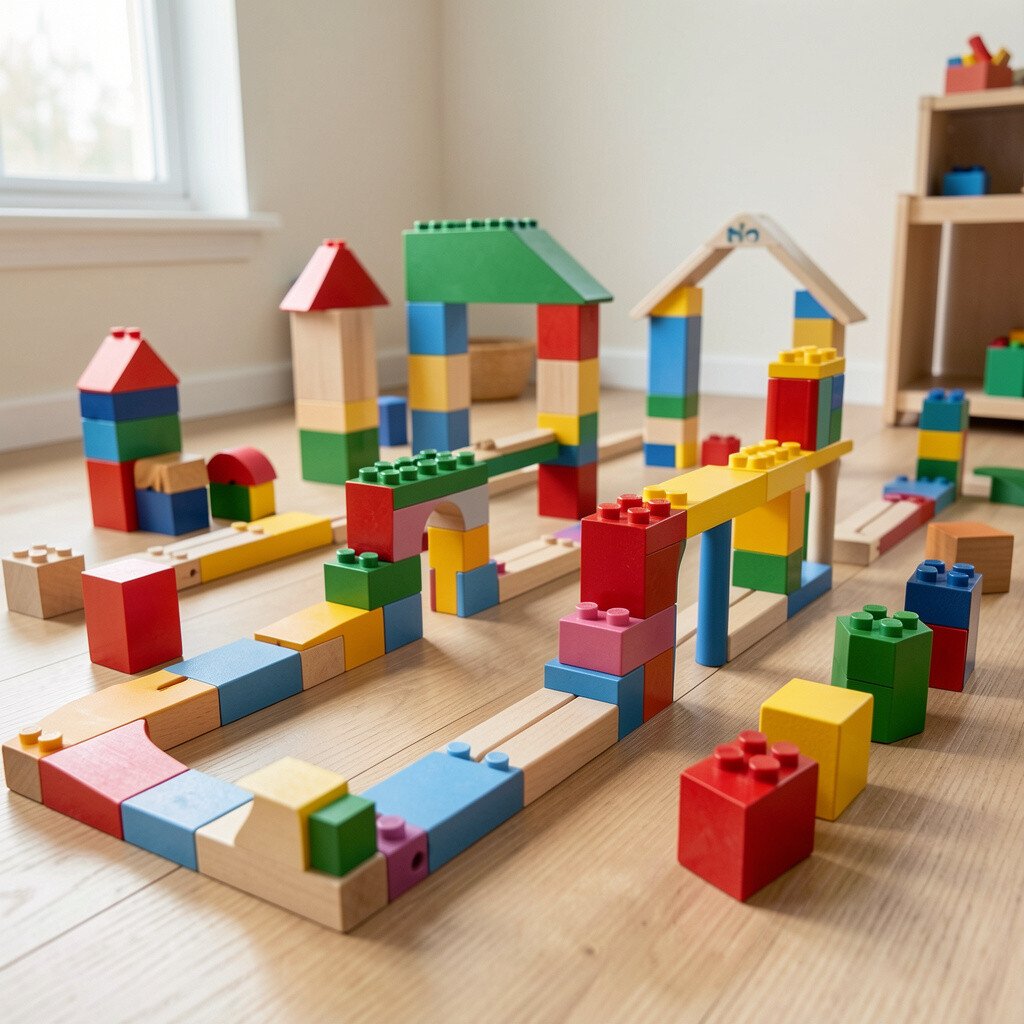
Make doorway-shaped lanes using foam frames, then let kids build archways, tunnels, and safe “city gates” with blocks. Doorways create instant visual structure and encourage creative architecture.
Keep the lanes wide enough for preschool movement so kids can walk around their own buildings while playing. This improves safety and helps children stay engaged without bumping into furniture.
Personalize the doorways with washable fabric signs that show seasons or story characters. If you’re watching costs, you can reuse large cardboard frames covered with contact paper, as long as edges stay padded.
14. Cloud-Swirl Build Pods With Private Corners
Cloud-Swirl Build Pods With Private Corners
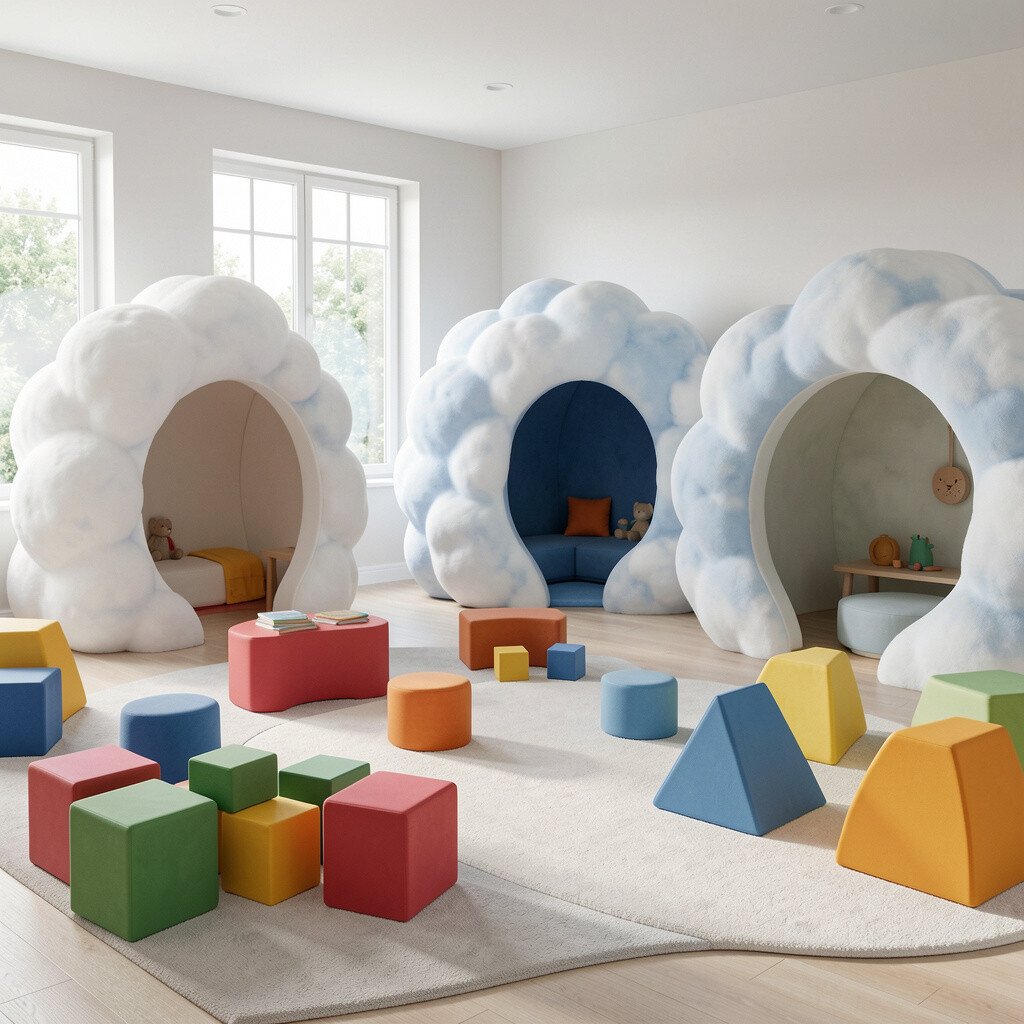
Cut out cloud shapes from thick felt or foam and arrange them in overlapping clusters. Each cloud pod becomes a private building corner where kids can hide, quiet down, and create without pressure.
Overlaps help children share materials because they can move between pods, but boundaries still feel gentle. This is especially helpful for classrooms that need a few calm play zones to support self-regulation.
Try adding soft lighting or bright floor sparkles under one cluster to make one pod feel special. Current trends often encourage cozy learning spaces, and cloud shapes naturally feel comforting.
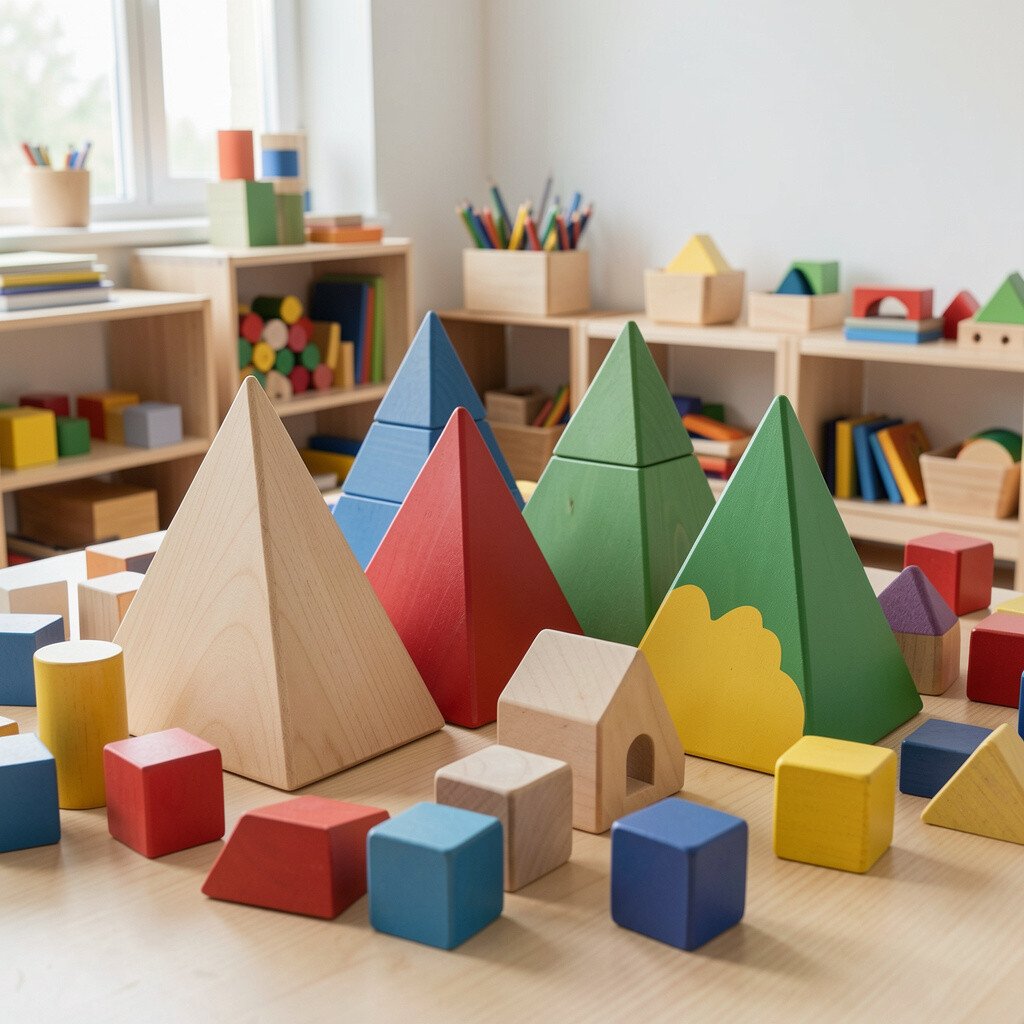
15. Triangle Prism Mountain Range
Triangle Prism Mountain Range
Use tall prism-shaped foam blocks or stacked mats to form a “mountain range” outline on the floor. Kids build caves, peaks, and bridges between mountains using smaller block pieces.
The peaks create clear visual targets, and children love creating routes across the range. This setup also encourages careful placement because structures often need support against the mountain walls.
For personalization, add animal figures on each mountain to inspire story building. Keep a few sturdy wide blocks at hand so kids can build stable bases without needing expensive sets.
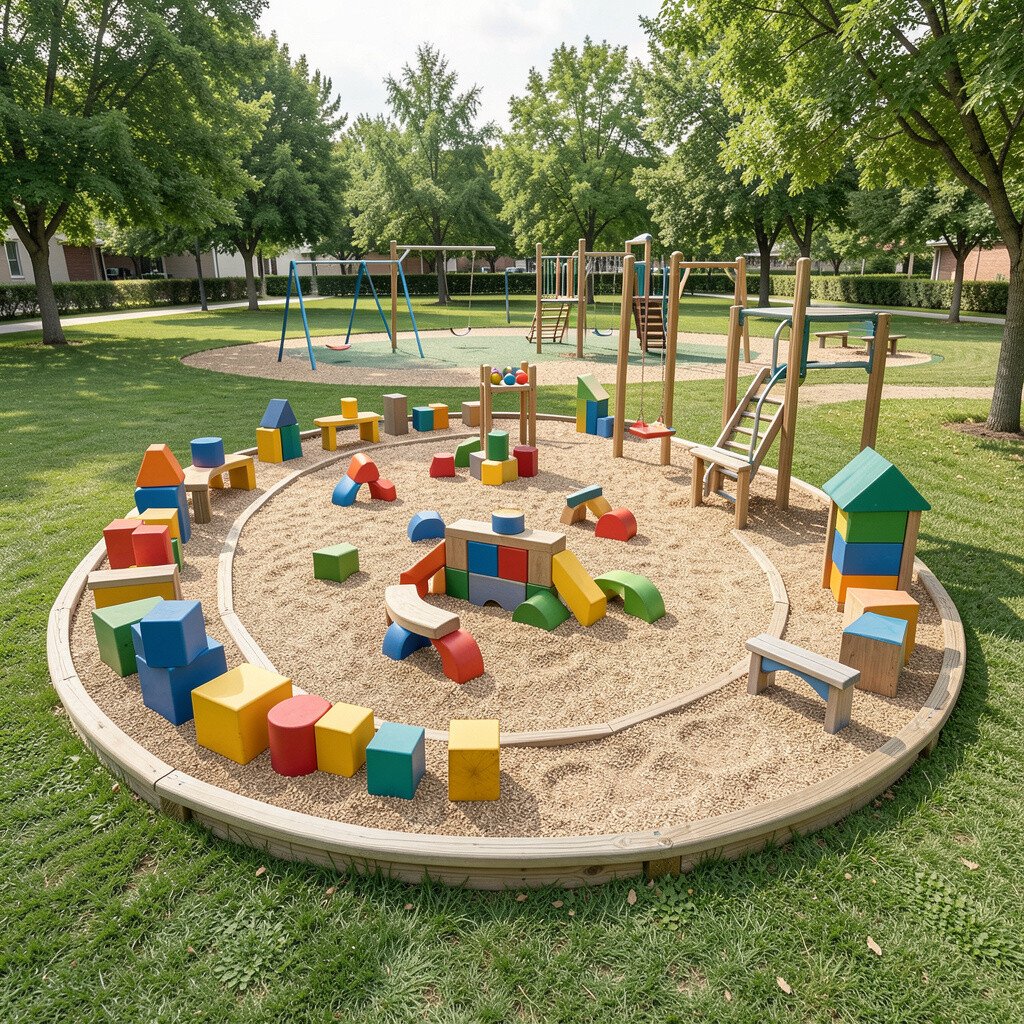
16. Oval Track Playground With Stop-and-Build Stations
Oval Track Playground With Stop-and-Build Stations
Create an oval track using rug strips, then add three to four stop spots along the track. Each stop spot is a small build station where children add pieces to a growing oval “park.”
Rotate the prompt images each week, such as slides, bridges, or boats, so the same shape feels fresh. This supports current ideas around varied micro-themes without forcing worksheets.
To manage cost, you can use existing rugs and cut them into consistent strips for the track. A simple layout makes it easy to move the entire setup to another room for special events.
As a practical tip, keep blocks grouped by size near each stop spot so kids don’t mix everything and get overwhelmed. When the floor guides them, they spend more time building and less time searching.
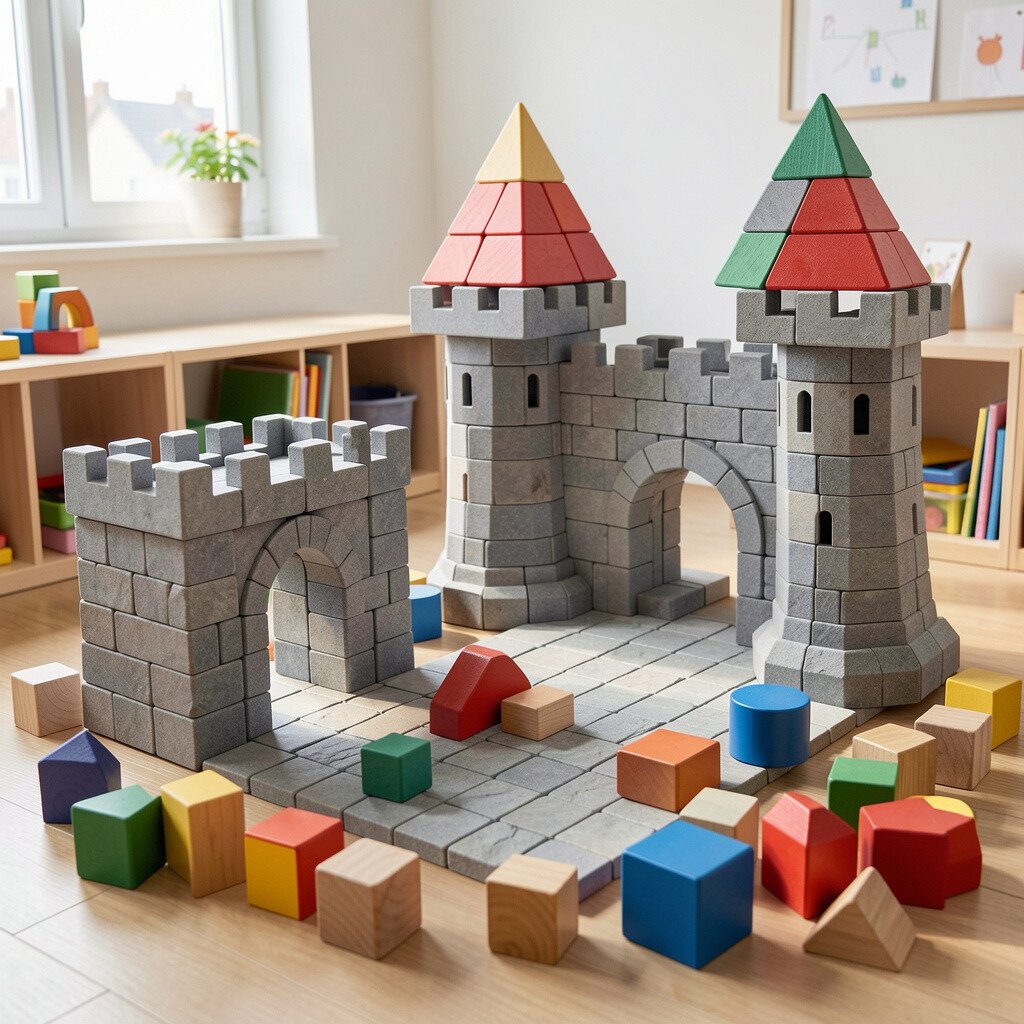
17. Diamond Castle Keep and Courtyard
Diamond Castle Keep and Courtyard
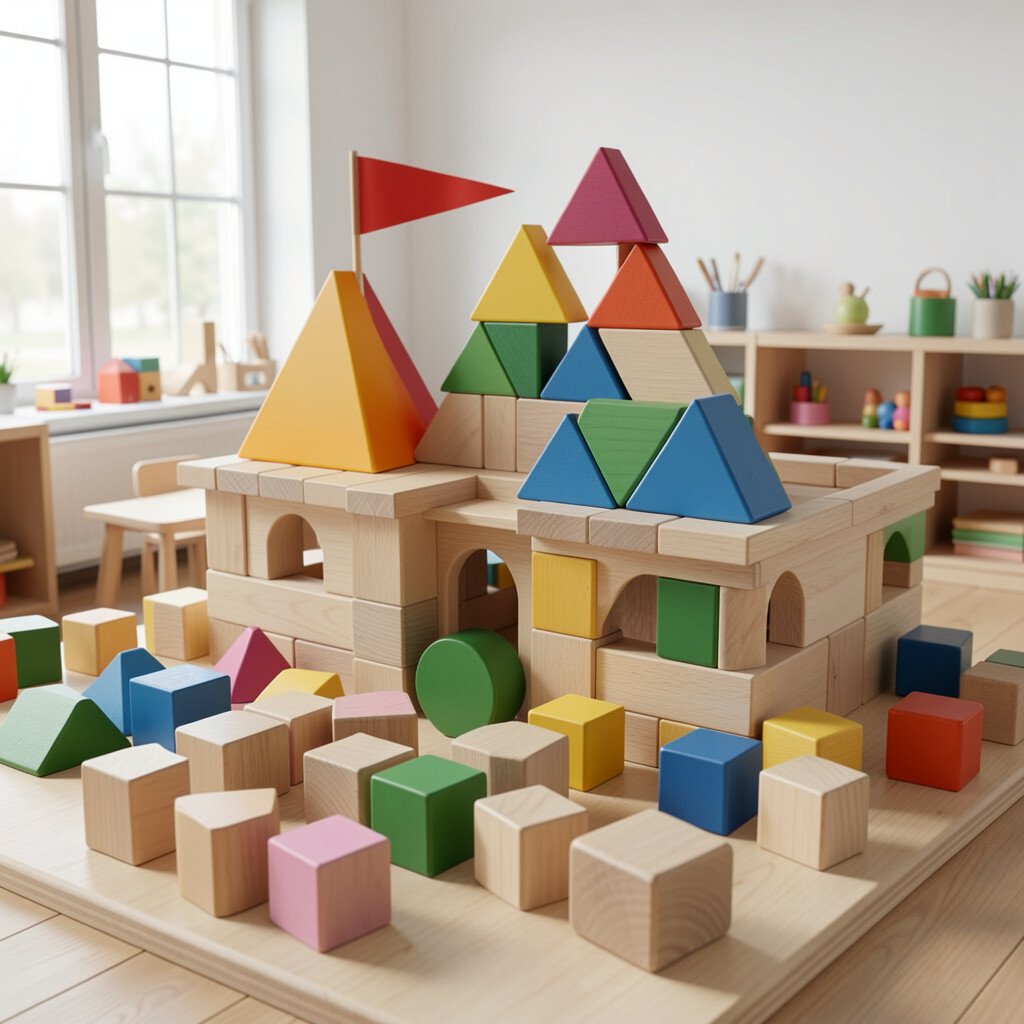
Place a diamond-shaped mat for the main keep, then add a surrounding courtyard made from smaller diamond tiles. The geometry makes it feel like a real castle layout with walls and an inner safe zone.
Use taller blocks inside the keep and wider flat pieces around the courtyard for “ground” and “paths.” This helps children understand scale and encourages building that looks intentional rather than random.
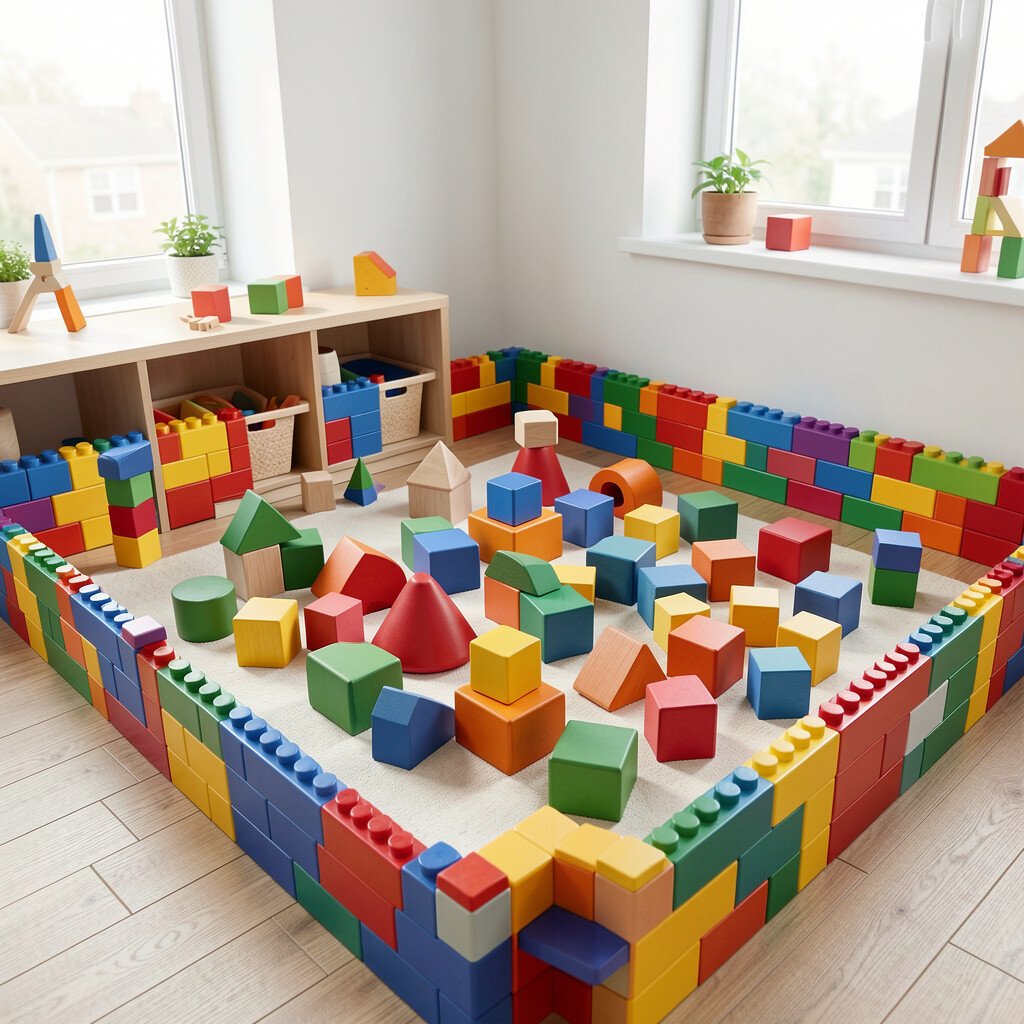
18. Tetris-Style Falling Block Borders
Tetris-Style Falling Block Borders
Create a play area shaped like classic falling pieces by using different-sized foam rectangles arranged like a puzzle. Kids can build in the negative spaces, which feels like their blocks fit the “rules” of the shape.
This unique layout encourages problem solving because children try to complete each opening with matching pieces. It also helps with organization since the border naturally separates the building space from the rest of the classroom.
For practical tips, keep border pieces fixed with non-slip adhesive so the floor stays stable during active play. If you want to personalize without extra cost, swap the border colors to match classroom themes or the children’s artwork.
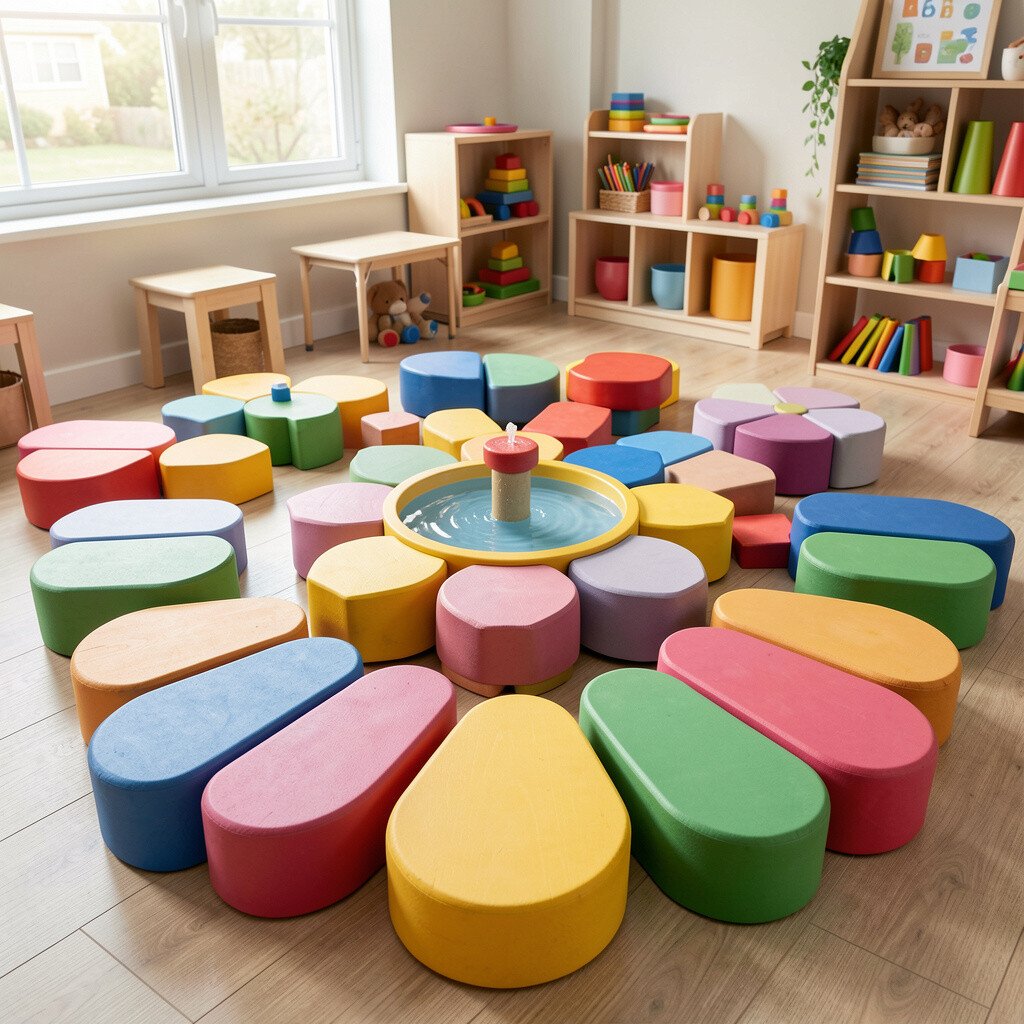
19. Flower Petal Round With Central Fountain Builds
Flower Petal Round With Central Fountain Builds
Arrange a round mat with several petal shapes around the edge and a central “fountain” spot. Kids build around each petal for gardens, bridges, or planters, then connect everything to the center.
The central fountain becomes a shared focal point that works great for group play and story sharing. Children feel excited because they can see everyone’s progress converging in one beautiful place.
To support different abilities, provide a mix of block sizes so quick builders can make small planters while others build bigger fountain towers. This flexible setup also reflects a current focus on inclusive design, where the area invites many kinds of participation.
For cost considerations, use washable fabric and removable floor tape so you can rebuild petals quickly. Seasonal personalization is easy too, such as adding flower colors that match what the class is studying.
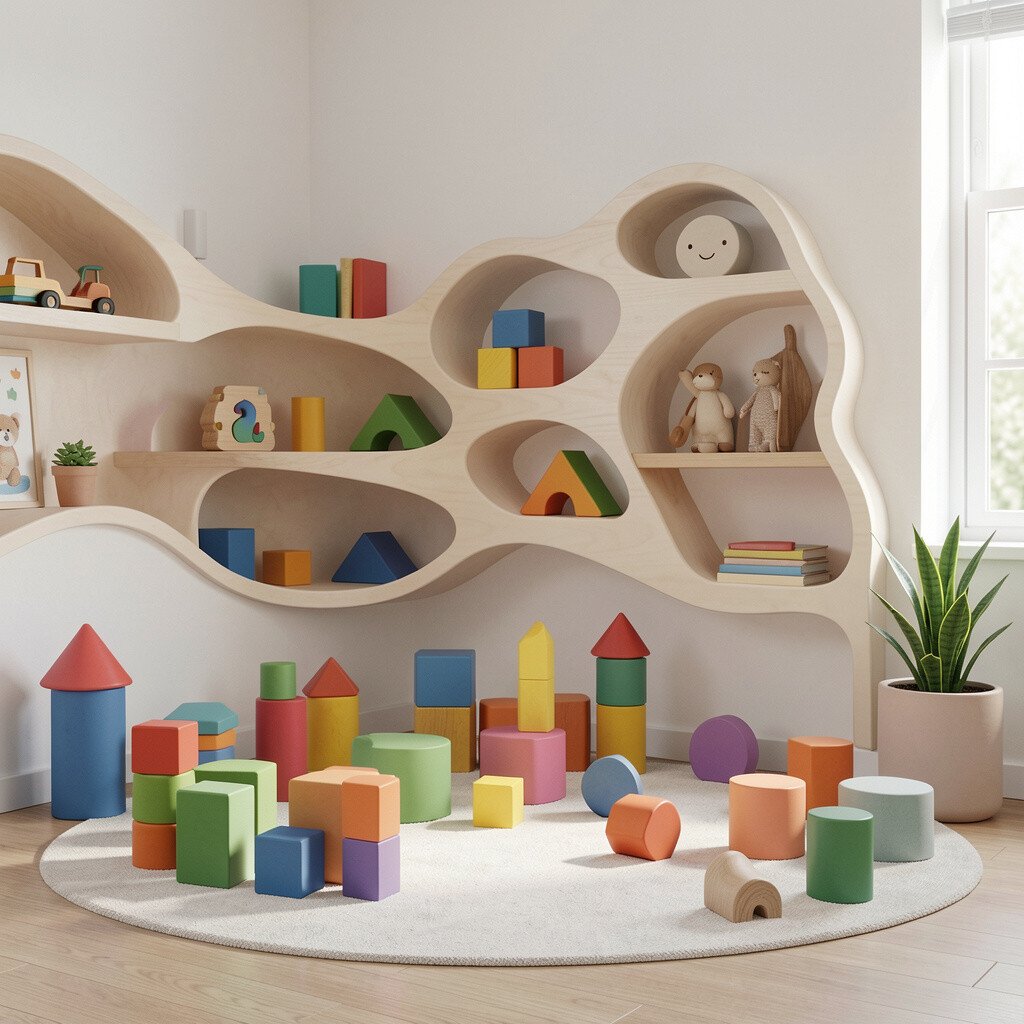
20. Asymmetrical Wave Wall With Building Depth
Asymmetrical Wave Wall With Building Depth
Make one side of the area a wavy wall shape using foam boards, then place a shallow “depth strip” that curves inward. Kids naturally build with the wall as a background, which makes structures look more realistic and less messy.
This asymmetrical design keeps attention because it feels dynamic rather than perfectly uniform. It also offers practical benefit since the wall blocks rolling and gives children a strong reference point for where tall towers can go.
Personalize by changing the wall art behind the foam, like city skylines, jungle leaves, or space stars, using magnetic or Velcro-backed images. A small investment in reusable backdrops can refresh the area often without buying new block sets.
For practical tips, keep the depth strip lined with low barriers so pieces don’t slide toward the room. When kids understand the safe building zone, they build with more confidence and spend less time adjusting broken stacks.