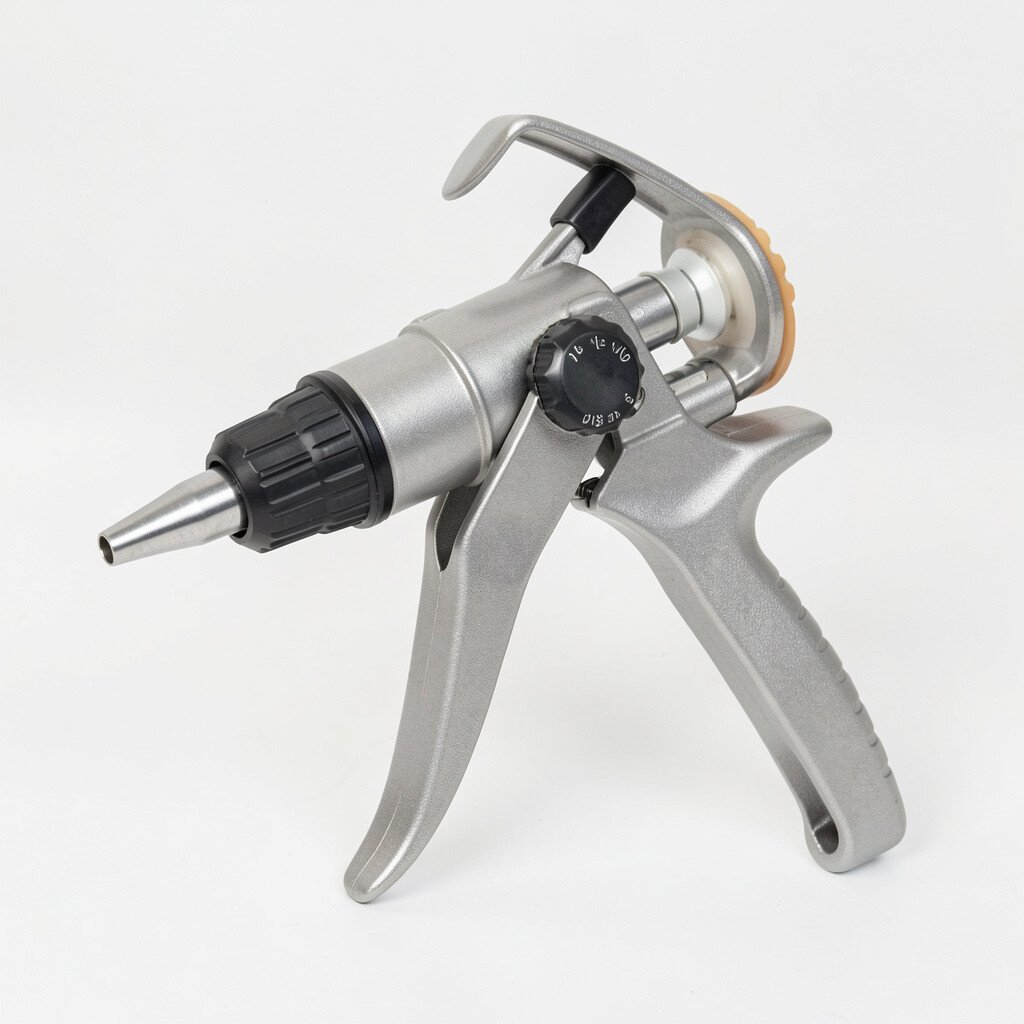
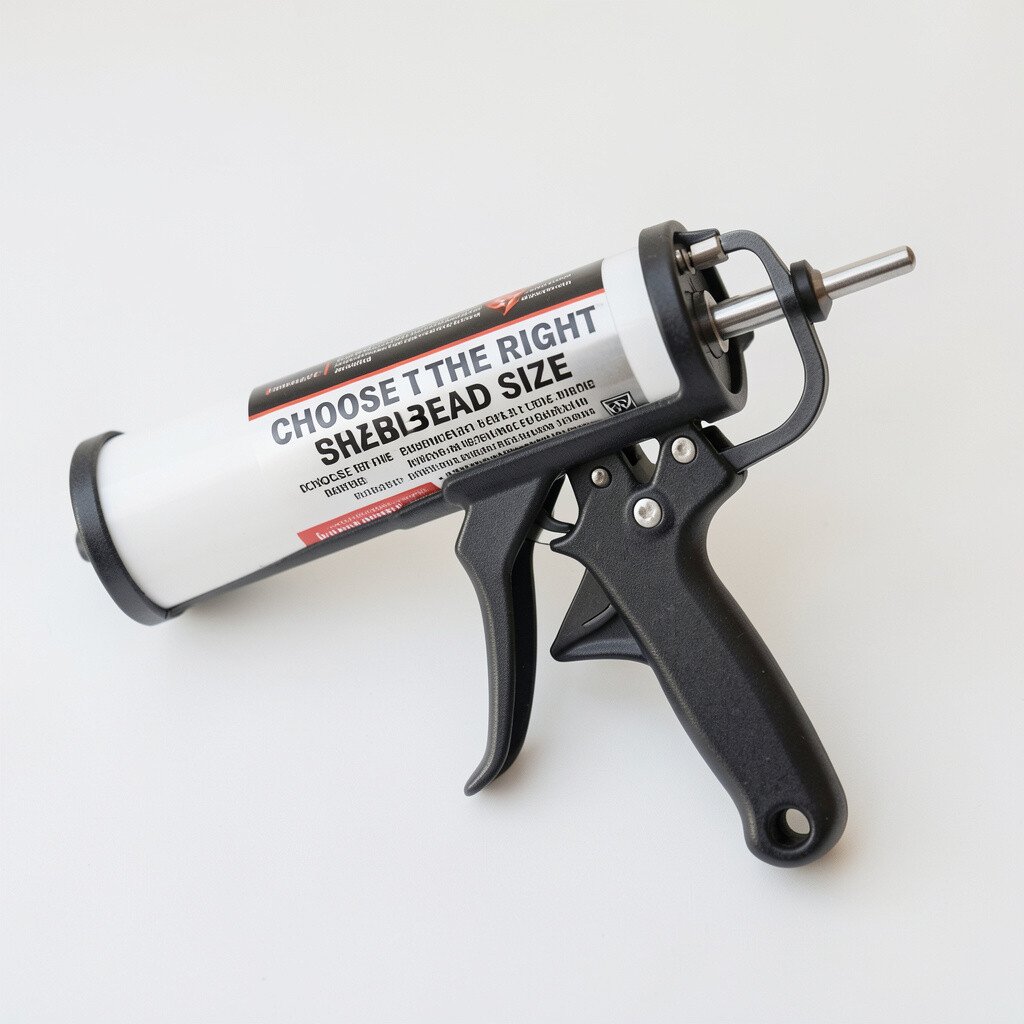
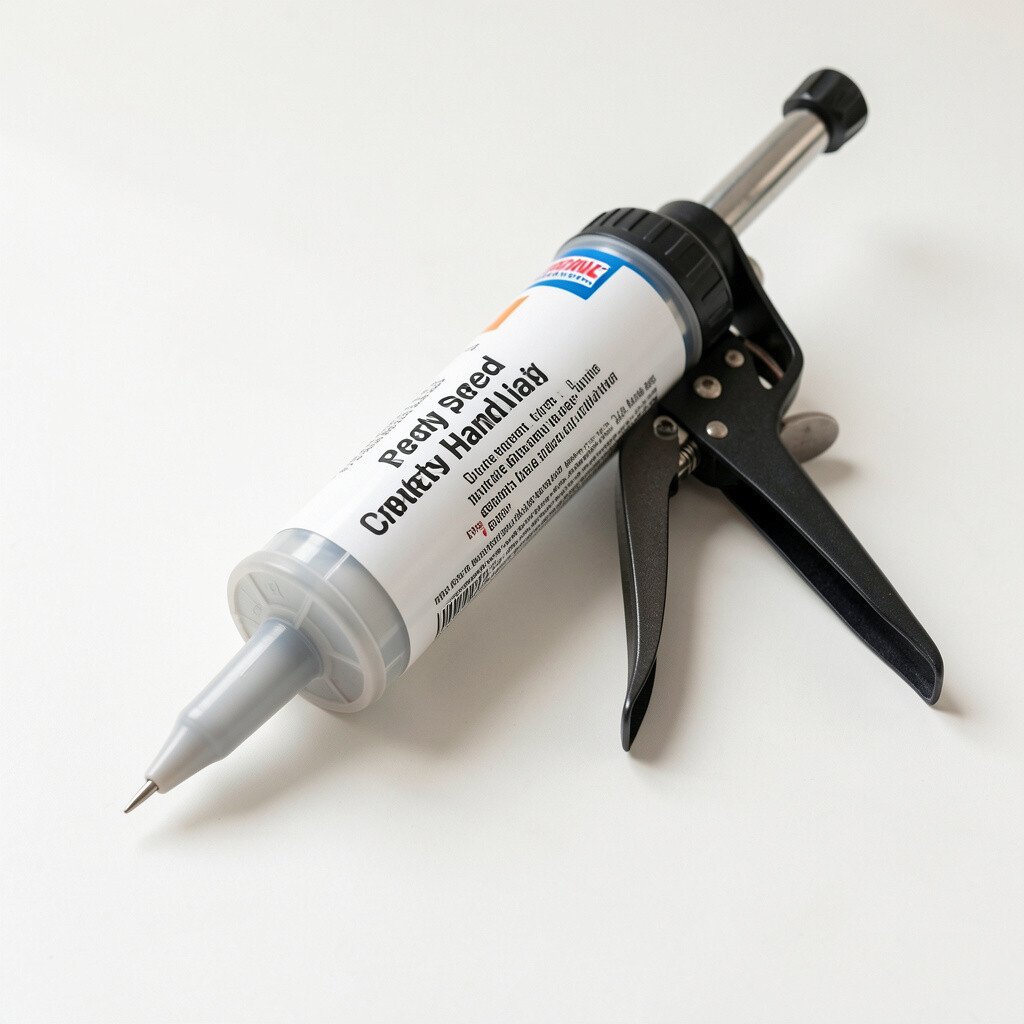
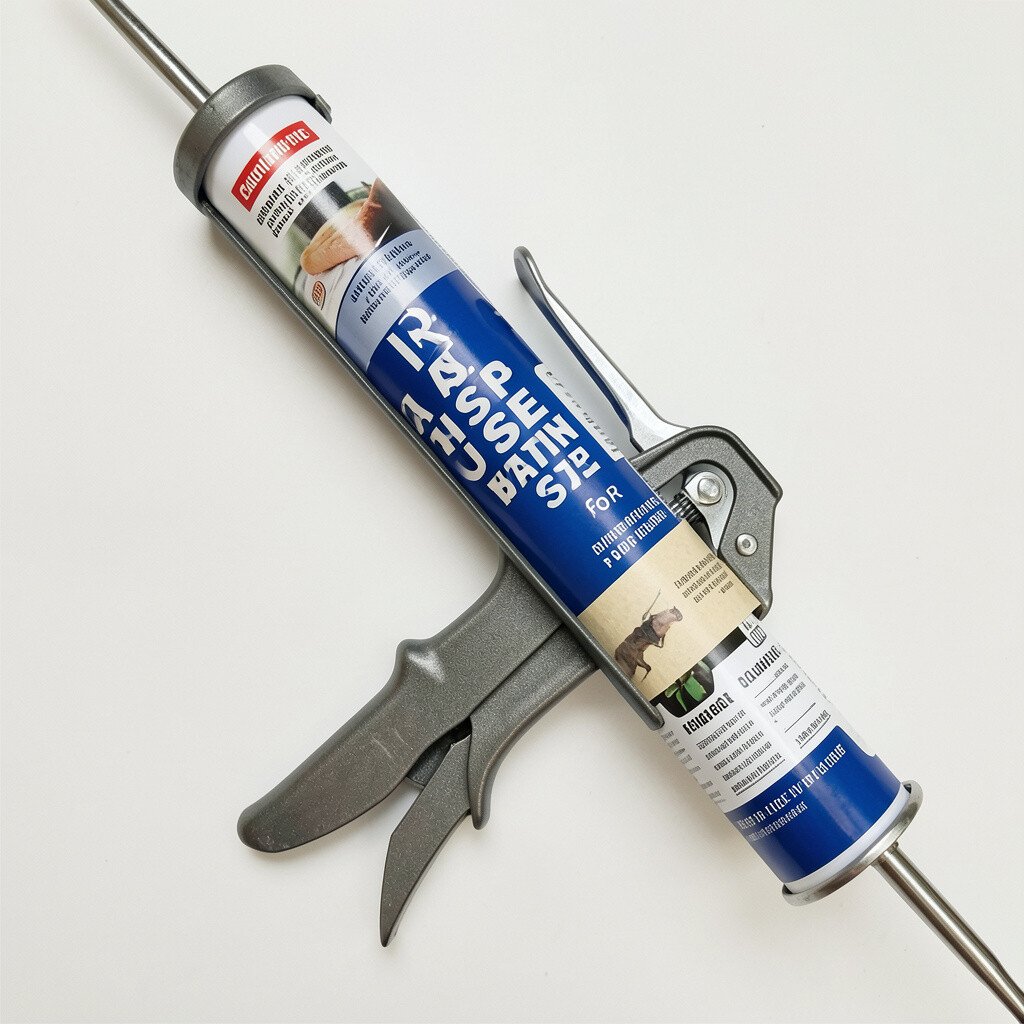
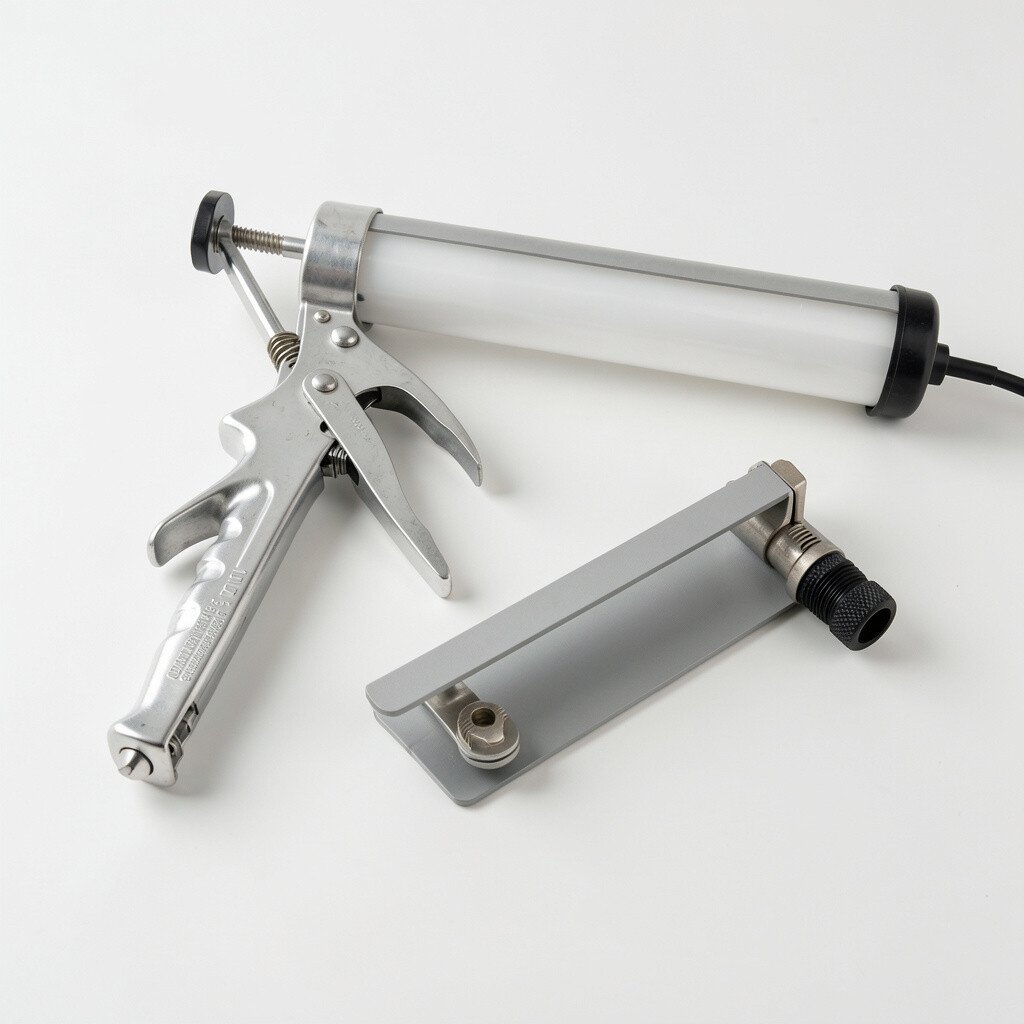
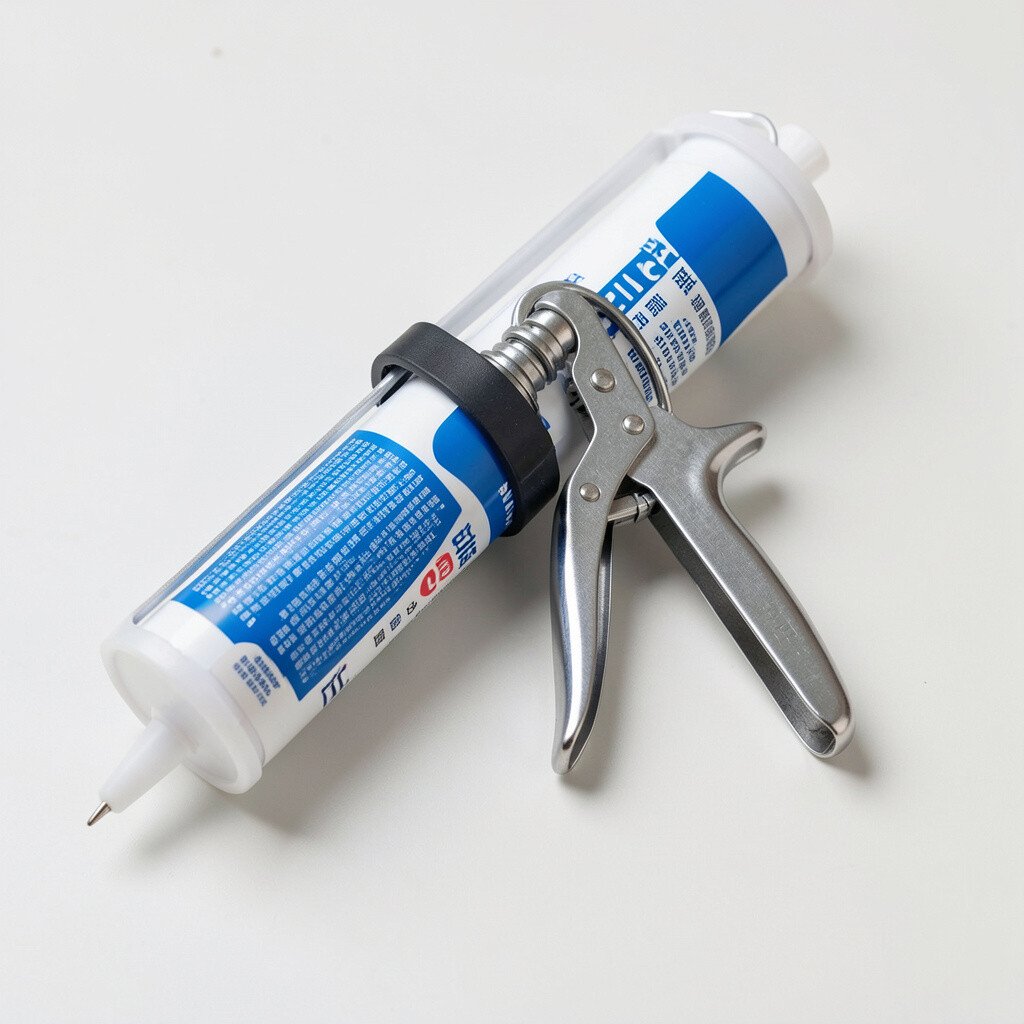
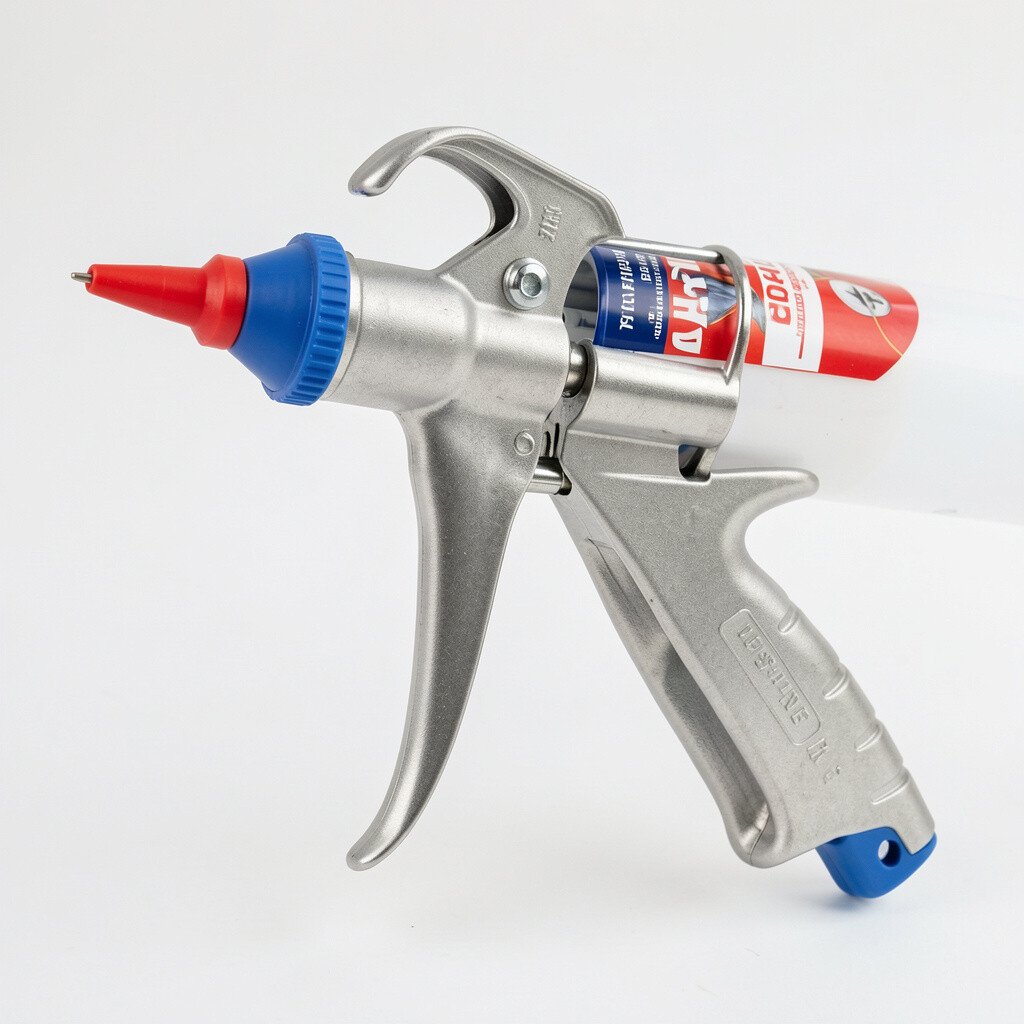
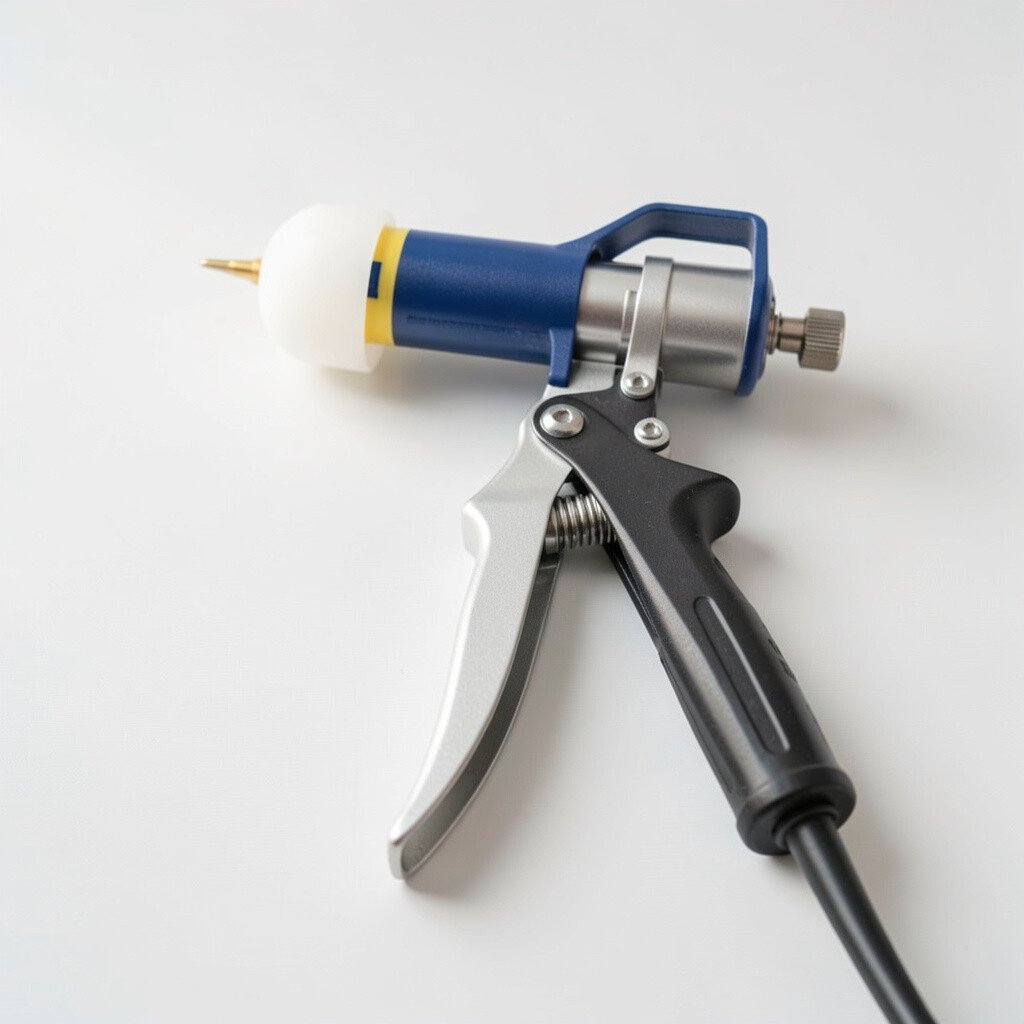
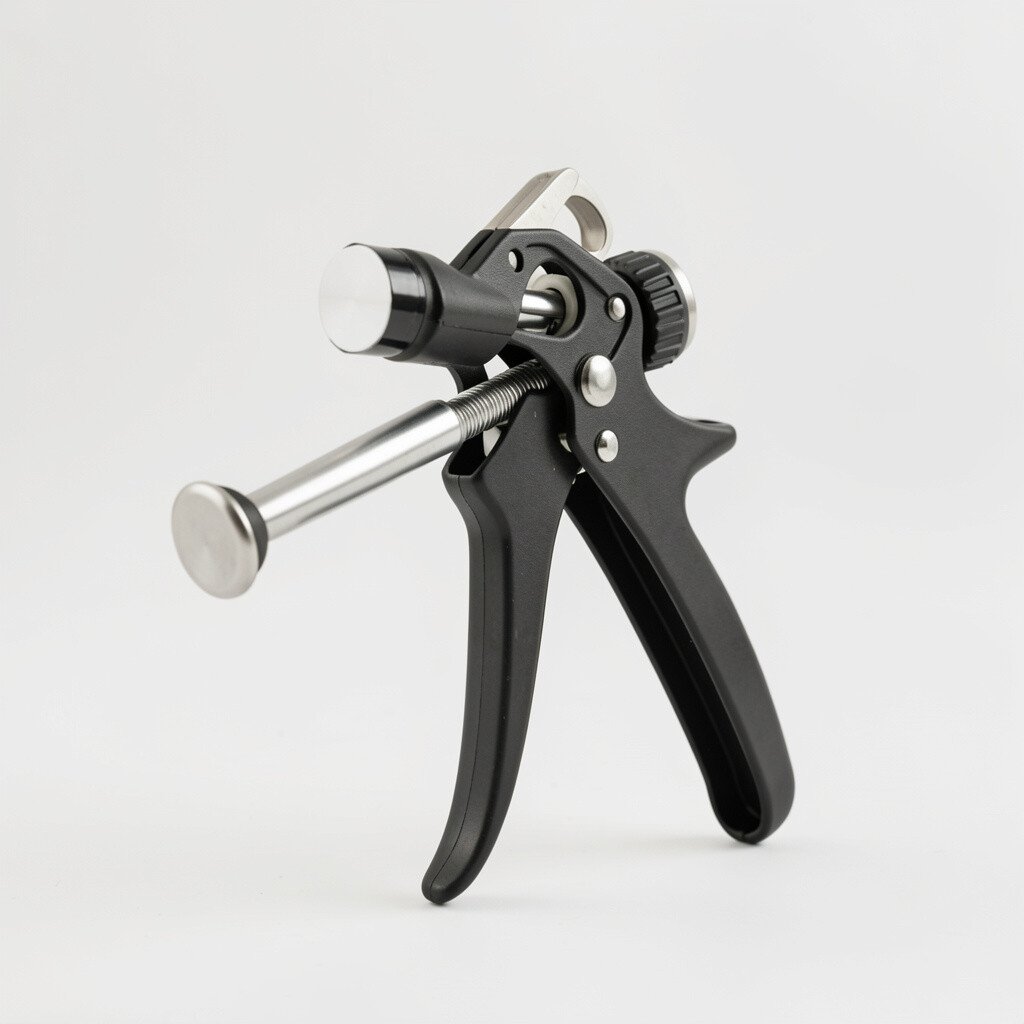
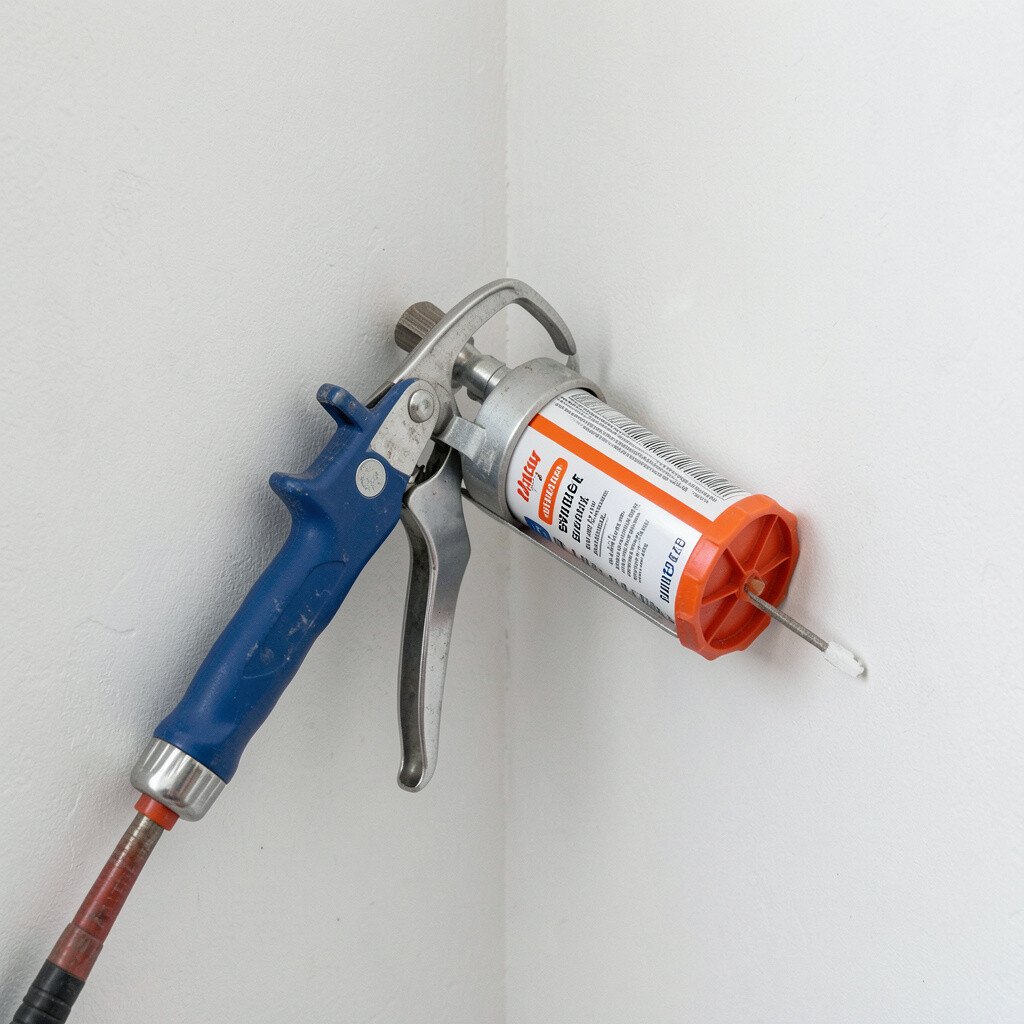
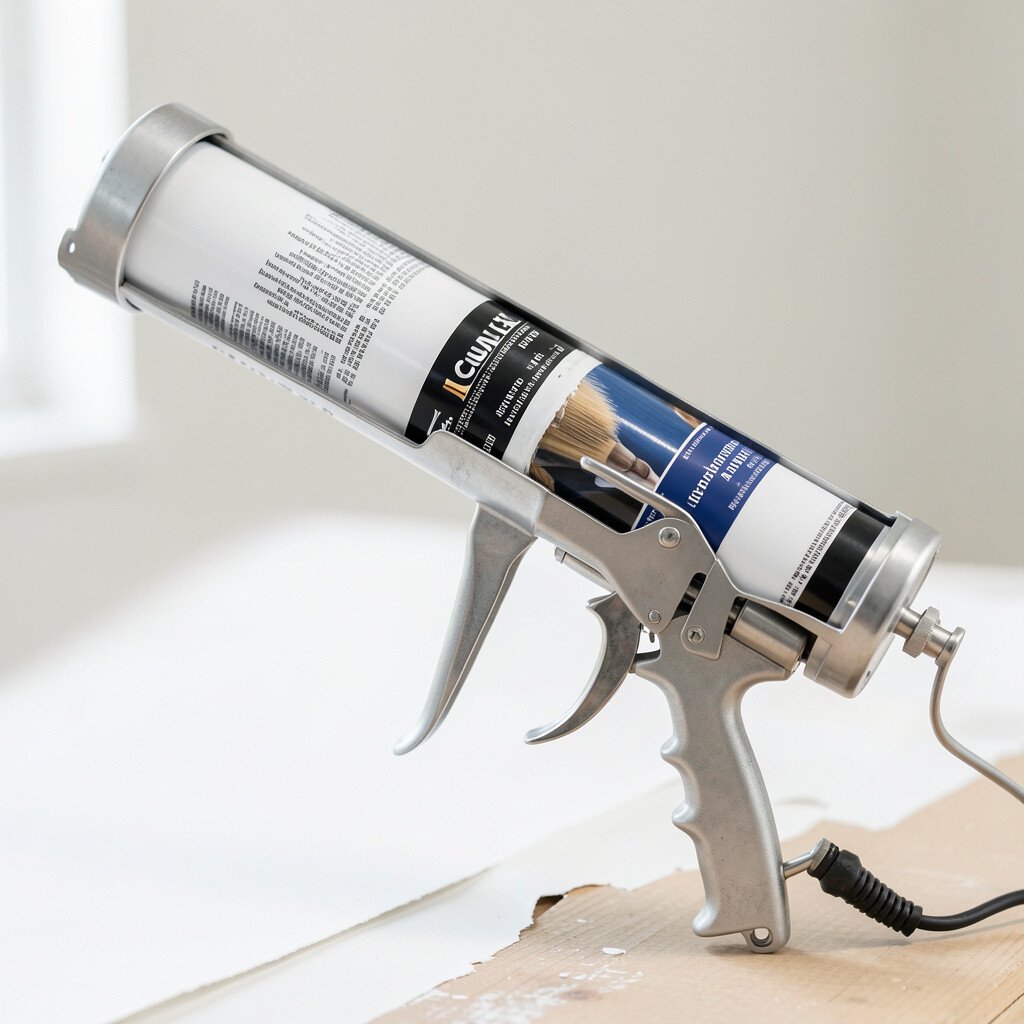
The line you leave behind can make even a simple repair look polished. A caulk gun is more than a tool; it is a way to control how your work feels and looks.
Start by looking at your bead path like it is a track you are guiding. Tilt the nozzle so it matches the gap shape instead of fighting it.
You will see the bead sit flatter and cleaner when the tip angle fits the surface. For a quick win, test on scrap and adjust the tilt until the line looks even and smooth.
2. Choose the Right Bead Size
Choose the Right Bead Size
A neat finish depends on using a bead that fits the space you are filling. If the bead is too thick, it smears and takes longer to clean.
Use the gap as your guide and squeeze lightly at first. When you get a consistent width, you can move steadily and keep the line crisp.
For gaps that widen, pause and let the caulk level itself without overfilling. If you are working near baseboards or trim, a slightly slimmer bead often looks more natural.
3. Practice Steady Speed Like It’s Handwriting
Practice Steady Speed Like It’s Handwriting
Your hand speed shows up fast in the final look. If you slow down too much, the bead piles up in small hills.
Keep a steady motion and focus on your wrist, not your whole arm. A constant pace helps you build a uniform line that looks intentional.
Try counting your pulls out loud while you practice on cardboard. When your timing feels natural, apply it to the real seam for a smoother result.
4. Use Painter’s Tape for Sharp Edges
Use Painter’s Tape for Sharp Edges
Tape can give you crisp boundaries when you want a really clean line. Press it down firmly and keep it parallel to the gap so the caulk follows your plan.
After you finish the bead, pull the tape back at a slight angle while the caulk is still workable. This simple step helps the edge look straight and neat.
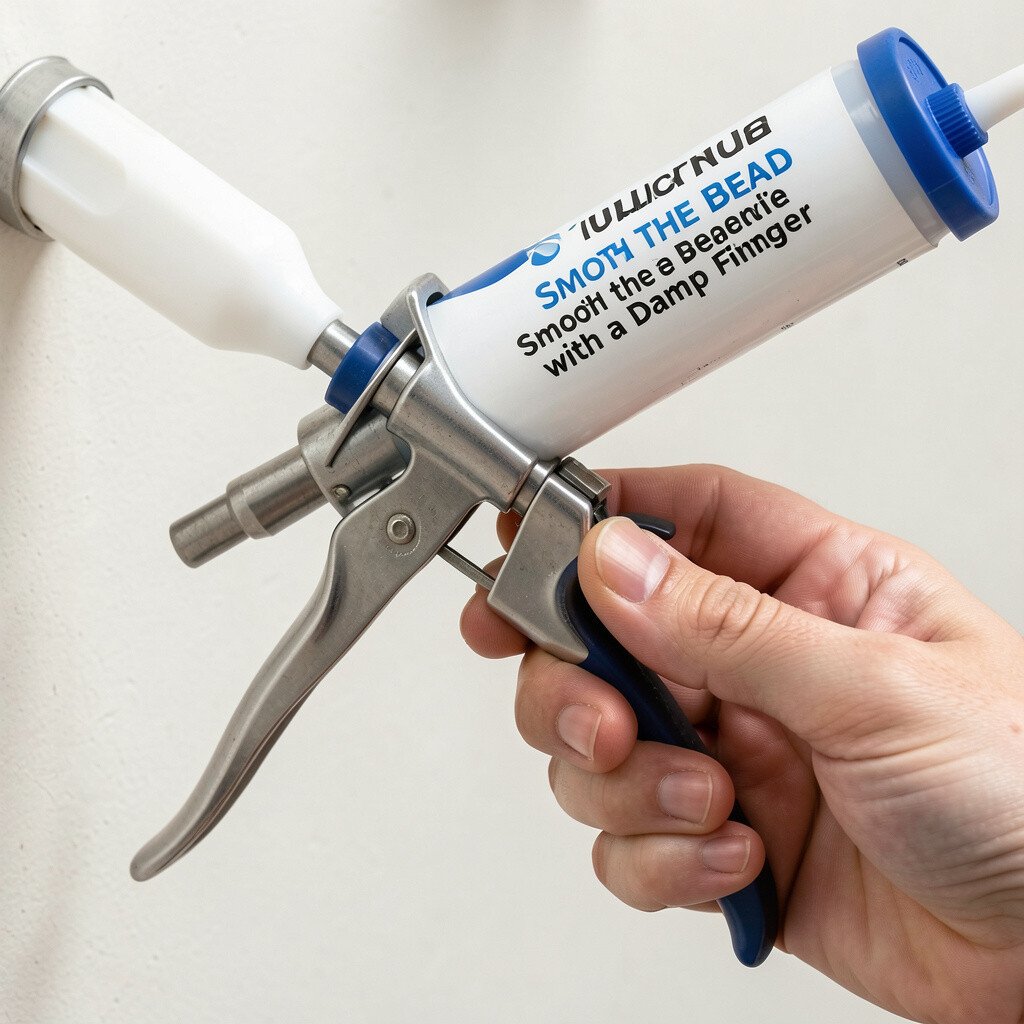
5. Smooth the Bead with a Damp Finger
Smooth the Bead with a Damp Finger
A damp finger is an easy smoothing tool that many people already have. Lightly wet your skin so the caulk glides instead of clinging.
Wipe your finger often and use gentle pressure so you shape the bead without thinning it too much. You will notice the seam looks more even and less like a rough squeeze line.
For delicate trim, use a disposable glove so you do not get caulk all over your hands. This also keeps cleanup quick when you switch from one spot to the next.
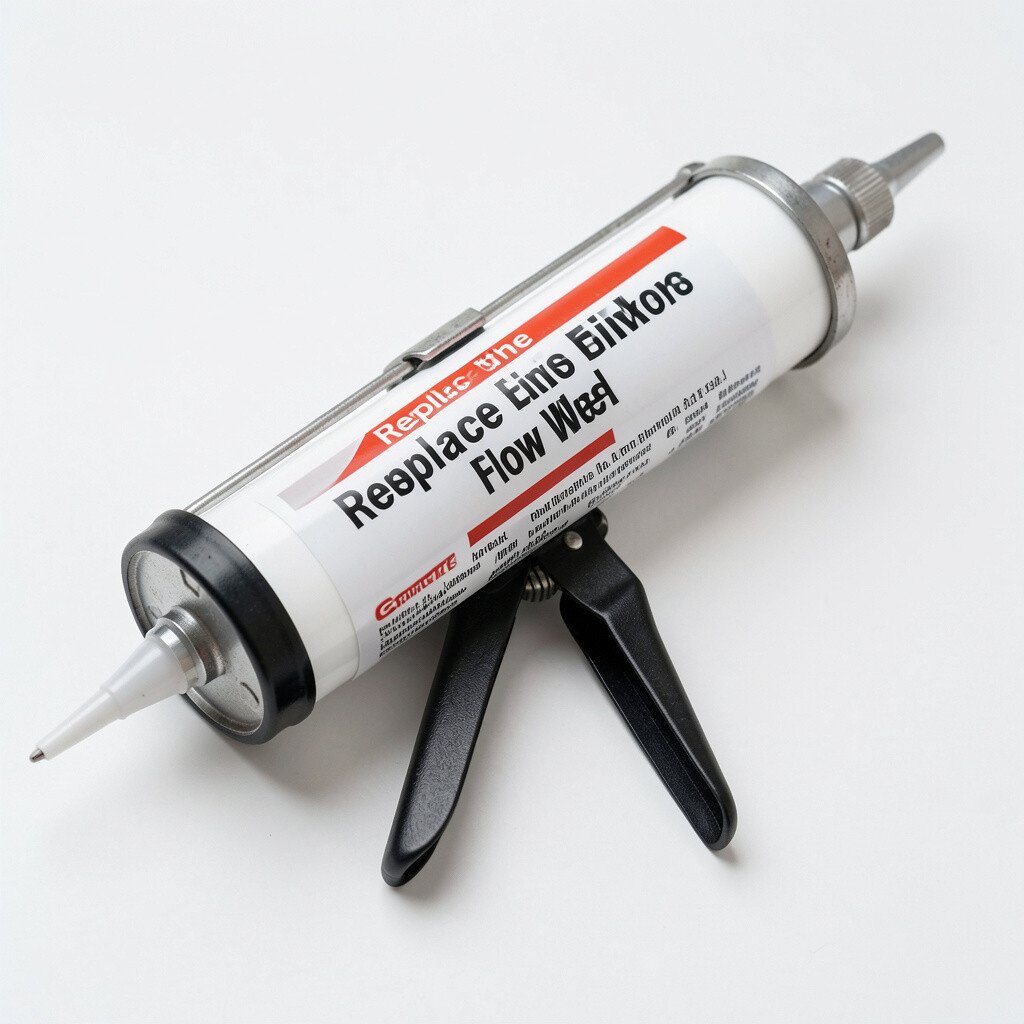
6. Replace the Tip When the Flow Gets Weird
Replace the Tip When the Flow Gets Weird
If the bead starts to wobble, the nozzle may be partially clogged. A fresh cut at the tip often restores a smooth, predictable flow.
Keep a small reminder in mind that older caulk can thicken as it sits. When you replace the tip, you usually get better control and fewer messy globs.
Before you start a long line, squeeze a short amount on scrap to confirm the bead shape. This tiny habit saves time because you do not have to redo the seam later.
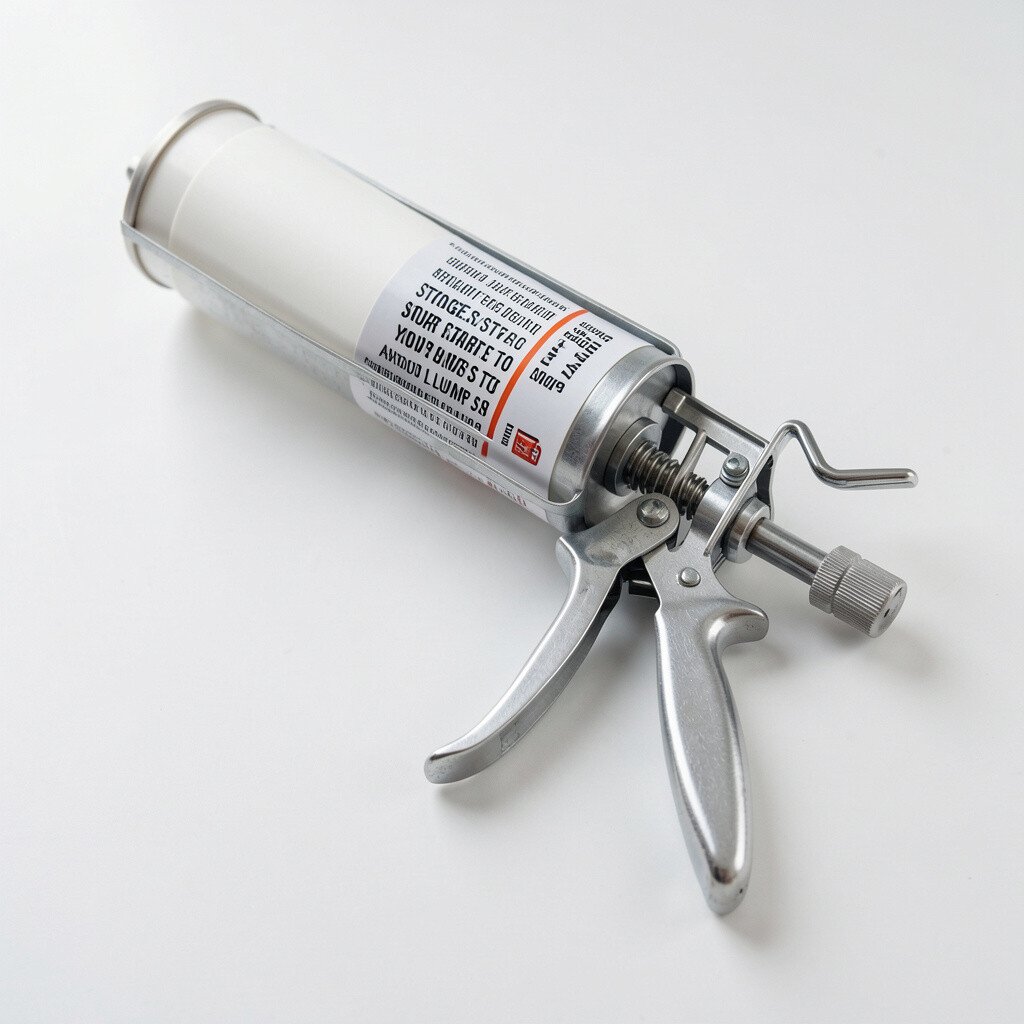
7. Stagger Your Stops to Avoid Lumps
Stagger Your Stops to Avoid Lumps
Stopping in the middle of a seam creates a visible bump that is hard to hide. Plan your breaks so you end near corners or natural interruptions.
If you must pause, release pressure gradually and then continue from the end. Matching the last tail and the new start keeps the line looking continuous.
It also helps to start with a small motion so the bead finds its groove. With practice, your stops become almost invisible.
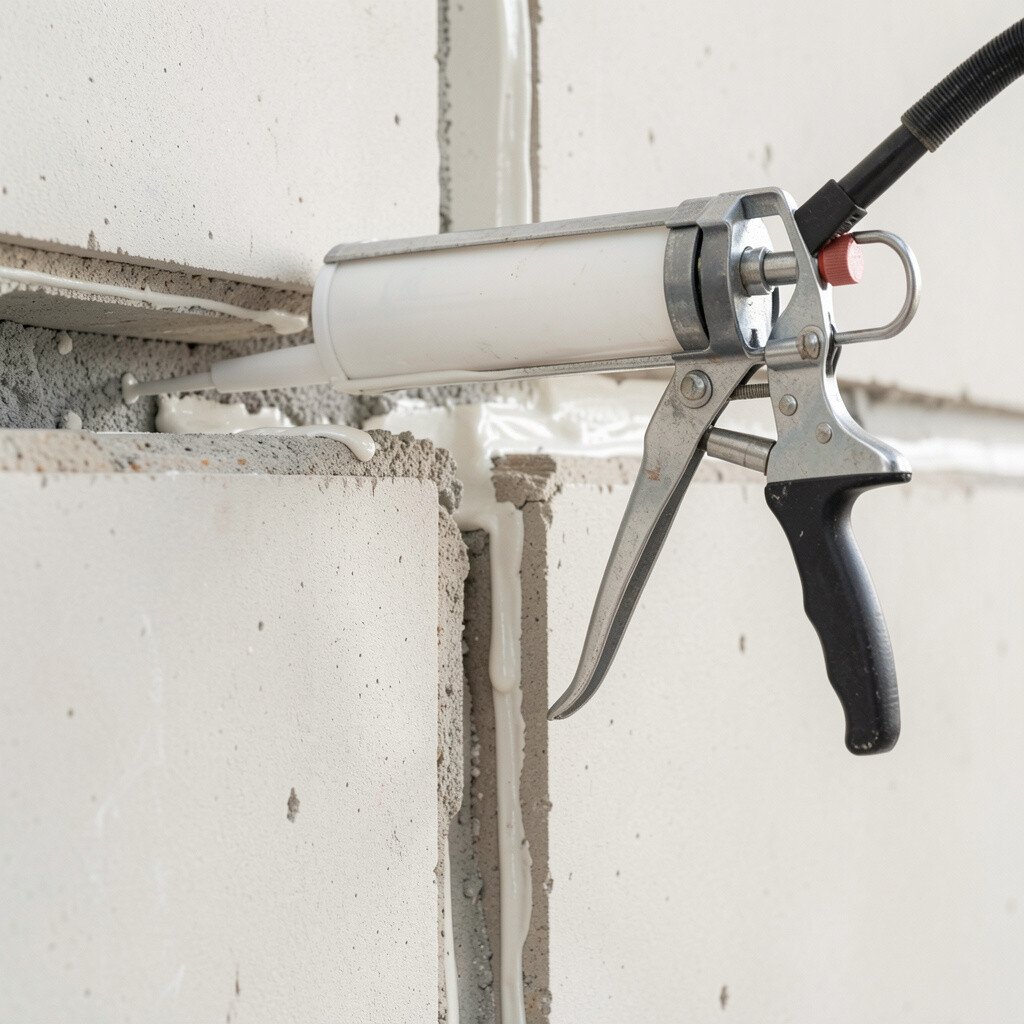
8. Caulk in Layers for Deep Gaps
Caulk in Layers for Deep Gaps
Deep gaps can swallow caulk and leave you with shrinking later. Layering helps you build the fill in a way that holds its shape longer.
Fill a deeper section in one pass and let it settle if the product instructions suggest it. Then add a final smooth layer for a tidy surface.
This approach also makes your squeeze feel more controlled because you are not forcing a thick amount at once. The result looks cleaner and feels more secure when everything cures.
9. Pair Caulk Gun Control with a Supporting Strip
Pair Caulk Gun Control with a Supporting Strip
When you support the gap, you get a bead that sits right instead of sinking. A backing strip or foam insert can help you avoid overfilling.
It can also reduce waste, since you are not pouring extra material into space that does not need it. With less caulk used, your line costs less and often looks more neat.
Measure the depth of the seam before you insert any backing. Once it fits, the top bead becomes easier to smooth into a professional finish.
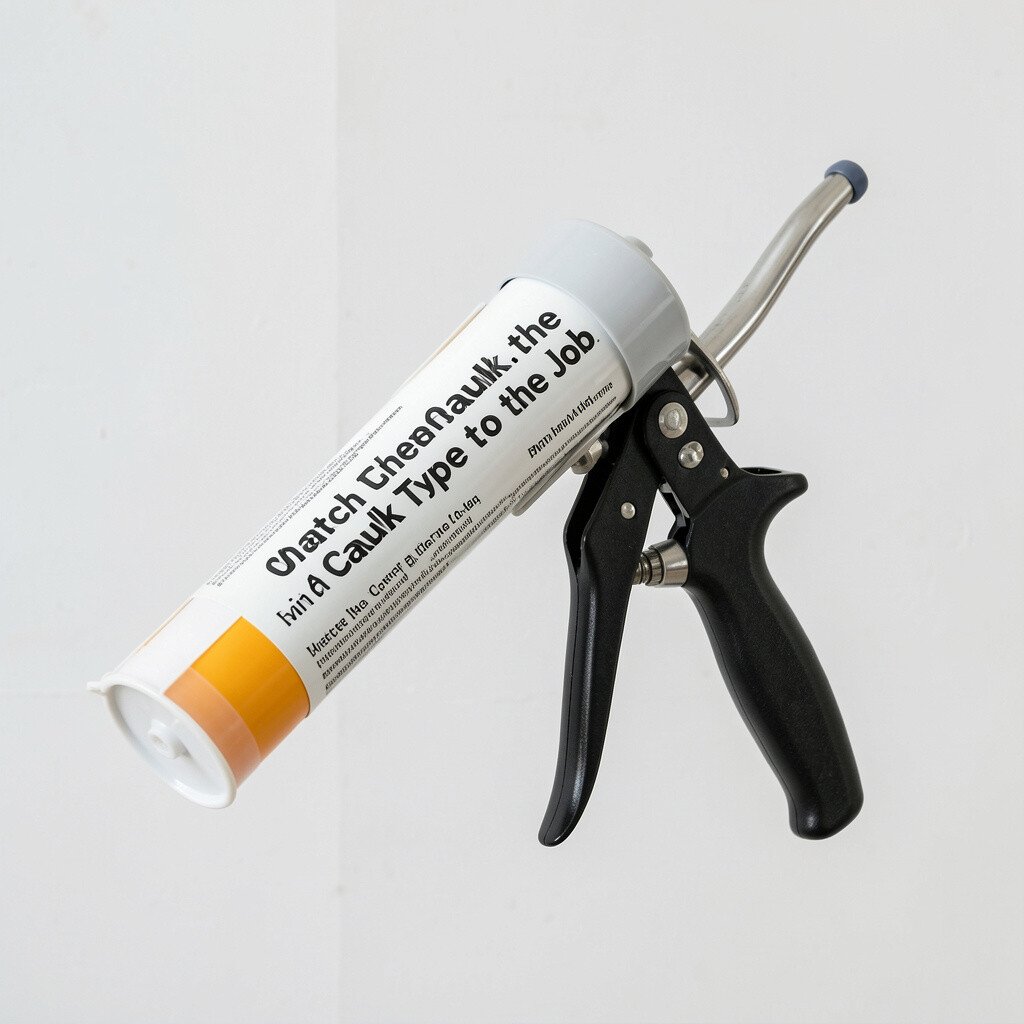
The “neat finish” starts with choosing a caulk that fits where it will live. Bathroom seams need moisture-ready materials, while window or exterior work needs weather resistance.
When the caulk matches the surface, it sticks well and stays flexible. That means fewer cracks, less rework, and a cleaner look over time.
If you are uncertain, take your tube and check what it says about interior or exterior use. Selecting the right one also helps your bead cure evenly instead of turning messy or uneven.
11. Cut the Tip Small, Then Enlarge if Needed
Cut the Tip Small, Then Enlarge if Needed
A smaller opening gives you more control at the start. You can always trim a bit more if the bead needs to be wider.
This keeps you from over-squeezing and creating a thick line that is hard to smooth. When the bead matches the gap, cleanup is much easier too.
Try a test squeeze and look for a bead that comes out in a steady ribbon. If it breaks apart, open the tip slightly and try again.
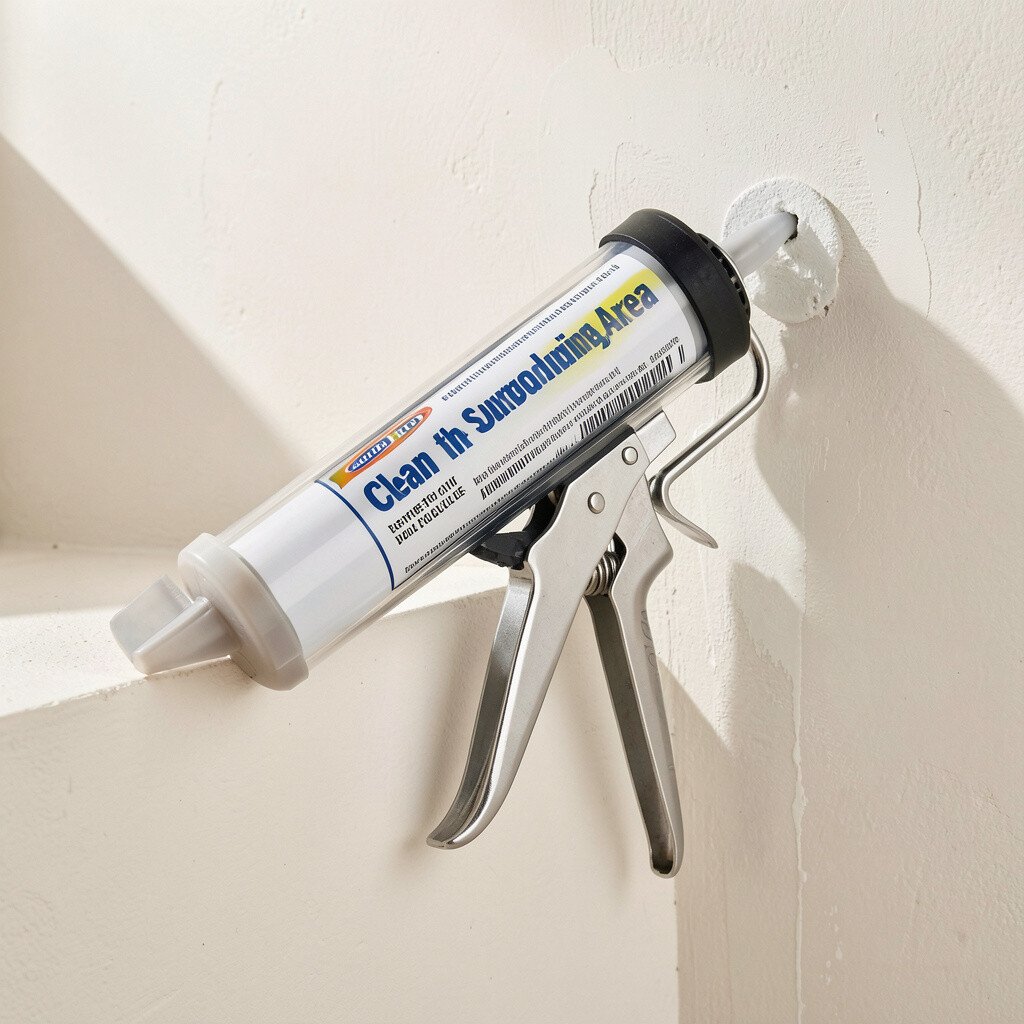
12. Clean the Surrounding Area Before You Squeeze
Clean the Surrounding Area Before You Squeeze
Caulk sticks best to clean surfaces, and that is where neat lines begin. Dust, old residue, and grease can cause gaps that look sloppy after curing.
Use a simple wipe with a suitable cleaner for the surface, then let it dry fully. When the seam is ready, your bead stays aligned instead of pulling away or shrinking back.
For tight corners, use a small brush to remove crumbs so the caulk can grip. Taking a few minutes here saves a lot of time later.
13. Try a Drip Guard or Anti-Drip Nozzle
Try a Drip Guard or Anti-Drip Nozzle
An anti-drip nozzle helps prevent that annoying tail that droops after you stop. You will notice fewer strings and less smearing when you use a flow-control tip.
This is especially helpful on vertical seams where gravity wants to take over. A drip guard makes it easier to keep the line neat and consistent from top to bottom.
If you already own a standard gun, some tips can be swapped depending on your caulk cartridge type. Matching the nozzle system keeps your setup practical without buying everything new.
14. Use a Finishing Tool for Repeatable Smoothness
Use a Finishing Tool for Repeatable Smoothness
A dedicated finishing tool turns a simple bead into a consistent, curved profile. It also reduces how much you need to touch up with your fingers.
Look for tools with different edge shapes so you can match your trim style. When the profile fits, the seam looks like it belongs to the design.
Clean the tool right after use so caulk does not harden on it. This keeps the surface ready for the next job and keeps your results crisp.
15. Personalize the Look with a Curved or Flat Profile
Personalize the Look with a Curved or Flat Profile
You can make a seam look modern or classic by changing the bead shape. A flatter finish can blend with minimalist trim, while a gentle curve can look more traditional.
Choose the profile you like, then smooth the caulk the same way along the entire run. Consistency makes even a small repair look like it was planned.
For personalization, consider the room style and color contrast. If you paint the trim later, a slightly flatter bead can make sanding and painting feel easier.
16. Plan a “Start Point” at a Corner or End Cap
Plan a “Start Point” at a Corner or End Cap
Where you begin matters because the first squeeze sets the tone. Starting at a corner helps hide a slightly awkward first second of squeezing.
End near a natural edge too, so the final tail can blend into grout lines or trim borders. With smart placement, your bead looks cleaner and more intentional.
Before you commit, hold the nozzle near the seam and imagine the line you want. That small mental check helps your hand follow the path instead of drifting.
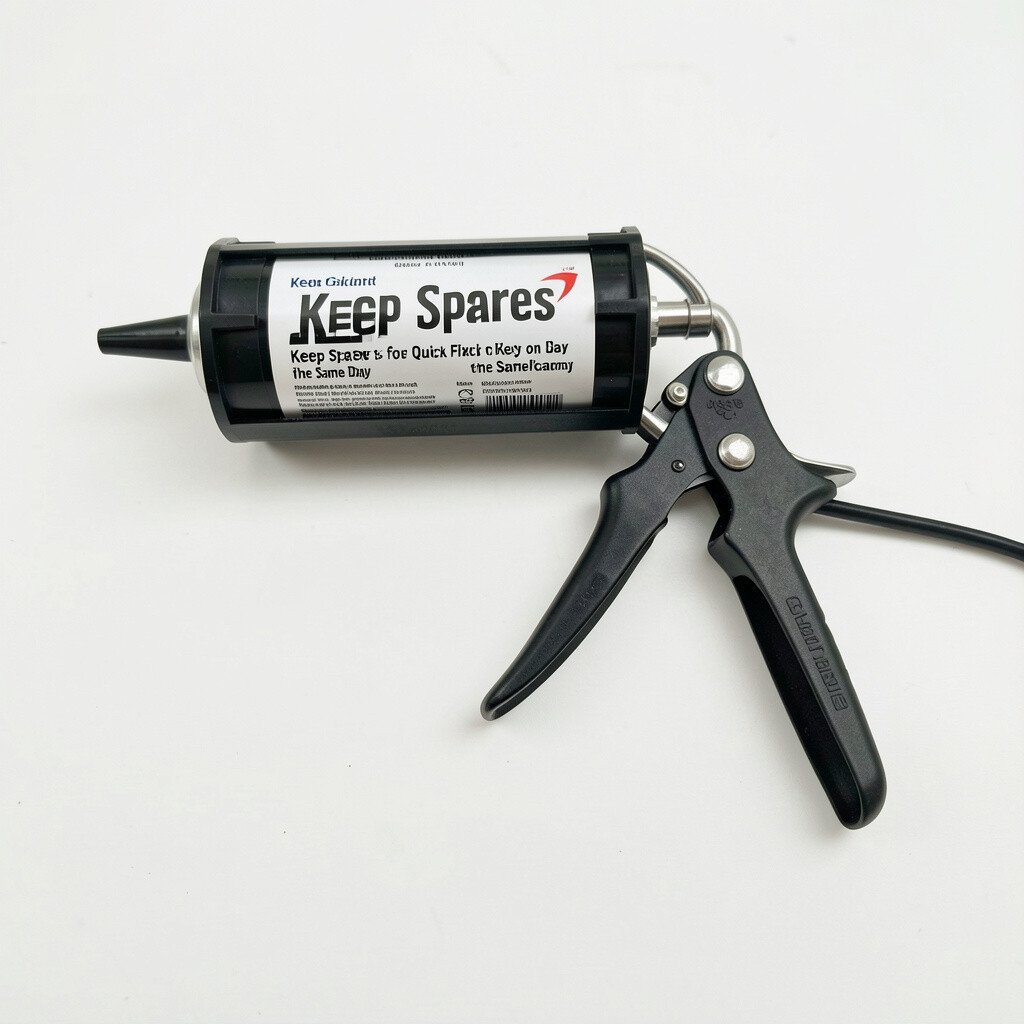
17. Keep Spares for Quick Fixes on the Same Day
Keep Spares for Quick Fixes on the Same Day
Neat finish work benefits from being ready when you spot a small gap. If something shrinks or a corner needs extra fill, you can patch it quickly before the area gets messy.
Keep a small tube of compatible caulk and a couple of basic tools on hand. That way you can correct a line while it is still easy to blend.
Today’s fix can look better than waiting, because you can match the bead texture while the area is fresh. This habit reduces long-term cost and keeps your space looking cared for.
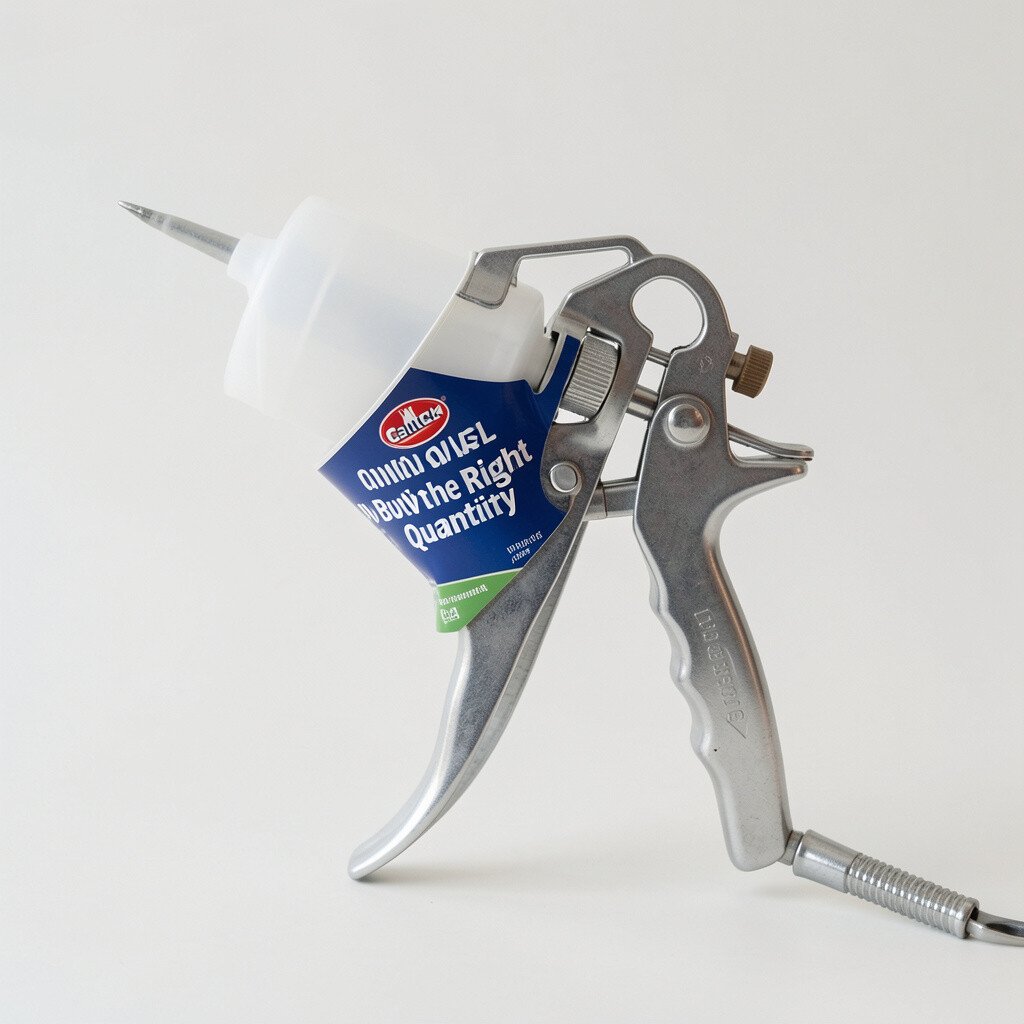
18. Control Waste by Buying the Right Quantity
Control Waste by Buying the Right Quantity
Caulk can sit around longer than you think, and that can turn it into wasted money. Buying the right quantity helps you finish the job without leftovers that might not perform later.
Estimate the seam length and consider how thick you plan to apply the bead. If you reuse tape and tools well, you also cut down on extra material used for touch-ups.
Current stores often carry smaller sizes for patch jobs, which can lower cost for quick repairs. For bigger projects, a larger pack may be cheaper per unit, but only if you are sure you will use it.
19. Protect Your Work with Paint-Friendly Drying Strategies
Protect Your Work with Paint-Friendly Drying Strategies
For the neat look that lasts, drying habits matter almost as much as application. If you plan to paint over caulk, ensure the product cures fully before you do anything else.
Light airflow can help it set evenly, but avoid strong drafts that can pull dust onto the bead. When the surface is clean and cured, paint bonds better and the seam stays tidy.
If you want a quick visual check, you can look for a uniform sheen as it dries. Once it looks even, you can decide whether a tiny touch-up is needed before painting.