15+ Colorful Homeschool Room With A Bulletin Board Wall Ideas
The right bulletin board wall can make learning feel bright and alive. A colorful setup also helps kids stay organized without feeling “school-y.”
When you design the wall with care, it becomes a daily inspiration spot for every subject. It can hold reminders, projects, and a little bit of joy all at once.
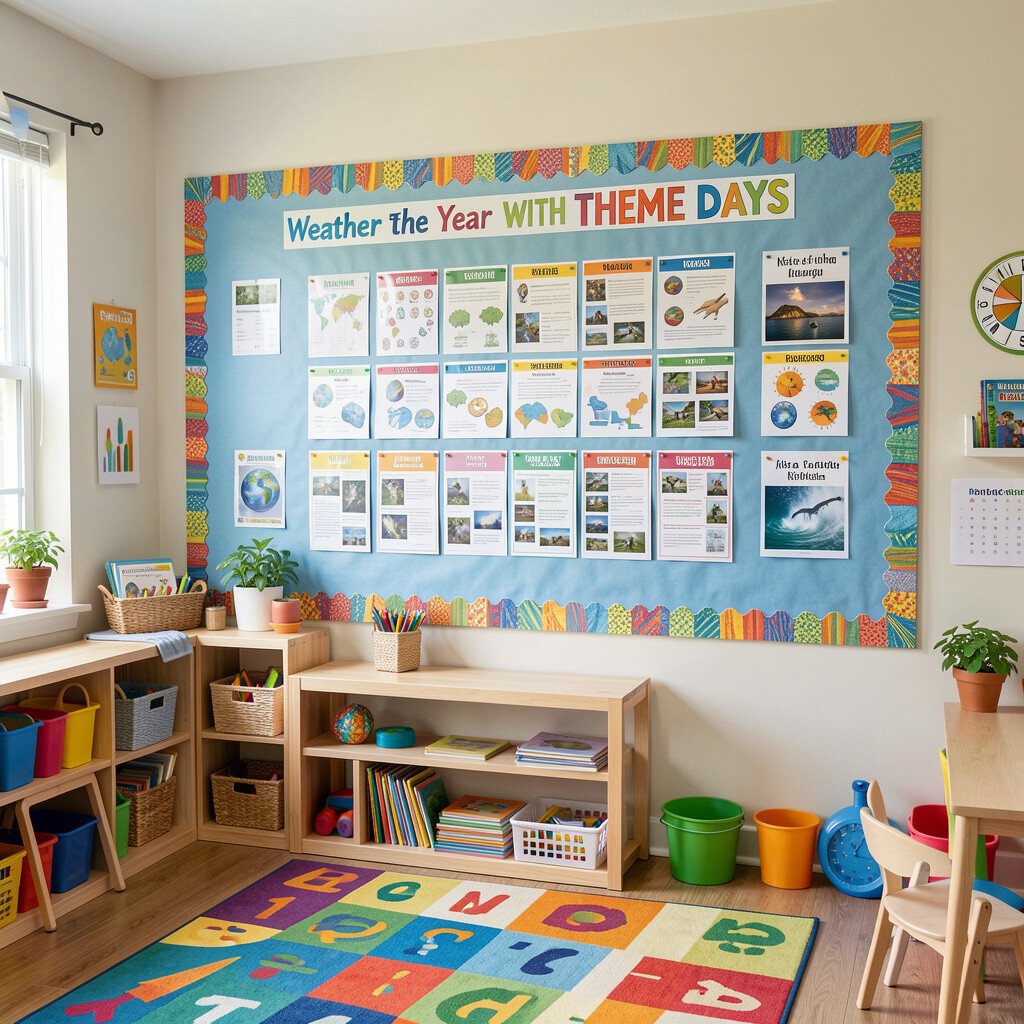
Pick a theme for each season and weave it into your bulletin board wall. You can paint the board frames in cheerful colors that match the theme, like ocean blues for spring or warm reds and golds for fall.
Print simple visuals, such as leaf shapes, suns, and snowflakes, and attach them beside pockets for work and checklists. Kids get excited when they recognize the look and know something new is coming. Keep the materials easy to swap so the wall stays fresh without starting over.
2. Use a Rainbow Grid for Subject Pages
Use a Rainbow Grid for Subject Pages
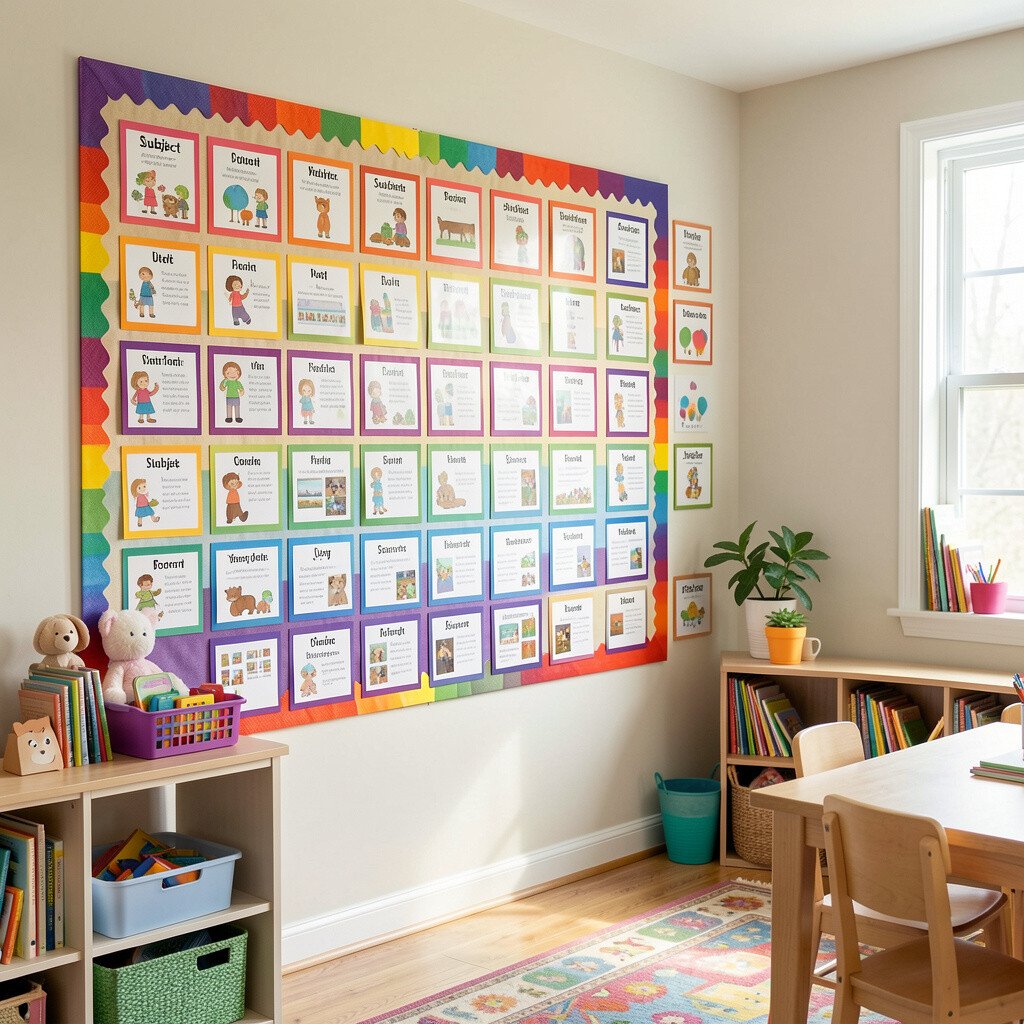
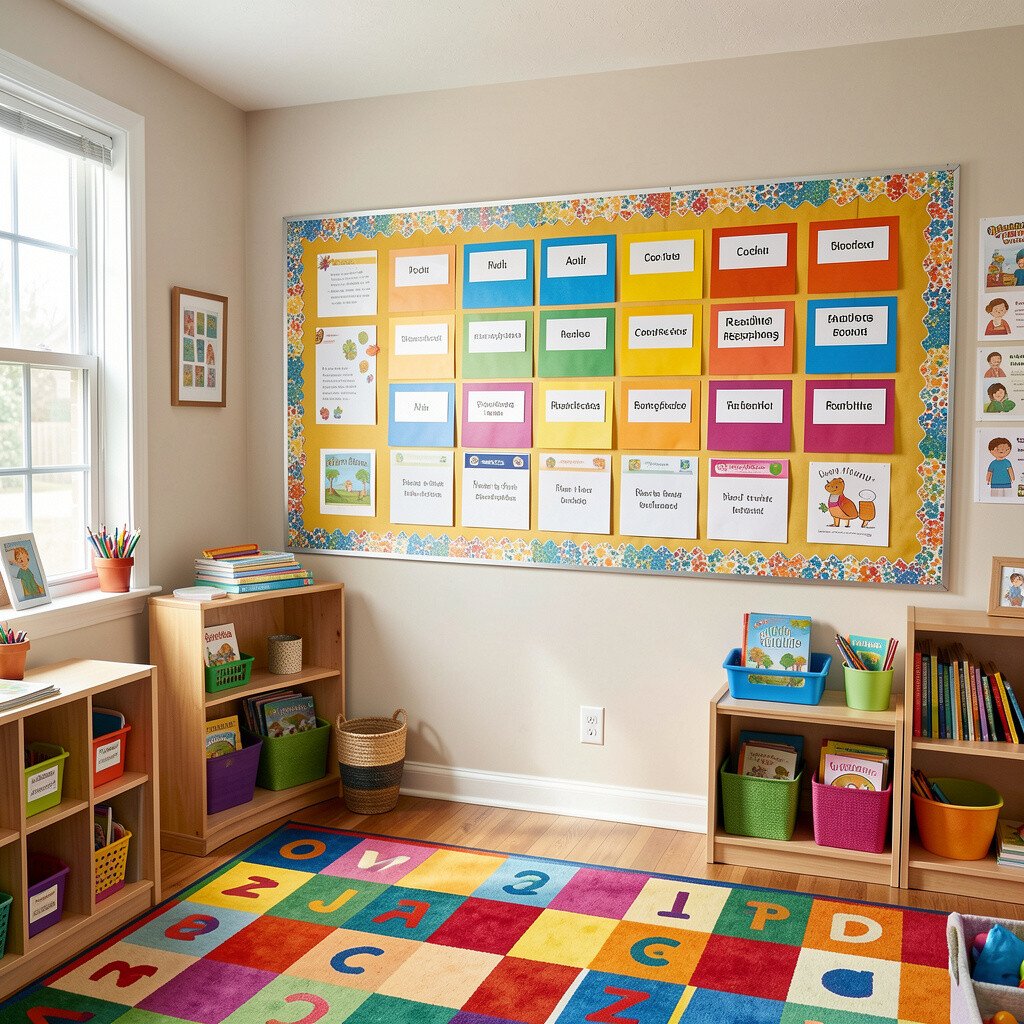
Divide the bulletin board wall into a rainbow grid so each subject has its own color lane. Math can live in green strips, reading in blue, science in yellow, and art in pink.
Then add clear pocket sleeves or small binder clips for papers, weekly goals, and vocabulary cards. This makes it simple for children to find what they need, even when they are still building independence. For younger learners, place picture cues in each color lane so they can match the task to the right section.
To keep it practical, use low-cost materials like poster board, foam board, and binder clips. If you want a more polished look, cover the board backing with inexpensive fabric or wrapping paper that won’t easily tear. Try to keep the grid lines bold so they stand out from busy classroom clutter.
3. Build a “Today We Did” Showcase
Build a “Today We Did” Showcase
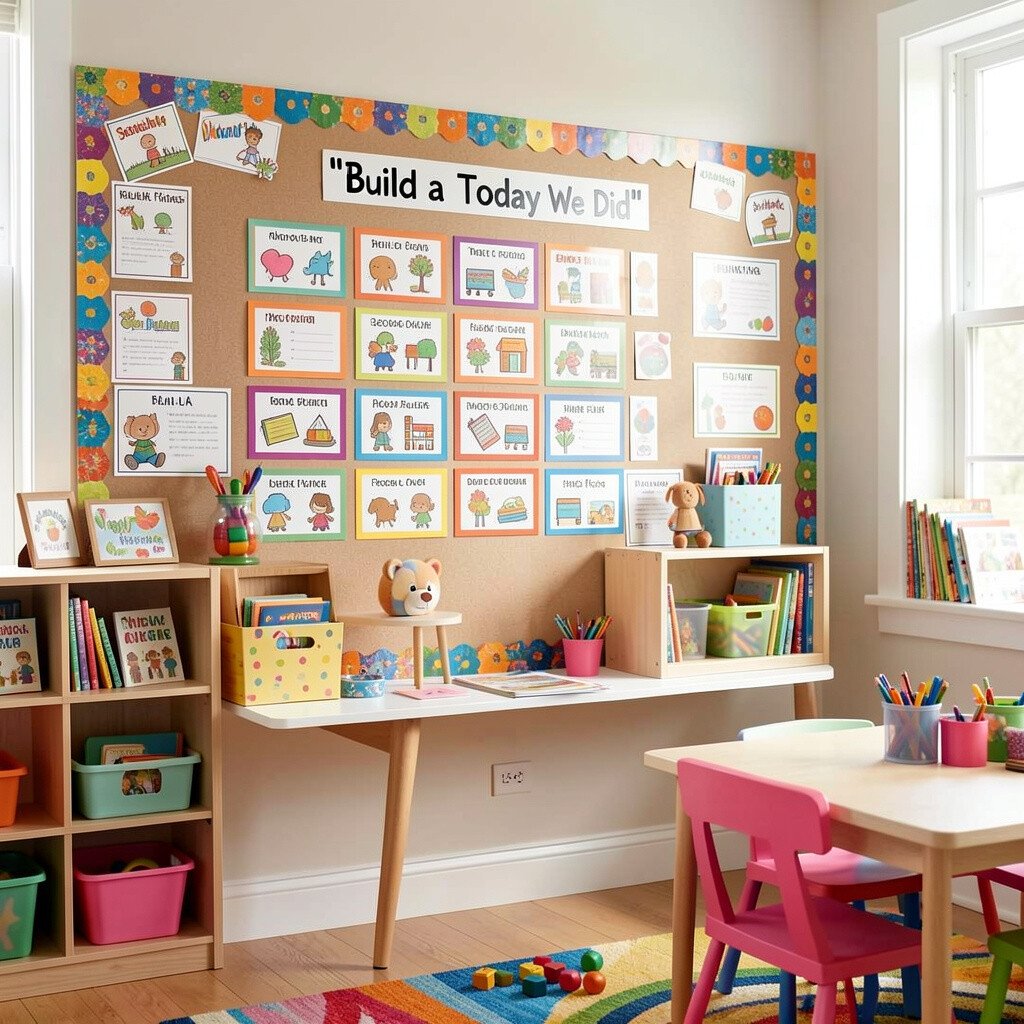
Leave space on your wall for a “Today We Did” display that highlights completed learning. You can hang tiny clothespins on a ribbon line and clip in each day’s best work.
Use bright labels, but keep them friendly with symbols and icons. The benefit is that kids see progress in a way that feels like bragging, not chores. It also reduces the stress of deciding where to put finished papers.
For personalization, let each child choose a favorite color clip or create a small signature card for their section. If you homeschool more than one child, assign each person a strip of color so you can swap content quickly. Keep a small bin nearby for spare cards so updates happen in seconds.
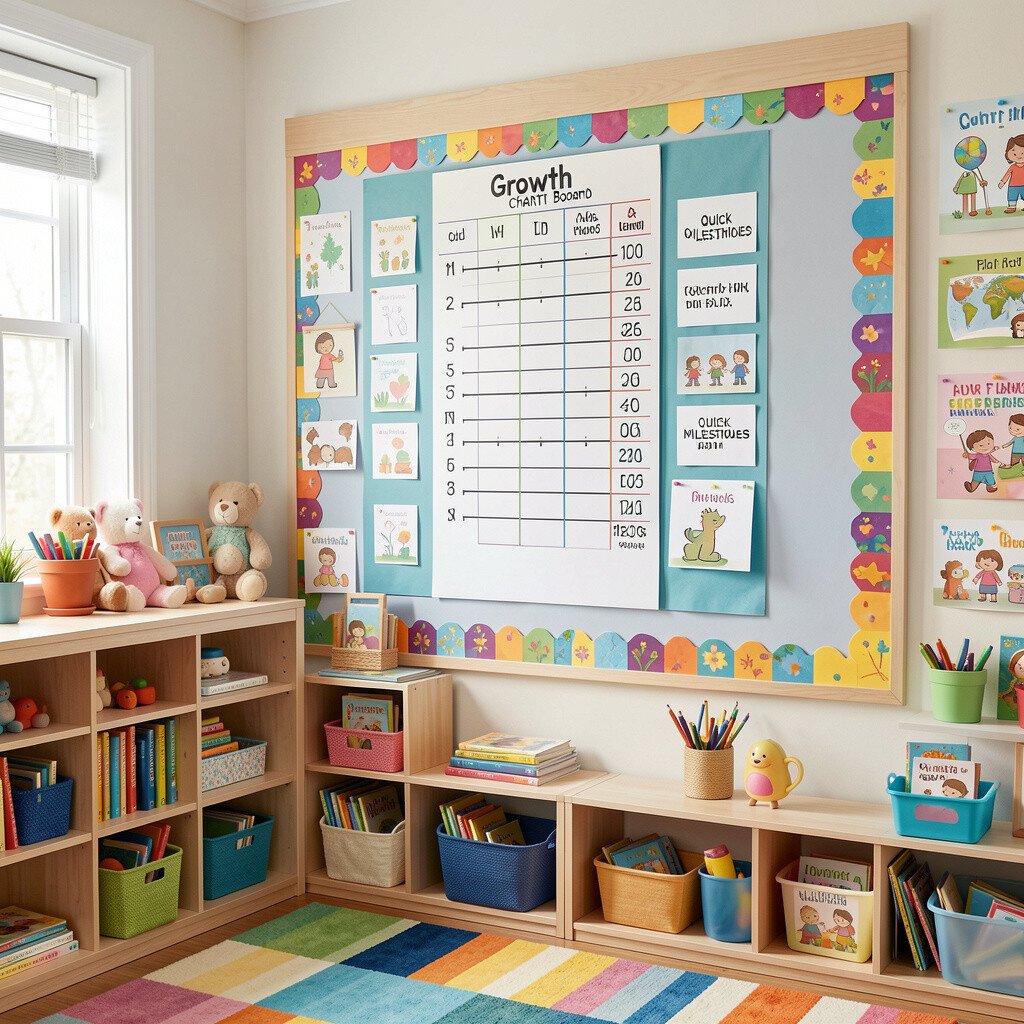
Create a growth chart board that tracks milestones in a joyful way. Instead of only measuring academics, include habits like reading time, handwriting practice, and helpful chores.
Stick colorful stars or simple progress dots next to each milestone so the wall feels encouraging. Make the steps small enough that kids can reach them often, which builds confidence. Use bright markers and thick paper so the display remains visible from across the room.
5. Make a Weekly Schedule with Pull-Down Strips
Make a Weekly Schedule with Pull-Down Strips
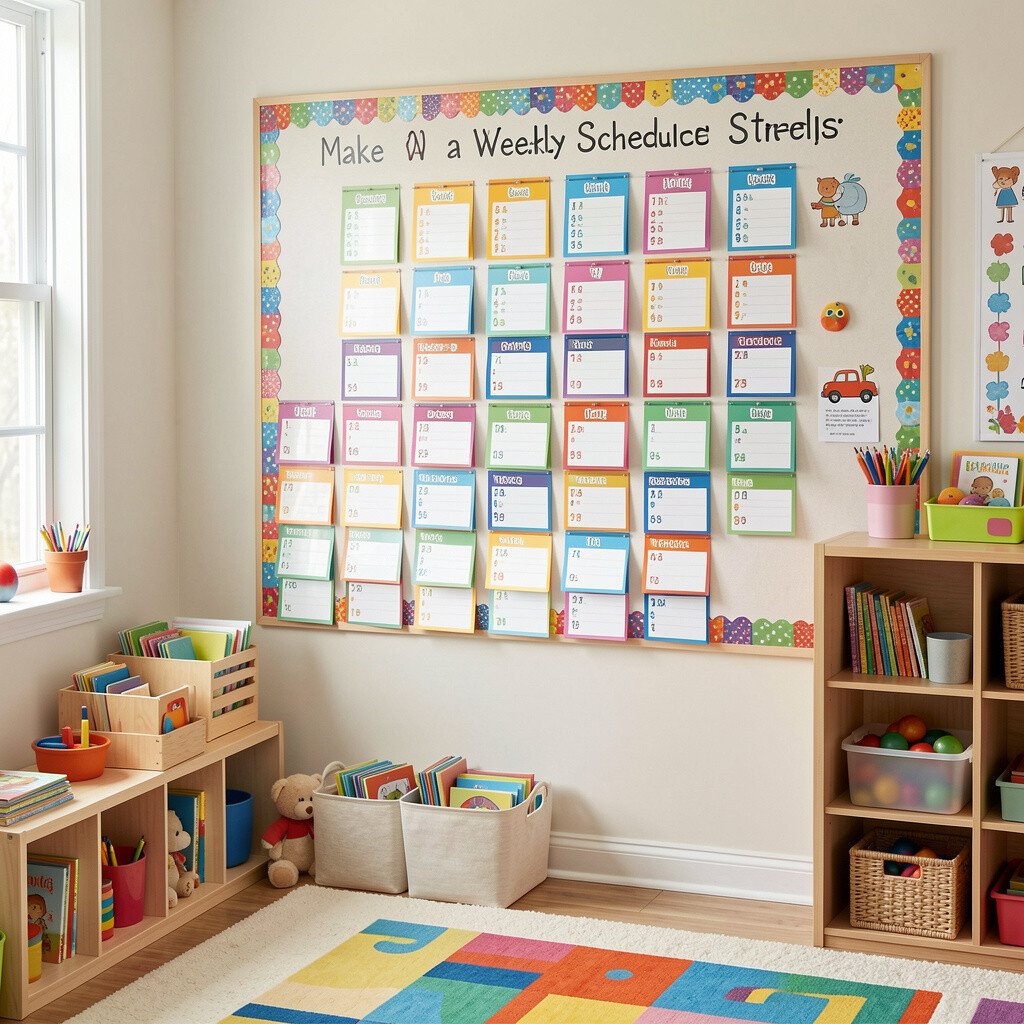
Turn your bulletin board wall into a weekly schedule that children can read at a glance. Use pull-down paper strips or small pockets that slide forward each morning.
Keep the schedule flexible so you can adjust when field trips or unexpected days pop up. You will feel calmer because you always know what comes next, and kids will waste less time asking what to do. Try using separate color bands for morning lessons, learning centers, and hands-on activities.
For cost considerations, use cardstock strips and cheap binder rings instead of pricey organizers. You can also reuse old file folders by cutting them into pockets. This setup stays current because you can update it whenever your homeschool routine changes.
6. Create a Vocabulary Landing Zone
Create a Vocabulary Landing Zone
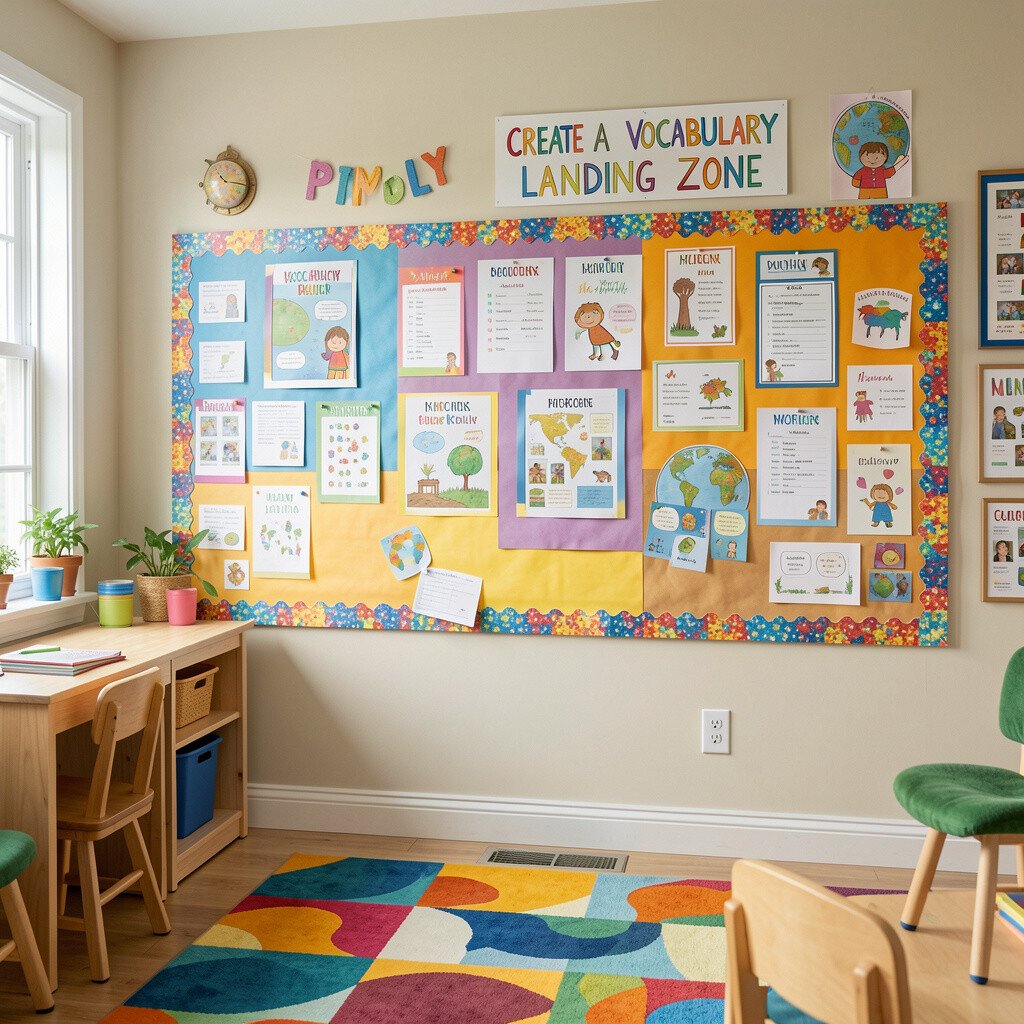
Dedicate a section of the wall to a vocabulary landing zone for each subject you teach. Place pocket cards with student-friendly words, plus a tiny drawing or photo that matches each word.
When kids add a new word, they feel ownership and the board becomes a living resource. It helps memory because words are seen often and connected to images. You can also add sentence starters with simple prompts on the back of each card.
For a unique look, use thick craft paper in warm tones like peach and coral around the pockets. Personalize each student’s cards with their handwriting style or a sticker that represents them. Swap the vocabulary list at the end of each unit to keep things exciting and fresh.
7. Pin Up “Wonder Questions” from Real Life
Pin Up “Wonder Questions” from Real Life
Use a bright corner of the bulletin board for “wonder questions” that come from everyday life. When a child asks why something happens, write the question on a colorful card and clip it to the wall.
This gives curiosity a home and makes lessons feel connected to the world. You can bring the questions into science, reading, and even art without forcing a rigid plan. After you answer, you can move the card to a “Answered” pocket so kids see how their questions grow.
8. Frame Your Best Work Like a Gallery Wall
Frame Your Best Work Like a Gallery Wall
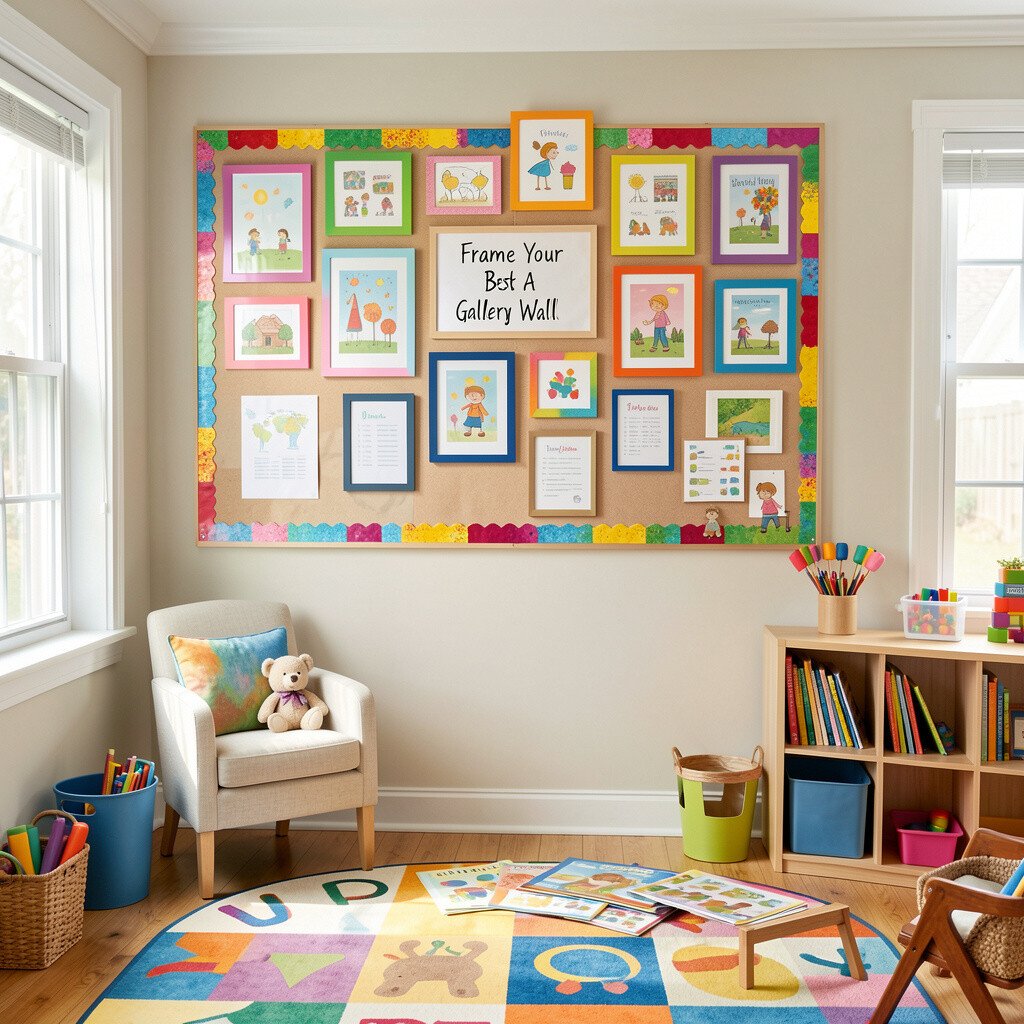
Make your bulletin board feel like a mini gallery by adding frames around top projects. Use simple picture frames or paper borders so each piece looks special.
Switch the featured work every week to encourage kids to create their best. The benefit is that students feel proud and motivated to finish with care. It also reduces piles of papers because the board becomes the first place to show results.
To personalize, let each child pick a “gallery theme,” such as favorite colors, animals, or hobbies. You can create a matching border paper set from the dollar store to keep costs low. This style matches a current trend toward home learning that feels like art and presentation, not only worksheets.
Build a reading response wall with different color prompts for each reading goal. For example, one color could mean “tell what happened,” another could mean “describe a character,” and another could mean “draw your favorite part.”
Attach small pockets or hooks that hold response cards right after reading. This helps keep learning flowing because kids don’t have to hunt for materials later. You can also use bookmark-sized cards that clip right onto the book they belong to.
For personalization ideas, let children choose a color for their own response style and keep that choice consistent. Use scrap paper to create quick response templates, which makes it budget-friendly. If you want a unique twist, add a tiny checklist panel for “read, respond, and reflect” with simple icons.
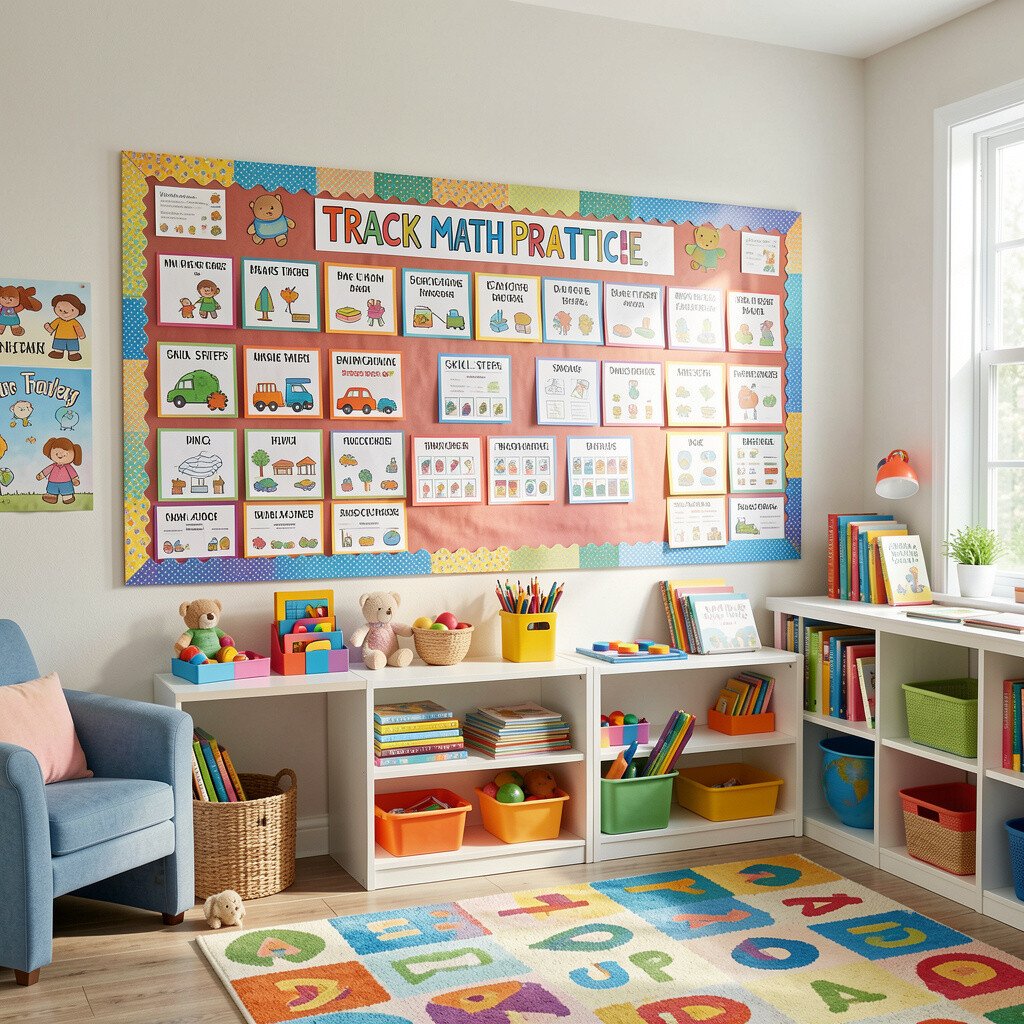
10. Track Math Practice with Mini “Skill Steps”
Track Math Practice with Mini “Skill Steps”
Turn math progress into a friendly visual by using mini “skill steps” on the bulletin board wall. Each step can show a skill, like counting, adding, multiplication, or fractions, with small icons beside it.
This system makes practice feel more like climbing a path than doing random drills. Kids benefit because they can see what they already can do and what comes next. Update the steps as they master each skill so the wall stays accurate and helpful.
For practical tips, keep the steps short and clear, and avoid overcrowding the board. Use bright paper dots for progress so it’s easy for kids to move them. If you homeschool multiple kids, separate their skill paths by color so lessons don’t mix.
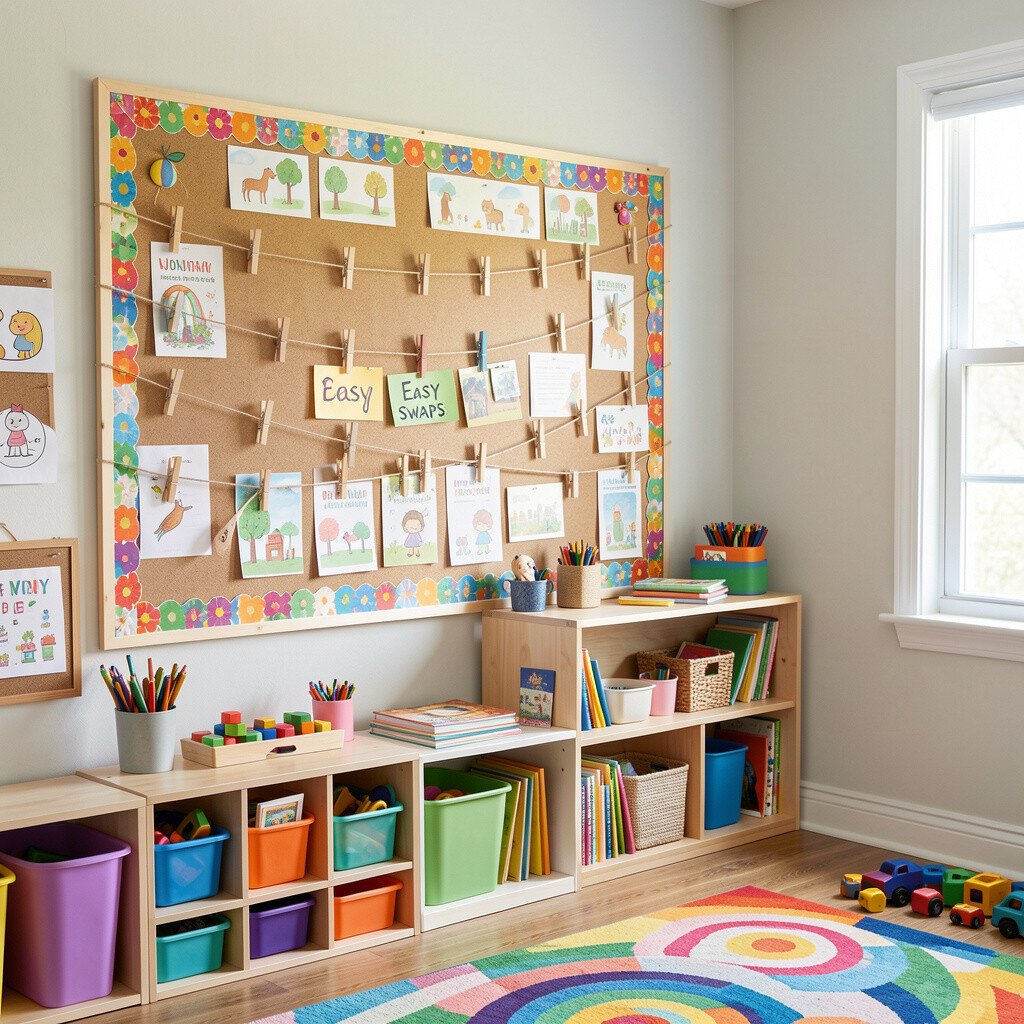
11. Use Clothespins and Twine for Easy Swaps
Use Clothespins and Twine for Easy Swaps
Install twine lines across the bulletin board and clip up work using clothespins in bright colors. This creates a playful look and makes it effortless to swap pages daily.
When you can change displays quickly, the wall stays engaging instead of turning into a storage shelf. Kids also learn to take ownership because they can clip their own work in the right spot. Try using decorative washi tape to hold the twine in place for a neat finish.
To keep costs low, shop for colorful clothespins and simple twine rather than expensive organizers. Personalize by attaching small stickers to clothespin handles that match each child’s interests. This method feels current because many classrooms now use flexible display systems instead of permanent mounting.
12. Build a Map and Landmark Memory Corner
Build a Map and Landmark Memory Corner
Create a map memory corner that uses the bulletin board as a colorful geography hub. Add small cutouts of landmarks, flags, and travel-themed visuals around a simple map outline.
This helps kids remember facts because they see locations connected to stories and pictures. It also adds variety to your homeschool day, especially when you pair it with reading or hands-on activities. Keep it practical by storing extra map pieces in a folder behind the board or in a nearby basket.
For personalization, let children add their own travel drawings after reading books or watching educational videos. If you’re on a budget, use printables you already have or cut shapes from old magazines. You can also add a “family travels” pocket where kids place small notes about places they’ve visited.
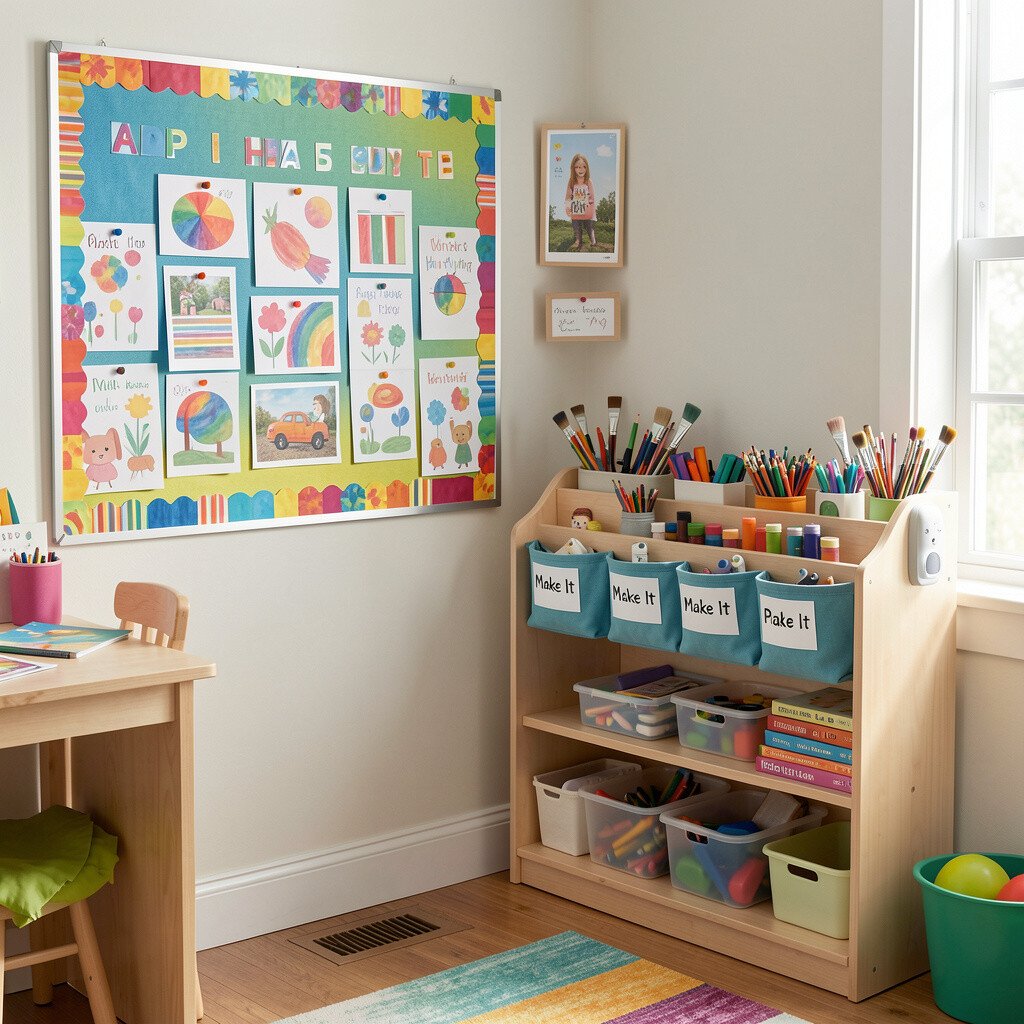
13. Add an Art Supply Station with “Make It” Pockets
Add an Art Supply Station with “Make It” Pockets
Design a section of the bulletin board that acts like an art inspiration station. Use pockets labeled with simple symbols for sketching, painting, collage, and craft projects.
This creates a smooth workflow because kids can grab the right supplies and start quickly. The benefit is that creative time becomes more frequent since it feels ready and reachable. Keep your art instructions short with picture steps so kids can follow without waiting for help.
For cost considerations, use leftover foam sheets, old cardstock, and clear page protectors from school supply sales. Personalize the station with your kids’ favorite art colors and a small rotating “artist of the week” card. This idea fits current trends that emphasize student-led creativity and maker-style learning.
14. Make a Behavior and Calm-Down Plan That’s Visible
Make a Behavior and Calm-Down Plan That’s Visible
Use your bulletin board wall to show a calm-down plan with clear, friendly steps. Include simple images for breathing, stepping away, reading quietly, or using a fidget.
This helps kids regulate emotions because the plan is visible and familiar. You’ll also notice fewer power struggles since instructions are less confusing in the moment. Personalize it with your child’s favorite calm object, like a small picture of a stuffed animal or a cozy corner cue.
For practical tips, keep the calm cards at eye level and avoid clutter. Use calming colors like teal, soft green, and warm beige so the wall feels soothing. You can reuse old therapy cards or print simple icons to keep costs down.
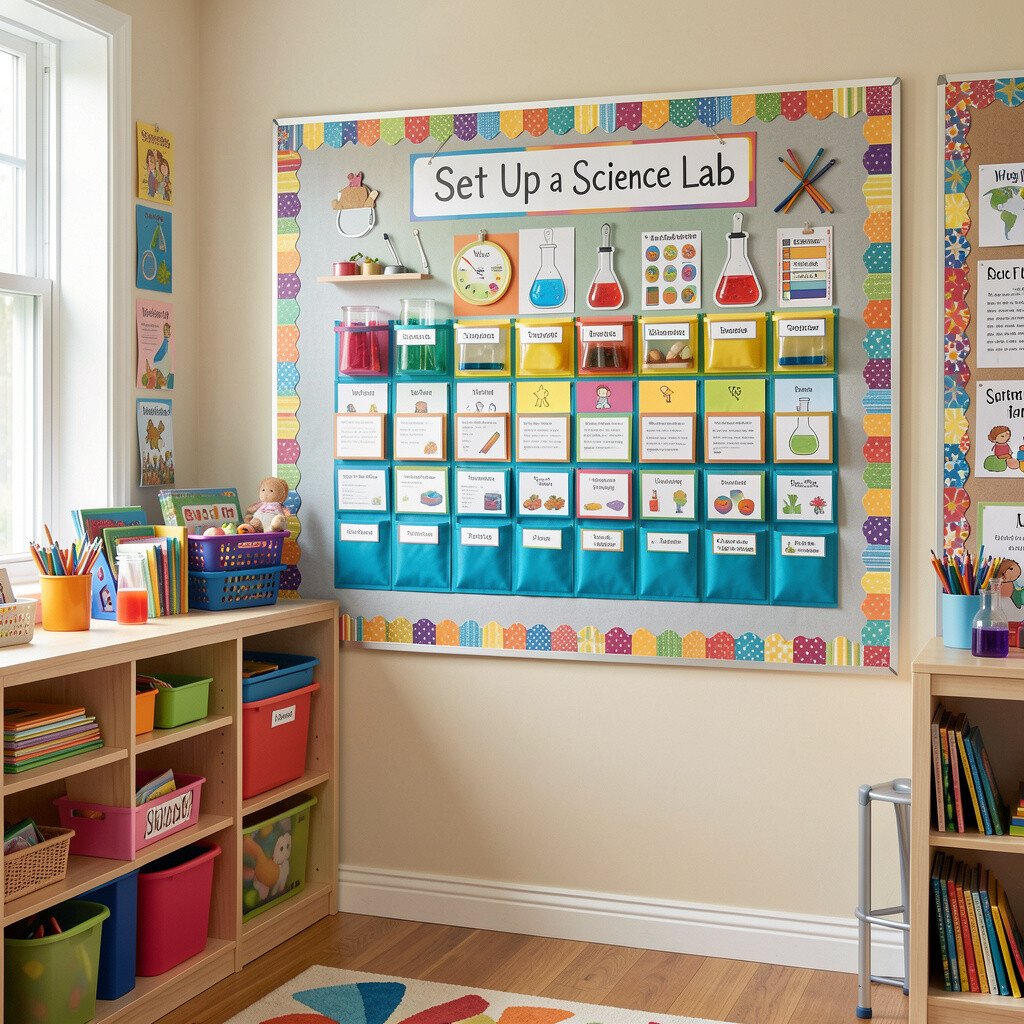
15. Set Up a Science Lab Question Board with Sorting Pockets
Set Up a Science Lab Question Board with Sorting Pockets
Create a science lab question board with sorting pockets for “observations,” “questions,” and “next experiments.” Add colorful sticky notes or small cards so kids can record what they see during experiments.
When you keep this information on the wall, it becomes easier to connect each experiment to your next lesson. Kids benefit because the science process feels structured while still fun and hands-on. For uniqueness, decorate each pocket with a different science-themed color and icon.
To make it practical, choose durable pocket folders that can handle repeated use. For cost considerations, you can make pockets from heavy paper and attach them with brads or Velcro strips. Personalize the board with your homeschool lab name and include a tiny checklist for safe steps like washing hands and wearing goggles.
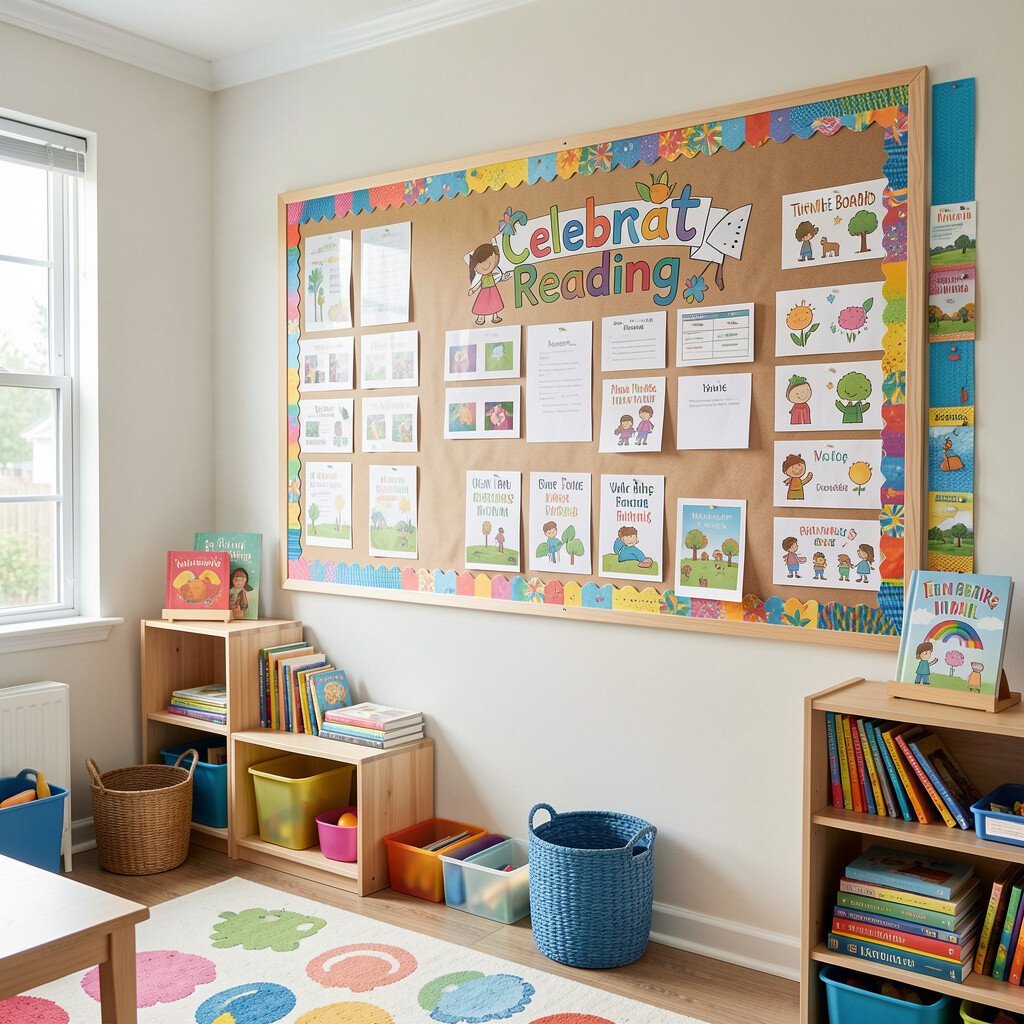
16. Turn the Board into a “Celebrate Reading” Wall
Turn the Board into a “Celebrate Reading” Wall
Build a celebrate reading wall with colorful markers for books kids have finished. You can add a paper chain of bookmarks where each link shows the book title and the child’s favorite part.
This turns reading into a fun event and gives children something to look forward to. The benefit is that you can track progress without turning it into stressful testing. Use bright colors that match your other bulletin board sections so the room feels cohesive.
For personalization ideas, let kids choose a “reading character” for the week, like a detective, explorer, or chef, and decorate their book cards to match. To keep costs low, use craft paper, marker drawings, and printable covers. This kind of board matches current trends in joyful literacy routines that focus on reflection and enthusiasm.
Keep it easy to maintain by updating the wall in small moments, such as after lunch or at the end of learning time. Store backup paper in a clear bin right beside the board so you never run out of materials mid-week. With a little consistency, the wall becomes a meaningful place where stories feel real and celebrated.