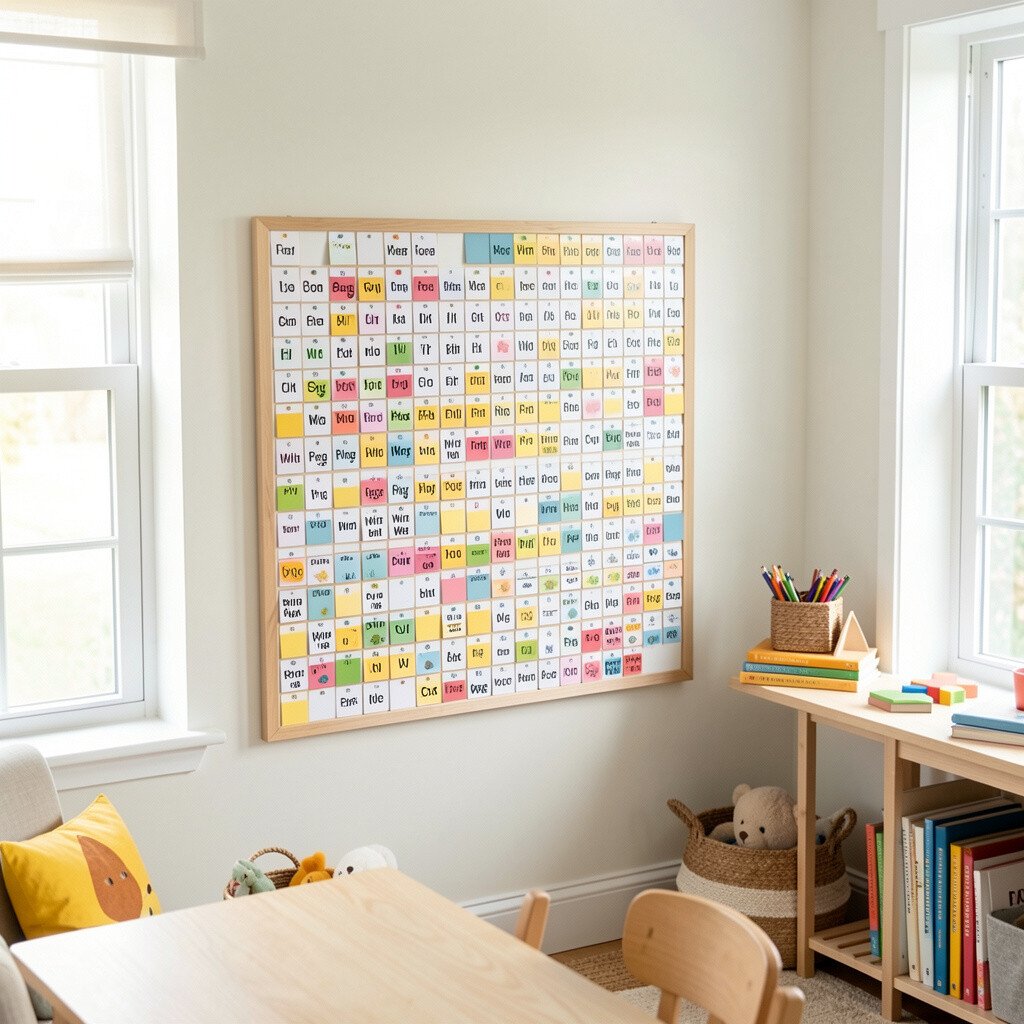
Cover a small section of the room wall with a metal sheet or magnetic whiteboard panel. Add word magnets made from cardstock, cut-out letters, or inexpensive magnetic strips so students can rearrange sentences during writing time.
They’ll see language take shape as colorful phrases slide into place, which makes editing feel playful instead of stressful. Try using theme sets for each unit, like space words, rainforest words, or character emotions, so writing stays connected to what they’re learning. Personalize the magnets with student-chosen fonts, doodles, and picture icons for quick support and big motivation.
2. Upcycled T-Shirt Yarn Loom Banners
Upcycled T-Shirt Yarn Loom Banners
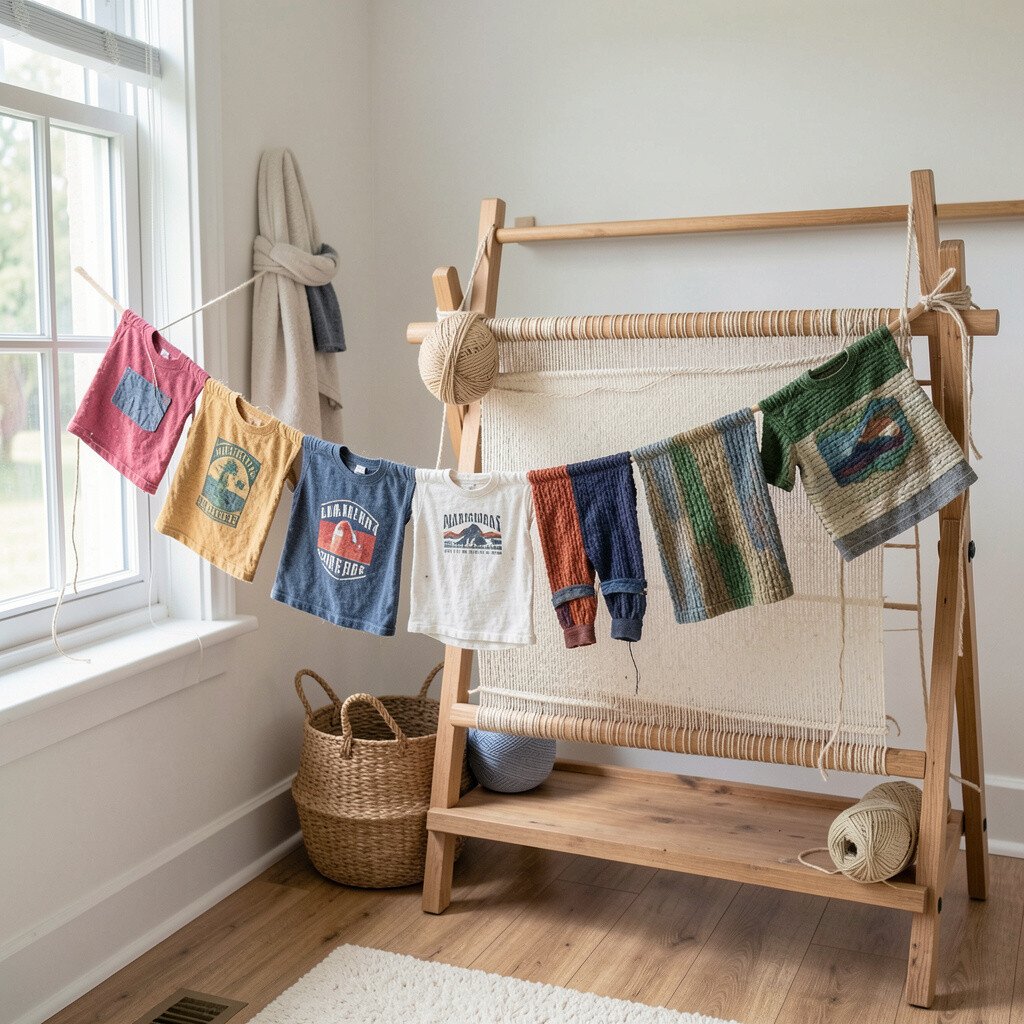
Cut old T-shirts into long strips, then braid or knot them into yarn-like loops. Use simple cardboard looms or a handheld frame to weave short banners that hang from a curtain rod.
The room will look cozy and bright, with textured strands swaying like little flags. This is budget-friendly because it turns faded shirts into something new, and it gives students practice with cutting, measuring, and patience. To tailor it, let each learner design a color story, then add a border made from buttons, fabric scraps, or stitched felt shapes.
For a modern feel, weave in one contrasting “accent” color so the pattern pops even from across the room. Keep supplies organized in labeled jars so the loom session stays smooth and quick to start.
3. Texture Treasure Collage Tabletop Maps
Texture Treasure Collage Tabletop Maps
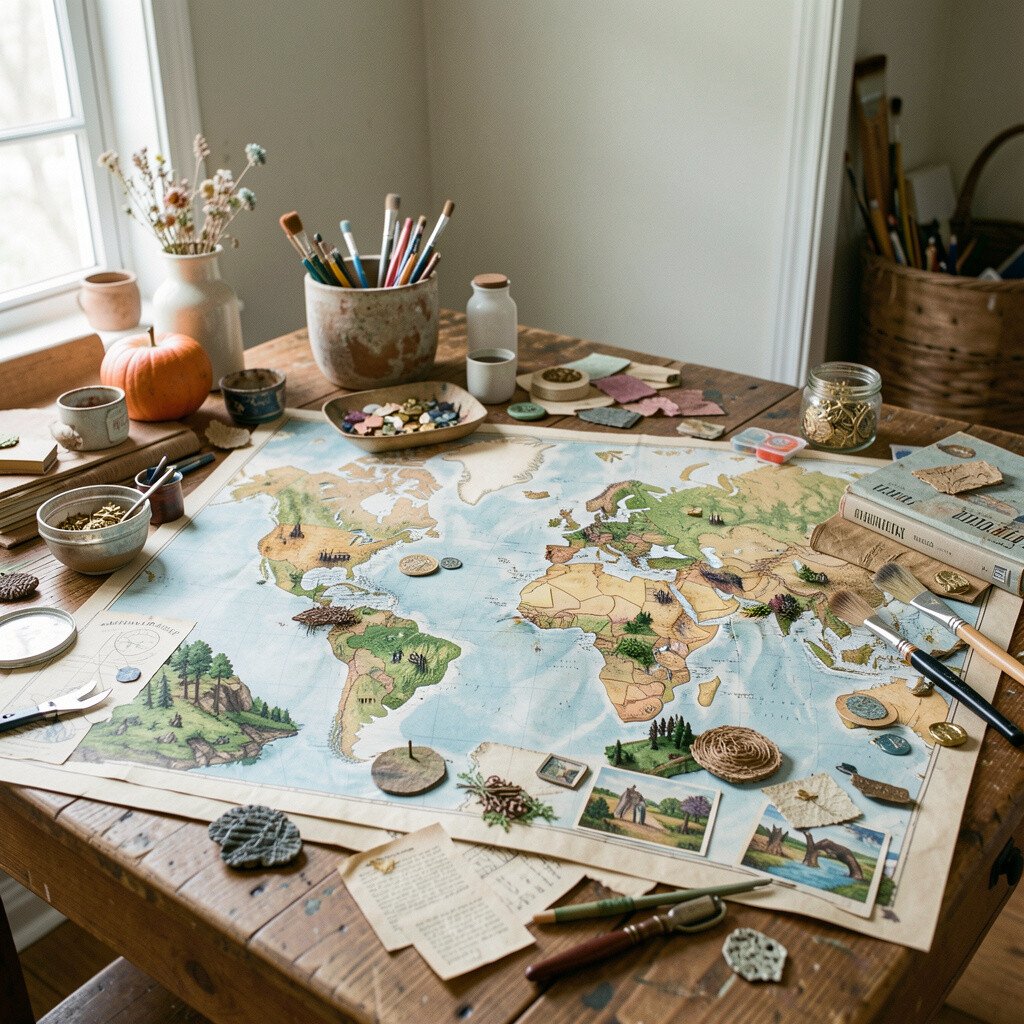
Use a large tray or foam board as the base and invite students to build mini “maps” with textured materials. Include items like yarn, cotton balls, sandpaper scraps, buttons, fabric, paper fibers, and foil.
As they press materials into place, the craft becomes a sensory geography lesson that looks amazing from above. It also strengthens fine-motor control and encourages careful observation when students describe what they added and why. Make it personal by letting them name regions, create landmarks, and use small labels on sticky notes to match their imagination.
Swap textures by theme, such as winter textures with faux fur and bubble wrap, or ocean textures with blue paper and crinkly cellophane. For current style, try a “minimal lines” approach by using clean edges and a limited palette, which keeps the collage looking modern.
4. DIY Story Dice With Picture Prompts
DIY Story Dice With Picture Prompts
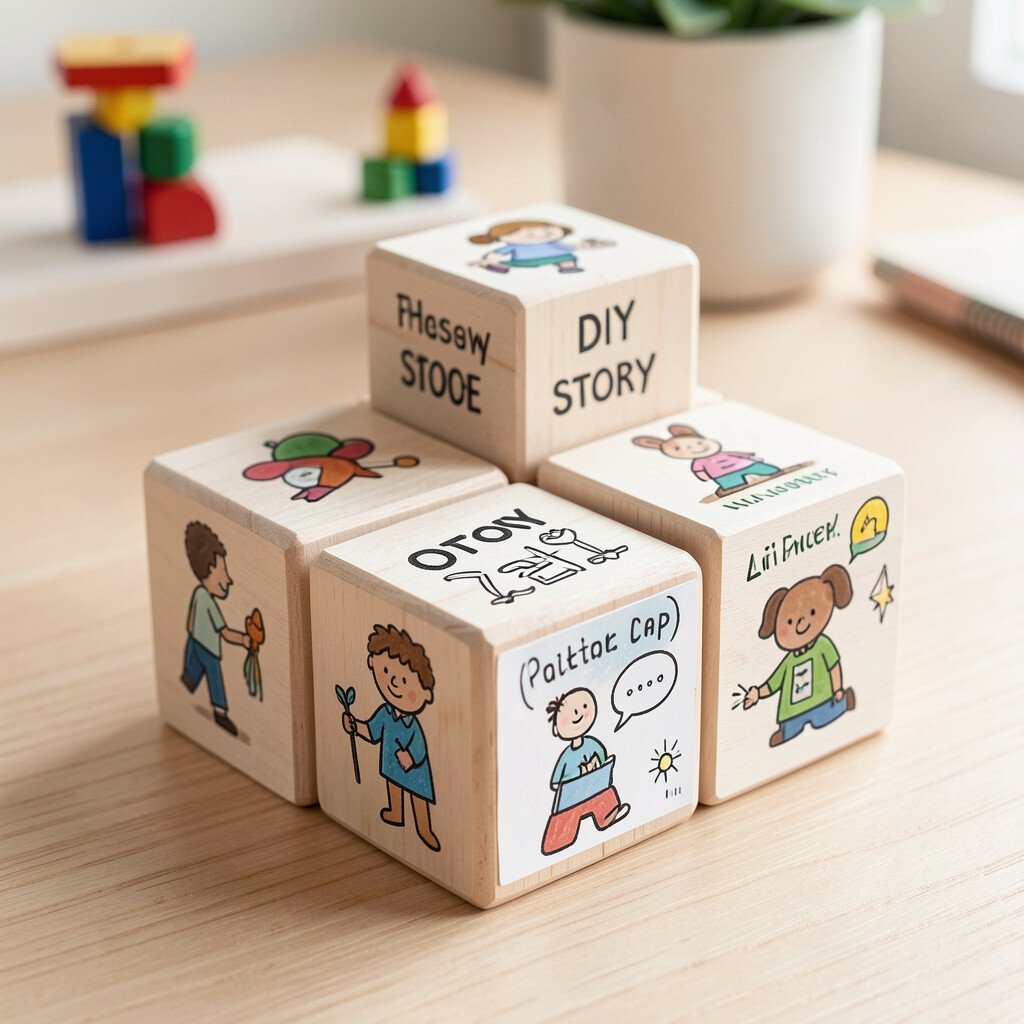
Create story dice using foam cubes, wooden craft blocks, or thick cardboard squares. Draw or glue small scene pictures on each face, then add a few emotion symbols and action icons so every roll sparks new ideas.
Students will roll dice and immediately start narrating, which makes writing feel like play. Keep the set flexible by creating dice for different genres such as mystery, adventure, or everyday life, and store them in a small fabric pouch. Personalize by letting each student include one recurring character from their own stories, turning the room into a living imagination hub.
5. Paper Circuit Coaster Starfields
Paper Circuit Coaster Starfields
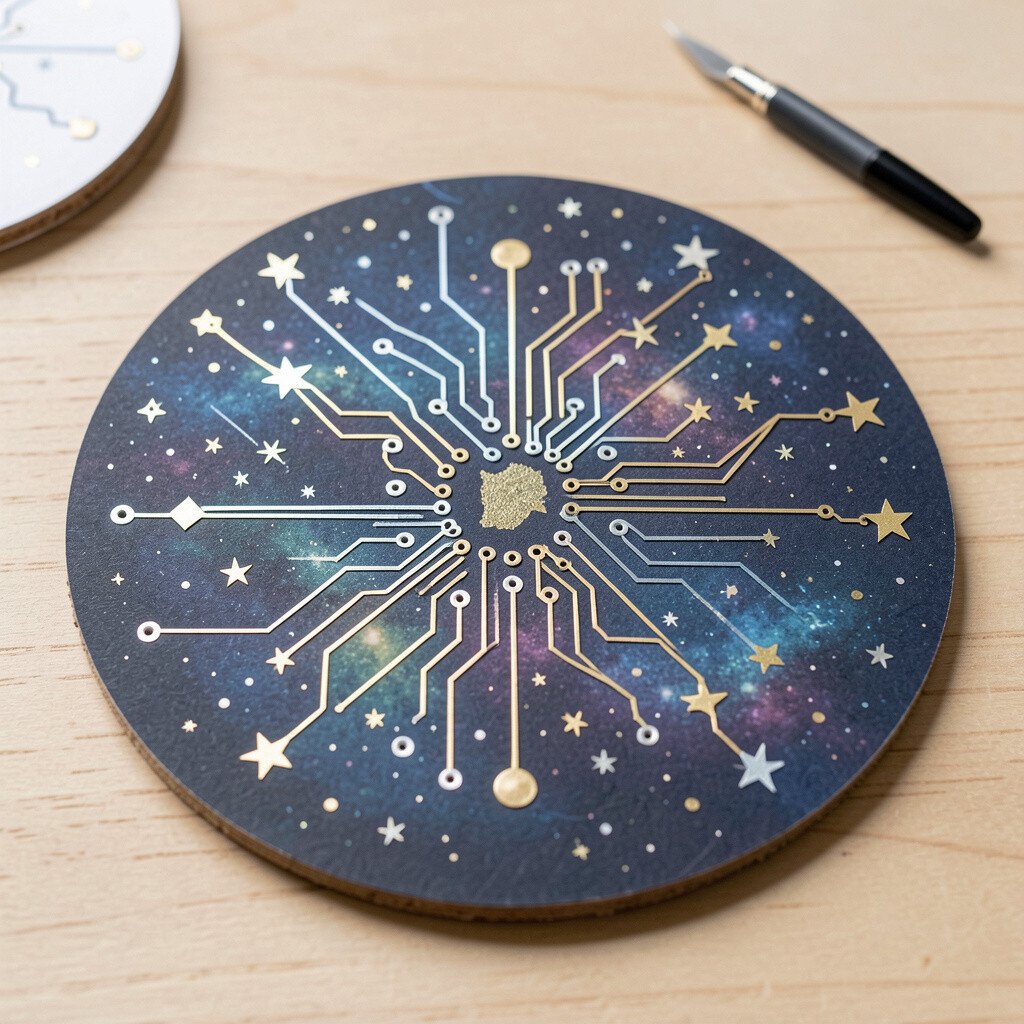
Use paper, thin cardstock, and simple conductive materials like foil tape or conductive thread to make coasters that light up with a small battery circuit. Add star shapes, lines, and planet dots with craft paint, then attach the circuit so it “glows” when finished.
This creates a dramatic visual when lights flicker across a desk, and it builds confidence in science and design together. It’s unique because the artwork doubles as a working object, not just a picture. Plan for practicality by choosing a battery holder that’s easy to open and using safety-friendly components appropriate for learners.
For budget, reuse scrap paper and use inexpensive LED lights from craft or electronics kits. Personalize starfields by giving each student a “constellation” pattern and a short caption about their fictional universe.
6. Scratch Art Postcards for Mini Gallery Walls
Scratch Art Postcards for Mini Gallery Walls
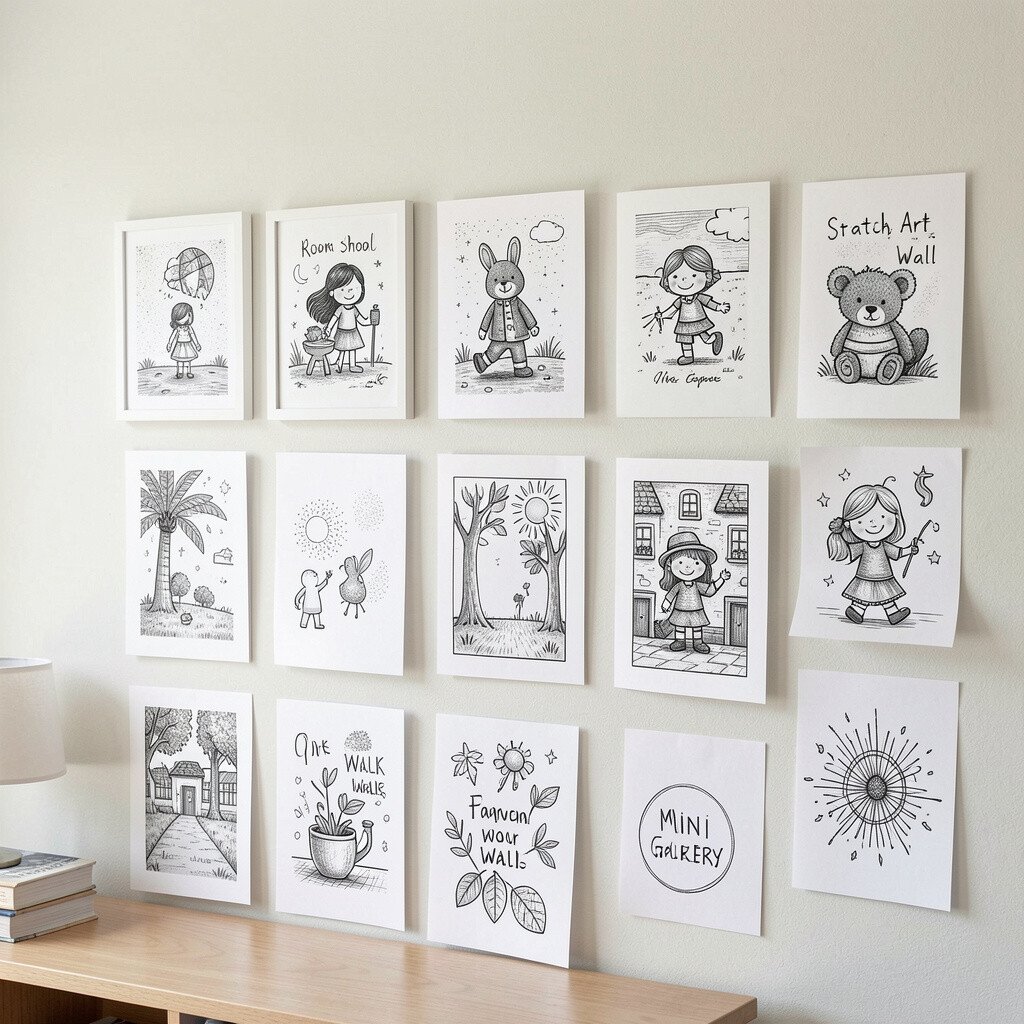
Make scratch art postcards using thick paper coated with crayon and a dark layer, or buy simple kits and customize them with student designs. After scratching reveals bright colors beneath, students can write a message on the back and hang the cards like artwork.
The wall becomes a changing gallery filled with bold lines, hidden surprises, and proud signatures. This activity strengthens creativity and fine-motor skills while giving learners an easy way to share work without needing fancy supplies. Keep costs low by using cardstock cut from paper reams and saving scraps for future postcards.
To personalize, let each student pick a theme word like “brave,” “calm,” or “curious,” then shape their image around that feeling for a personal art voice.
7. Felt Board Character Farms
Felt Board Character Farms
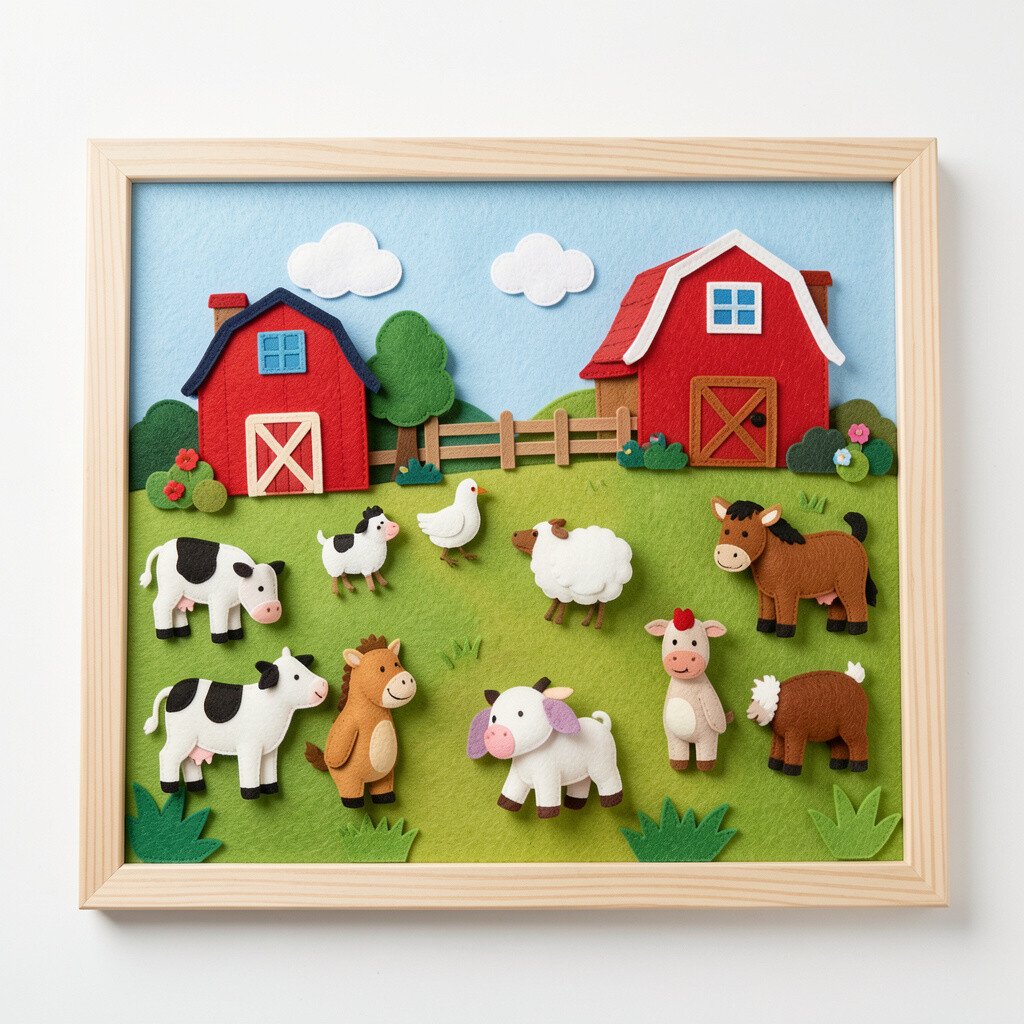
Build a felt board using a piece of backing felt mounted to a folder, clipboard, or small wall panel. Create characters, fences, barns, and animal shapes from felt rectangles, then clip or tuck them into place.
Kids love the satisfying movement of pieces clicking into a scene, and the craft encourages storytelling and comprehension practice. It’s unique because it can connect reading, math, and science through counting animals, sequencing events, or sorting habitats. Make it practical by building removable pieces so you can rearrange fast during lessons.
Personalize by using family photos as inspiration for character traits, like favorite hats or quirky colors. For a current trend, try seasonal variations like “spring pasture” or “winter barn,” keeping the room feeling fresh throughout the year.
8. Clothespin Color Sorting and Pattern Rail
Clothespin Color Sorting and Pattern Rail
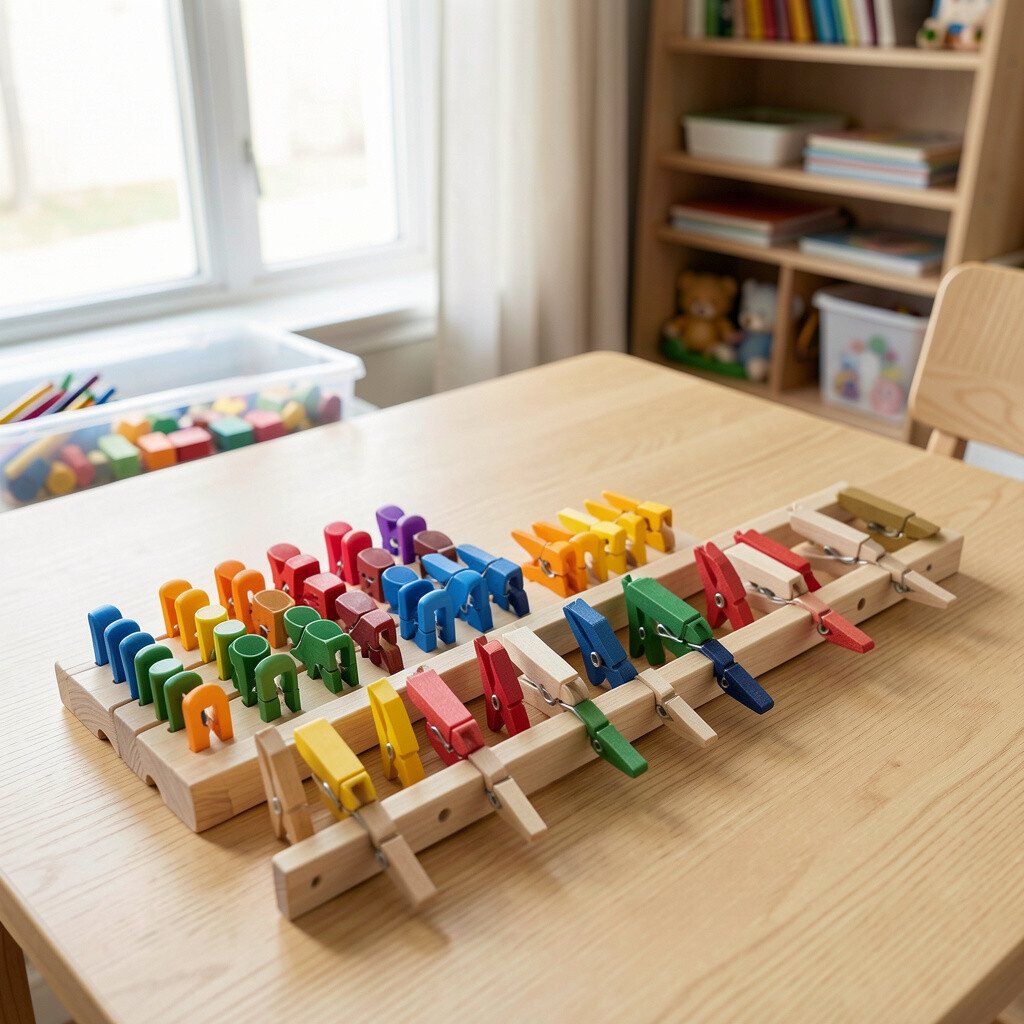
Paint or decorate a long strip of wood, cardboard, or foam board to create a rail with rows of hooks. Attach clothespins for sorting tasks, pattern practice, and even self-check routines for students.
Visually, the room feels tidy and interactive as bright clothespins line up like tiny flags. This craft benefits learners who need concrete organization, because they can see sets, sequences, and progress at a glance. Keep it affordable by using thrifted picture frames for the base and saving clothespins from laundry baskets.
Personalize by adding small pictures under each color group, such as apples under red or clouds under blue, so sorting also supports vocabulary. For flexibility, make one rail for math patterns and another rail for routine steps like gather, build, write, and clean.
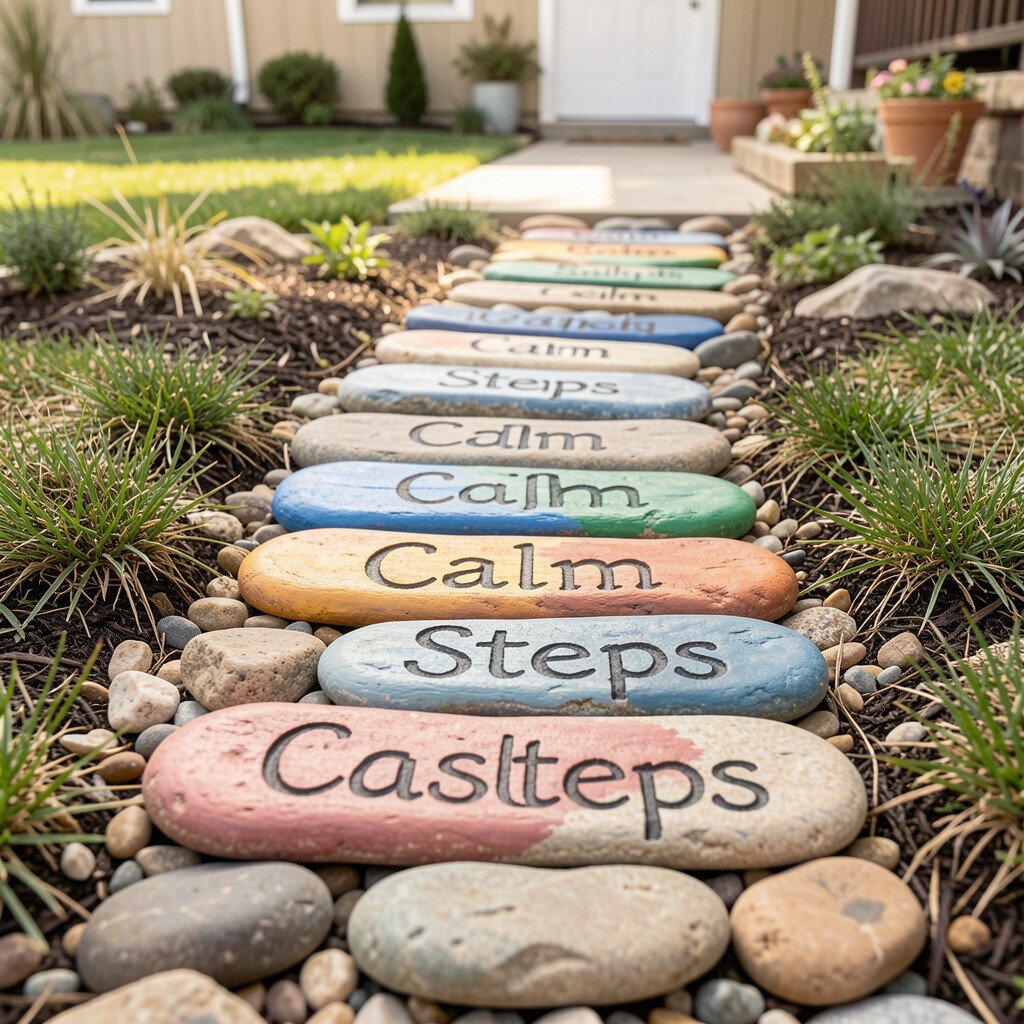
9. Painted Rock “Calm Steps” Path
Painted Rock “Calm Steps” Path
Collect smooth stones and paint them with calming words, simple icons, or breathing instructions. Place them in a line on a shelf, in a bowl near the craft table, or arrange them as a “path” on the floor for mindful breaks.
When learners move from stone to stone, the craft turns into a quiet visual that supports self-regulation. This benefits everyone in the room by making reset time feel normal and comforting rather than like a consequence. Personalize the set by letting students pick the icons they like, such as stars for thinking, hearts for kindness, and waves for relaxation.
Keep the rocks durable by sealing them with clear varnish so they handle regular handling. A fun trend is minimal icon art with limited colors, which keeps the stones looking modern while still feeling warm.
10. Reusable Sticker Scene Calendars
Reusable Sticker Scene Calendars
Create a monthly scene calendar by gluing a sturdy background onto cardstock and adding removable sticker pieces. Students can move characters, weather symbols, and objects across the month to track stories, routines, and seasonal changes.
The visual effect is bright and lively, like a tiny stage that evolves each day. This crafting idea supports planning and language building while also keeping students engaged in daily learning. Keep costs down by using leftover sticker packs, paper cutouts, or die-cut shapes from scrap paper collections.
Personalize by assigning each student one “scene responsibility,” such as building a farmyard, designing a city, or creating a beach day, so their voice shows up in the room. For practicality, use reusable adhesive dots or magnets so pieces stay movable without tearing paper.
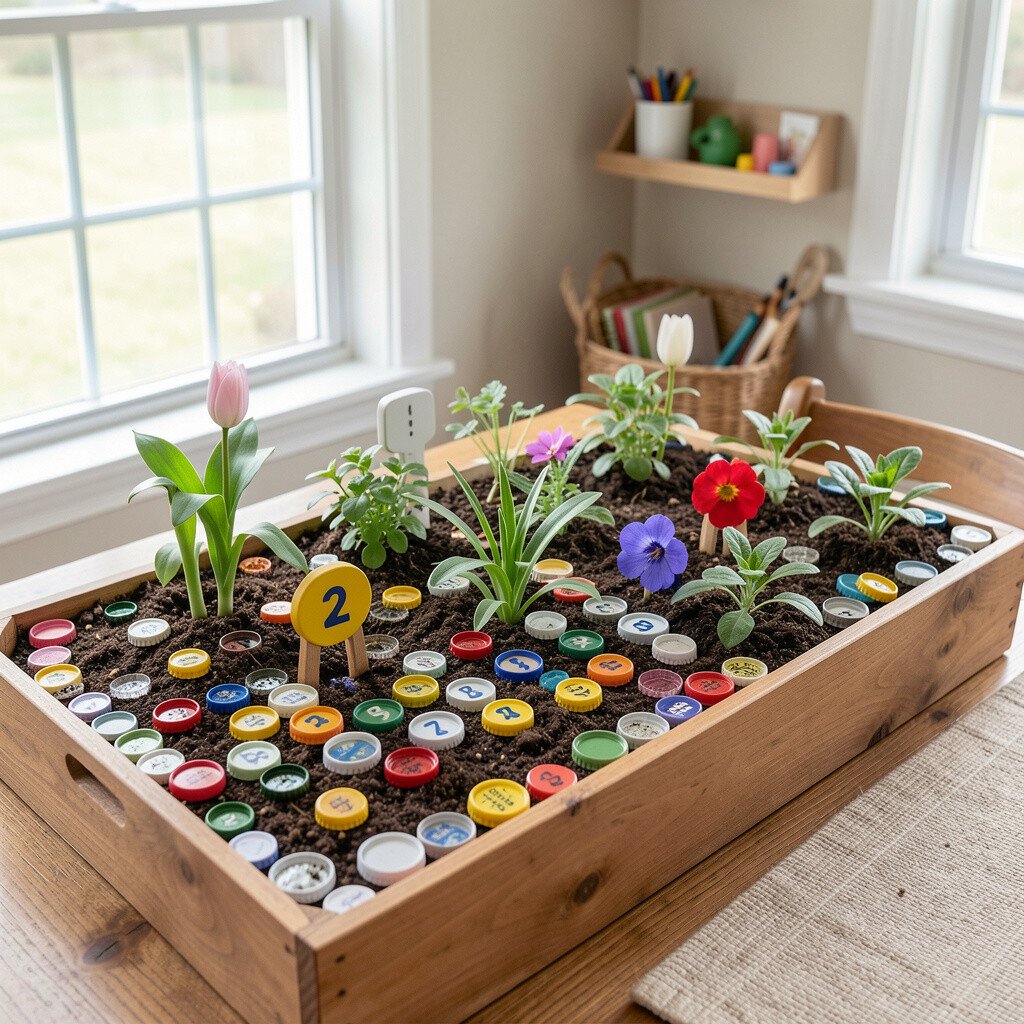
Paint bottle caps with numbers and glue them into a garden-themed tray or small board with pockets. Add faux soil made from paper shreds or brown felt and label each plant “bed” with a number range.
Students will love reaching in, picking a cap, and placing it where it belongs, which boosts math confidence through hands-on practice. It’s unique because it feels like a mini play world while still reinforcing counting, ordering, and skip counting. Make it practical by adding a simple “check” area in the tray where caps can be returned without mixing up.
Personalize by letting each learner choose the “plant type” for their numbers, like sunflowers for ones, daisies for twos, or pumpkins for ten. For current creativity, consider a nature palette with earthy greens, clay browns, and a few bright pops of color.
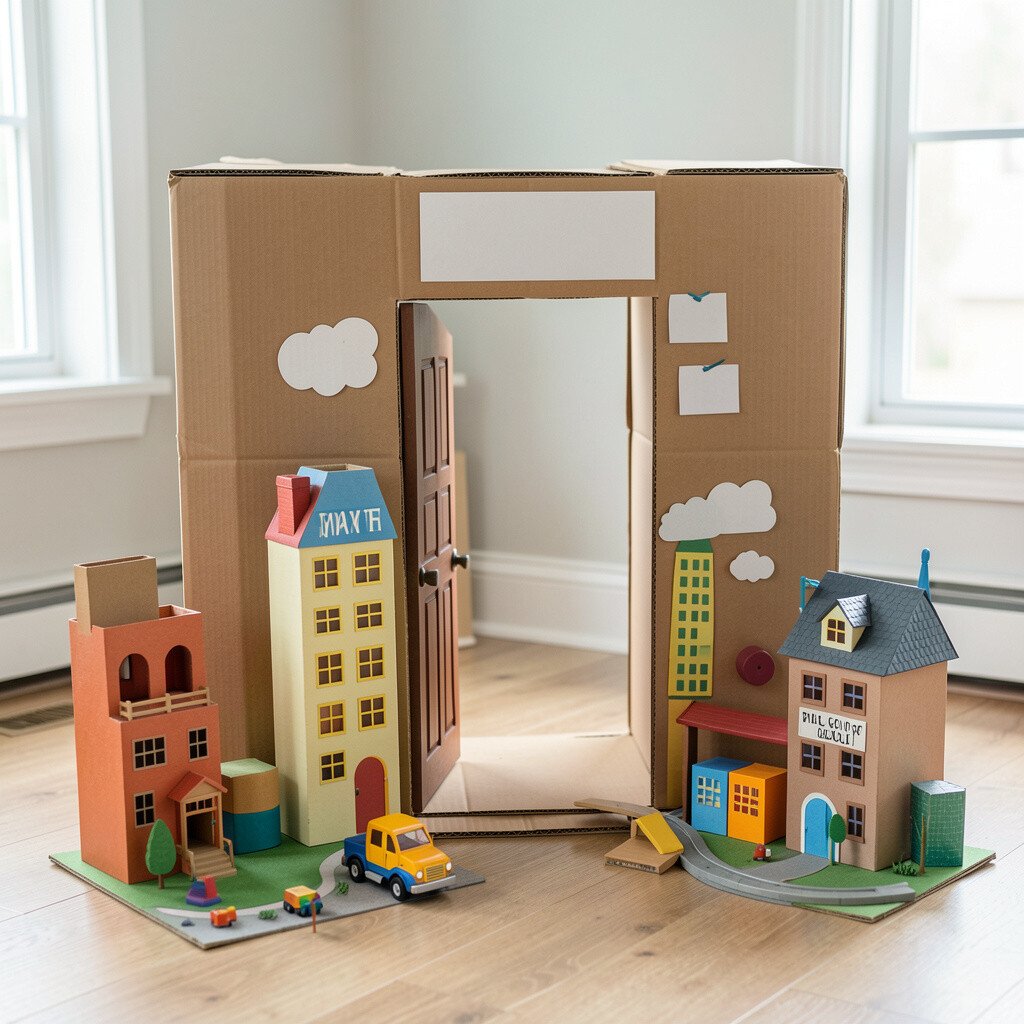
12. Cardboard Box “Doorway” City Playscapes
Cardboard Box “Doorway” City Playscapes
Stack and decorate sturdy cardboard boxes into small buildings with doors, windows, and signs. Cut doorways that open, then create roads on the floor using painter’s tape or craft paper lines.
The city scene looks instantly charming, and it invites role-play that supports language, social learning, and storytelling. This benefits learners because they can retell scenes from books, invent character backstories, or practice cooperative problem solving during play. Keep the project cost-friendly by using moving box scraps, cereal box thickness, and leftover markers.
Personalize by having students design a “neighborhood” with rules, like a library zone with quiet signs or a bakery zone with pretend recipes. For structure, add Velcro strips so removable accessories like traffic lights and shops can be swapped quickly.
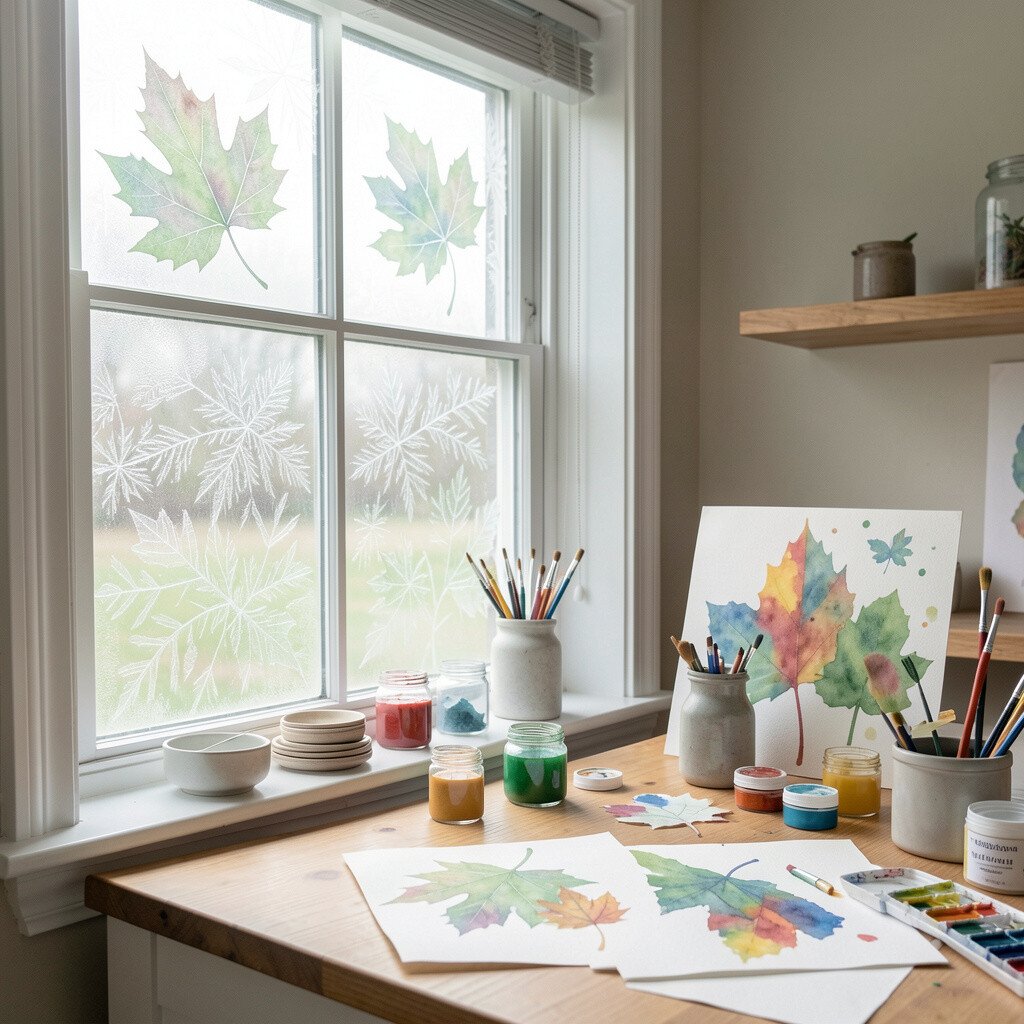
13. Window-Frost Watercolor “Magic Leaves”
Window-Frost Watercolor “Magic Leaves”
Paint simple leaf shapes on watercolor paper, then press them against a clean window with a light mist of water or tape them to a temporary frame. As the paper dries, the colors settle into a frosty, stained-glass look that catches sunlight.
It feels magical to watch colors brighten with daylight, and it encourages careful observation during drying time. This crafting idea benefits students because it pairs art with science habits like predicting and recording changes. Make it unique by using a limited palette for each set, such as warm autumn oranges or cool winter blues.
For practicality, use paper that can be removed easily, and protect the window with a washable backing sheet. Personalize by adding tiny marks for veins, seeds, or insect trails so every leaf looks like it belongs to a storybook.
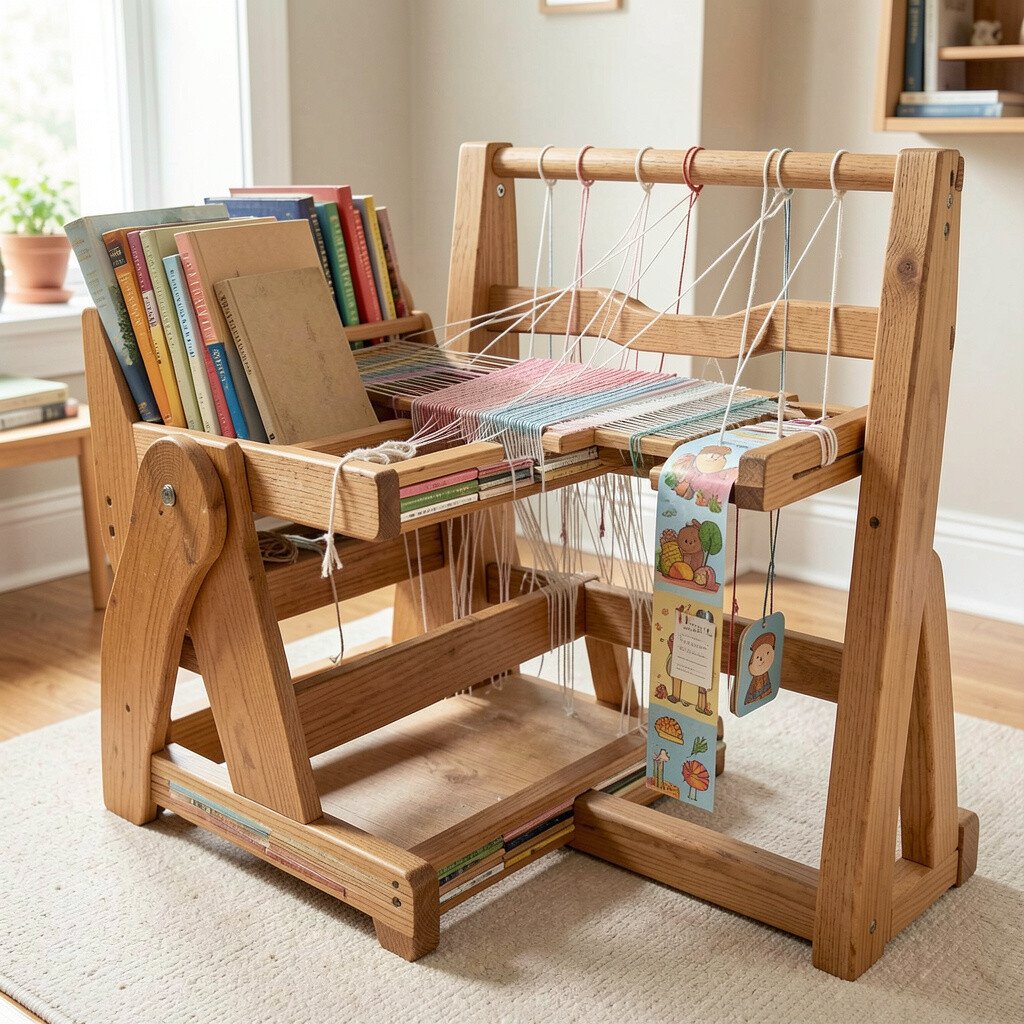
14. Book Spine Bookmark Weaving Station
Book Spine Bookmark Weaving Station
Set up a simple weaving station where students create bookmarks that mimic a book spine texture. Use sturdy yarn, strips of cardboard, or a small hand loom, then weave repeating patterns that match what they’re reading.
The visual reward is strong because the finished bookmark looks like a craft artifact, not a flimsy strip. This idea benefits reading routines by making bookmark-making a transition ritual between subjects. Keep costs low by using scrap yarn, cardboard offcuts, and a reusable weaving frame made from popsicle sticks or thrifted picture frames.
Personalize by weaving in one signature color that connects to each learner’s favorite character or mood. For a trend-friendly touch, try woven “micro stripes” and smooth edges so the bookmarks look polished on any bookshelf.
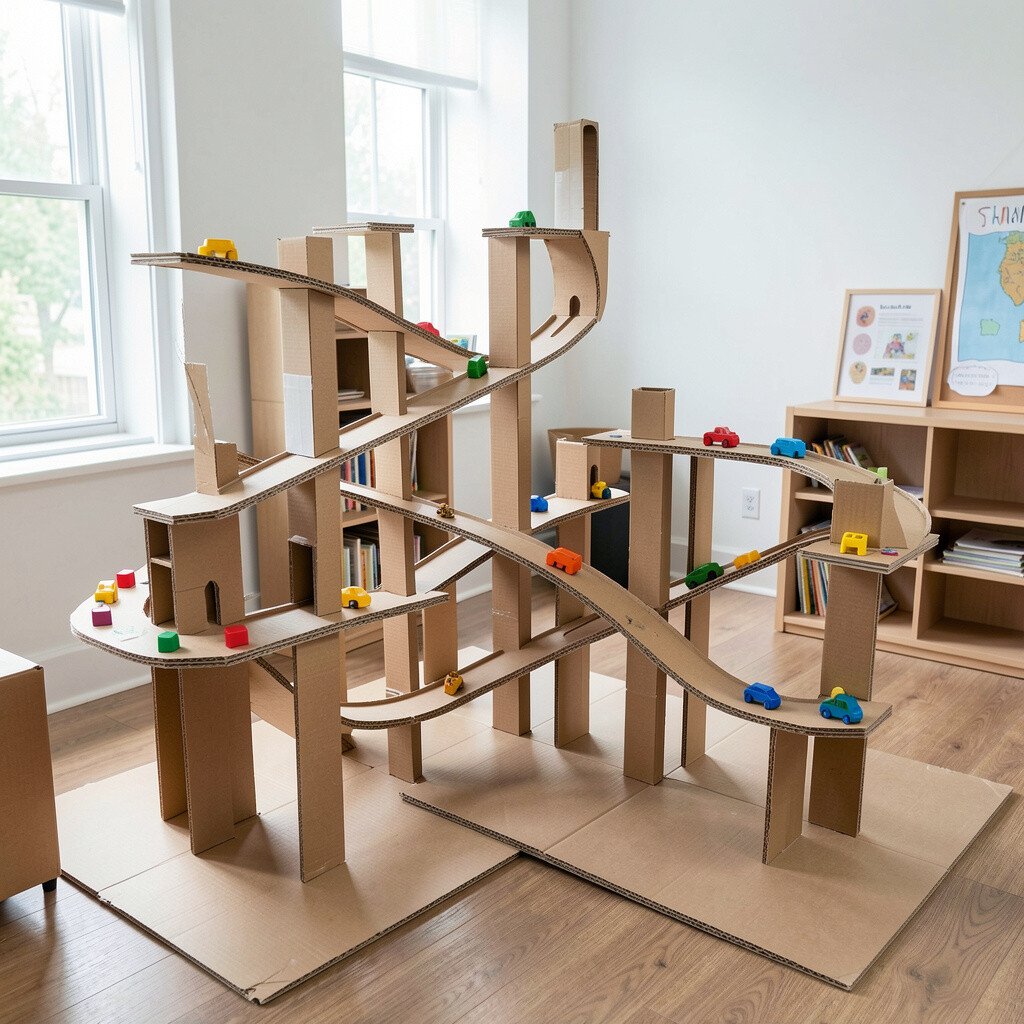
15. Recycled Cardboard Marble Run Museum
Recycled Cardboard Marble Run Museum
Build a marble run using cardboard, paper towel tubes, and leftover tape, then decorate it like a museum exhibit. Add signs with student-written descriptions of how the track works and where marbles will land.
The room becomes a playful physics hub as marbles zip through tunnels and land in neat collection spots. This benefits students by making engineering ideas tangible and encouraging experimentation with angles, ramps, and barriers. Personalize by letting each student choose a theme such as outer space labs, jungle tracks, or castle routes.
Keep it practical by reinforcing stress points with extra tape and using larger funnels so marbles don’t get stuck. For cost considerations, save tubes and cardboard from shipments and ask friends for packaging materials to keep it sustainable.
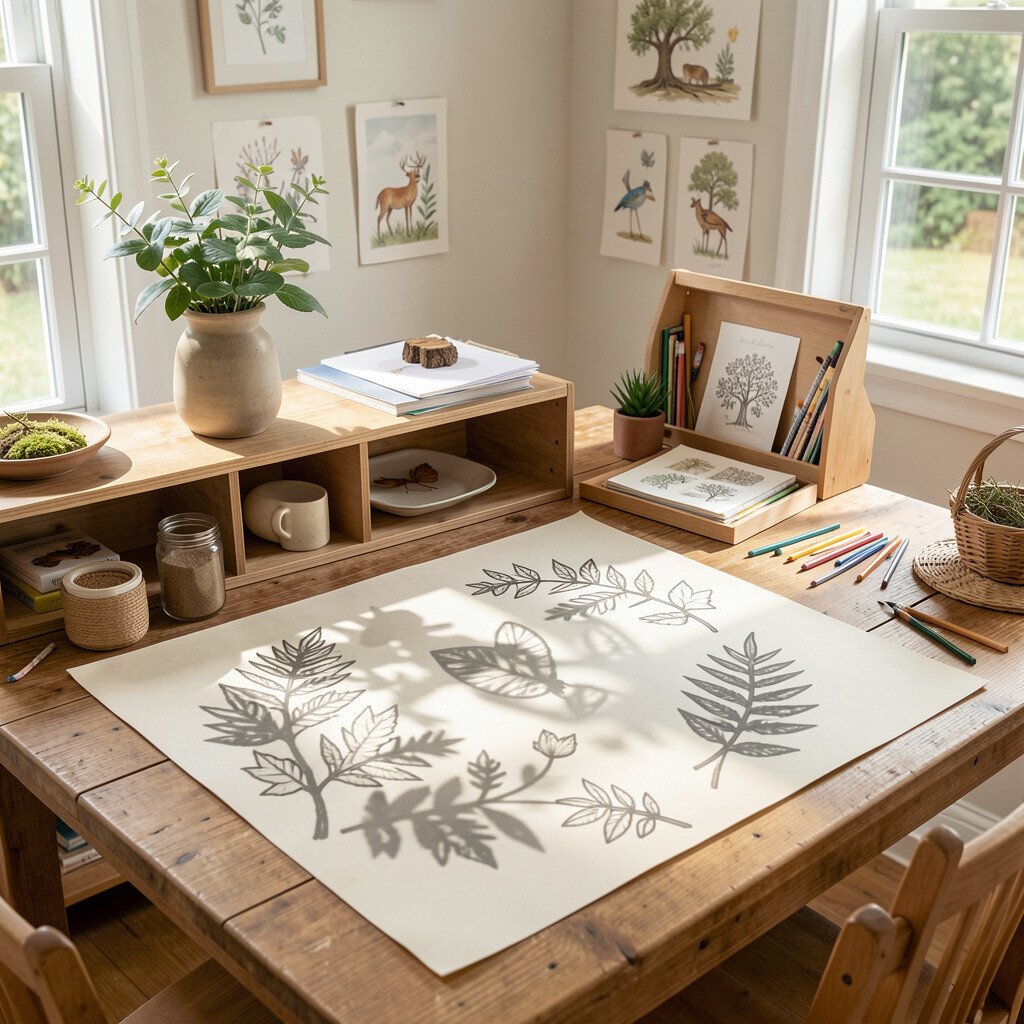
16. Nature Shadow Tracing Studio
Nature Shadow Tracing Studio
Go outside for a quick nature scavenger moment, then bring leaves, twigs, and small plants back to trace. Place objects on paper and trace outlines, then fill shapes with texture using crayon rubbing or dotted paint.
The final artwork has a grounded, authentic look that feels connected to the world beyond the classroom. This craft benefits learners by building observational skills and supporting vocabulary growth as they describe shapes, veins, and patterns. Personalize by adding student captions about where an object came from or what it reminds them of.
For practicality, use wax paper under the object to reduce mess and keep a dedicated tray for outdoor pieces. A current trend is “botanical realism,” so aim for true outlines while still using color choices that feel personal.
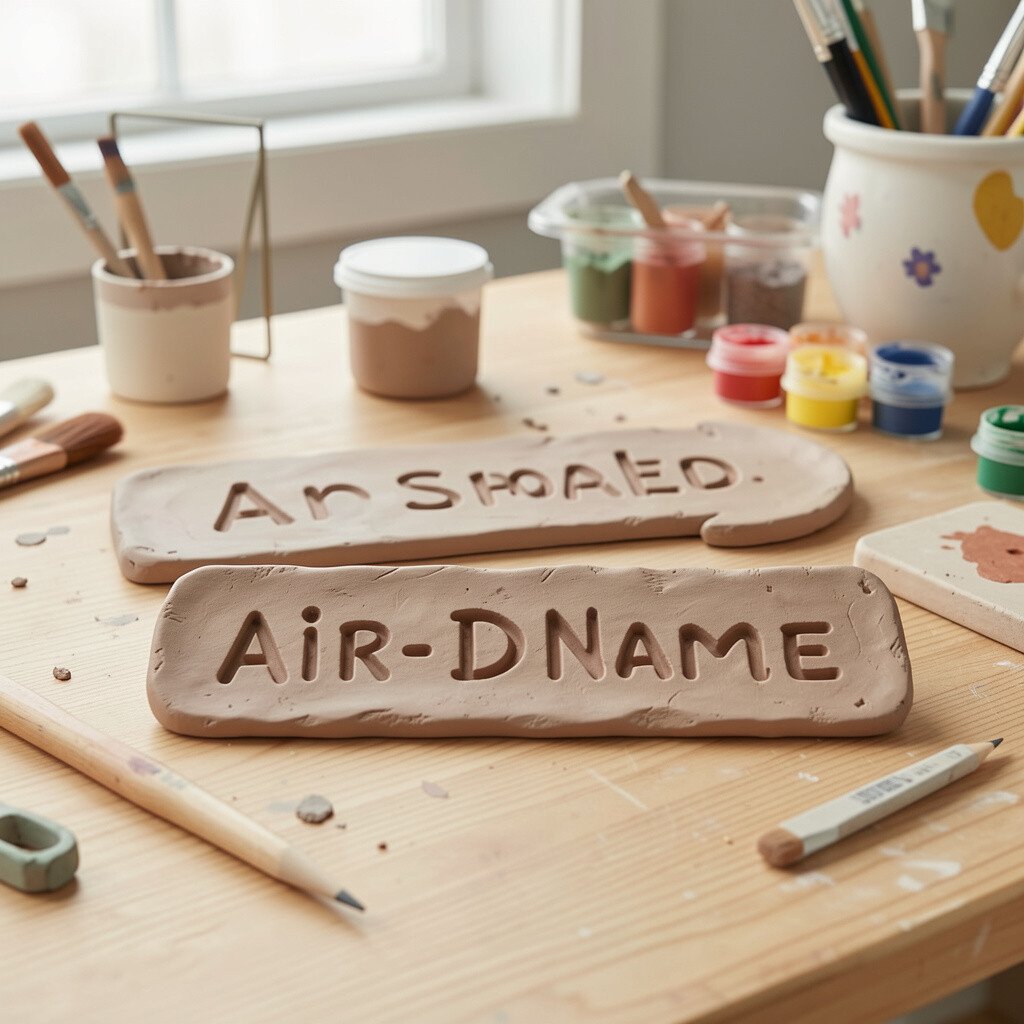
17. Homemade Clay Air-Dry Nameplates
Homemade Clay Air-Dry Nameplates
Make air-dry clay nameplates using simple molds, cookie cutters, or hand-shaped letter forms. Students can press patterns with combs, bottle caps, or leaves for texture before the clay dries.
When the nameplates display across shelves or desk areas, students feel ownership and pride every time they sit down. This benefits organization and routine, since belongings are easier to find with a personal label. Keep the cost reasonable by using clay from a craft store shared among students and adding texture tools made from scraps.
Personalize by choosing symbols that match each learner’s interests, like a tiny soccer ball for a sports fan or a star for a dreamer. For uniqueness, mix glossy paint on one accent edge so the nameplates catch light without overpowering the whole design.
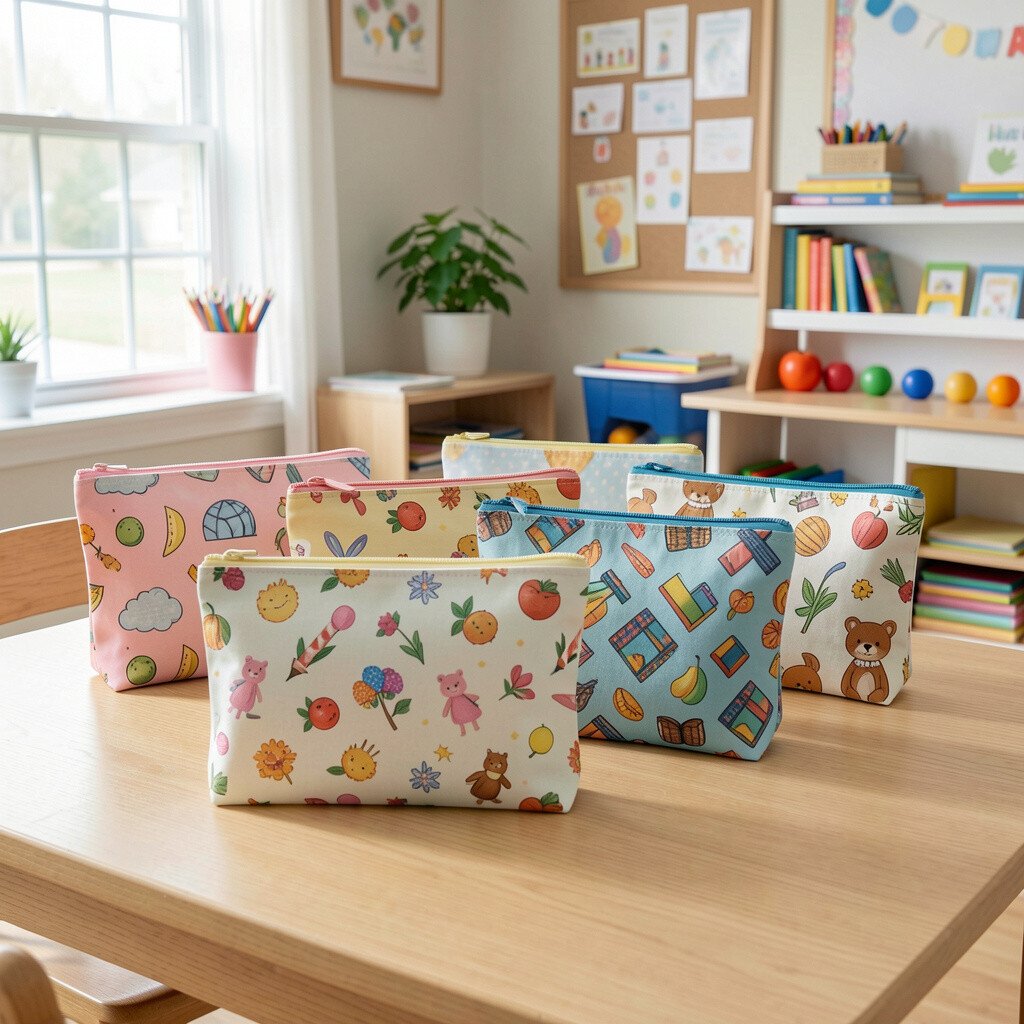
18. Decorative Classroom Supply Zip Pouches
Decorative Classroom Supply Zip Pouches
Turn canvas or sturdy fabric scraps into small zip pouches for crayons, markers, brushes, or mini tools. Add patches, stitched icons, or fabric markers so each pouch matches its owner’s style.
The room looks instantly more coordinated, and students waste less time searching for supplies. This craft benefits learning time by reducing interruptions, because everything has a clear home near the workspace. Keep costs low by using thrifted pouches, repurposed fabric from old clothes, or simple no-sew options with iron-on tape.
Personalize by adding a small “emergency craft rule,” like a symbol for clean-up or quiet time, so students remember routines without needing extra signage. A modern look can come from consistent color bands across pouches, like matching stripes or a shared theme palette.
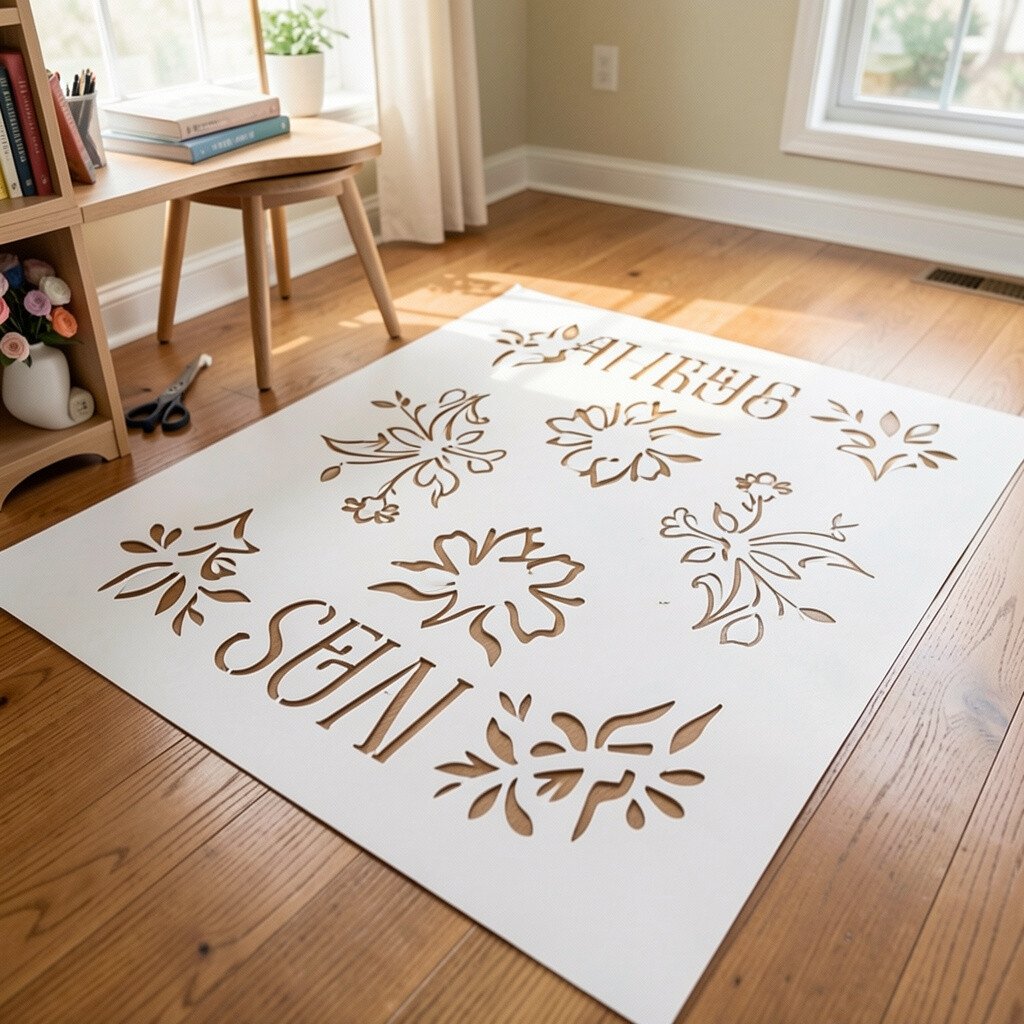
19. Reusable Stencil Floor Art With Removable Tape
Reusable Stencil Floor Art With Removable Tape
Use removable painter’s tape to outline stencil shapes on the floor or on large craft paper spread on the floor. Then paint inside the shapes with washable paint, letting students build a scene with repeated patterns.
It’s visually satisfying because each layer creates crisp edges, and the room feels like a temporary art festival. This benefits students by teaching planning and control, since they must work within boundaries to create clean shapes. Keep it practical by choosing washable paint and protecting flooring with a thick paper layer.
Personalize by letting each student choose a favorite pattern, such as waves, constellations, or dinosaur scales, then combining patterns into one shared mural. For a current trend, try limited colors with lots of white space so the finished art looks airy and modern.
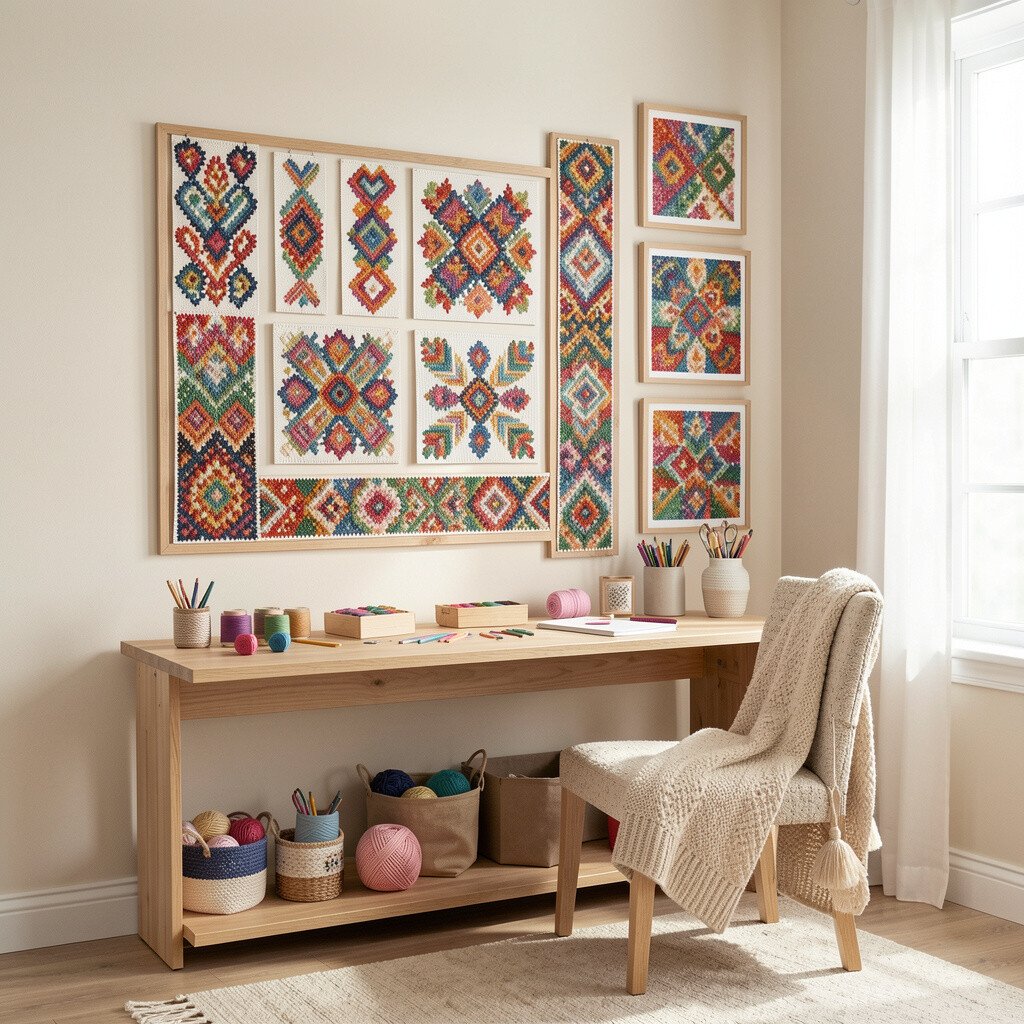
20. Friendship Bracelet Pattern Wall for Future Crafting
Friendship Bracelet Pattern Wall for Future Crafting
Create a pattern wall using a corkboard, foam board, or magnetic panel where students hang sample bracelet designs. Use yarn loops, clip-on rings, or mini clothespins to display completed patterns as references for later projects.
Seeing past creations hanging in a neat row motivates students to keep making and trying new combinations. This craft benefits learners by supporting goal setting, because they can choose a displayed pattern and replicate it step by step. Make it unique by including student notes on why they liked a pattern, plus small swatches that show the texture of different yarn types.
Keep costs low by using yarn remnants, embroidery thread scraps, and paper clips for hardware. Personalize with color coding by mood, such as calm blues for focus and bright reds for energy, so students can pick patterns that match their day.
For practicality, use clear labels on the back or a simple photo log so patterns stay easy to find even after the classroom changes.