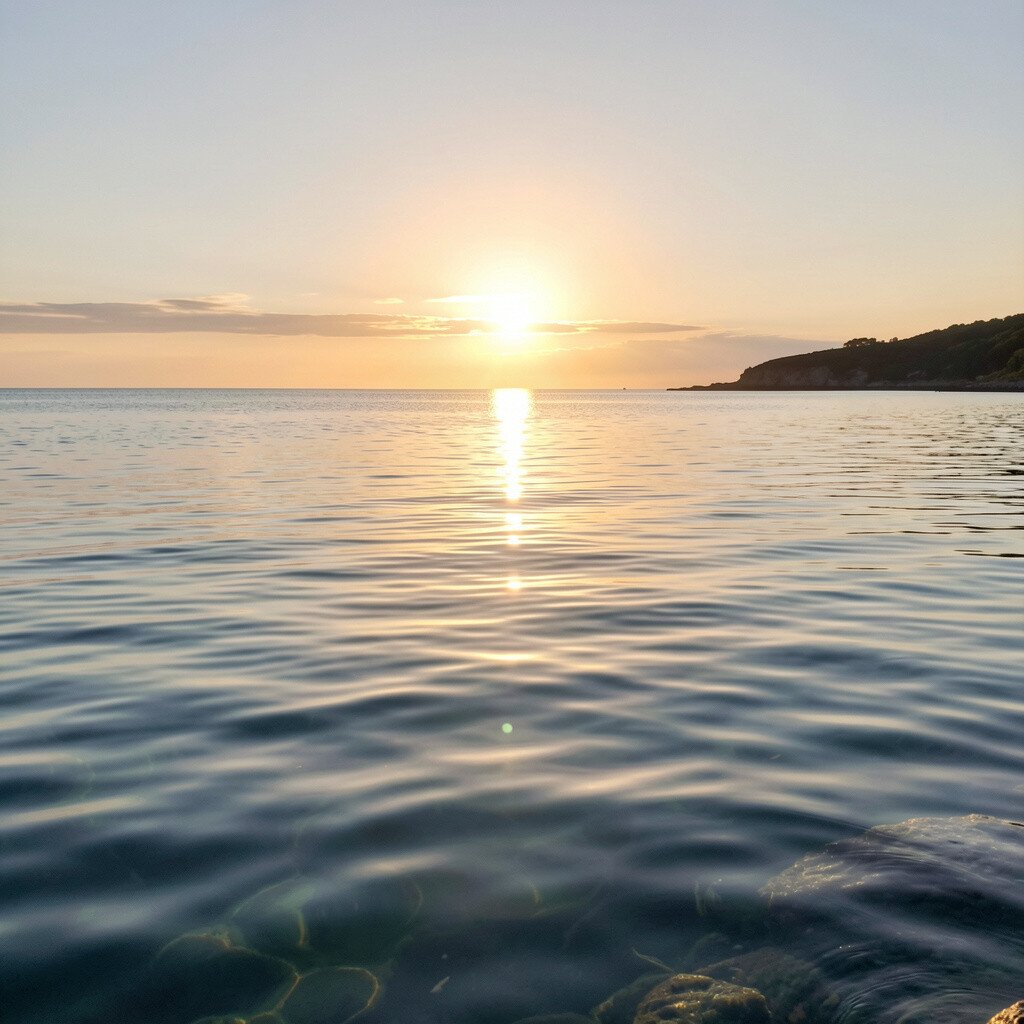
Imagine the ocean at sunrise, so calm it looks like polished glass. Let warm light spill across gentle ripples, fading from gold to soft peach.
Use a limited color palette of yellow, orange, light blue, and white to keep the scene clean and peaceful. Paint or draw thin wave lines that stretch toward the horizon to create depth, and add one small highlight that catches the “sun” on the water. If you like details, include a distant sail or a single cloud reflection to make the moment feel real.
2. Seafoam Lettering on Textured Paper
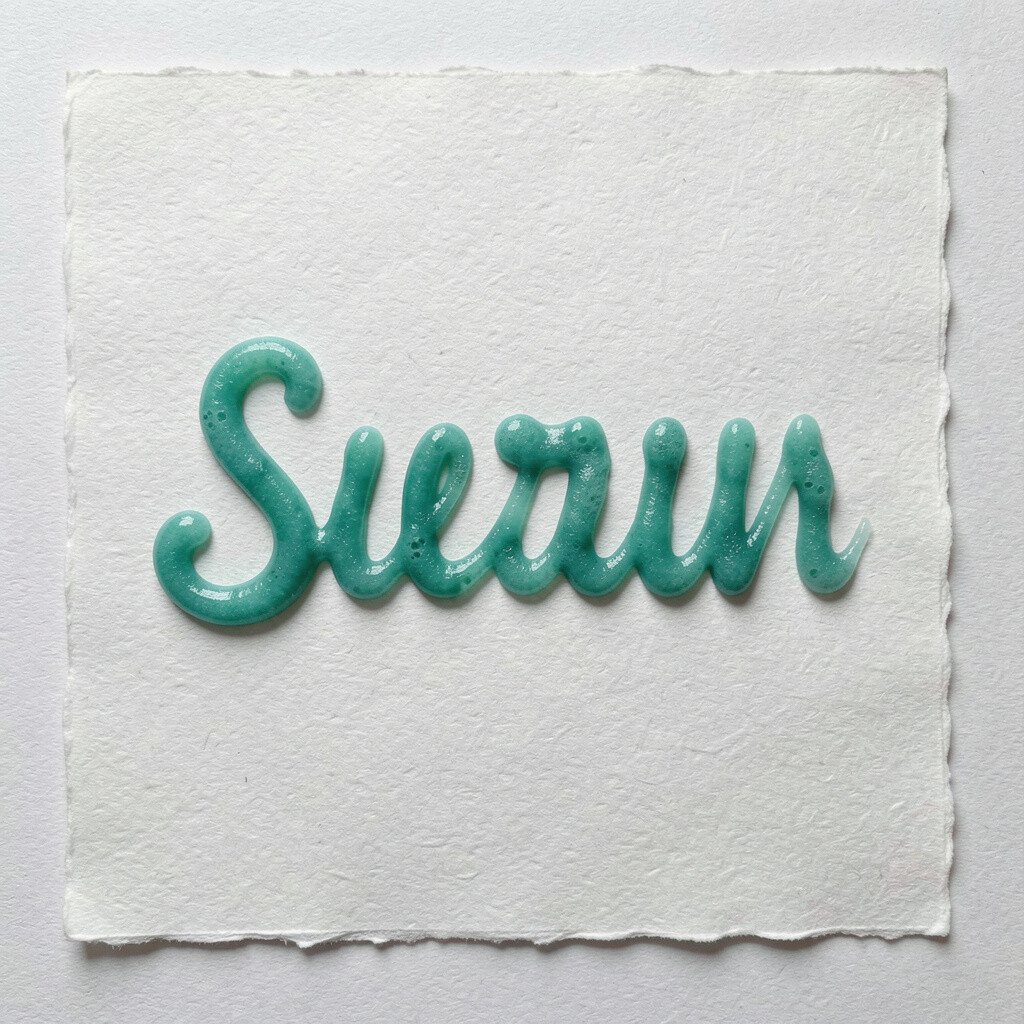
Seafoam Lettering on Textured Paper
Turn seafoam into typography by writing a short word or phrase in curvy ocean shapes. Make each letter look as if it’s made of foam bubbles and mist.
Start with pencil outlines, then fill the letters with small, irregular dots and tiny spirals. A sponge, stippling brush, or even a crumpled scrap of paper can help you build that airy texture fast. Keep a few letters thicker than others so the design looks lively instead of flat.
To personalize it, pick a word that matches your mood, like “calm,” “brave,” or a name. For cost, plain cardstock and an inexpensive set of acrylic or watercolor paints work great, and you can even use marker plus white gel pen for the foam effect.
3. Aerial Map Style Coastline
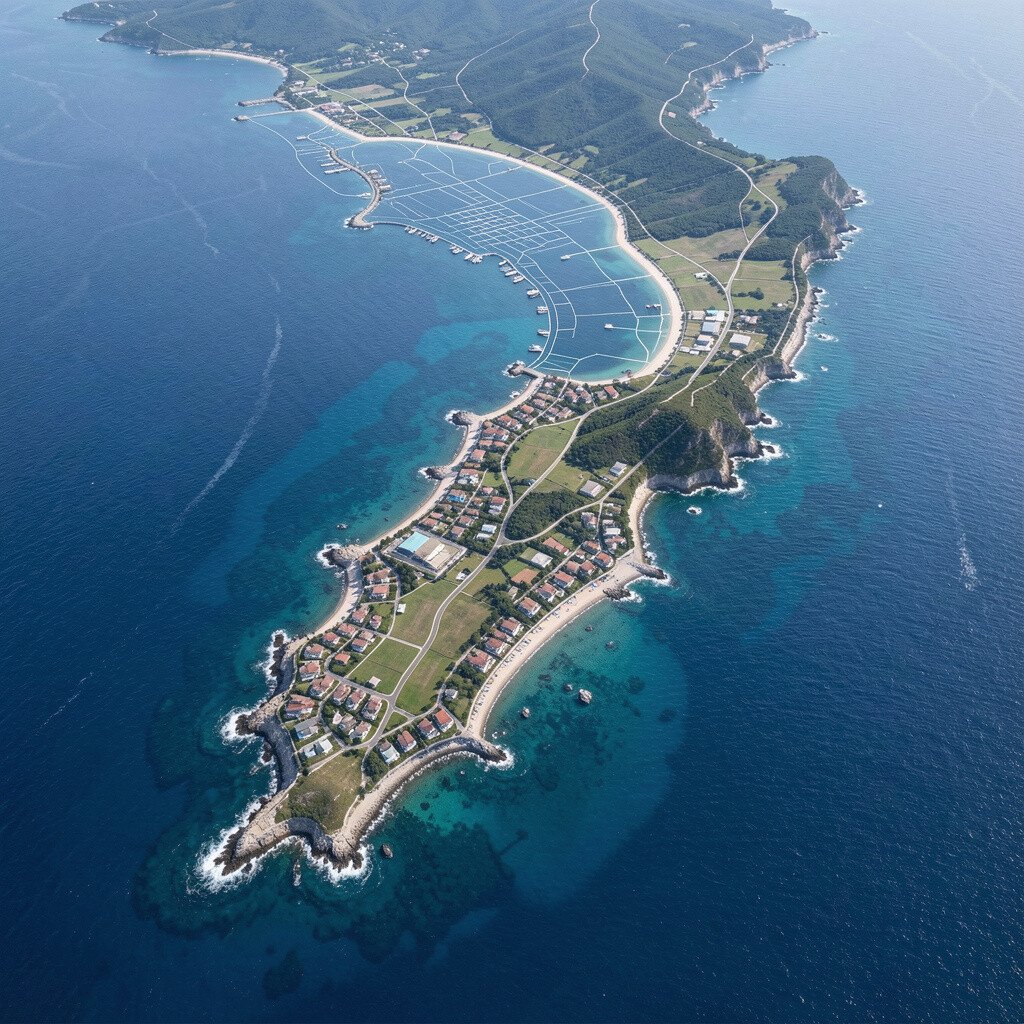
Aerial Map Style Coastline
Draw the coastline like a top-down map, with bold shapes and simple labels you invent. Think of cliffs as dark blocks, beaches as pale bands, and reefs as speckled clusters.
Keep lines steady and use contrast so the artwork reads clearly from a distance. Add imaginary compass arrows, wave ticks, and patterned zones to make it feel like a chart made by an artist. You can also sketch in a few “routes” that show how the tide might travel along the shore.
For personalization, choose a place from your own memories, even if it’s only in your head, and adjust the shapes until they match your feeling. This idea stays budget-friendly because you can use basic paper, black pen, and a small set of paint or colored pencils.
Current trends often lean toward graphic, map-like visuals in posters and digital art, so your piece can feel modern without needing fancy tools. If you plan to share it online, a clean scan helps the crisp lines stand out.
4. Portrait of a Curious Octopus
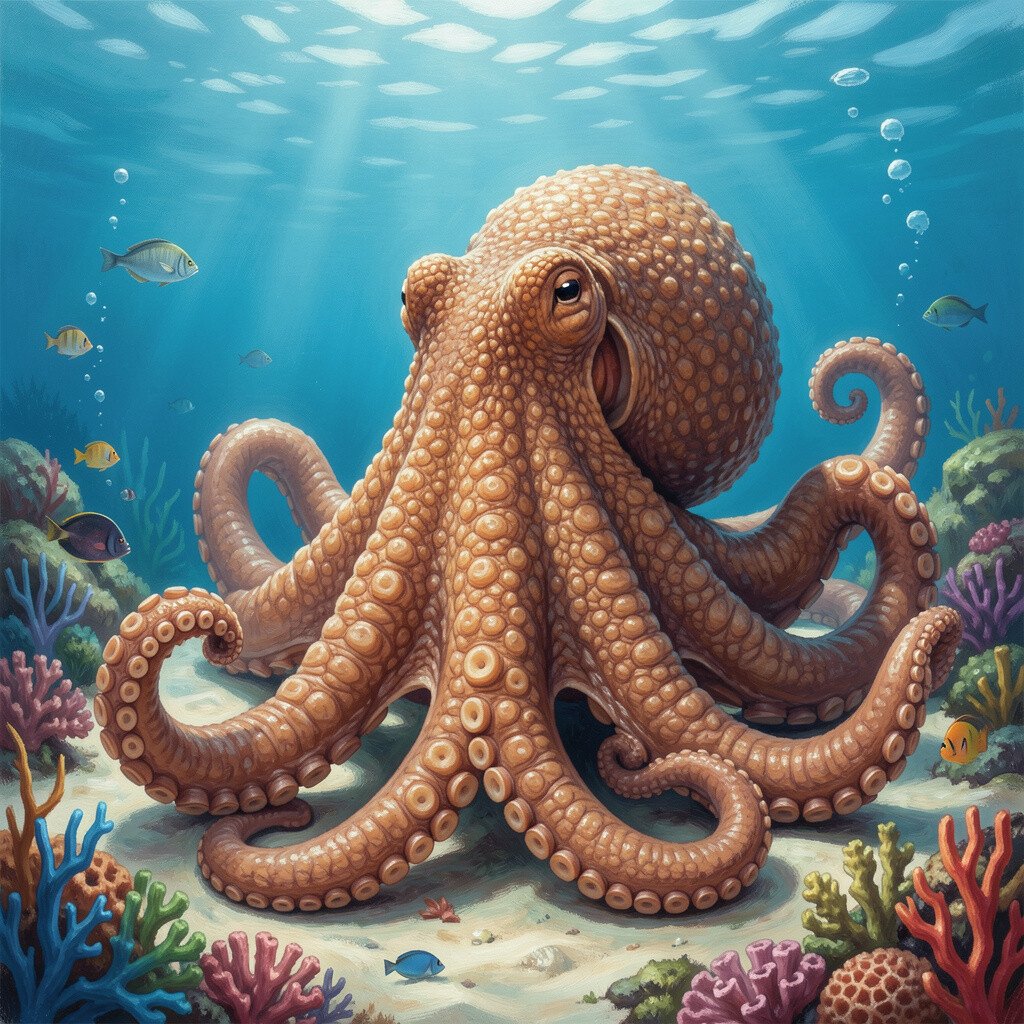
Portrait of a Curious Octopus
Give an octopus a personality instead of drawing it only as a creature. Focus on expressive eyes, soft skin textures, and playful tentacle curves that frame the body.
Start with a simple oval head and then branch the tentacles in a few flowing arcs. Use gentle shading, like short side-by-side strokes, to show texture without overworking it. Add one small “spotlight” highlight on the skin so it looks wet and dimensional.
5. Underwater Light Rays With Paper Cut Shapes
Underwater Light Rays With Paper Cut Shapes
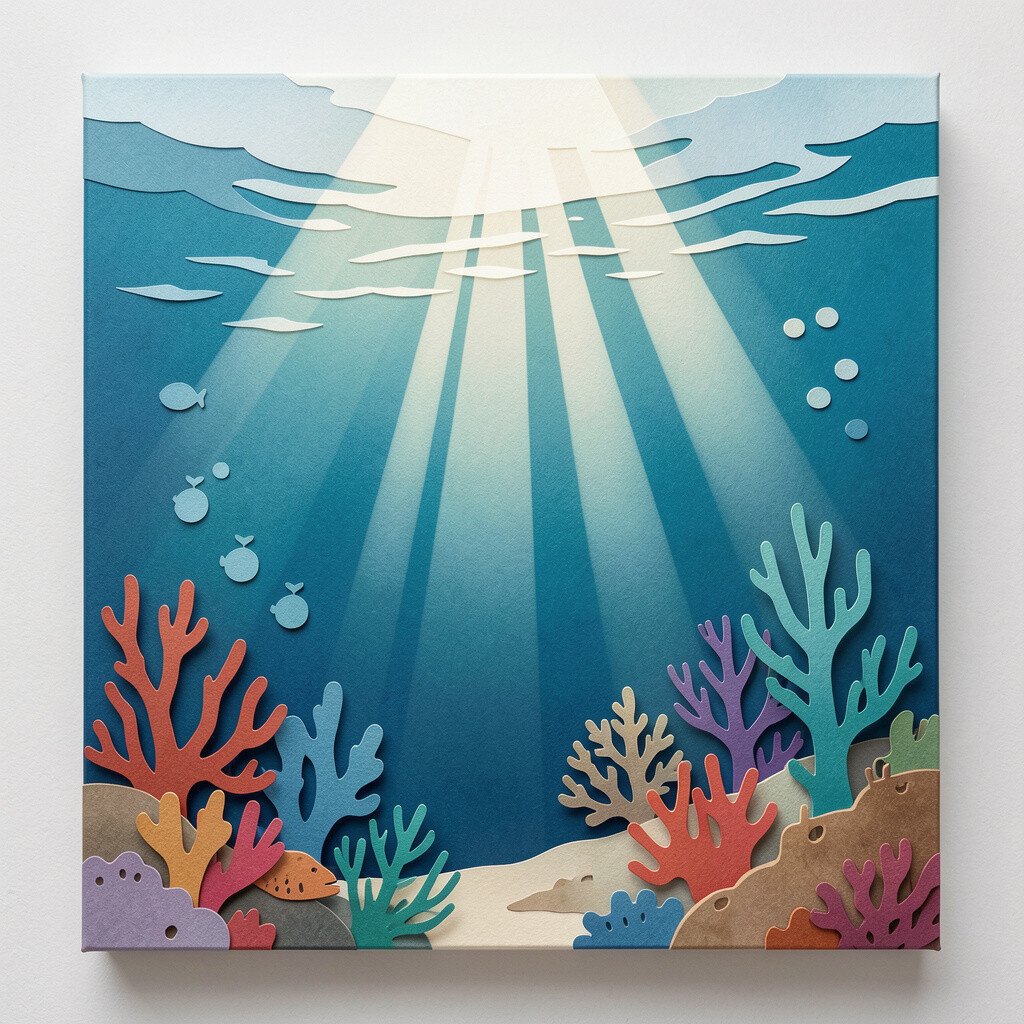
Create underwater rays using layered paper cutouts or craft paper. Cut thin strips or torn edges that form beams, then layer them from darker water at the top to lighter water below.
For the background, use watercolor wash or diluted ink so the paper rays float inside a soft blur. Add a few silhouette fish in simple shapes to keep it airy and readable. If you want motion, tilt some rays so they angle diagonally across the page.
This style is unique because it blends drawing and collage in one piece. It’s also cost-conscious since craft paper, scissors, and glue are usually easy to find, and you can reuse scraps you already have.
6. Coral Garden With Color Blocks
Coral Garden With Color Blocks
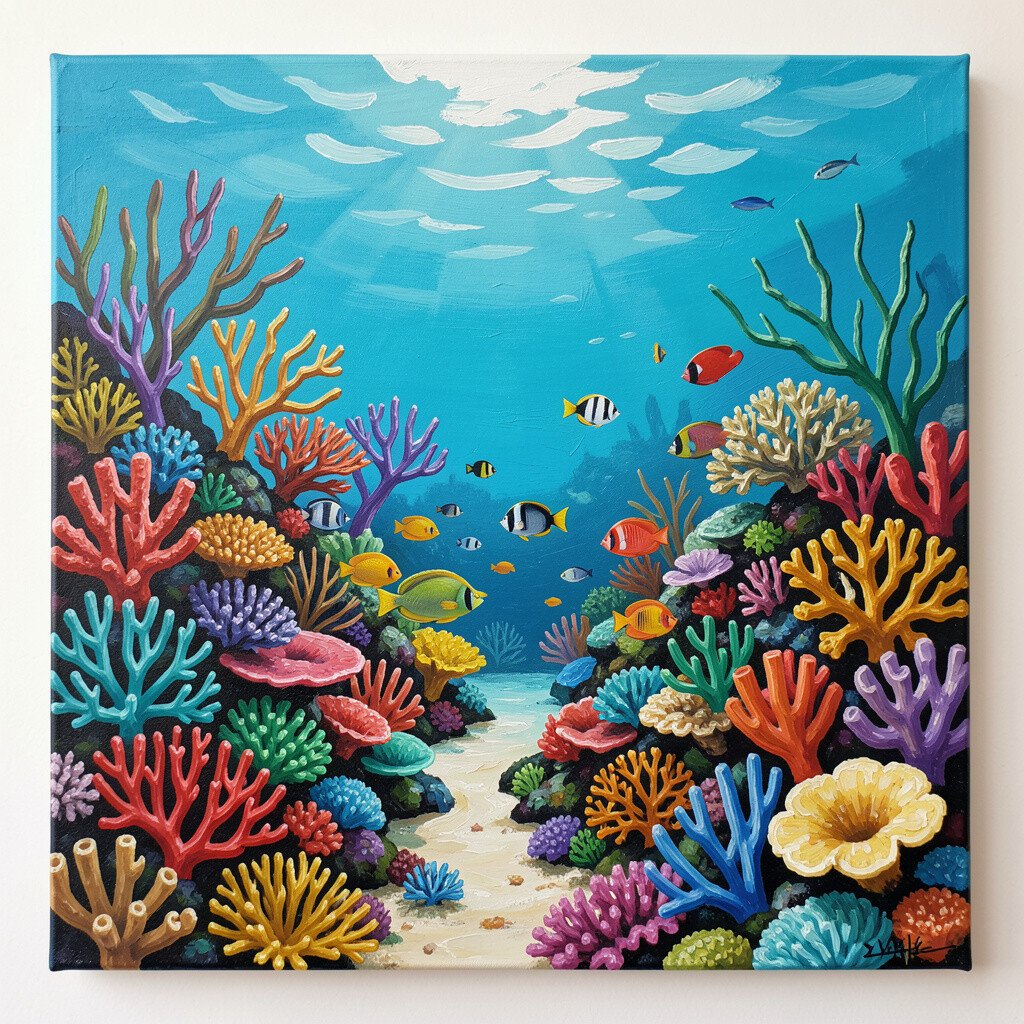
Imagine coral like a living city made of bright shapes. Use color blocks to build a reef that feels bold, playful, and slightly abstract.
Choose a limited set of colors, then assign each coral branch a distinct tone. Outline some blocks with a dark marker or ink so everything pops and stays crisp. Add tiny dot “polyps” across the coral to make the texture feel alive.
To personalize your reef, mix the shapes into patterns that echo your own interests, like geometric designs or your favorite sports colors. This idea also fits current trends toward graphic, high-saturation illustration, especially in wallpapers and print-on-demand designs.
If you’re on a tight budget, poster paint and a thick brush or sponge are enough to get strong color. For extra glow, a thin layer of white paint on the highest edges creates a sunlit look.
7. Storm Waves With Mixed Media Texture
Storm Waves With Mixed Media Texture
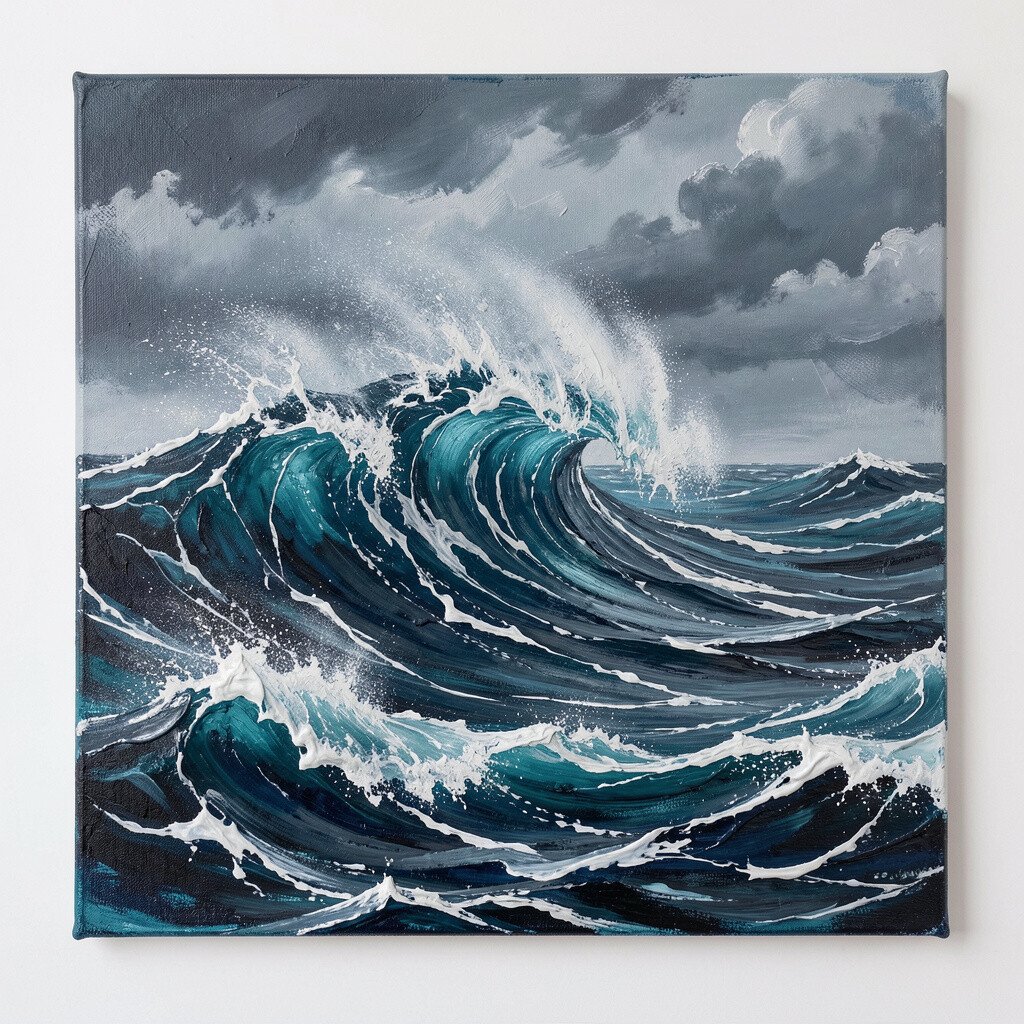
Turn rough weather into art by capturing thunderous waves and rolling foam. Use bold curves and darker blues, then let brighter white show where spray hits the air.
Mix media to make the surface feel dramatic, like adding crumpled paper, modeling paste, or even salt sprinkled on wet paint. After it dries, brush away loose grains so you keep only the texture that helped the foam effect. Keep your wave lines moving in one direction so the energy feels consistent.
If you want it actionable, start with a thumbnail sketch first, then scale up using the same shapes. Consider using thicker paint or gel medium so the water highlights look raised even when viewed up close.
8. Sea Shell Still Life With Soft Shadows
Sea Shell Still Life With Soft Shadows
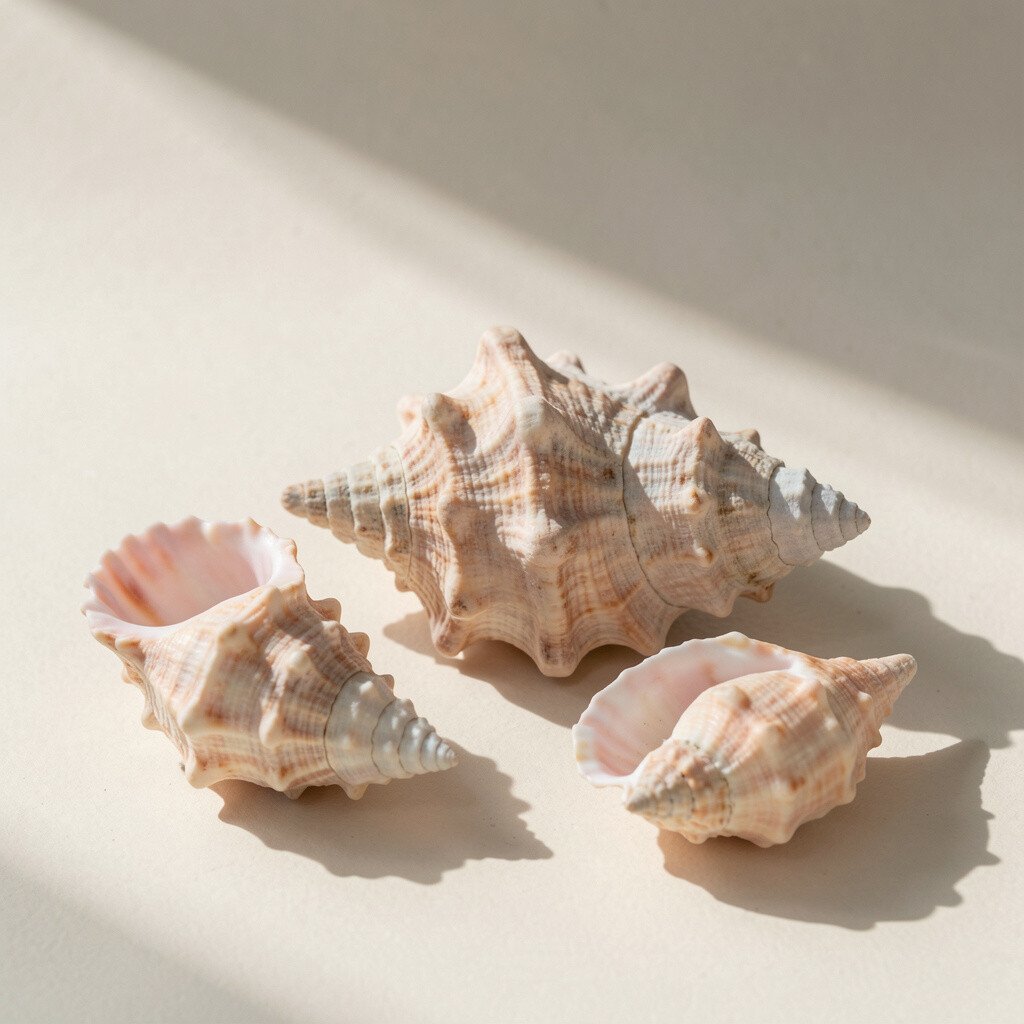
Draw or paint a small collection of shells on a simple surface. Arrange them so one shell overlaps another and creates a clear silhouette.
For realism, pay attention to how light falls and where the shadows pool. Use a light source from one side, then shade gently with a gray-blue pencil or diluted paint. Add a tiny ground shadow under each shell to make the objects feel anchored, not floating.
Personalize it by including a shell you’ve kept, a souvenir postcard, or even a ribbon tied around the arrangement. This is budget-friendly because shells are often inexpensive or free, and you can make it work with basic supplies like pencil, charcoal, or watercolor.
Right now, cozy home art and still life scenes with natural textures are popular, so your shell study can fit that vibe perfectly. If you want a modern twist, crop tightly so the shells fill the frame like a close-up photo.
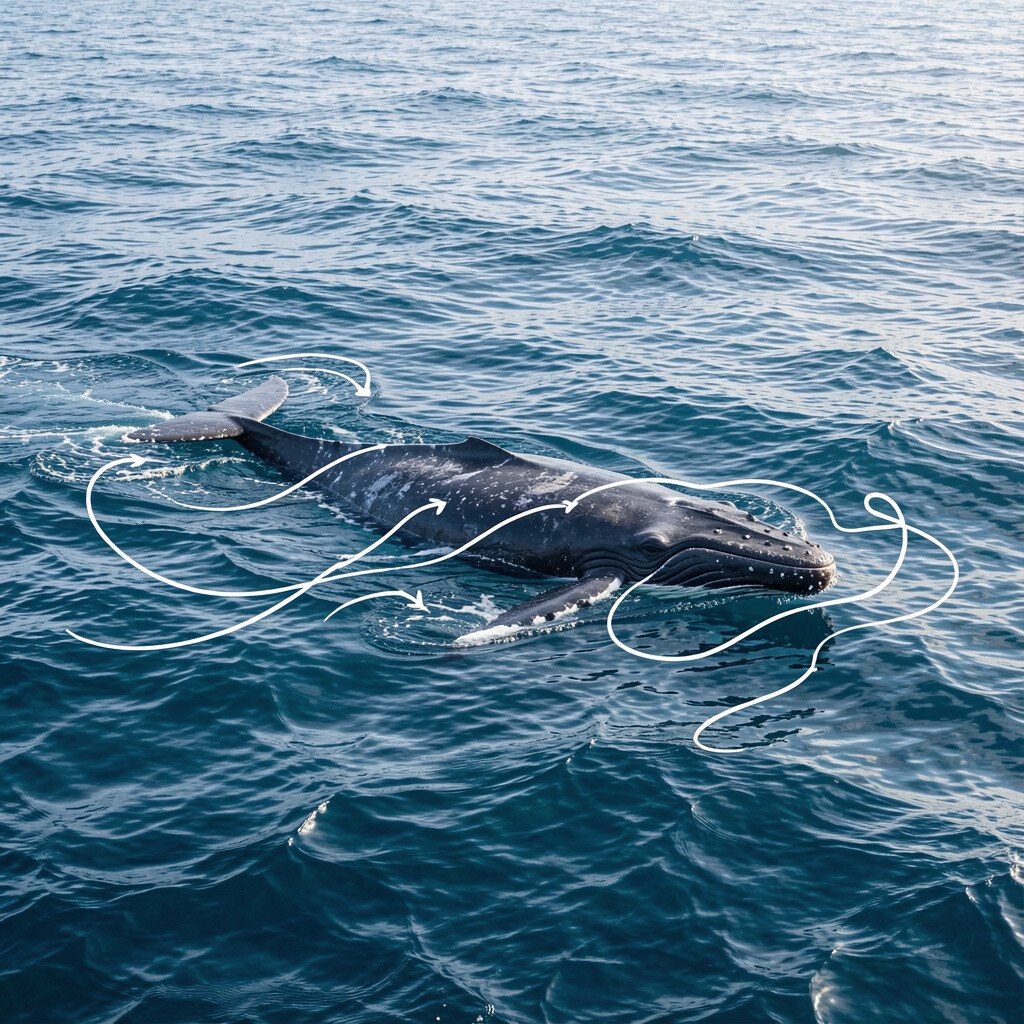
9. Whale Migration as a Continuous Line
Whale Migration as a Continuous Line
Try a continuous-line drawing of whales traveling across the page. Let the line flow like a long ribbon, forming the whale bodies and then turning into waves behind them.
Start in one corner and keep your hand moving without lifting, then vary thickness by pressing harder for key parts like the whale back and tail. Use a single color at first, then add a second color with a thin marker for highlights or ocean movement. If you want more energy, repeat one whale silhouette smaller in the background to suggest distance.
This approach is unique because the whole scene feels like one thought, not a set of separate objects. It’s also easy to do anywhere, since you can use a single pen, one sheet, and your favorite music.
To personalize, add your own “route” as small dots that look like sightings, or include an arrow made from a wave line. For trends, minimal continuous-line art often shows up in stationery and social posts, so your piece can look fresh and shareable.
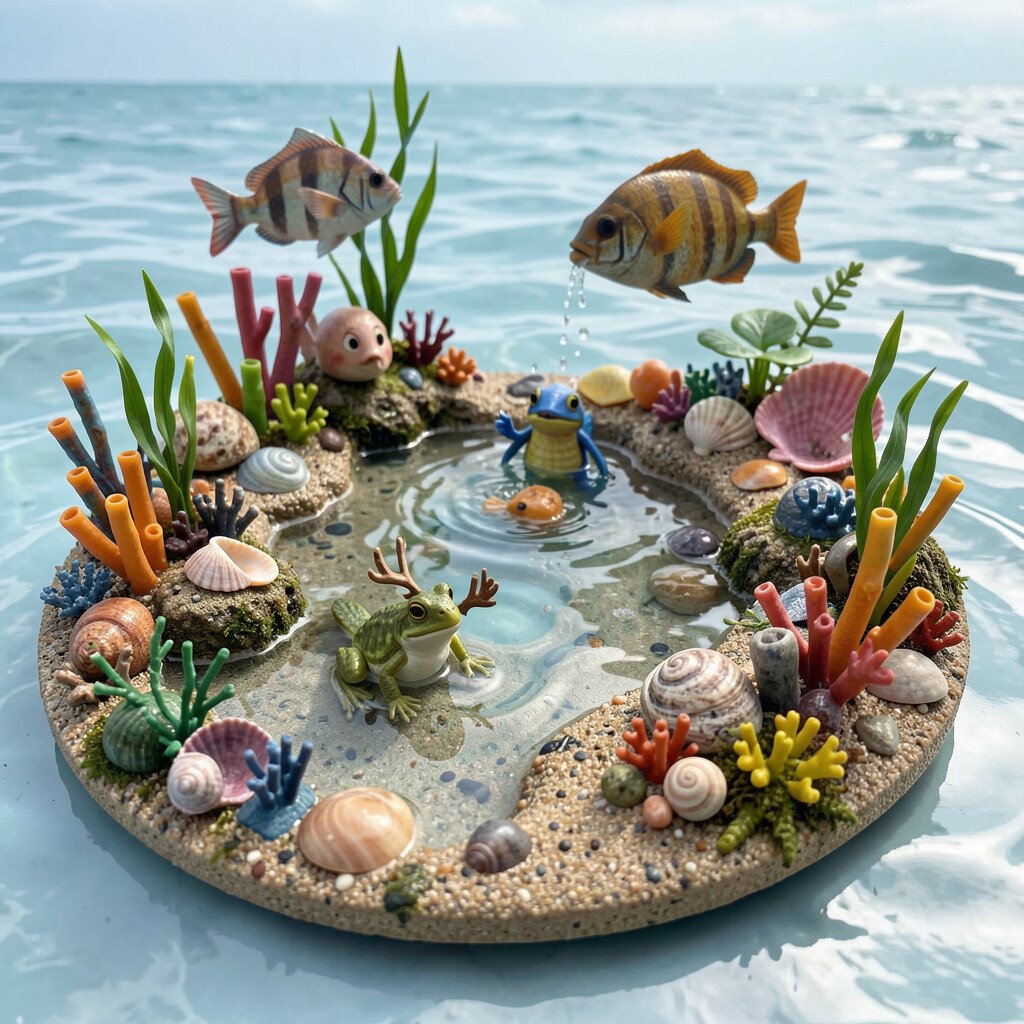
10. Tidepool Characters and Mini Ecosystems
Tidepool Characters and Mini Ecosystems
Turn a tidepool into a cast of tiny “characters” living in one frame. Make a crab look curious, a snail look calm, and a sea star look dramatic with textured lines.
Give each creature a different pattern so the ecosystem feels full, like stripes for a small fish or dots for a sponge. Add rocks in simple shapes, then use small highlights to show wet surfaces. Tiny bubbles or a few floating specks can add sparkle without clutter.
For practical tips, draw the largest rock first, then place smaller animals around it to avoid an empty center. If you want it budget-friendly, you can use colored pencils instead of paint, since layering soft colors builds realism slowly and smoothly.
To personalize, base your creatures on things you’ve seen in real tidepools or on characters from your favorite story. Current illustration styles often favor whimsical realism, which is exactly the feel you get with tidepool scenes.
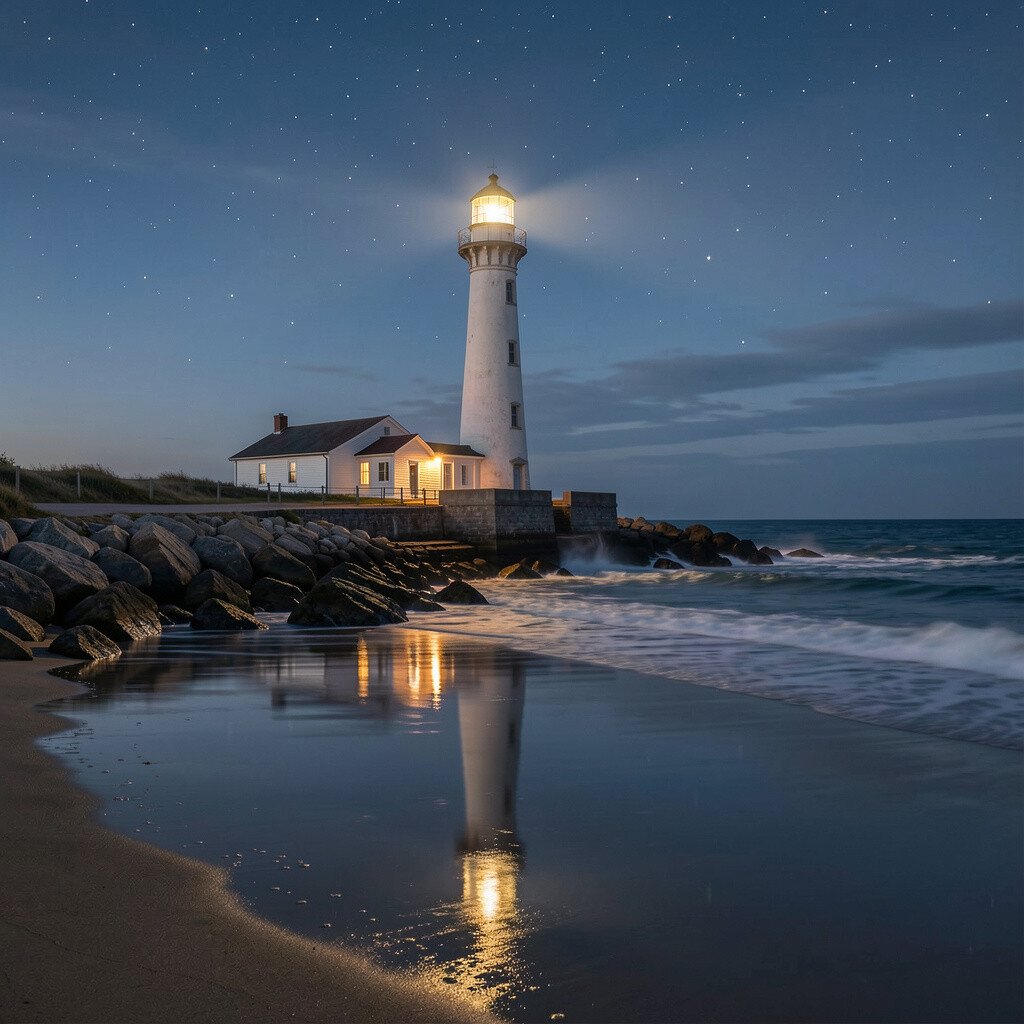
11. Lighthouse at Night With Reflection
Lighthouse at Night With Reflection
Paint a lighthouse under a deep night sky with a beam that reaches the water. Show the reflection as a bright streak that widens where it hits the sea surface.
Use dark navy for the sky, then add subtle stars with white dots or a fine brush. For the water, draw gentle horizontal lines and place the beam reflection as a smooth gradient. Add a few soft ripples near the base of the lighthouse so the scene looks alive.
Personalization is easy here, too. Choose a lighthouse shape you like, then adjust the color of the light and the cliff tones to match your taste.
If you’re watching your budget, a limited palette of navy, black, white, and one accent color gives you a dramatic result. Gel pens and simple sponges help create light effects without expensive materials.
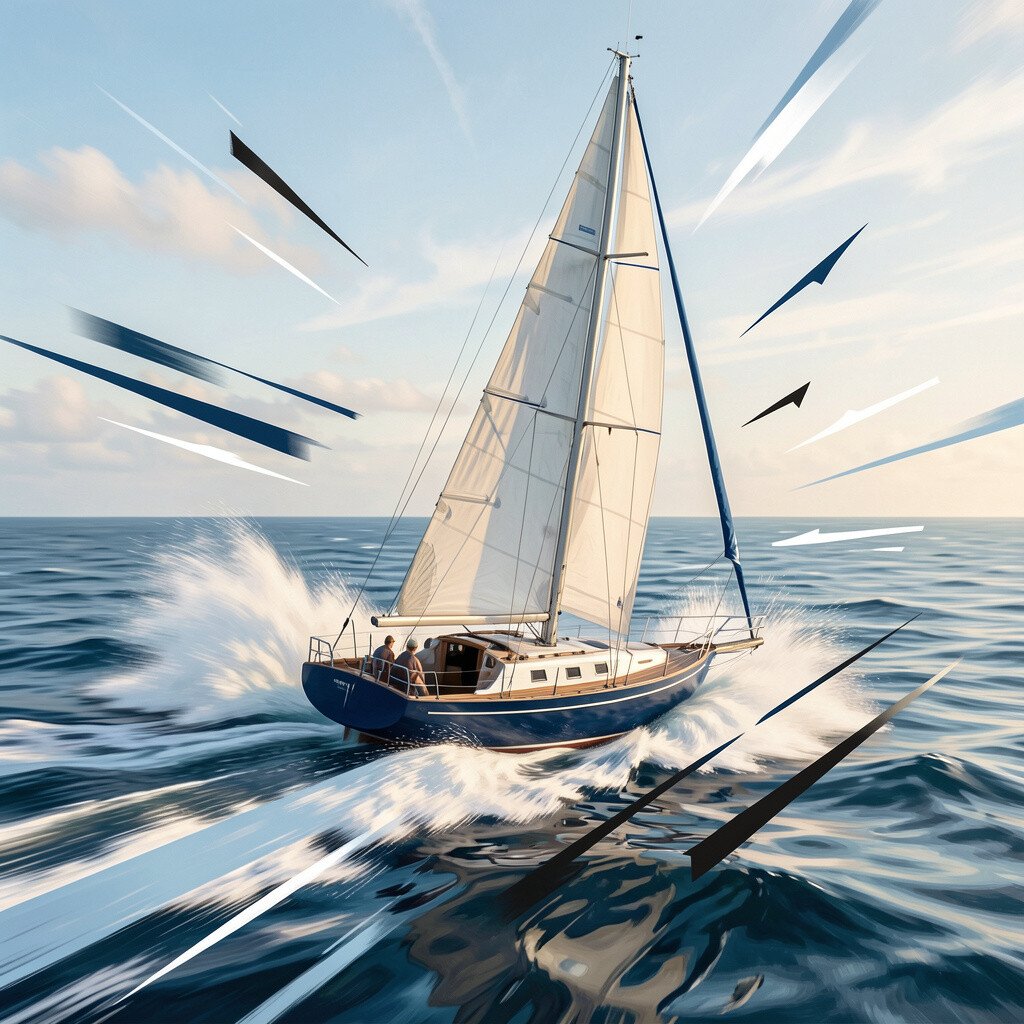
12. Sailboat Speed Poster With Bold Motion Marks
Sailboat Speed Poster With Bold Motion Marks
Make a sailboat feel fast by using bold motion marks and graphic shapes. Think of wind streaks cutting across the sky and the sea, with the boat placed slightly off-center for movement.
Sketch the boat with simple, clean lines, then add surrounding speed lines that curve with the waves. Use color contrasts like teal and orange, or blue and red, to create that poster-like punch. Keep the background flatter than the boat so your subject stands out clearly.
This idea is unique because it blends marine imagery with street-poster energy. It’s also practical if you like quick projects, since stencils and marker strokes can shape the wind and foam fast.
For personalization, add a small flag design, a symbol, or your own initials on the sail. If you enjoy current design trends, this high-contrast look fits well with modern graphic prints, phone wallpapers, and album-cover style art.