Look for markers with smooth flow and bright pigment so your lines stay bold. If you press too hard and they skip, your confidence will fade fast.
Choose water-based markers if you like easy blending on paper. Test a small swipe on scrap paper to see bleed-through and drying time. This quick check saves time and frustration when you move to a finished piece.
2. Doodle Postcards With Gradient Skies
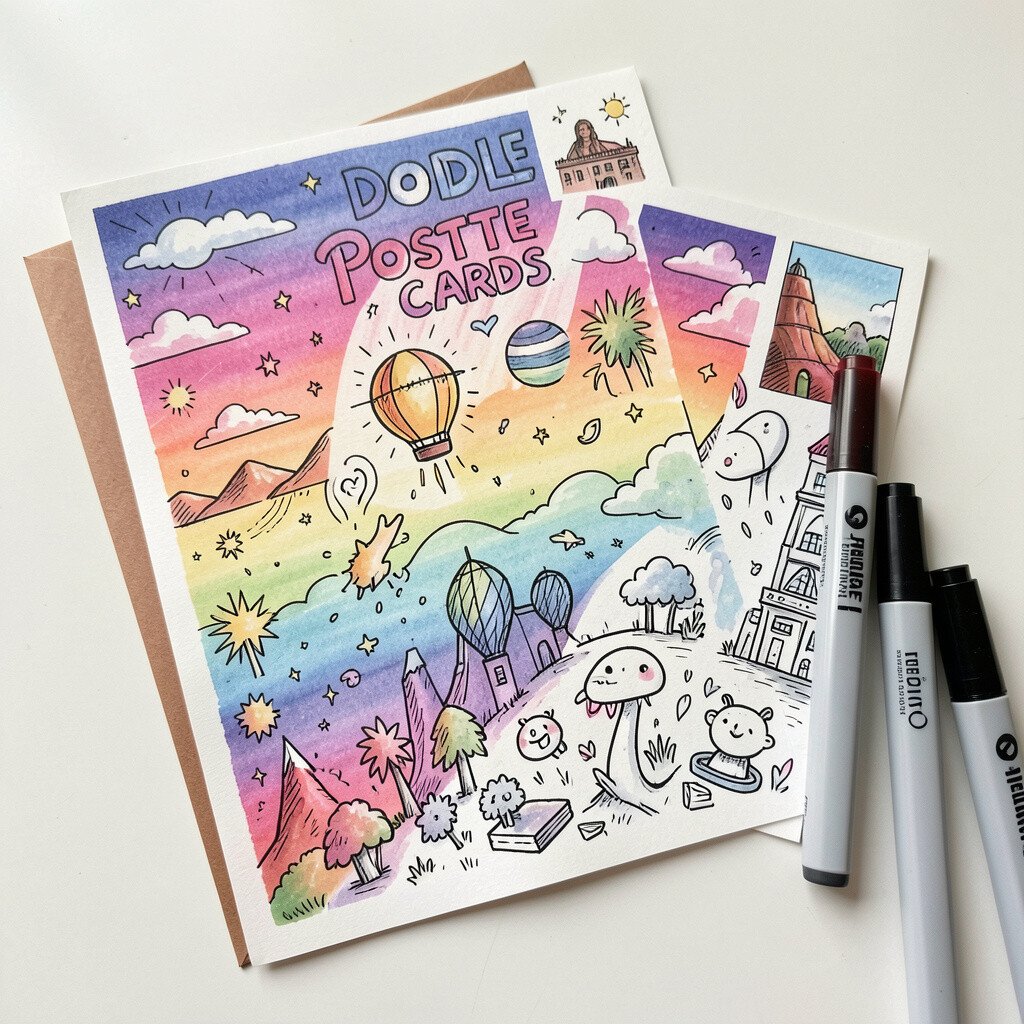
Doodle Postcards With Gradient Skies
Choose two or three markers in a sky-friendly color family, then layer lightly from the horizon upward. A soft gradient makes even simple clouds feel like they are drifting.
Use a wider tip for large color fields, and a finer tip for tiny cloud edges. You can add a sun glow by layering pale yellow over light orange in a gentle circle.
3. Creating Neon Highlights on Dark Paper
Creating Neon Highlights on Dark Paper
Use bright markers on dark cardstock to make your art pop like street signs at night. Outline shapes in white or a pale color first, then fill in with neon greens, pinks, or blues.
Layer colors in thin passes so they build without turning muddy. Keep a clean scrap to dab your tip before you switch colors.
Try adding tiny dot stars around your main subject for instant sparkle. This style is popular in trendy “night city” art and works great for bookmarks.
Make repeating patterns by drawing a simple tile, then copying it across a page. Bright stripes, hearts, or wavy lines can look like stitched fabric when colors are consistent.
Vary thickness by switching between chisel and fine tips. If you want it to feel more fabric-like, blend edges with a lighter shade of the same color family.
5. Painting With Marker Blends in a Tiny Vase Scene
Painting With Marker Blends in a Tiny Vase Scene
Draw a simple vase shape and fill it with layered marker color for a stained-glass effect. Add stems and leaves with quick, curved strokes to keep the scene cheerful.
For the best blend, color from dark to light while the ink is still fresh. Use a light marker to soften any harsh edges and connect the colors.
Personalize it by matching the vase to your room colors, like mint and warm cream. If you want cost savings, start with a small set of basic colors and add a few favorites over time.
6. Making a Rainbow Leaves Study
Making a Rainbow Leaves Study
Pick a leaf outline from a real plant or a photo and trace it gently. Then color each section of the leaf using a different hue so the veins look like pathways.
Use a fine tip for the veins, and a broader tip for the filled areas. This method teaches color mixing without needing complicated tools.
7. Turning Comics Into Character Portraits
Turning Comics Into Character Portraits
Sketch a face with big eyes or a playful expression, then color the hair in bold blocks. Markers make it easy to choose signature colors, like teal hair with warm highlights.
Keep skin soft by using one base color and then adding tiny shadow strokes. Add blush with a light pink layer, but keep it subtle so it still looks fresh.
Try a trending look called “cell shading,” where shadows are clean shapes rather than smooth gradients. It feels modern, and markers handle it beautifully with clear edges.
If you’re working on a budget, focus your better markers on hair and eyes first. Those areas grab attention, and everything else can be done with simpler tones.
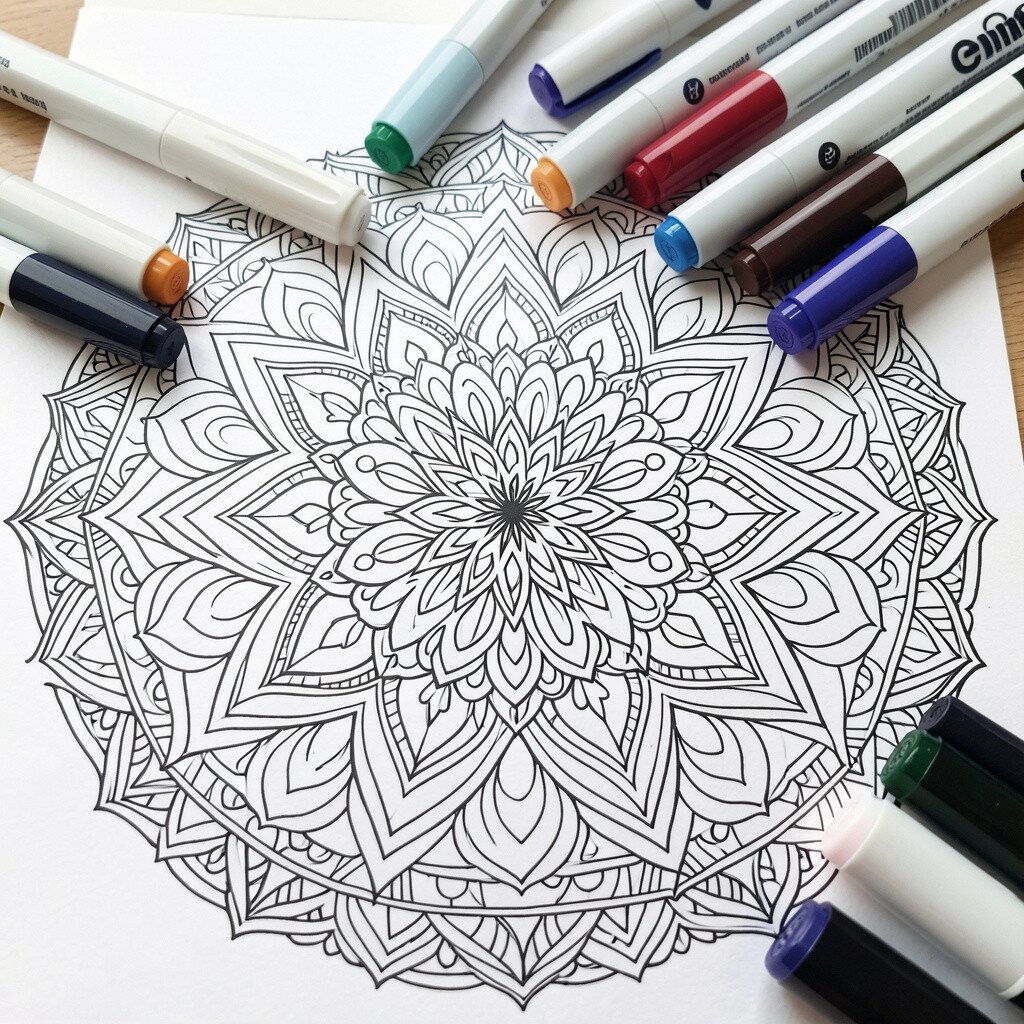
8. Coloring Mandalas With Built-In Symmetry
Coloring Mandalas With Built-In Symmetry
Draw a circle and add a simple center shape, then repeat the same pattern around. Symmetry makes your mandala look calm and neat even when you’re still learning.
Use a ruler or tracing circle for smooth rings, then choose colors that alternate for balance. Add small accents like dots or tiny petals to make the design feel alive.
9. Building an Ocean Scene With Wet-Looking Waves
Building an Ocean Scene With Wet-Looking Waves
Outline wave crests with a darker blue, then fill the wave body with lighter blues. While the ink is still slightly wet, layer turquoise in short bands for watery movement.
Leave tiny gaps of the paper to act like shine, which helps the sea feel glossy. If your markers bleed, use thicker paper or work in layers that dry between passes.
For personalization, add sea creatures like a small turtle or a whale tail. This idea is fun for school projects because it looks impressive quickly.
10. Designing a Style Board for Your Next Outfit
Designing a Style Board for Your Next Outfit
Draw simple shapes for clothes, like a hoodie, skirt, or jacket, then color them with markers. Add background swatches so the colors look coordinated, not random.
Use different tip sizes to mimic fabric textures, such as short strokes for denim and smooth fills for satin. This is a practical way to test a color palette before you shop.
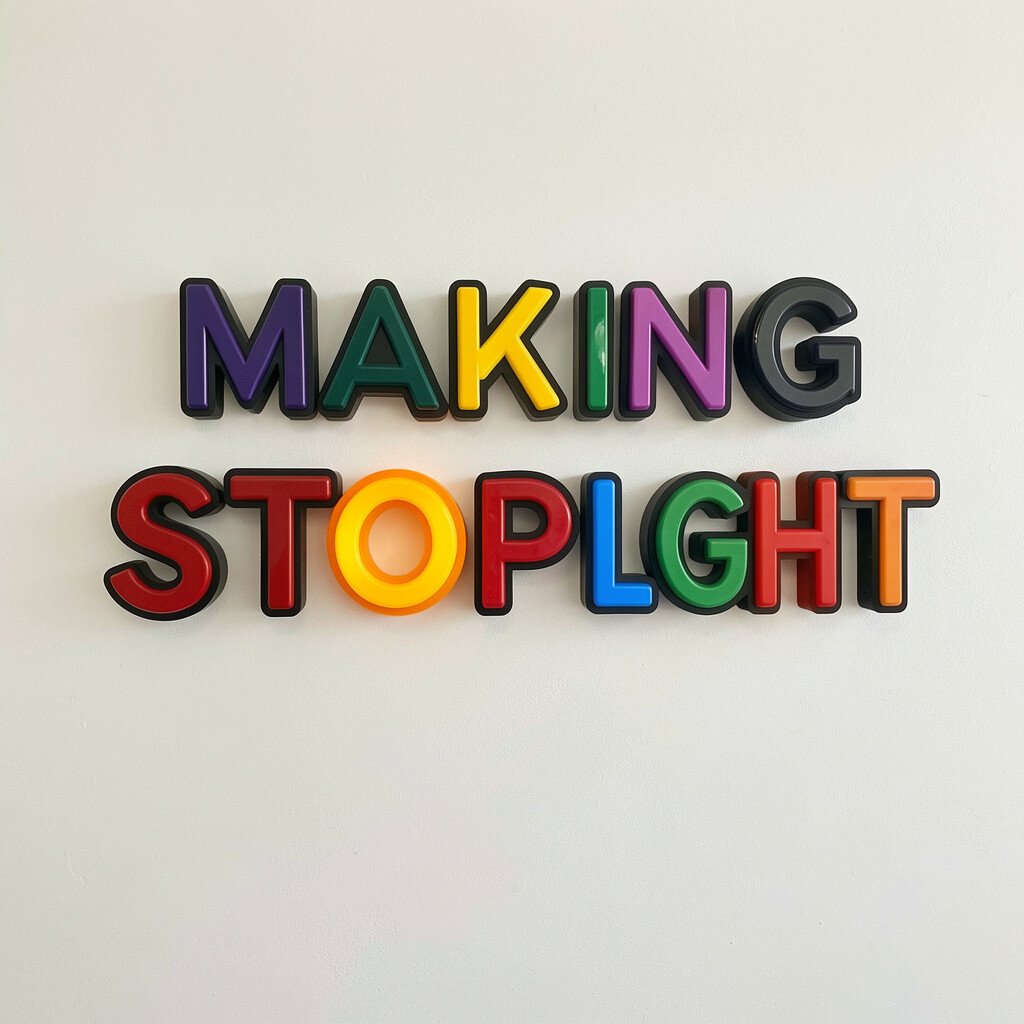
11. Making Stoplight Letters for Instant Wall Art
Making Stoplight Letters for Instant Wall Art
Write a word in big chunky letters, then outline each letter with a contrasting color. Use bright reds, greens, and yellows to create a friendly stoplight vibe.
Fill the letters with one base color and add highlight lines with a lighter shade. Keep the background simple so your text stays clear from far away.
Personalize by using your name, a family motto, or a sports team word. This format also works great for birthday banners because it reads clearly.
12. Sketching Cute Food With Citrus Pop
Sketching Cute Food With Citrus Pop
Draw a bowl of fruit or a slice of pizza using simple shapes and rounded edges. Then add color with strong oranges, lemons, and leafy greens to make it feel fresh.
Use a darker shade to trace where fruit would curve inward, and a lighter shade for shine. This simple shading trick makes marker drawings look more 3D without extra tools.
13. Creating a City Map With Marker “Streets”
Creating a City Map With Marker “Streets”
Start with a rough grid, then draw winding streets like they are ribbons. Fill areas with parks, libraries, and houses using different color zones so the map feels like a real place.
Add icons like a coffee cup, bike, or tiny tree to make it personal and playful. Keep street lines crisp by using the fine tip and coloring around, not over, the line.
This style matches current game and fandom art trends, where maps feel like part of a story. If you want to manage cost, use a few reliable colors for land and then add one accent color for landmarks.
Make it yours by naming streets after friends or using colors that match your favorite themes. A map drawing is also a neat gift because it feels personal.
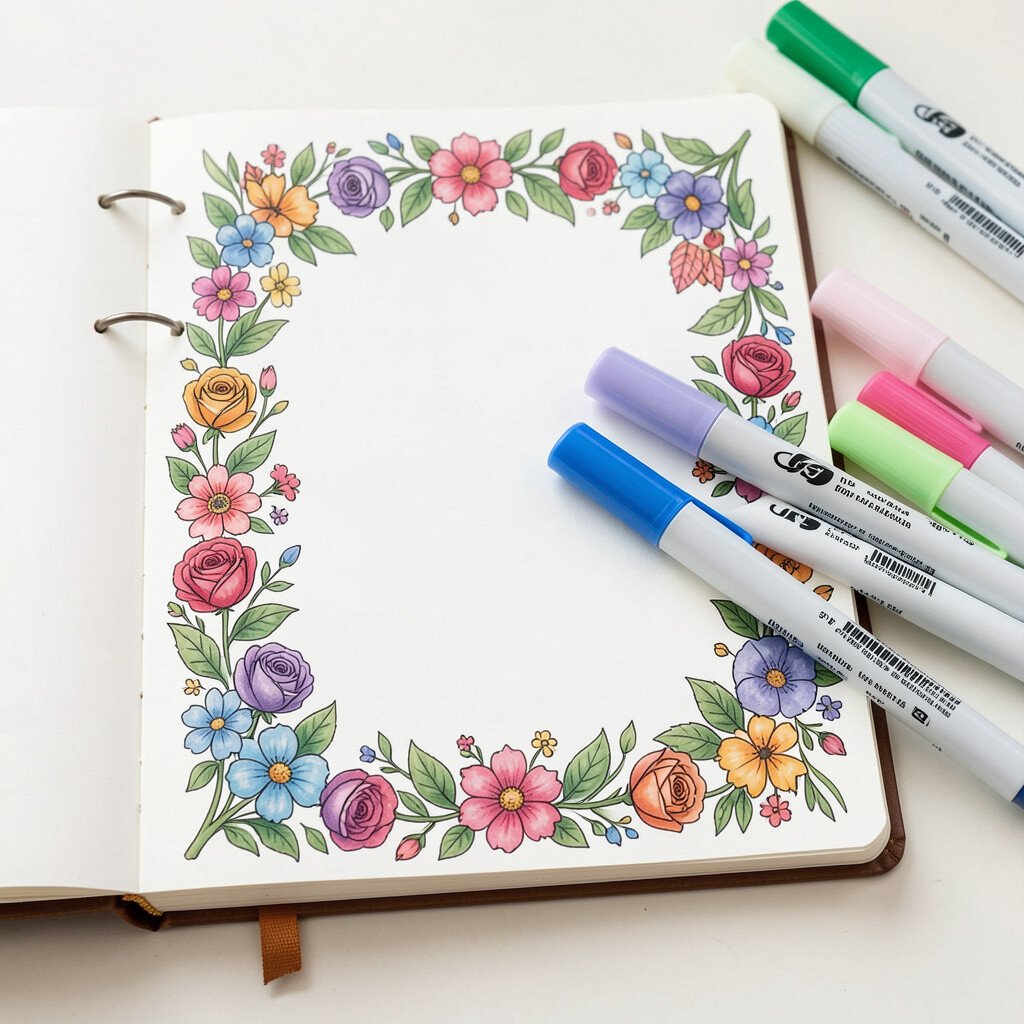
14. Designing Floral Borders for Your Journal
Designing Floral Borders for Your Journal
Pick a corner of your journal page and build a border that frames your writing. Small flowers, leaves, and dots look tidy when you keep the spacing steady.
Use lighter markers near the center of each petal and darker ones at the edges for depth. If you want a faster workflow, practice one flower shape until it looks consistent.
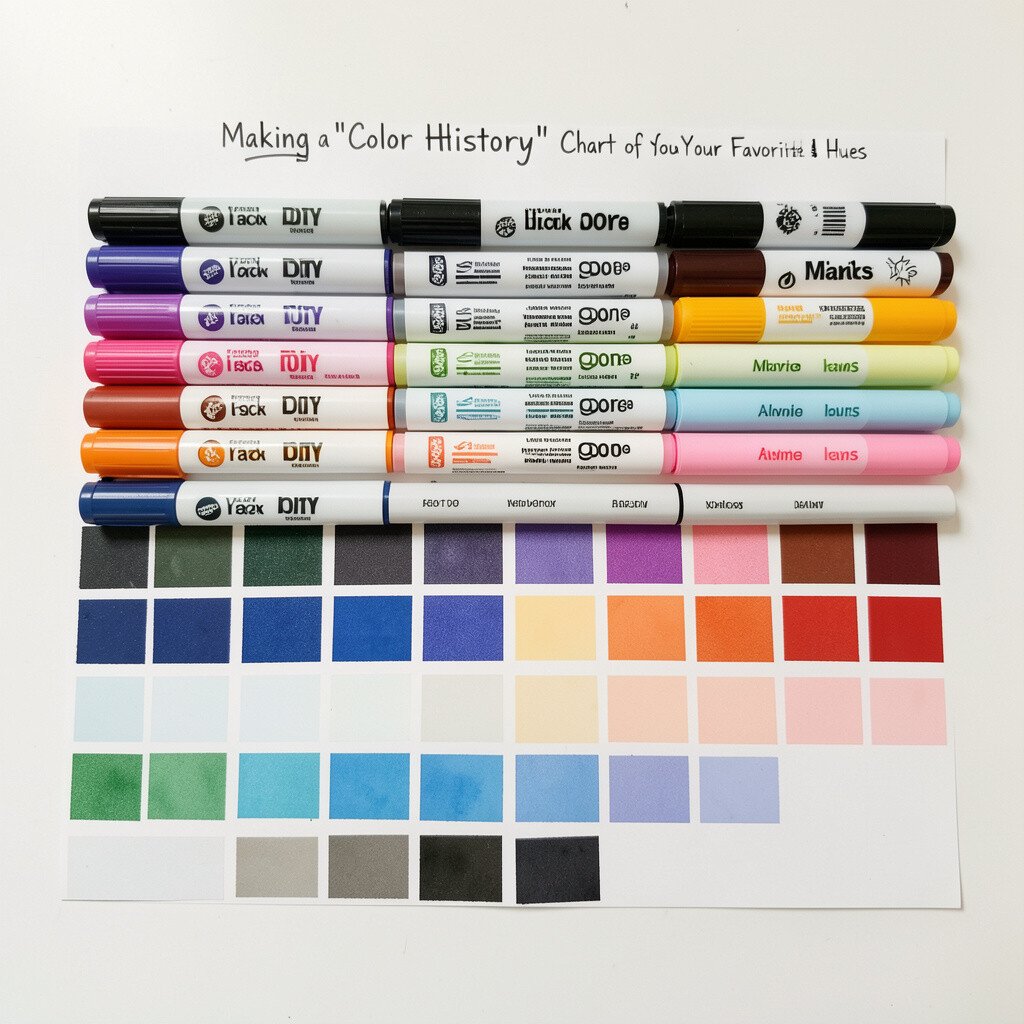
15. Making a “Color History” Chart of Your Favorite Hues
Making a “Color History” Chart of Your Favorite Hues
Choose a set of markers you love and draw a grid of color swatches with names you make up. For example, “sunrise peach” or “midnight grape” can make the page more fun.
Write a tiny note by observing what each marker does, like how it blends or how it dries. You will learn your tools over time, which makes future art easier.
Current trends often use aesthetic swatch charts, and they look great on social media. This is also a practical way to plan projects without buying more than you need.
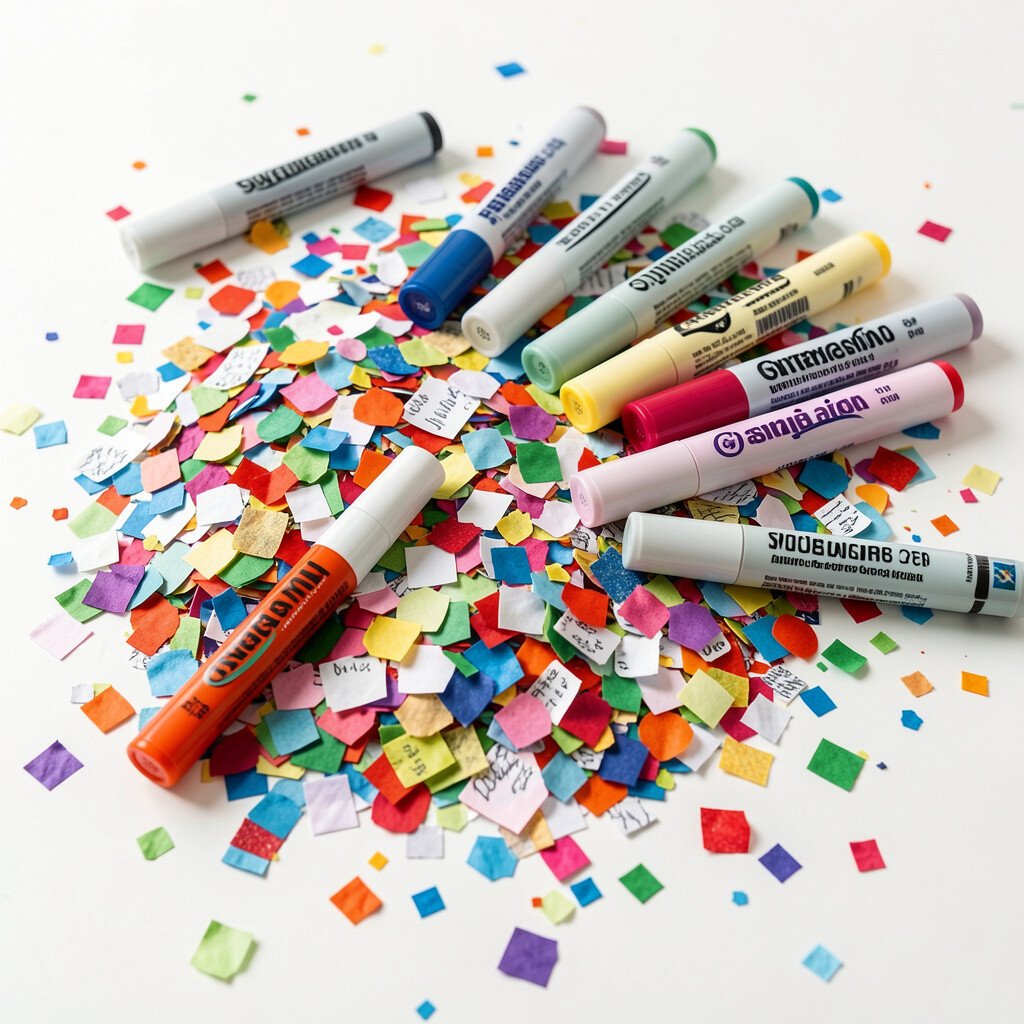
16. Turning Scrap Paper Into a Confetti Collage
Turning Scrap Paper Into a Confetti Collage
Color small shapes on scrap paper, then cut them out and glue them onto a background. Markers create rich tones even on quick shapes, and confetti pieces add instant joy.
Mix paper colors with different marker styles, like thick outlines plus light fills. For personalization, match the confetti theme to a holiday, a mood, or your favorite sports colors.
If you’re watching cost, save old drawings and reuse the colored scraps. This reduces waste and helps you try new combinations without worrying about ruining a clean page.
Finish by adding a few bold outlines in the darkest shade to unify the collage. The result feels handmade, lively, and totally yours.