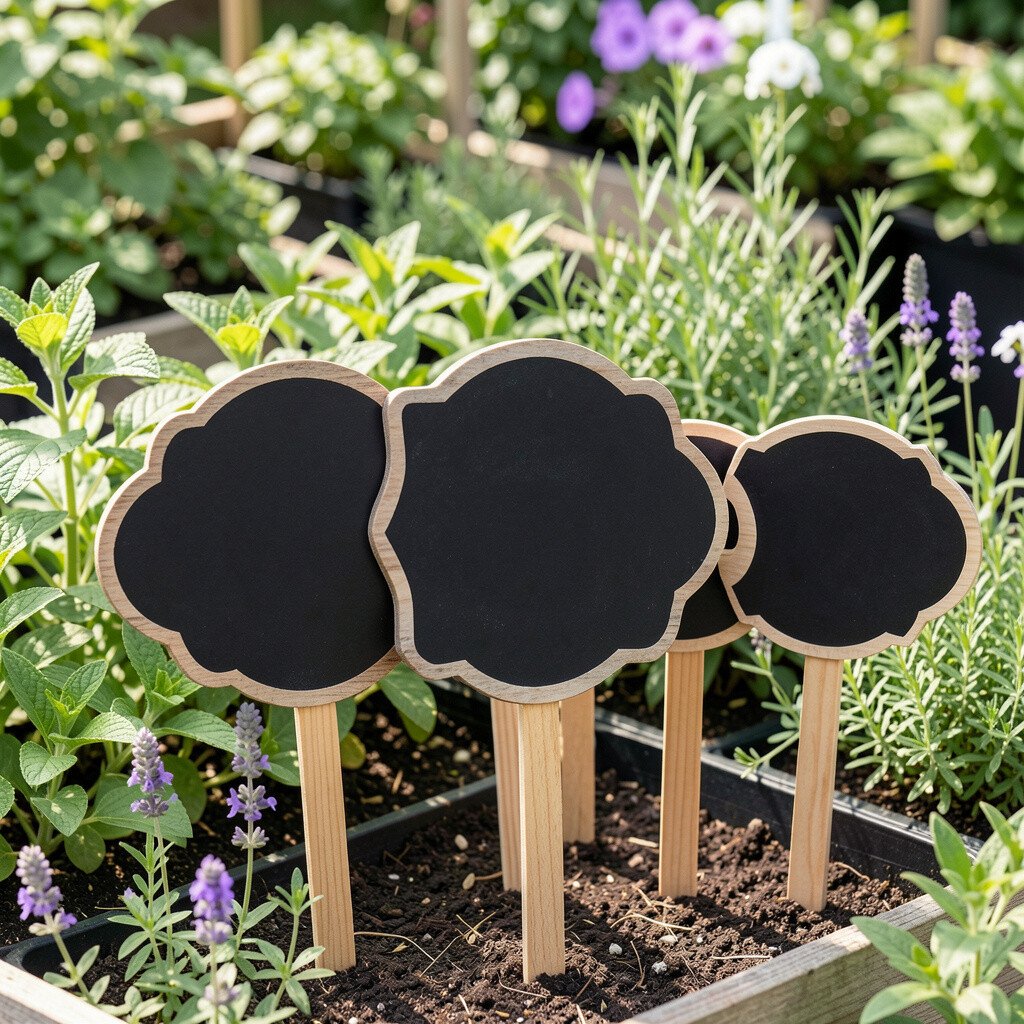
Imagine a slate-gray marker that looks like it belongs in a cozy kitchen. Each time you change herbs, the dark surface makes the labels feel neat and intentional.
Use small chalkboard tiles on short stakes or even on the side of a planter. Write the herb name in clear handwriting, then wipe and rewrite as your collection shifts. This stays budget-friendly because chalk costs very little and the same boards can be reused again and again. If you want an extra twist, attach tiny magnets so labels can swap quickly without removing the whole stake.
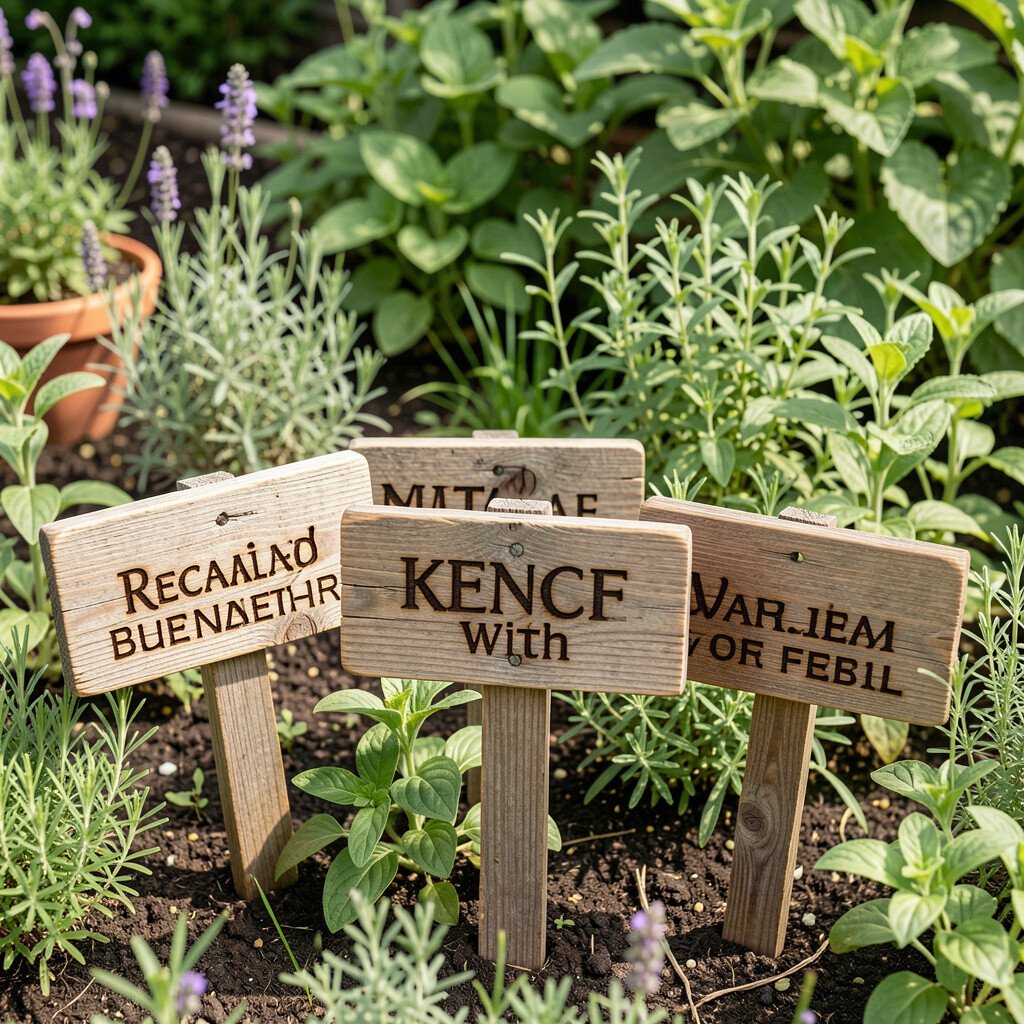
2. Reclaimed Wood Tags With Burned-In Names
Reclaimed Wood Tags With Burned-In Names
Picture warm, sun-kissed wood with lettering burned into the grain. The natural color variations make each tag look one-of-a-kind in your garden.
Cut thin strips of scrap wood, sand the edges, and burn the herb names using a simple wood-burning tool or carefully painted stencils. Seal the finished pieces with a clear outdoor finish so they hold up to rain and watering. This method feels unique because every board keeps its own texture and knots. For personalization, add tiny marks for planting dates or sun needs, like a small sun symbol for basil.
Keep cost in mind by using pallets, old fence pieces, or cabinet offcuts. A little prep work goes a long way, and the result can look rustic and modern at the same time. Wooden markers are also great for raised beds because they blend into the landscape without looking plastic or temporary.
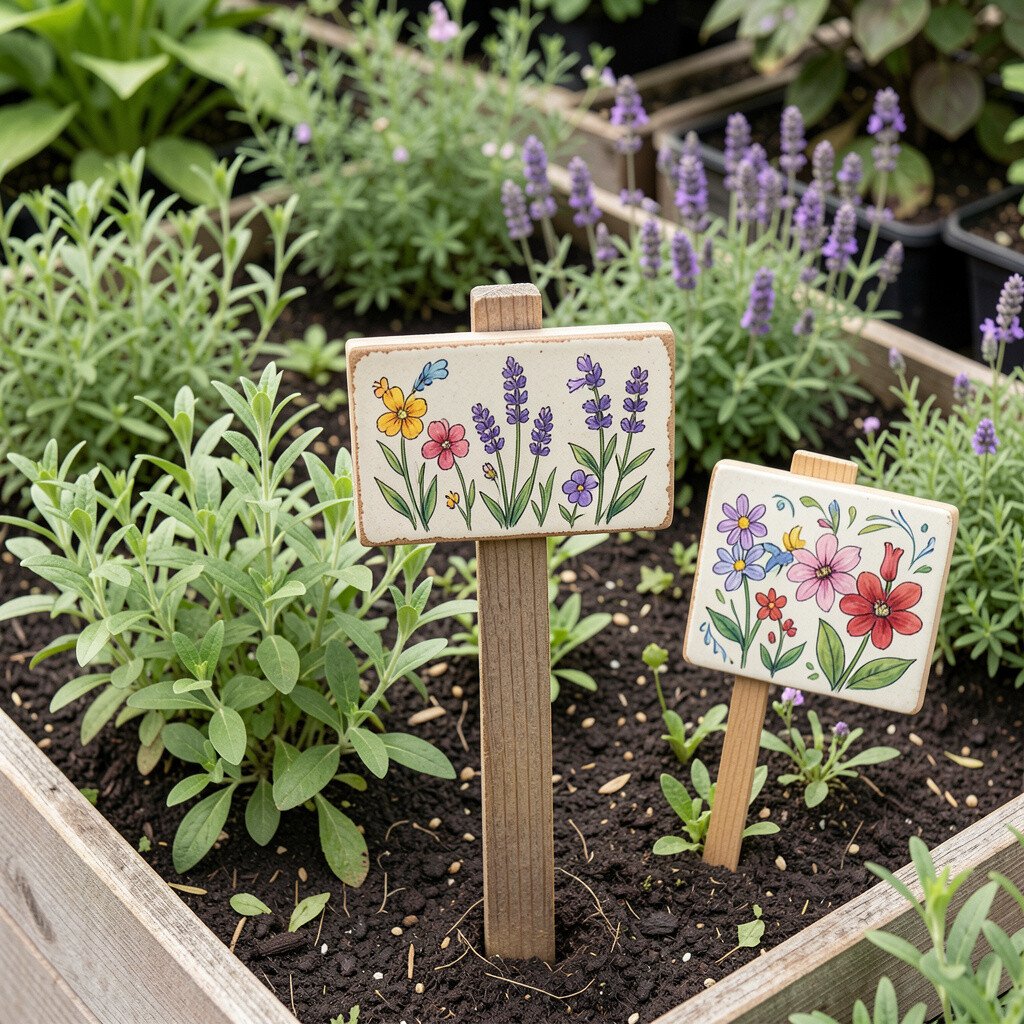
3. Ceramic Tile Markers With Hand-Painted Color
Ceramic Tile Markers With Hand-Painted Color
Think of bright little tiles set into the soil like garden confetti. Even from across the yard, the colors make you smile before you read the herb names.
Use leftover ceramic tile pieces or thrifted plate fragments, then paint the herbs with outdoor-safe paint. After it dries, seal it well and attach a small backer with a sturdy stake or wire. The benefit is easy visibility, especially when herbs hide behind taller leaves. Personalize the look by matching tile colors to your planter style, like mint-green for parsley or sunny yellow for thyme.
To keep things practical, choose a simple font and add a small symbol such as a leaf outline. This helps kids and visitors recognize herbs quickly without guessing. Tile markers also fit a current trend toward artsy, craft-made garden accents that look elevated but still handmade.
Costs vary, but using broken tiles or donated dishware can make it affordable. If you do purchase supplies, buy only a few good tiles at first, then build your set as the herbs grow. Over time, they become a signature part of your space, not just a one-time project.
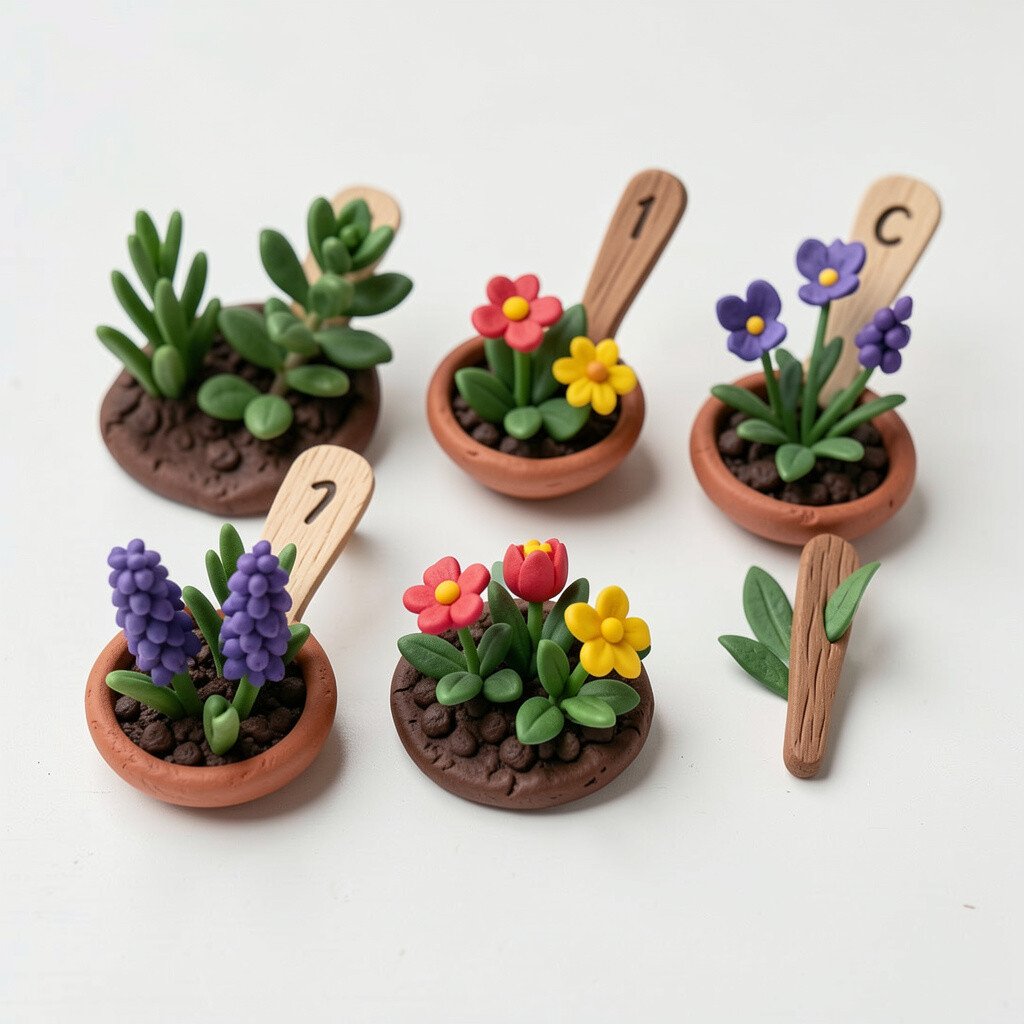
4. Polymer Clay Miniature Herb Charms
Polymer Clay Miniature Herb Charms
Imagine tiny, baked charms shaped like herbs, each acting as a marker. They look playful yet crisp, like little keepsakes on stakes.
Roll polymer clay and shape it into basil leaves, rosemary needles, or oregano sprigs, then press the herb name into the surface before baking. Insert a thin wire into the back so you can attach it to a stake, and seal it for outdoor use. The visual benefit is strong character, and the practical benefit is quick identification when plants get bushy. Keep personalization simple by using your favorite colors or making a set that matches your garden theme.
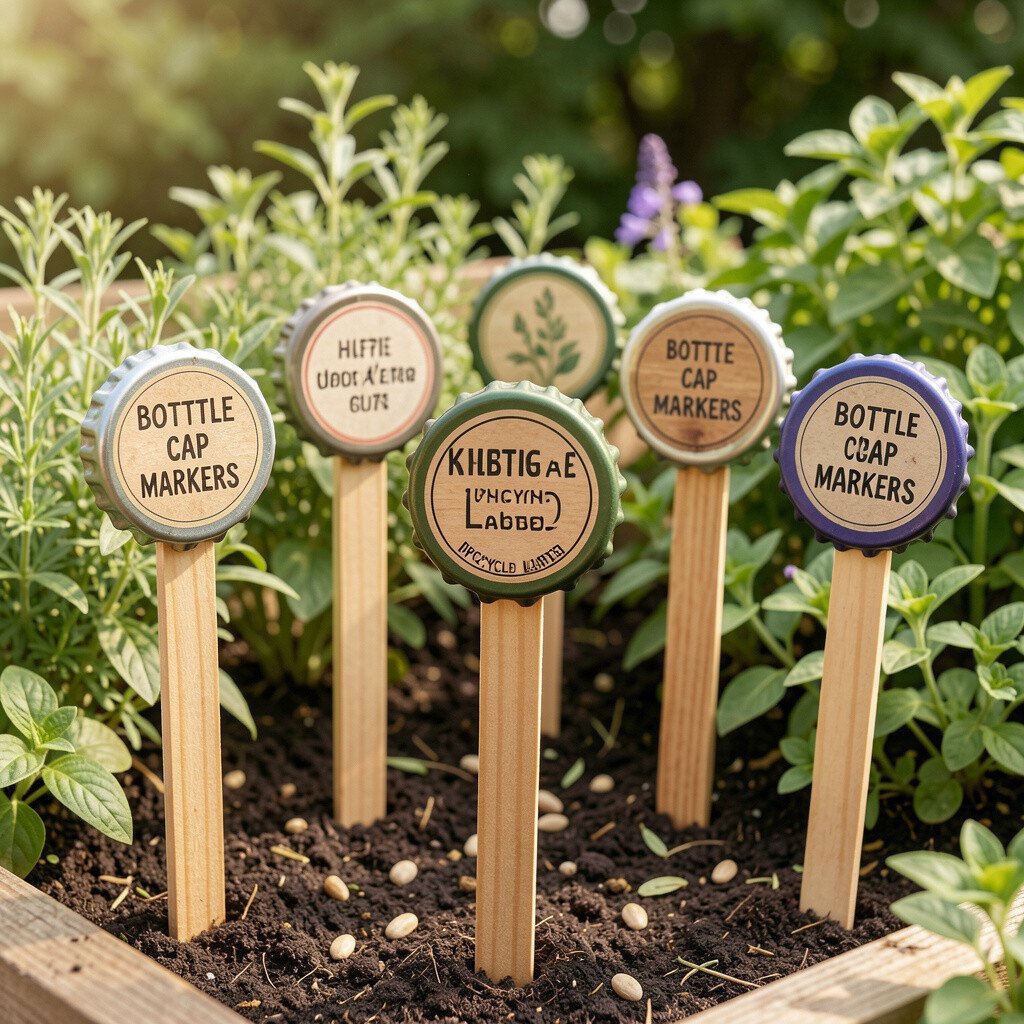
Picture a row of herb markers made from shiny bottle caps catching the light. The look is fun, bold, and perfect for a kitchen garden vibe.
Clean caps well, drill or punch a small hole, and attach them to short sticks with wire. Paint or print the herb names on the caps, then seal with a clear coat so the lettering stays readable. This method is unique because no two bottle caps match exactly, and that makes your garden feel alive. It’s also a low-cost option since you can collect caps over time.
To keep it practical, use waterproof marker or paint that cures hard. Place caps where you want guests to notice them most, like along the front edge of a pot. Many people are leaning into upcycling right now, and this is an easy project that delivers high charm without lots of tools.
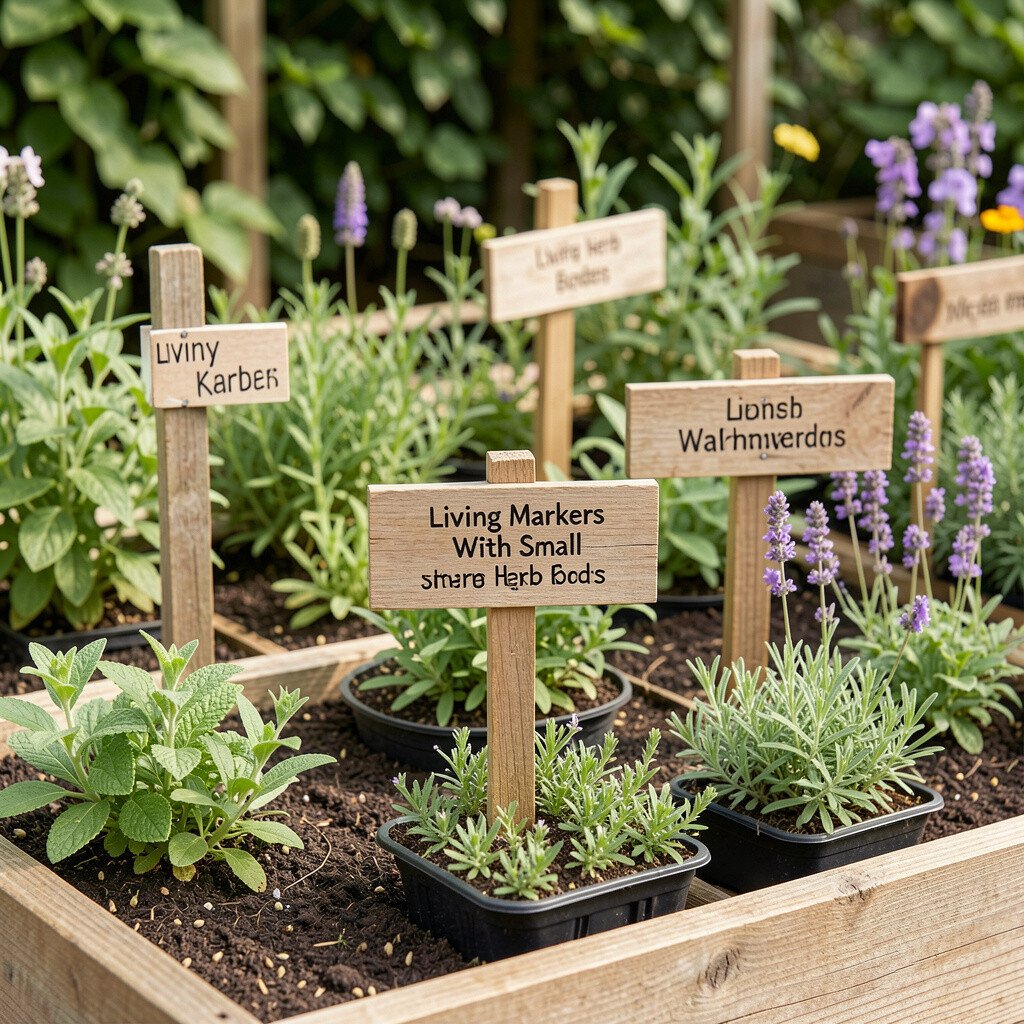
6. Living Markers With Small Herb Borders
Living Markers With Small Herb Borders
Instead of only writing names on objects, you can create markers with plants. Think of a neat mini border that frames your main herbs and acts like a living sign.
Plant quick, easy herbs along the edges, such as chives, thyme, or dwarf basil, in a consistent pattern. Label them once using a small stake sign, and then let the border do the daily work of visually guiding you. The benefit is that your garden never feels blank, even early in the season. For personalization, choose a color contrast, like purple basil near green lettuces, so the border becomes a “highlight rail.”
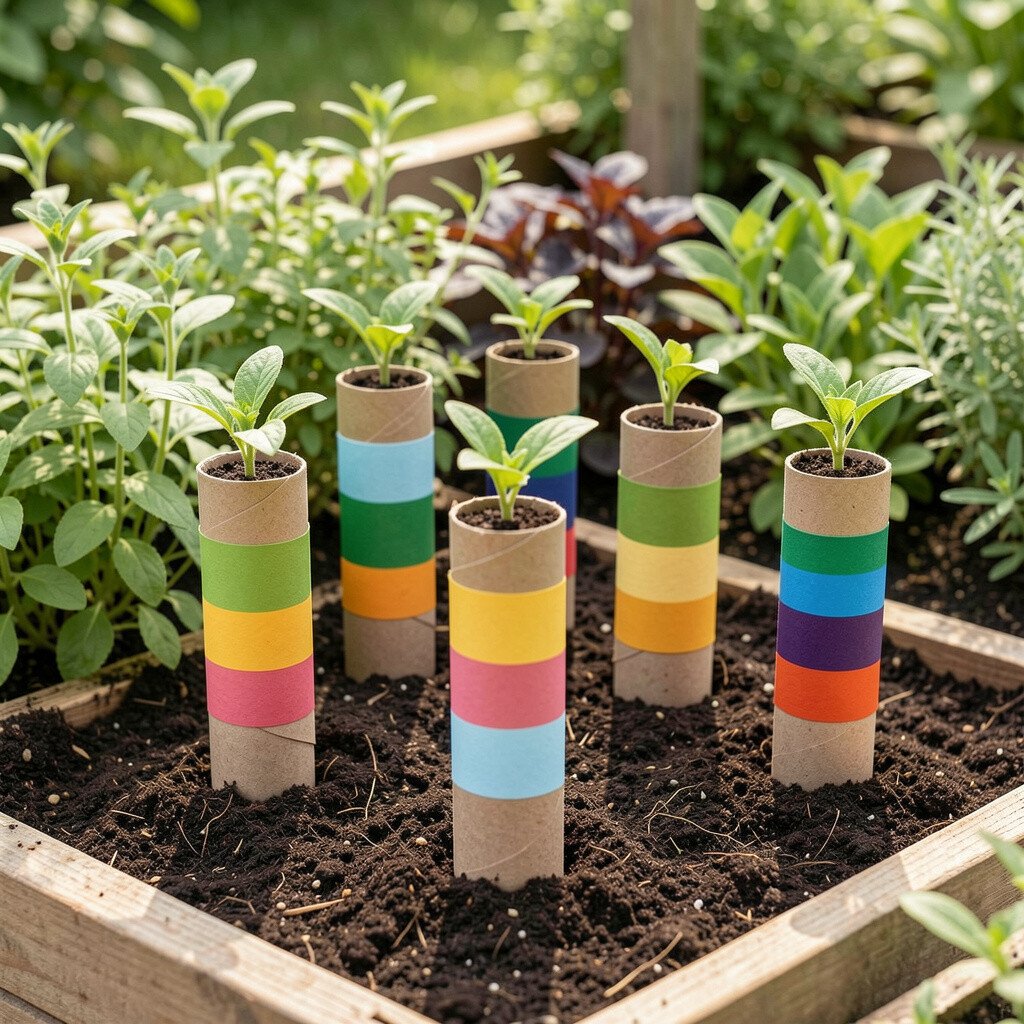
7. Toilet Paper Roll Seedling Stakes With Seasonal Color Bands
Toilet Paper Roll Seedling Stakes With Seasonal Color Bands
Picture simple stakes wrapped with bright bands that make seedlings easy to spot. When herbs are still small, this kind of marker makes the whole bed look organized.
Cut toilet paper rolls into short cylinders, flatten one side slightly, and wrap them with waterproof paper or tape in seasonal colors. Add the herb name with permanent marker, then place the roll over a small stake or push it gently into the soil. This is practical for new plantings because you can swap labels as things move from indoor starts to outdoor beds. It’s also a cost-smart approach because you’re using materials that would otherwise be tossed.
To personalize, use a color code you can remember, like green for leafy herbs and tan for woody ones. People also like simple organization systems right now, and this one feels light and cheerful. When the rolls biodegrade, you’re not stuck with stubborn plastic, and your garden looks clean as it changes.
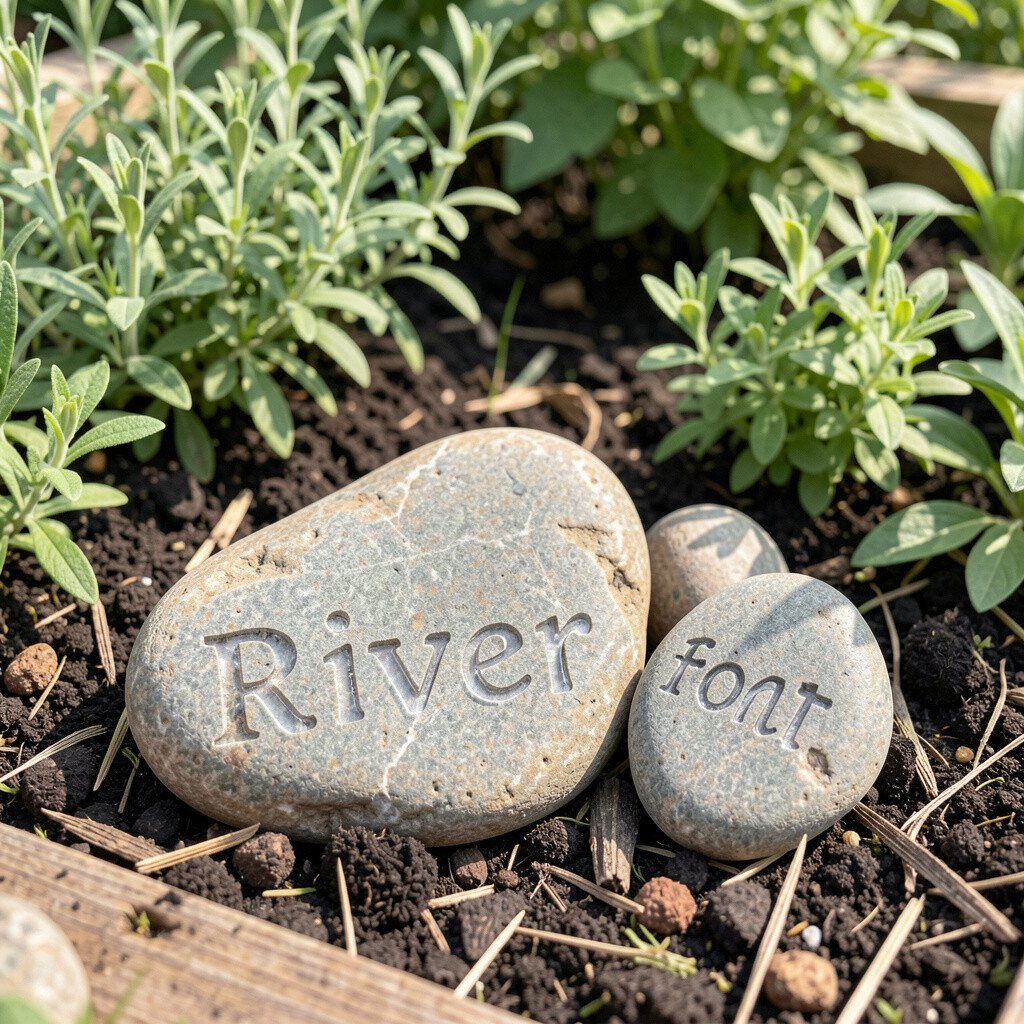
8. River Stones With Clear Resin Lettering
River Stones With Clear Resin Lettering
Imagine smooth stones from a stream, each holding crisp lettering under a glossy clear top. When the sun hits, the name looks like it’s floating on the surface.
Choose flat river stones, wash and dry them, then paint or stencil herb names. Cover the painted area with clear outdoor resin or a waterproof sealant, following the product directions carefully. The visual benefit is natural beauty paired with strong readability. Personalization gets easy when you match stone size to plant size, like smaller stones for compact herbs and larger stones for taller ones.
To keep it practical, place stones where you will see them even if leaves spread. Consider writing the herb name plus a short growth clue like “slow” or “fast” by using tiny words or simple icons. This gives you confidence while you wait for basil, cilantro, or dill to settle into their rhythm. Cost is moderate depending on whether you gather stones yourself, but you can often source stones from local areas.
9. Wood Popsicle Stick Stakes With Watercolor Style
Wood Popsicle Stick Stakes With Watercolor Style
Think of delicate watercolor lettering that looks soft and friendly in a garden bed. Each popsicle stick marker feels like a tiny art card planted upright.
Paint popsicle sticks with light watercolor washes, then add the herb name using a dark pen for contrast. Seal the whole stick lightly so moisture doesn’t smear the colors. This method is great for people who want to get started fast because supplies are easy to find and cheap. Personalization is simple, since you can make a set in your favorite palette or match your patio cushions or planters.
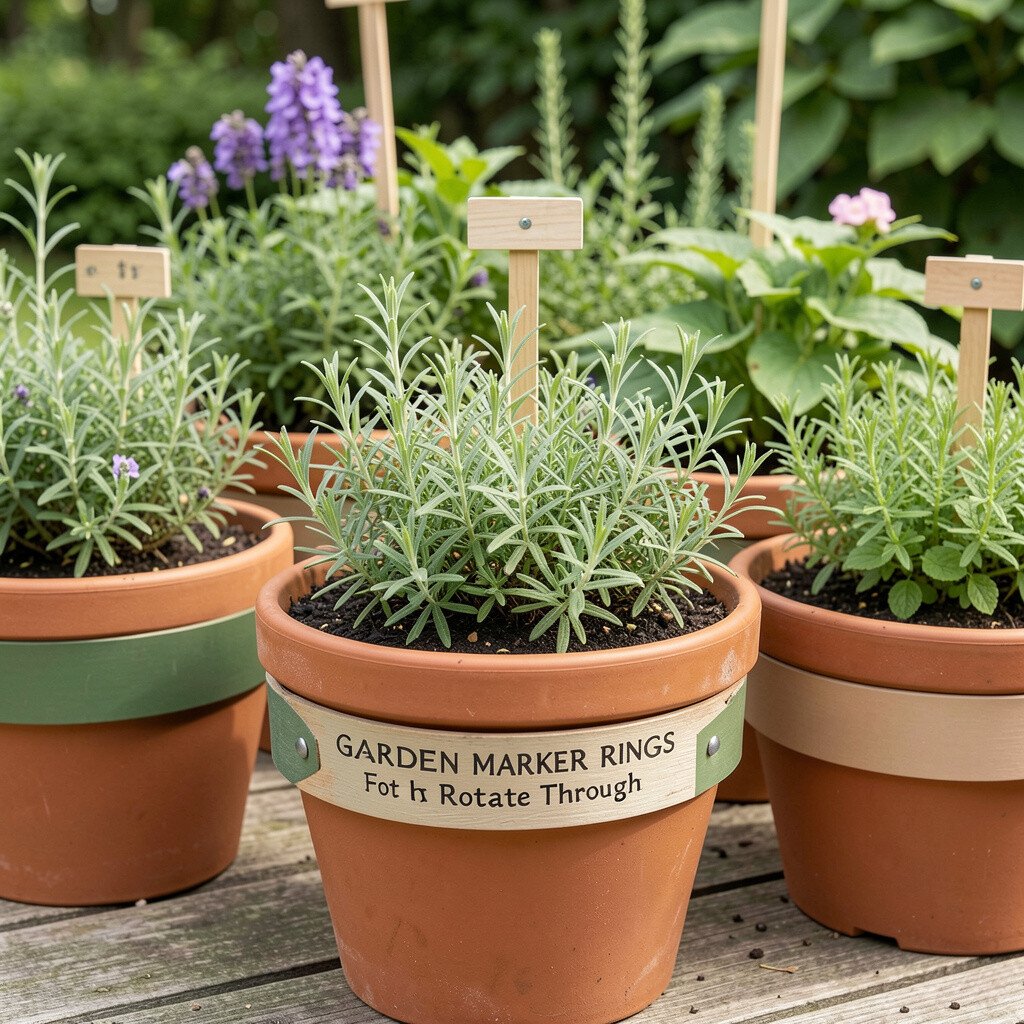
10. Garden Marker Rings For Pots That Rotate Through Herbs
Garden Marker Rings For Pots That Rotate Through Herbs
Some herbs rotate with the seasons, so markers should be just as flexible. Picture a ring around a pot that clearly shows what’s growing inside.
Use metal or plastic rings designed for plant identification, or make your own by attaching a band to stakes around pot rims. Add a waterproof label card on the ring so you can swap it when you change herbs. The benefit is quick updates without digging up anything, which is helpful in small spaces. Personalization becomes easy when you add short notes like “sunny windowsill” for indoor herbs that come in during cool weeks.
This also fits a current trend toward tidy, modular home gardening. If you like keeping things neat, rings reduce the clutter of multiple stakes. Consider cost by starting with a few rings for your biggest containers, then expanding when you know which herbs you grow most often.
For a practical finishing touch, place the ring where it faces outward, so labels are readable while you stand at the sink or step onto the patio. That little detail makes the garden feel user-friendly every day.
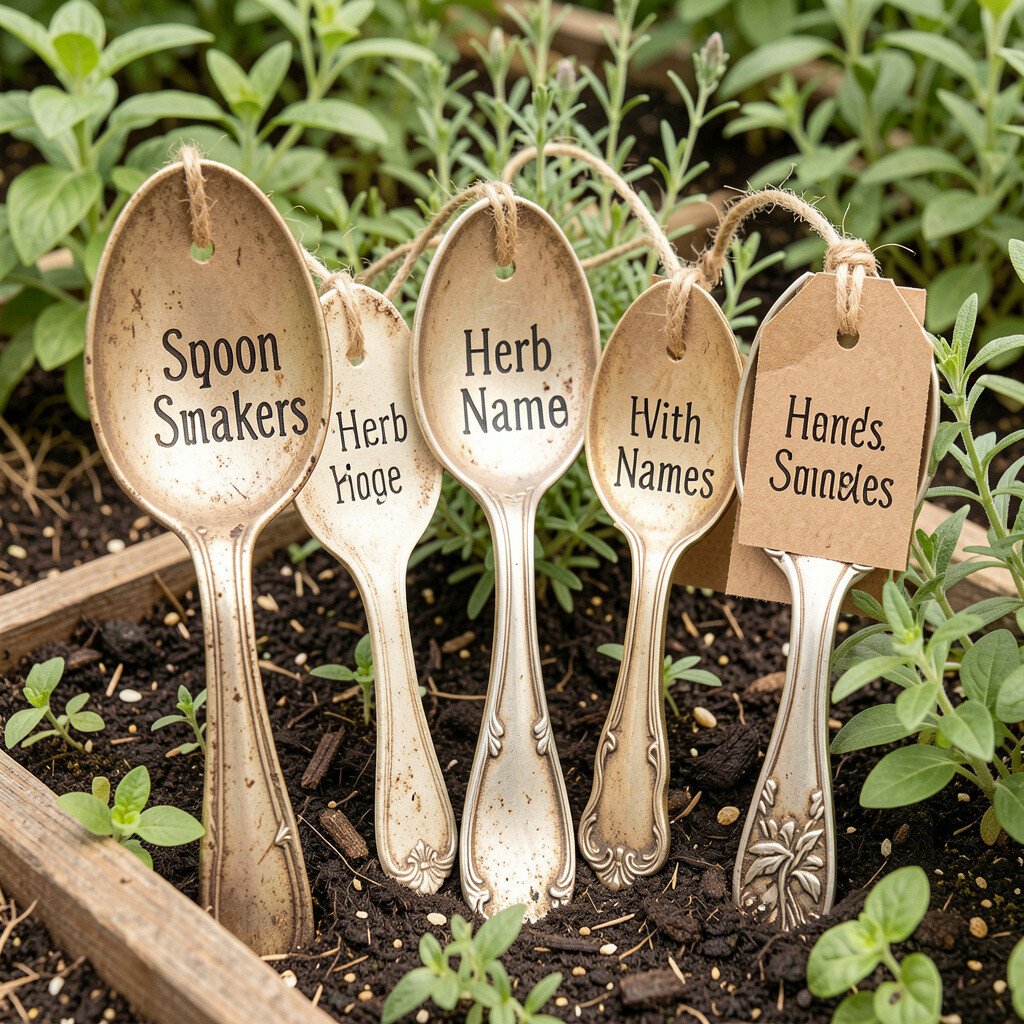
11. Vintage Spoon Markers With Herb Names and Hang Tags
Vintage Spoon Markers With Herb Names and Hang Tags
Imagine a silver spoon stuck into the soil, with the herb name etched or painted on its bowl. It creates a charming, quirky look that feels like your garden has personality.
Paint the spoon’s bowl and seal it, then add a small hang tag with your herb name for extra readability. Insert a short handle stake into the soil, or secure a spoon to a sturdy stick with wire and outdoor glue. The visual hook is strong, because spoons add shape and shine even when plants are sparse. Personalize by using birthstone colors for the family that tends the garden, or by giving each herb a mood, like “sunny” for basil and “cool” for mint.
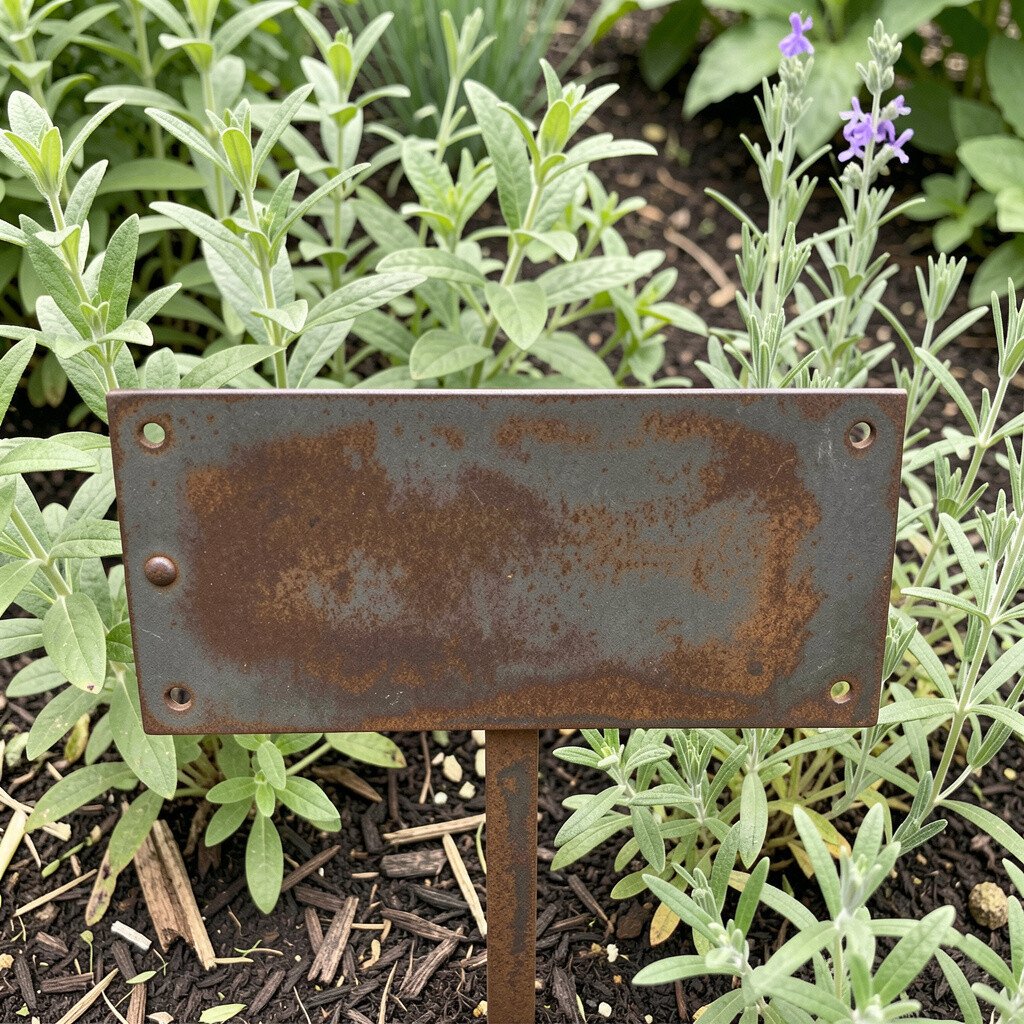
12. Stained Metal Name Plates With Anti-Rust Coating
Stained Metal Name Plates With Anti-Rust Coating
Clean metal plates make an herb garden feel crisp, like a tiny herb boutique. When the sunlight hits the stamped letters, the labels look sharp and intentional.
Create small name plates from thin sheet metal, or repurpose hardware tags, then engrave or stamp the herb names. Apply an anti-rust coating and clear seal so labels stay readable through wet weather. This option is unique because it looks sleek and lasts longer than many DIY materials. For personalization, choose letter styles that match your garden mood, like bold block letters for a modern look.
Practical placement matters, so set plates where you can spot them quickly, such as near the walkway edge. Cost considerations come down to your starting materials, since scrap metal is often free. If you buy a stamping kit, it can be an investment, but the durability makes it worth it for long-term gardeners.
13. Folded Map Coordinates Labels For Travel-Inspired Herbs
Folded Map Coordinates Labels For Travel-Inspired Herbs
Picture a tiny folded map strip tucked into a marker slot on a stake. It looks like a secret message connected to your favorite places.
Cut map paper into narrow tabs, then write the herb name and add a small reference point like a city, coastline, or landmark you love. Seal the paper with clear lamination or waterproof tape and secure it to a stake holder. The benefit is emotional personalization, because each herb becomes tied to a memory. It also makes your garden feel story-rich for friends who visit.
To keep things practical, use simple waterproof ink and avoid heavy ink pooling that can bleed. This is a fun current trend for “meaningful decor,” where everyday objects carry more than function. Cost stays low when you use old printed maps or brochures you already have.
Place these markers where you’ll see them while cooking, so they become part of your daily inspiration, not just a decorative detail.
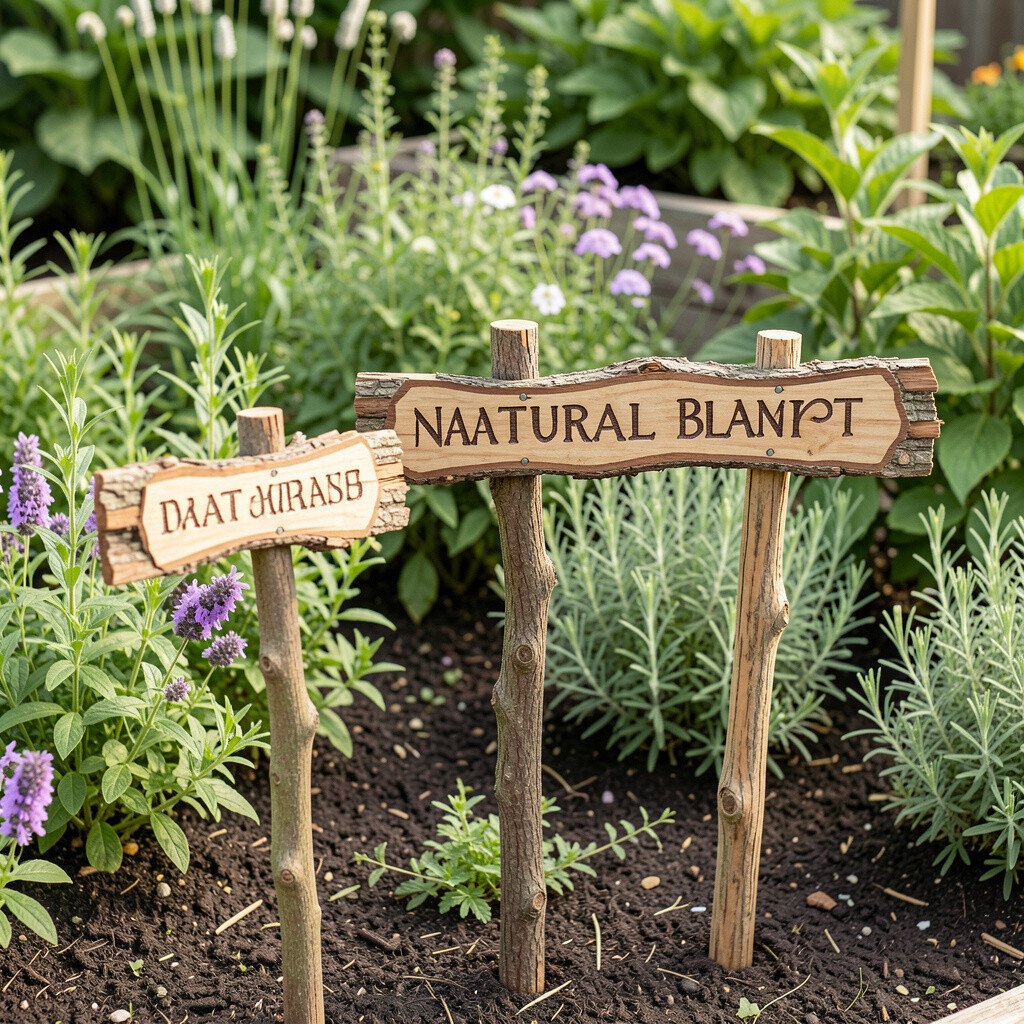
14. Natural Branch Stakes With Bark-Stamped Letters
Natural Branch Stakes With Bark-Stamped Letters
Think of slender branches tied together with twine, each one carrying letters stamped into the bark. It looks rustic and natural, like the garden is speaking its own language.
Collect small, dry branches, cut them to even lengths, and clean off loose debris. Use a carving tool or a small stamp to press herb names into the bark, then seal lightly with a breathable outdoor finish. The visual benefit is a warm, earthy texture that fits herb gardens beautifully. Personalization comes from choosing different branch shapes, so each herb marker has its own personality.
For practicality, keep the markings readable by using deeper carving or adding a thin paint wash rubbed into the grooves. This helps the letters stand out even when sunlight changes. Cost is usually minimal because branches come from yard trimming or nearby paths. Just make sure you follow local rules about gathering and avoid taking from areas where it may harm the environment.
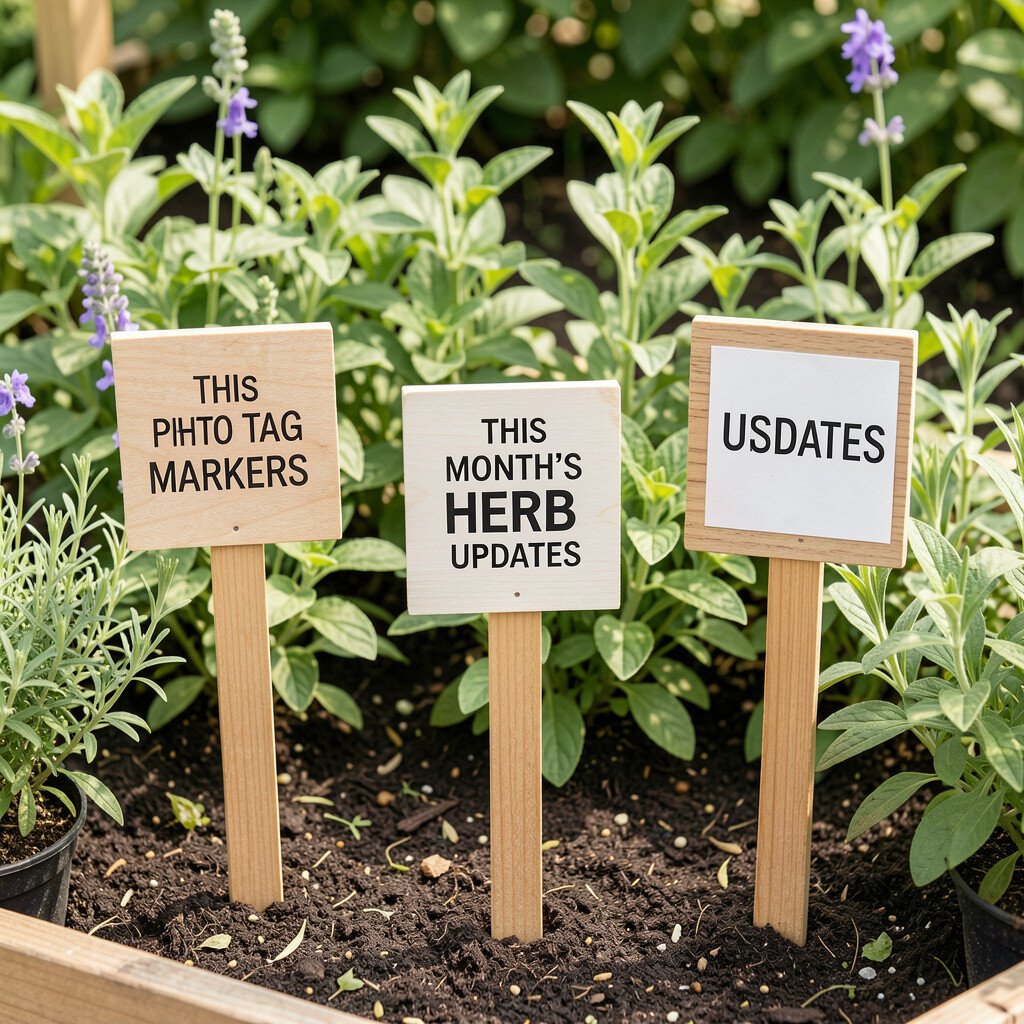
15. Photo Tag Markers With “This Month’s Herb” Updates
Photo Tag Markers With “This Month’s Herb” Updates
Imagine a mini photo card clipped to a stake, showing what the herb looks like when it’s ready. It turns your markers into visual reminders, not just labels.
Take a few pictures of each herb as it grows, then print small photo tags and attach them to waterproof clips on stakes or rings. Replace the photo as your herbs shift through harvest and growth stages. The benefit is clarity, because you can spot the right time to pick basil or harvest mint tips. Personalization is built in through your own photography and your garden’s real timeline.
Keep it practical by using clear plastic sleeves or waterproof laminating pouches so weather won’t damage the images. Cost considerations are easy since you can print at home or use inexpensive photo paper. This aligns with current trends in personal home organization, where visuals help people act quickly without second-guessing.
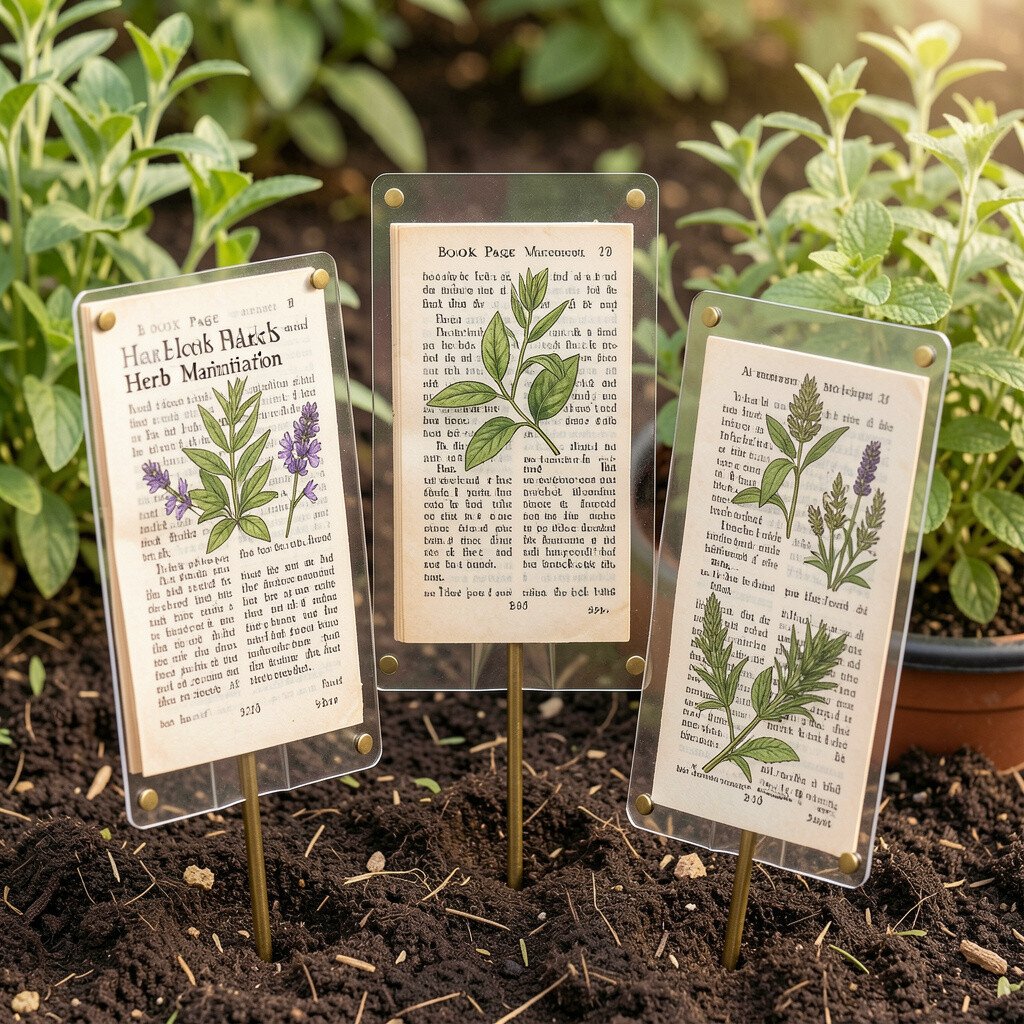
16. Book Page Herb Markers With Lamination and Brass Pins
Book Page Herb Markers With Lamination and Brass Pins
Picture a soft, antique paper look standing upright in the soil. The old-book charm makes your herb garden feel cultured and calm.
Cut pages from a favorite book, write the herb names on the text, and then laminate or cover with clear waterproof film. Secure the strips to stakes using brass pins or small binder rings, so the pages don’t sag. The visual benefit is elegant, and the practical benefit is durability once sealed. Personalization is easy because you can choose which book pages to use based on the herbs you love.
To keep cost low, use spare pages from books you no longer keep. Avoid fragile pages by choosing thicker paper and sealing well at the edges. This technique is also popular right now for makers who enjoy vintage aesthetics without spending big money on specialized garden decor.
For best results, let lamination fully cure before placing it outside. Then tuck the stake close to the plant so the label stays readable even as leaves spread.
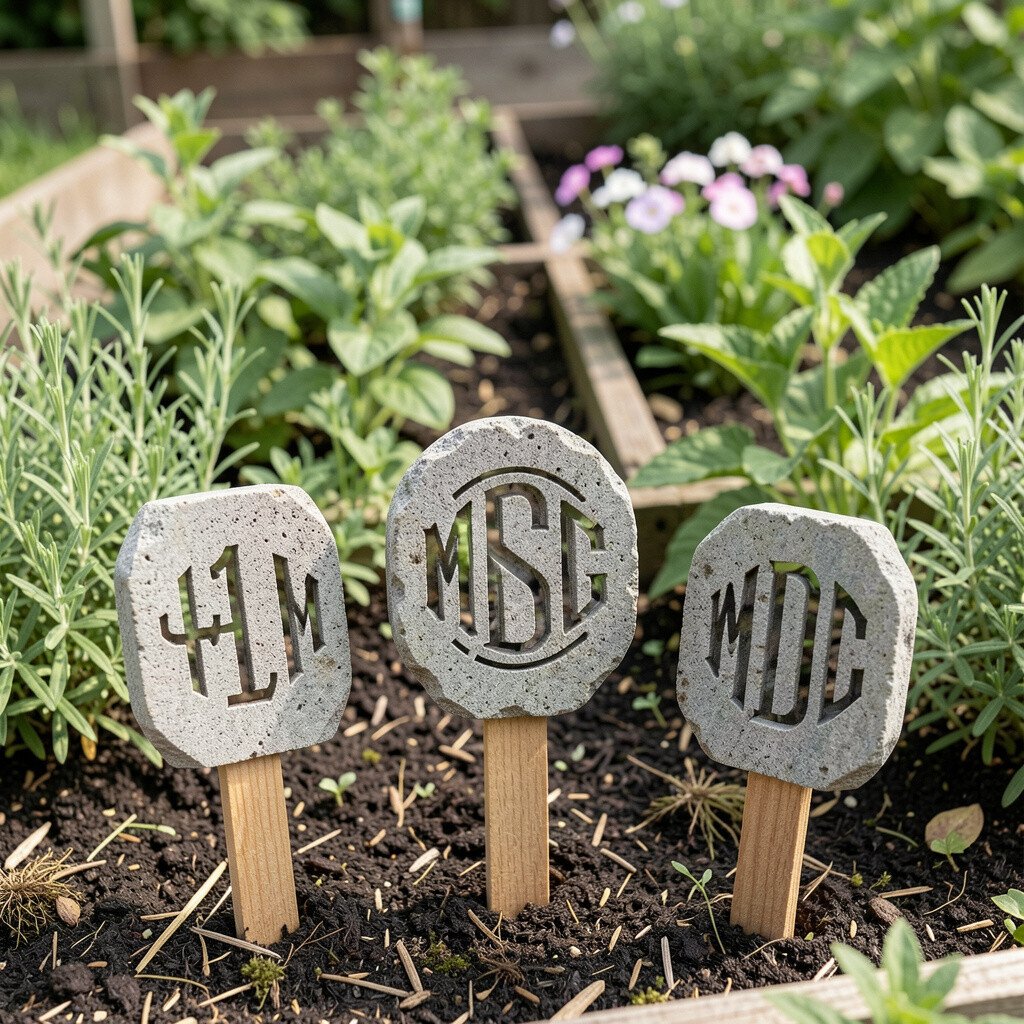
17. Monogram Stone Markers With DIY Stencil Letters
Monogram Stone Markers With DIY Stencil Letters
Imagine clean monogram stones, like a signature planted into your herb bed. They make the garden feel personal in a grown-up, timeless way.
Gather flat stones, then sand them lightly and apply a stencil for your initials or a simple monogram next to the herb name. Paint over the stencil, let it dry, and seal the stone for outdoor use. The benefit is uniqueness, because monograms rarely match across gardens, so your space feels clearly yours. Personalize further by using different monograms for each family member who helps water or harvest.
For practicality, keep lettering thick and high contrast so it doesn’t fade as the stone weathers. Cost is usually low since stones can be found or gathered, and stencils are inexpensive. If you want a modern twist, pair monogram stones with a few minimalist tags so the set looks intentional rather than random.
Place these markers at the front corners of your pots or bed rows where guests naturally look first. That simple placement makes the monogram feel like part of the design, not just an extra craft.