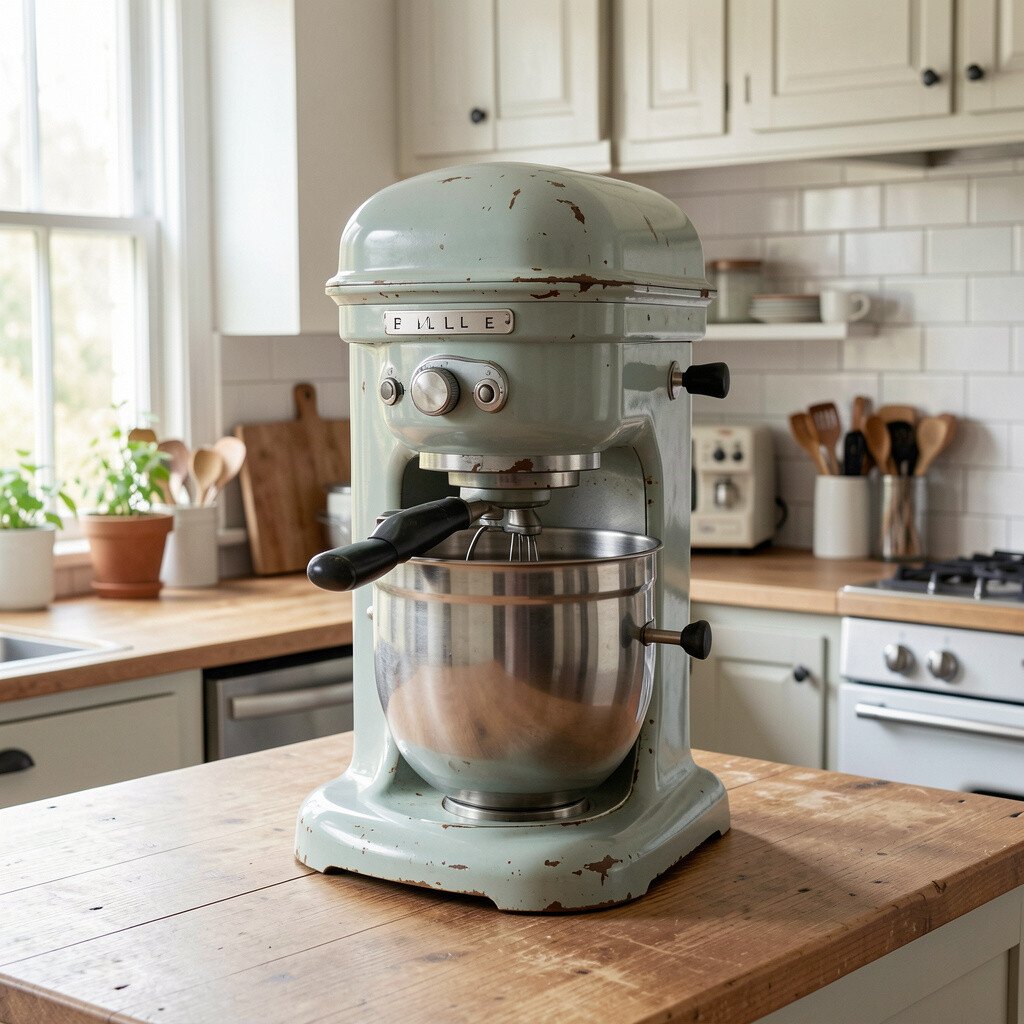
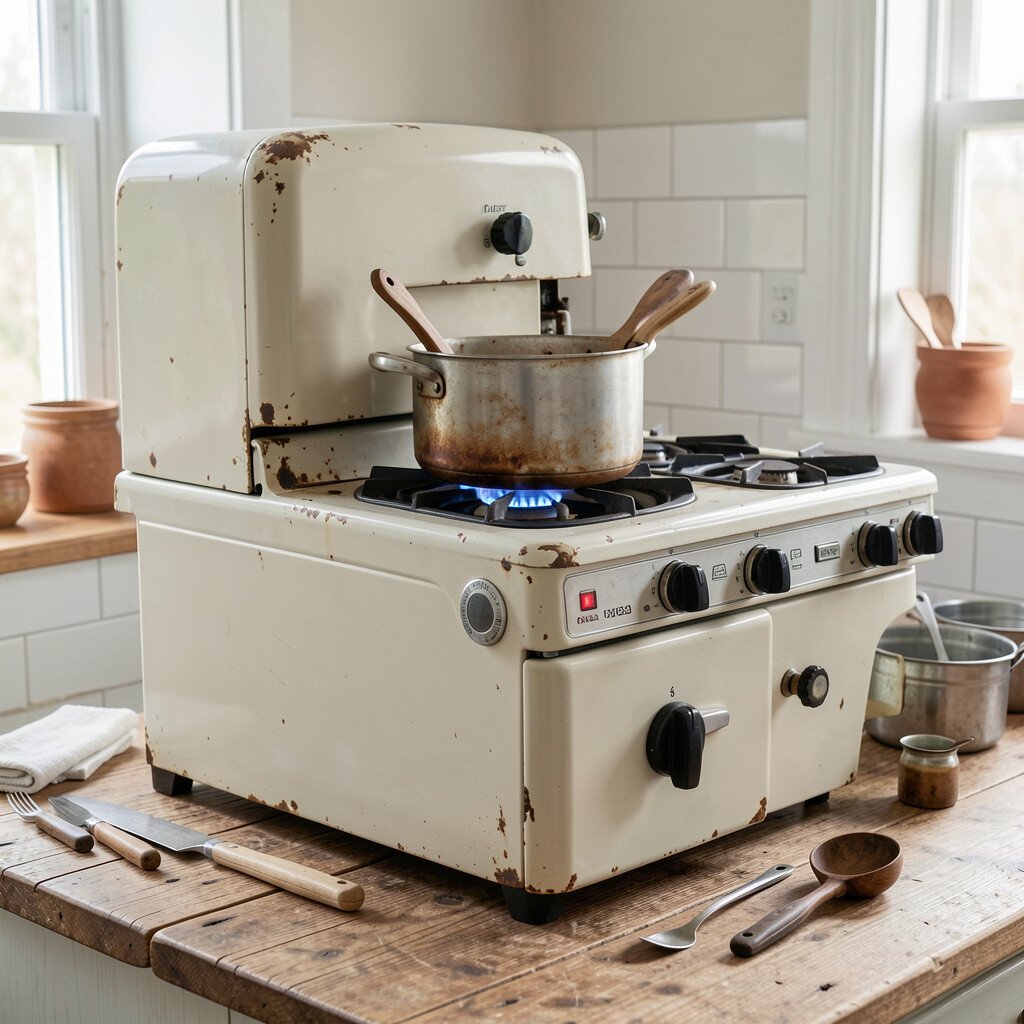
18+ Vintage Kitchen Appliance Restoration Tips For New Look
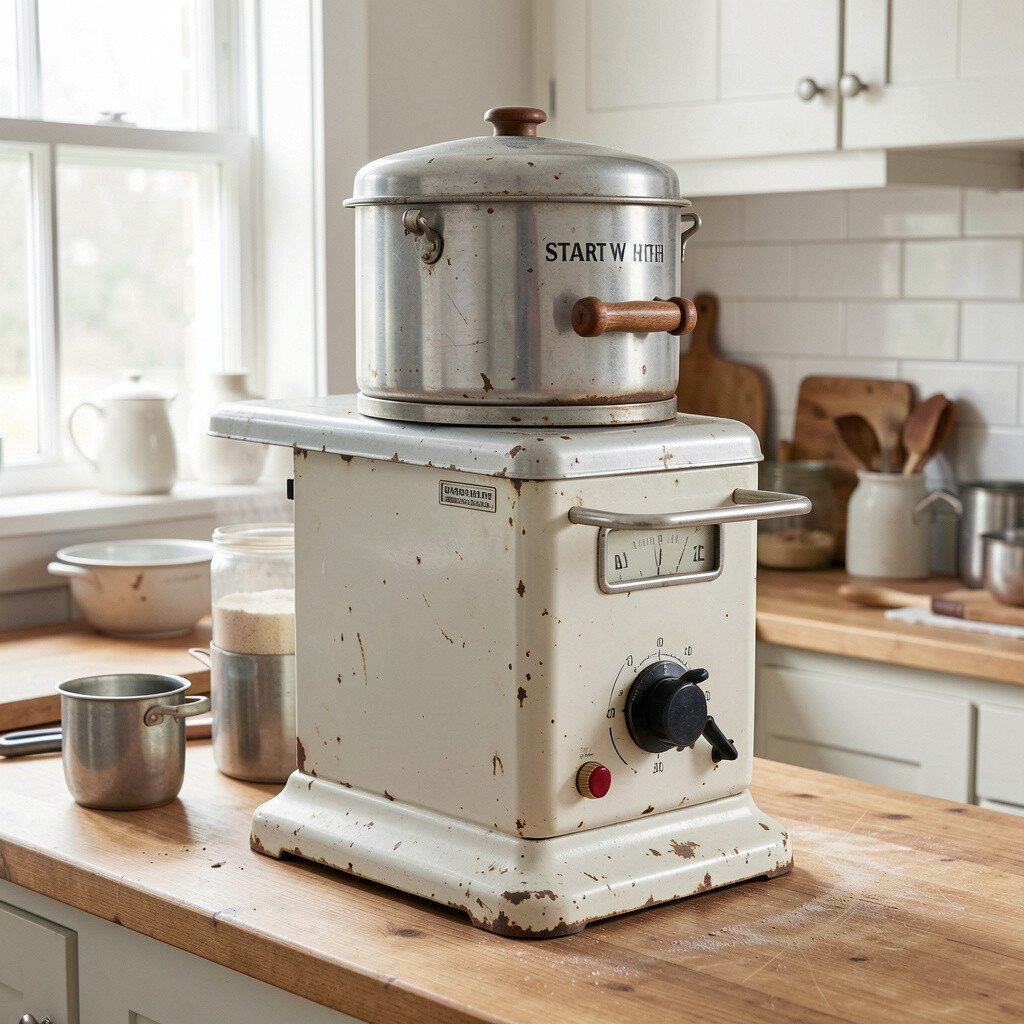
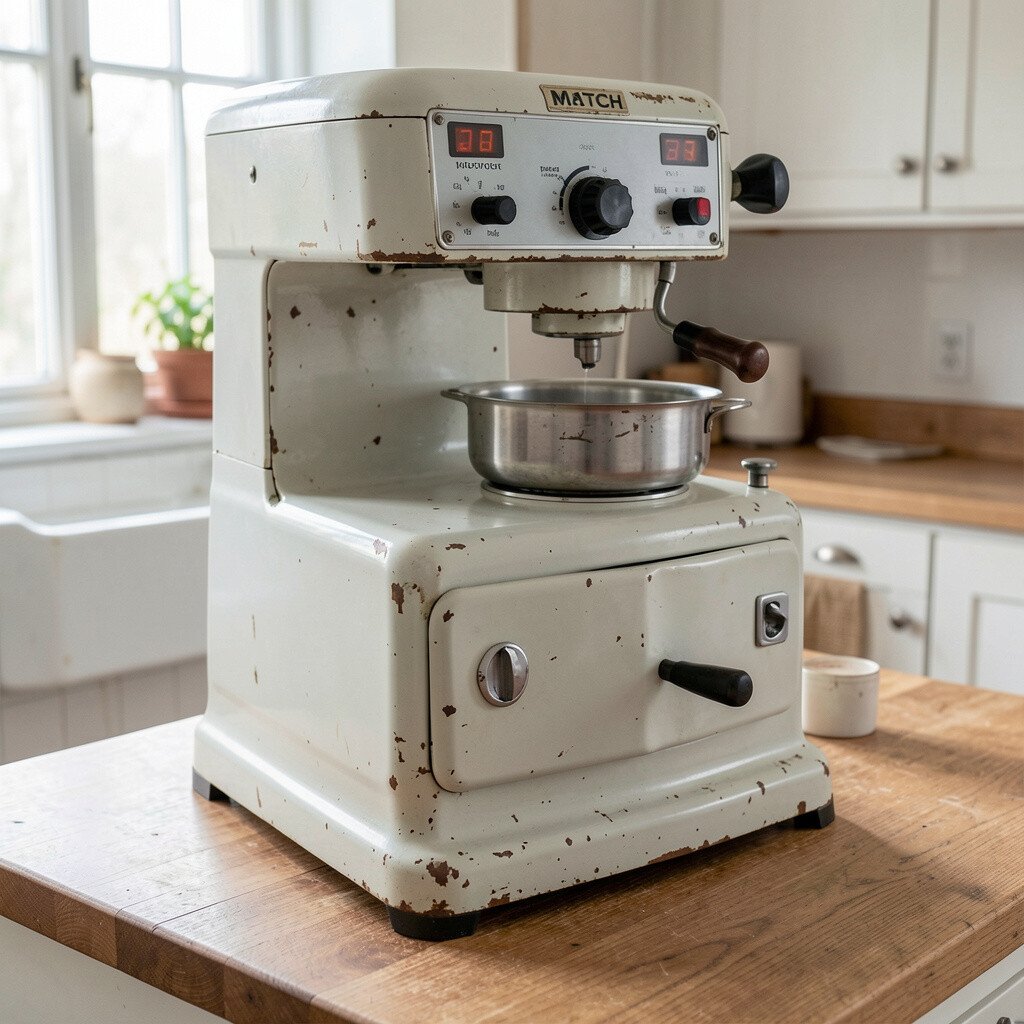
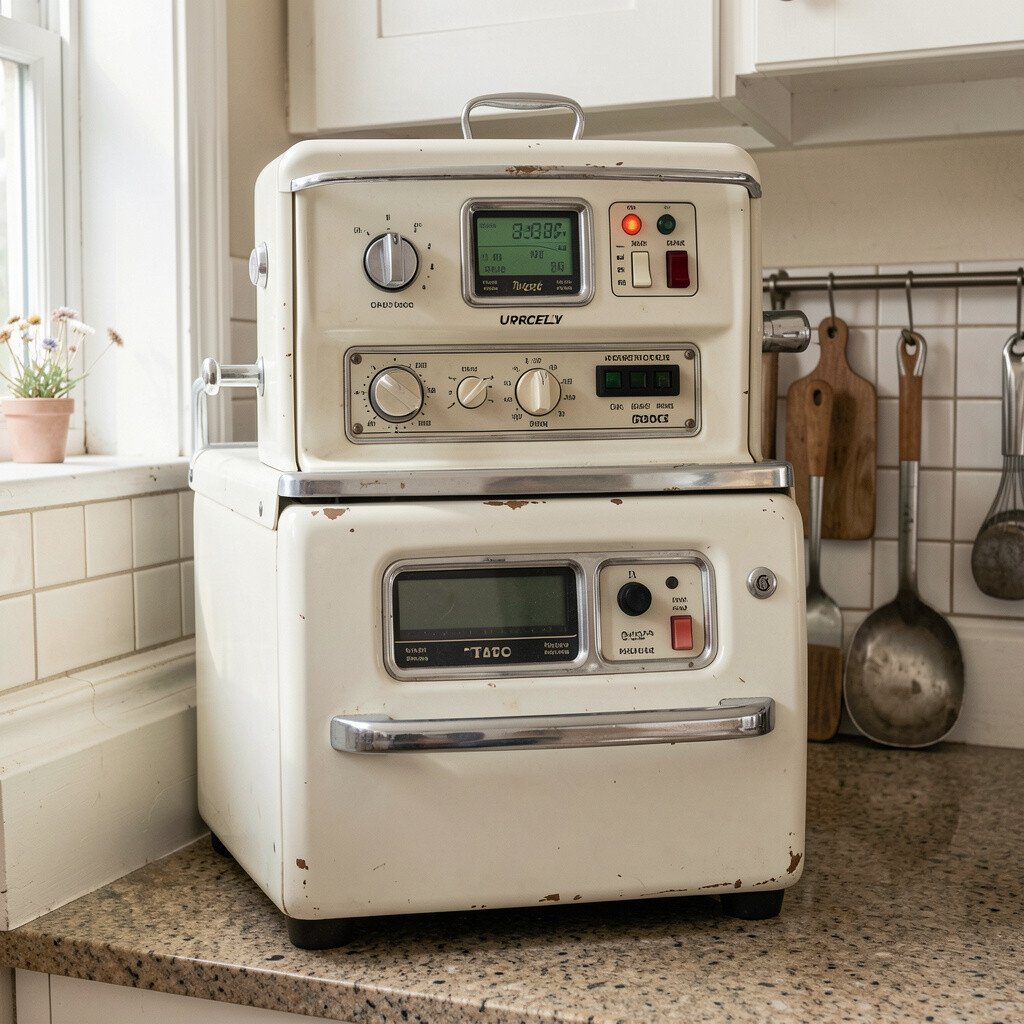
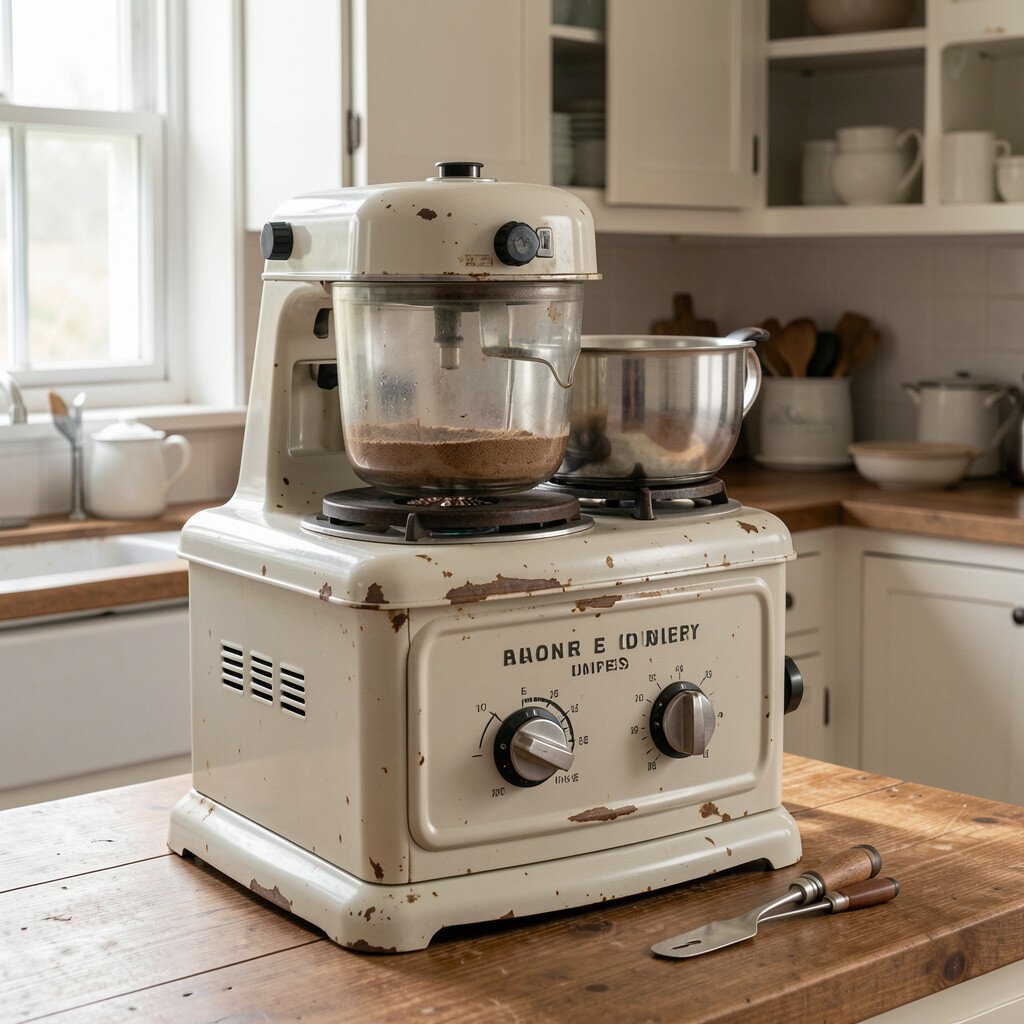
The first time you bring a vintage appliance back to life, it feels like magic in your kitchen. A few careful choices can make it look sharp, work better, and feel like yours.
1. Start With Gentle Inspection And Realistic Goals
Start With Gentle Inspection And Realistic Goals
Unplug the appliance and look it over in good light. Check the cord, knobs, vents, and any spots where old grease has built up, and notice what seems solid versus what looks risky.
Take photos from several angles so you remember what went where. Choose a goal that fits your time and budget, like restoring the finish, fixing one specific function, or making it clean and presentable for daily use. When you set expectations early, you avoid the common problem of over-restoring and spending more than planned.
2. Clean Inside And Out Without Rushing
Clean Inside And Out Without Rushing
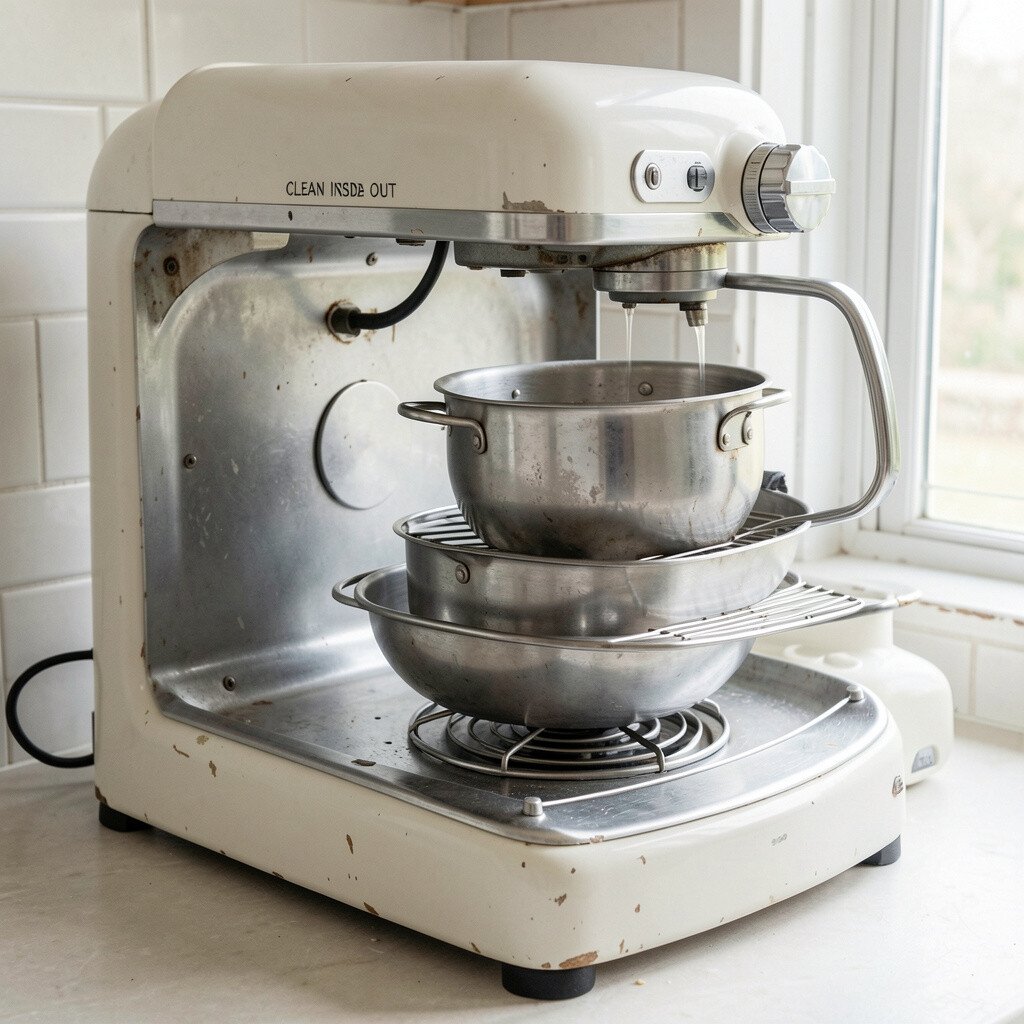
Dust and grime hide in corners, under trim, and around moving parts. Use a soft brush, mild degreaser on metal areas, and gentle soap for most surfaces so the appliance doesn’t get harmed.
Wipe in the direction of the grain, then dry everything thoroughly to prevent water spots. If you find sticky residue, soak only the removable pieces and keep electronics dry. A careful cleaning makes the next steps easier and improves the final look in a way you can actually see.
As you work, you’ll notice small improvements right away, like clearer labels and smoother knob movement. This also helps you spot cracks, worn seals, or loose screws before you paint or polish anything.
3. Document Parts Before You Touch Them
Document Parts Before You Touch Them
Before you remove a panel, take close photos and note how the wiring runs. A simple layout on a clean surface helps you keep screws, springs, and brackets from getting mixed up.
Put small parts into separate containers and keep them in the same order you removed them. Labeling with tape on the parts is a simple move that saves a lot of stress later. When reassembly goes smoothly, the appliance ends up straighter, quieter, and safer to use.
Pay attention to gaskets and seals, since they often control airflow and heat. If something looks like it might tear, you can plan to replace it instead of forcing it back. This makes the restoration feel more reliable and more personal to your kitchen.
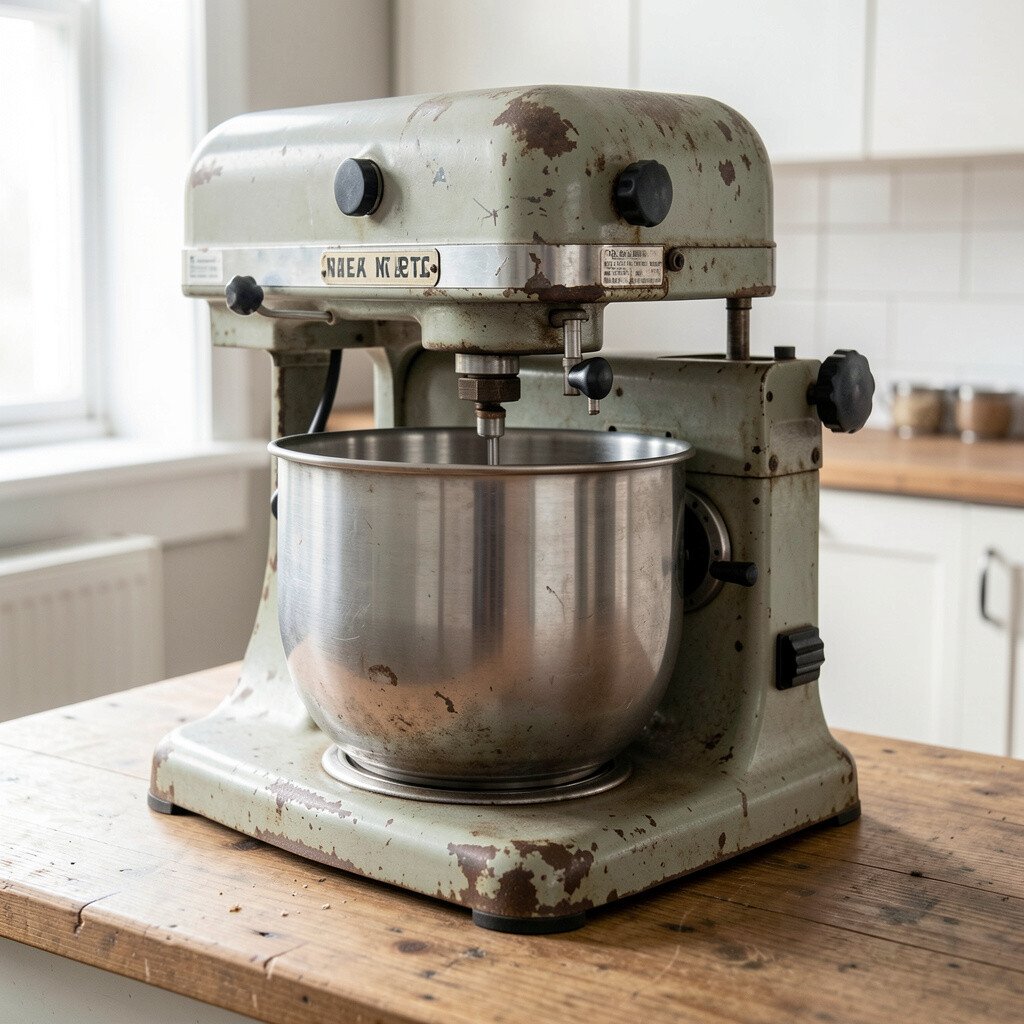
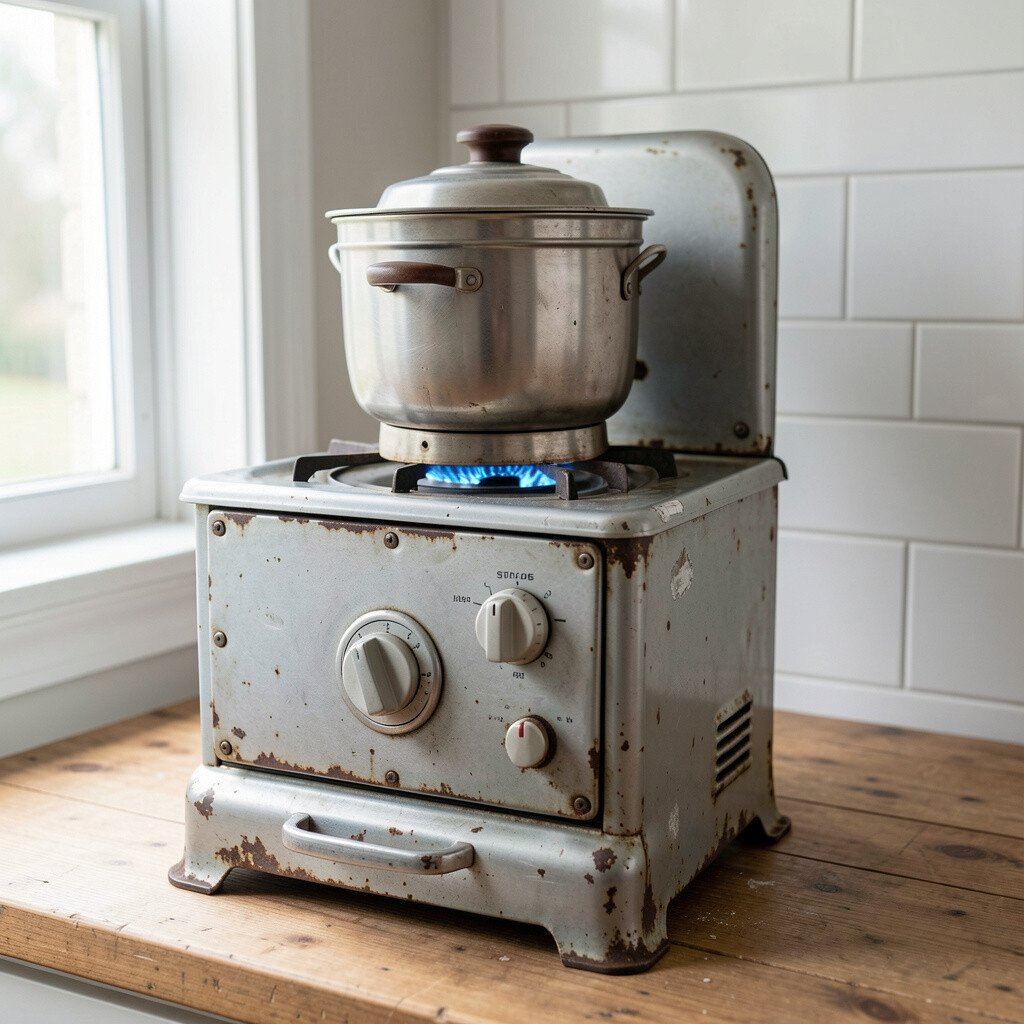
Old metal can look tired, with freckles, rust blooms, or shallow pits that catch the light. Inspect the base, handle areas, and corners where moisture collects, because those spots usually tell the truth about condition.
For light surface rust, you can use gentle sanding and rust-removing cleaners that won’t gouge the metal. For deeper pitting, decide whether polishing will be enough or if repainting and clear coating are the better fit. Handling this honestly helps you avoid a fragile finish that chips too soon.
5. Strip Grease Without Stripping Character
Strip Grease Without Stripping Character
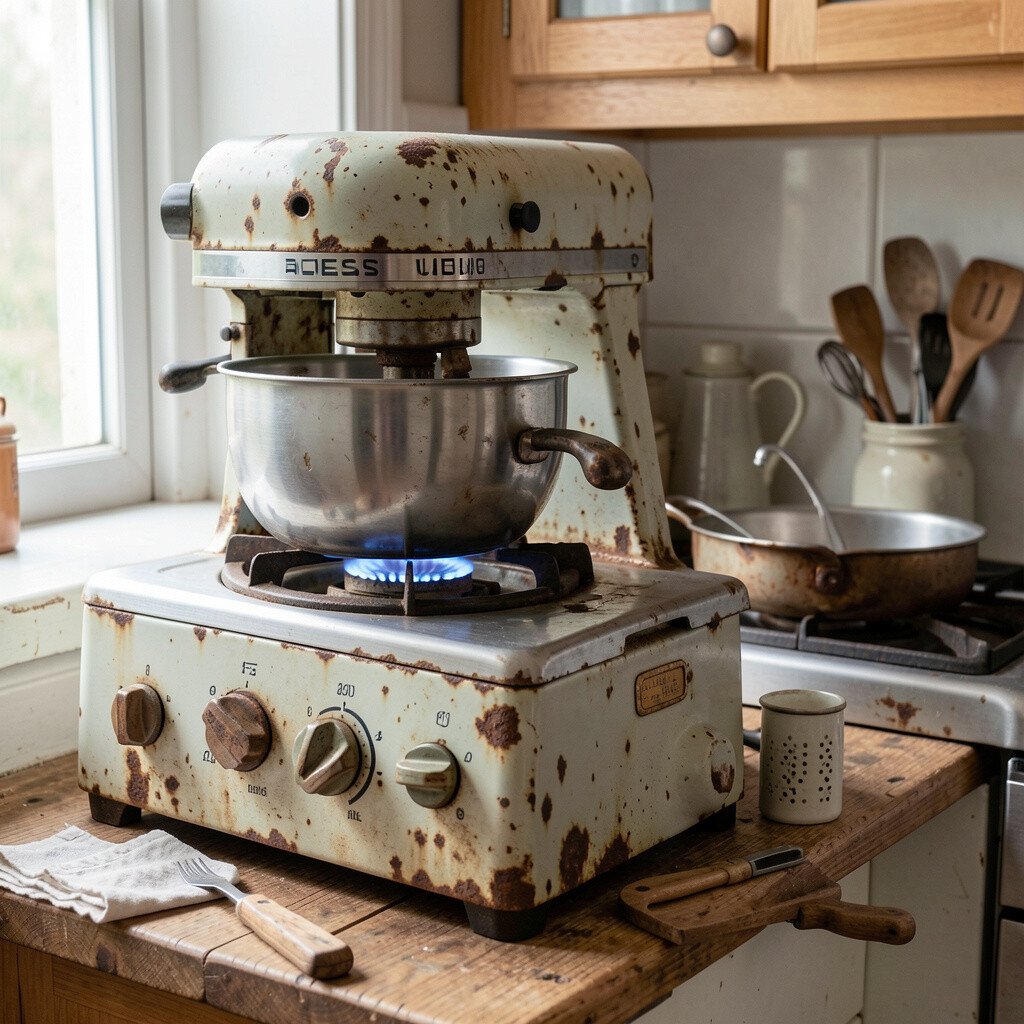
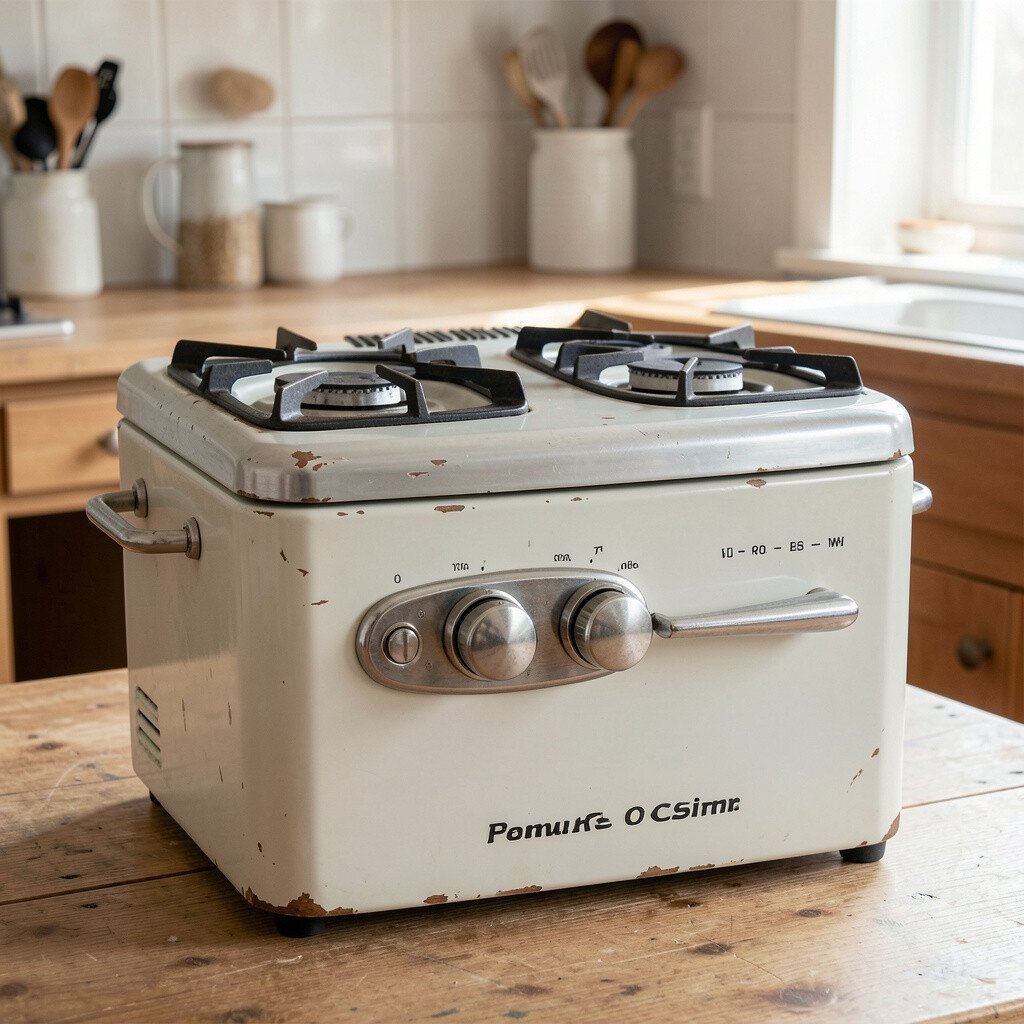
Vintage appliances often have charm in the shape of their panels and the patina of time. When you clean, aim for removing grime and sticky buildup rather than erasing everything.
Use a degreaser that matches the surface type, like a cleaner made for painted metal or a mild solution for enamel. If you’re unsure, test in a hidden area first so the color doesn’t fade unexpectedly.
By keeping the character and fixing the mess, you get a look that feels authentic instead of brand-new. This approach also keeps your restoration budget healthier because you’re less likely to redo finishes.
6. Choose The Right Finish For Each Surface
Choose The Right Finish For Each Surface
Different parts need different care, and the finish should match the material. Painted panels, chrome trim, and brushed aluminum each react differently to cleaning and coating.
For chrome-like areas, choose a polish made for that metal and avoid harsh abrasives that cause dullness. For painted sections, pick matching paint or a compatible primer so the new coat bonds well. When you use the right product, the appliance looks more uniform and feels more “restored” instead of patched.
7. Repair Scratches With Matching Touch Techniques
Repair Scratches With Matching Touch Techniques
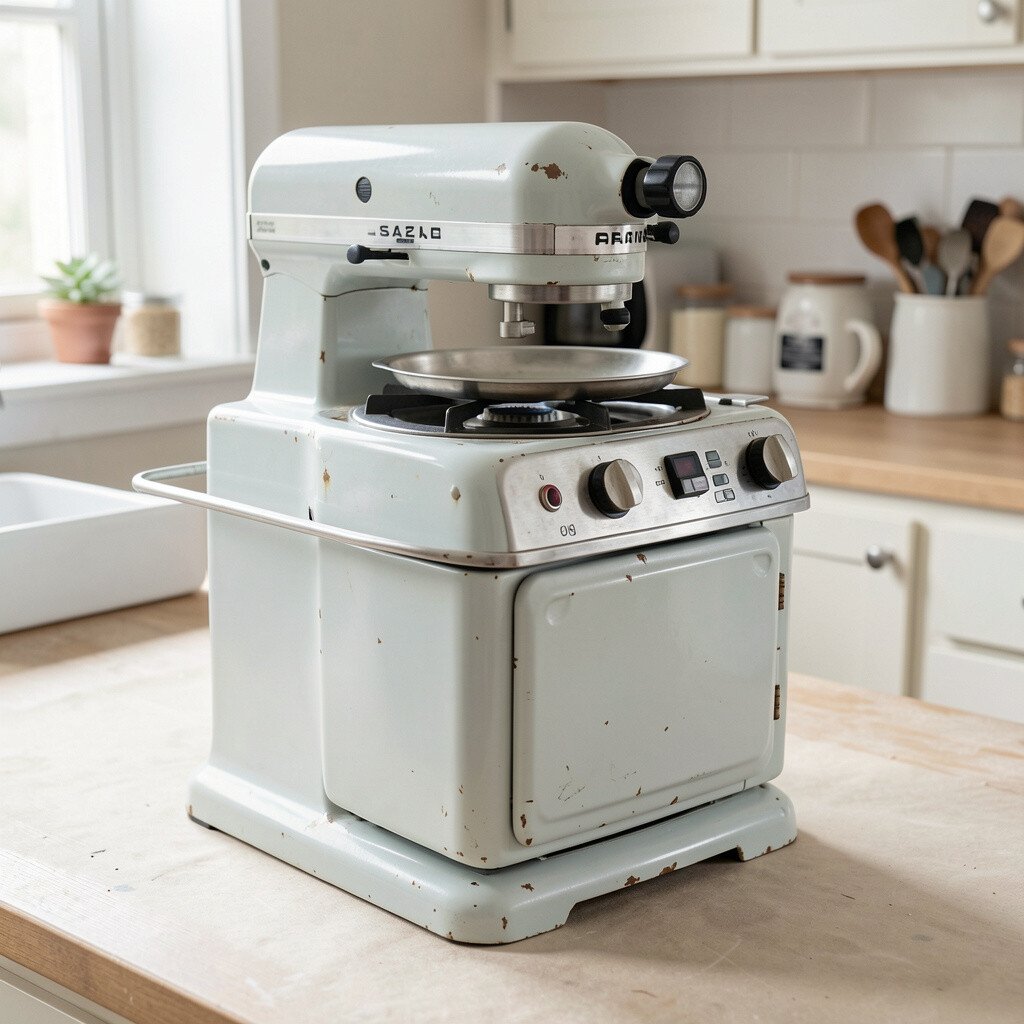
Scratches can be a deal-breaker visually, but they’re also a chance to tune the look. Start by sanding lightly, only as much as needed, and then use touch-up paint that matches the original tone.
Blend the repair using very thin layers rather than one heavy coat. For glossy finishes, a gentle polish after curing can help the area catch light the same way as the rest. This is one of the best ways to personalize the appliance while keeping it believable.
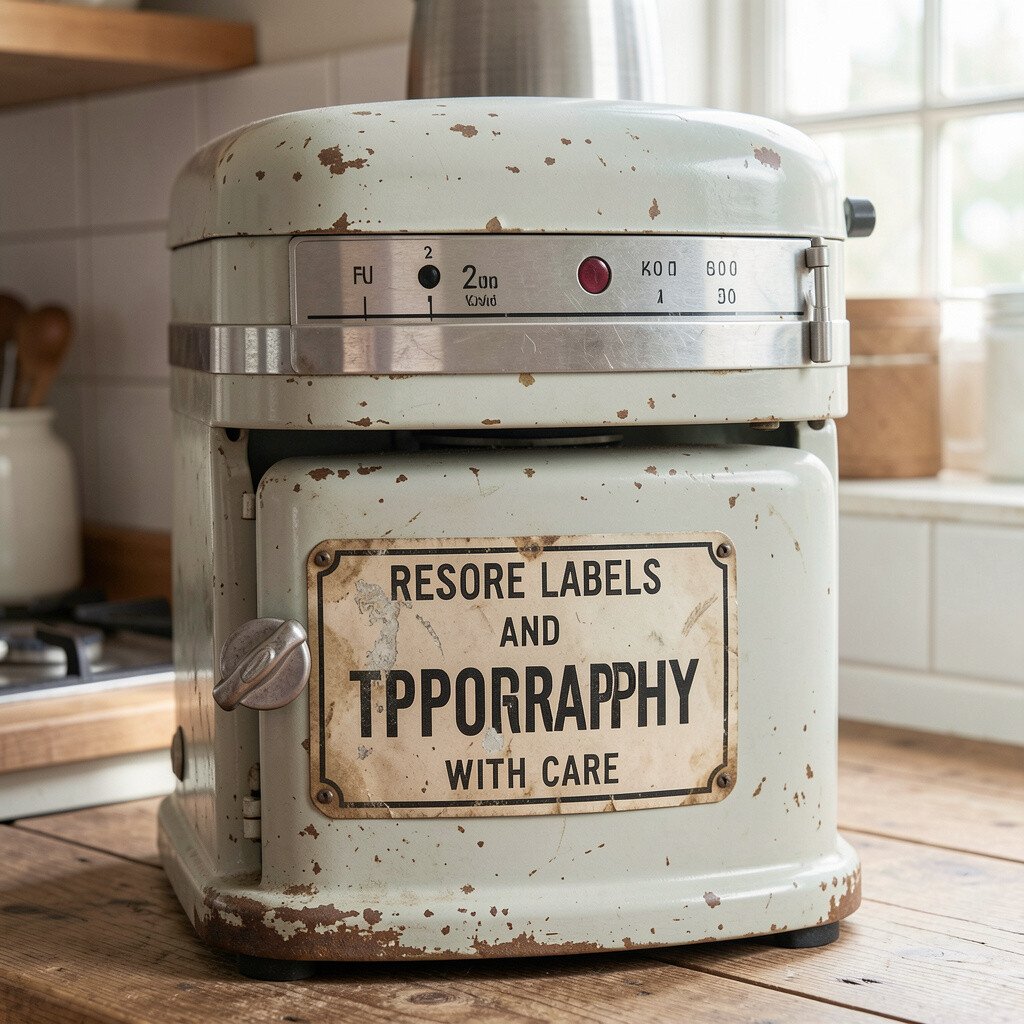
8. Restore Labels And Typography With Care
Restore Labels And Typography With Care
Old brand labels and printed markings are often what make a vintage appliance feel real. Clean around the text gently and avoid scrubbing that can lift ink or flake old decals.
If text is faded, consider recreating it with careful reproduction, such as vinyl decals made to fit the space. Make sure the color and font vibe match the era so it doesn’t look out of place. Keeping the typography crisp gives the whole appliance a “finished” look and helps it stand out on your countertop.
9. Replace Missing Knobs And Hardware Thoughtfully
Replace Missing Knobs And Hardware Thoughtfully
Knobs are small, but they set the mood, like the right shoes for an outfit. If a knob is cracked, loose, or missing, swap it for a compatible vintage-style part rather than forcing the wrong shape.
When you shop for replacements, check the stem size and mounting style so it fits smoothly. Matching the metal tone and color makes the appliance look coordinated instead of mismatched. This also makes daily cooking feel better because controls stay tight and easy to use.
If you can’t find an exact match, you can personalize by using a tasteful alternative that still fits the appliance era. Just keep the overall look consistent across handles, knobs, and trim.
10. Clean Or Rebuild Gaskets And Seals
Clean Or Rebuild Gaskets And Seals
Airflow and heat depend on seals, and even a tiny leak can hurt performance. Look for hardened rubber, cracked edges, or old grease that keeps parts from sealing.
You can sometimes clean seals carefully, but often replacement is the better long-term choice. Choose materials that handle heat and moisture, then install them without stretching. When seals fit properly, you’ll notice more even results during cooking and less odor buildup inside the unit.
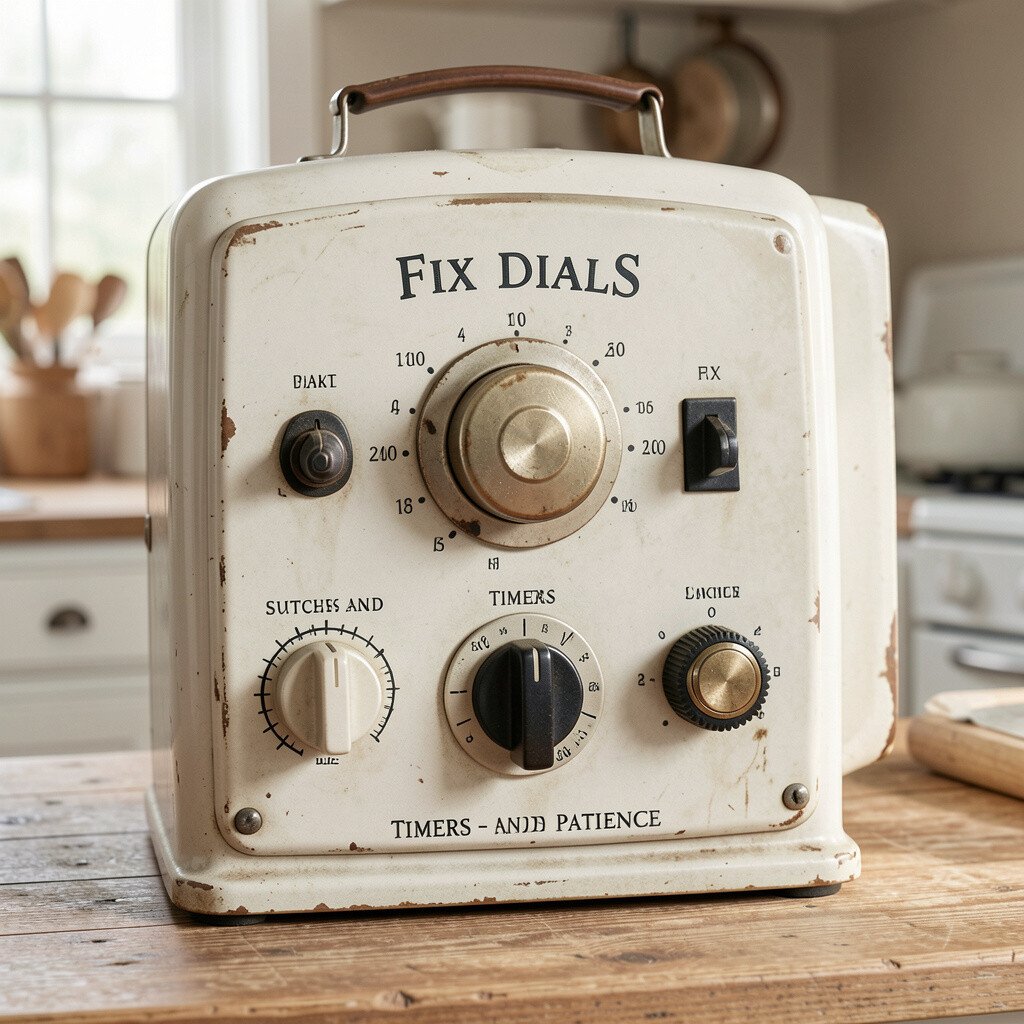
11. Fix Dials, Timers, And Switches With Patience
Fix Dials, Timers, And Switches With Patience
Sometimes a vintage appliance fails because a switch is sticky or a timer is misaligned. Test each function slowly, listening for smooth clicks and watching for consistent movement.
Clean contact areas with safe electrical cleaner and check for worn springs or bent linkages. If a part is damaged, repair or replace it with compatible components so the settings remain accurate. Patience here pays off because you’ll end up with controls that feel satisfying and dependable.
This step can also improve safety by restoring proper action on heating cycles. When the appliance responds correctly, it feels ready for real kitchen use rather than just display.
12. Polish Metal Parts For A Fresh Shine
Polish Metal Parts For A Fresh Shine
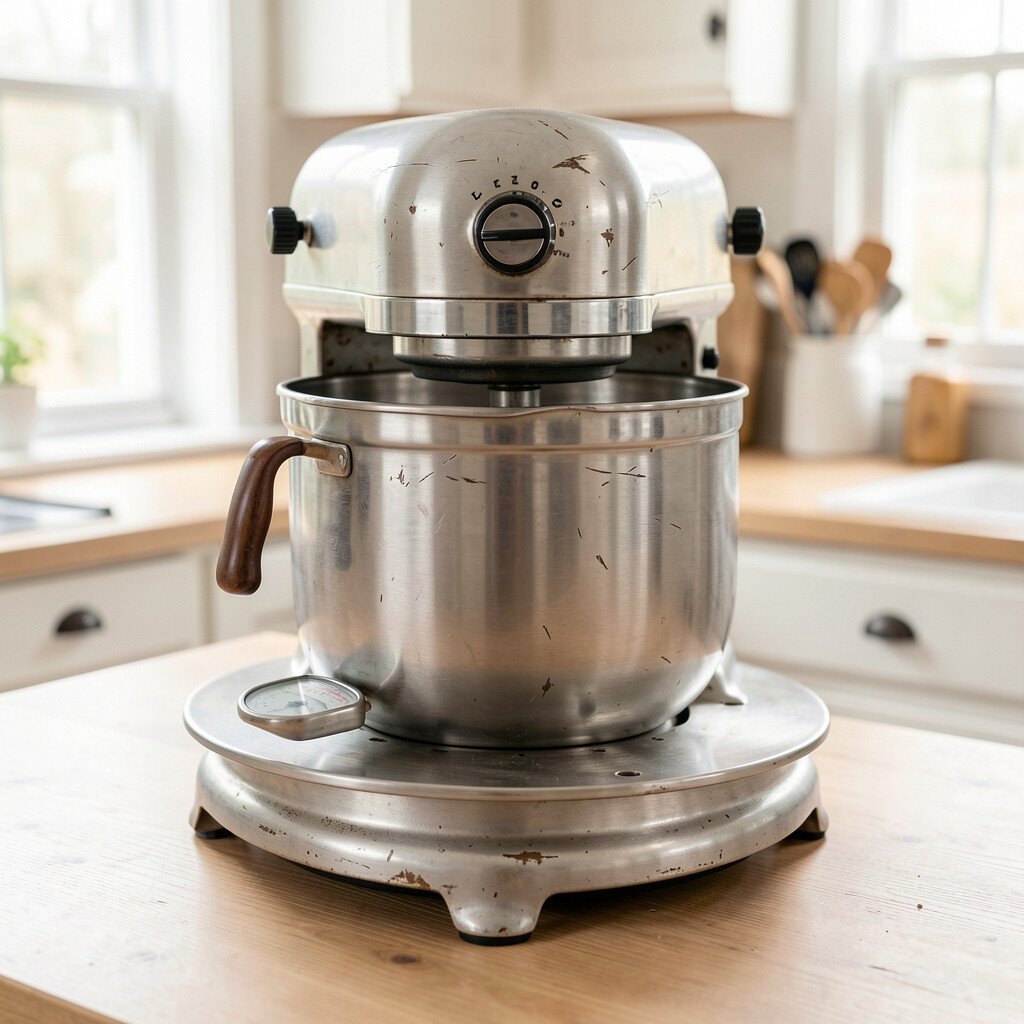
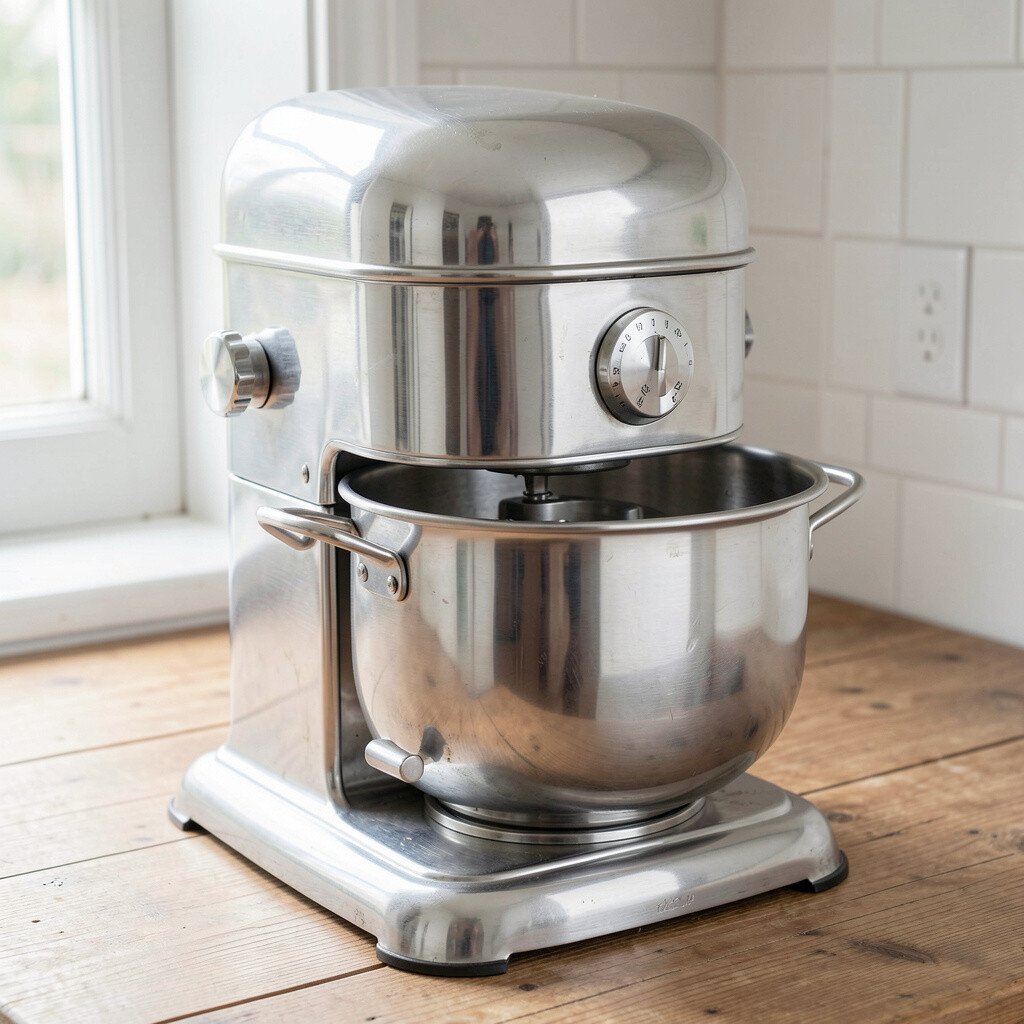
Chrome and stainless-like pieces can bounce light and make the entire appliance look cleaner. Use a microfiber cloth and metal polish gently, working in small sections.
Keep an eye on edges and corners, since polishing can round off details if you press too hard. If there’s heavy tarnish, step up gradually with finer abrasives rather than jumping straight to aggressive pads. A consistent shine gives your restoration that crisp, “wow” look without covering up the original design.
13. Use Primer And Paint Like A Pro, Not A Hobbyist
Use Primer And Paint Like A Pro, Not A Hobbyist
A smooth finish usually comes from good surface prep, not just the paint. Strip flaky layers, sand evenly, and remove dust before priming.
Apply primer in thin, even coats and let it cure fully so it grips well. Choose paint made for appliances or durable enamel, and spray with light passes rather than thick coverage. After curing, the coat should look even, resist fingerprints, and stand up to everyday kitchen cleaning.
14. Match Color Through Sample Testing
Match Color Through Sample Testing
Vintage colors can be tricky because sun fade and aging change what you see. Instead of guessing, test your paint or clear coat in an area that isn’t obvious.
Compare the sample under the lighting in your kitchen, since warm bulbs can shift how color looks. If you’re restoring a countertop showpiece, this step matters even more because the finish will be seen up close. Matching color well makes the appliance feel authentic and gives you pride every time you cook.
You can also customize subtly by choosing a modern clear coat for durability while keeping the vintage tone. That combination often looks both nostalgic and practical.
15. Upgrade Lighting Or Display Panels Carefully
Upgrade Lighting Or Display Panels Carefully
Many vintage appliances have indicator lights that dim over time. Replacing bulbs with the correct style can refresh the look without changing the appliance’s personality.
Check lamp holders and wiring before installing anything new, and keep the wiring neat so it doesn’t rub. If the appliance has a window or display area, clean it until the glass looks clear and streak-free. This upgrade helps day-to-day use feel smoother and makes the appliance look more “active” when it’s running.
16. Prevent Future Damage With Protective Clear Coats
Prevent Future Damage With Protective Clear Coats
After painting or refinishing, protection helps your work last through busy weeks. A clear coat can reduce scuffs, fingerprints, and moisture stains, especially on frequently touched areas.
Choose a finish that fits the surface and the level of heat exposure the appliance experiences. Apply it in controlled layers and let each coat dry fully so you get an even sheen. When you protect your restoration, you also protect your effort and keep the appliance looking special for years.
17. Restore Cords, Plugs, And Safety Components
Restore Cords, Plugs, And Safety Components
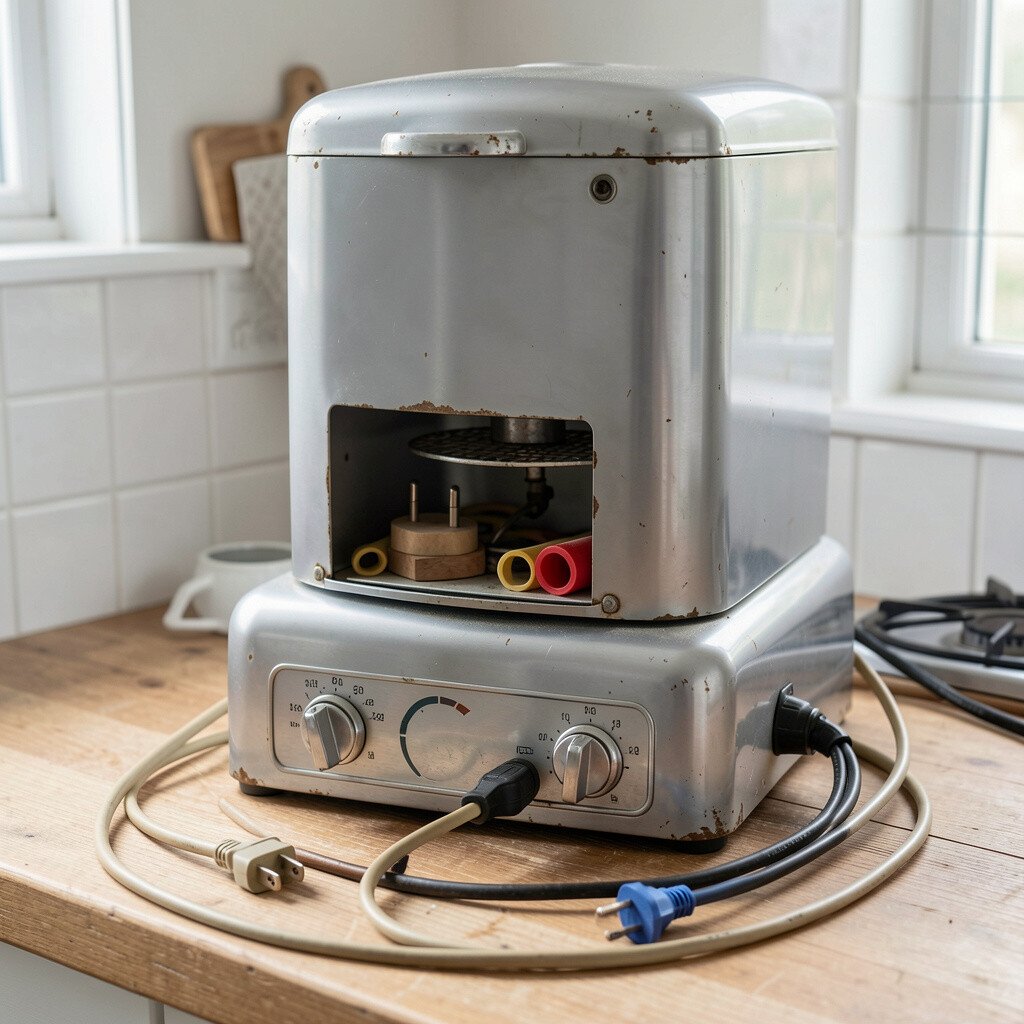
Safety is part of the restoration, and it’s worth taking seriously. If the cord is brittle or the plug feels loose, replace it with a properly rated cord and plug for the appliance type.
Check strain relief and routing so the cord doesn’t pull when you move the appliance. Use proper connections and insulation so you don’t end up with buzzing or intermittent power. A safe cord and plug let you use the appliance with confidence, which is the best kind of upgrade.
This also helps your restoration feel current because modern safety expectations matter, even when you love old design.
18. Style The Appliance Like A Centerpiece In Your Kitchen
Style The Appliance Like A Centerpiece In Your Kitchen
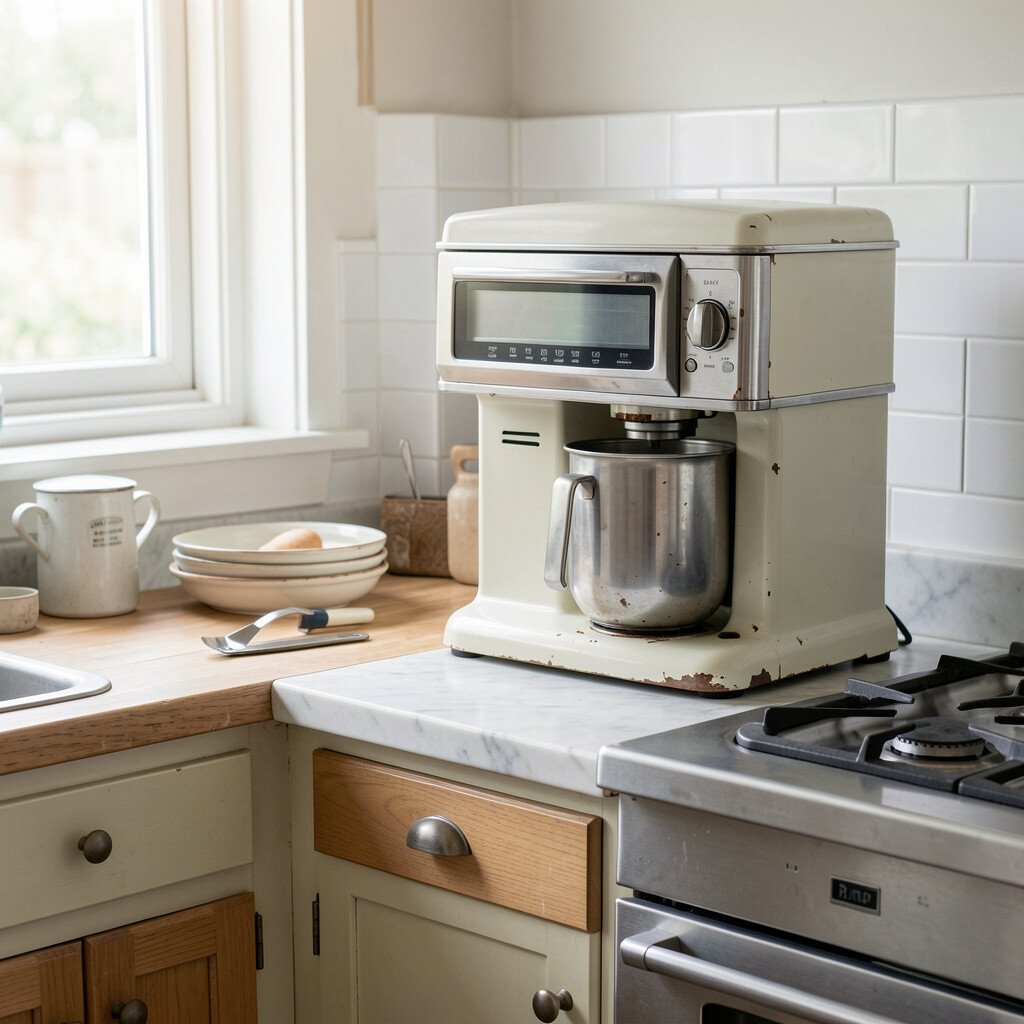
Once the appliance looks great, it should belong in your space, not just sit in the corner. Place it where light catches the restored surfaces and where you’ll actually use it.
Match nearby items, like adding a vintage-inspired dish rack or coordinating utensil holder, so the whole scene feels intentional. Use a tray or mat to protect your countertop and to keep the look tidy. This kind of styling adds uniqueness and helps your restoration feel like home.
19. Keep A Maintenance Routine For Long-Term Beauty
Keep A Maintenance Routine For Long-Term Beauty
Restoration isn’t a one-day job, and regular care keeps the finish strong. Wipe surfaces gently after use, remove spills quickly, and avoid harsh cleaners that can dull coatings.
Create a simple routine for inspections, like checking knobs, cleaning vents, and confirming the appliance runs smoothly. If you maintain it like a favorite tool, it stays dependable and keeps looking fresh. This also keeps future fixes cheaper because small problems are easier to handle early.
As kitchen trends shift toward authentic, lived-in design, a well-maintained vintage appliance feels perfectly on trend. The best part is that it becomes your trusted companion, not just a project you once finished.