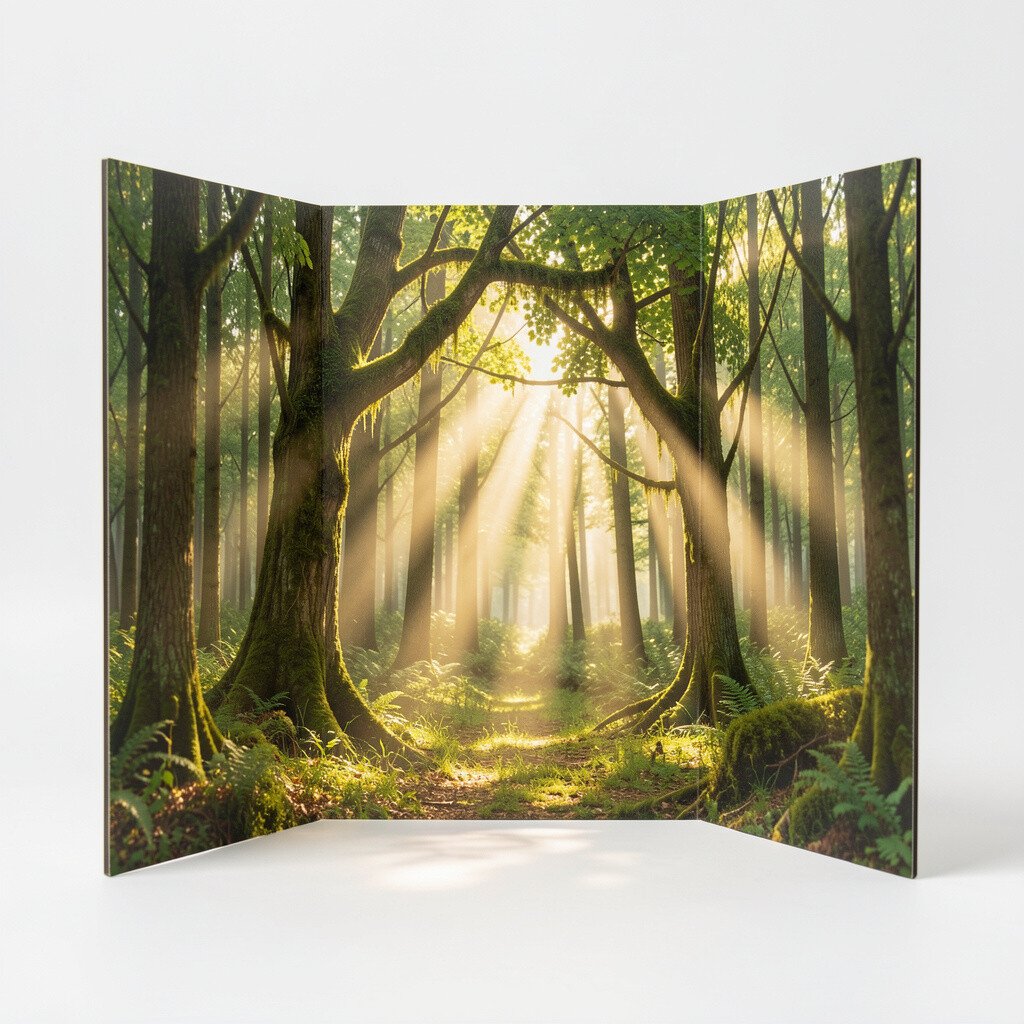
Paint a forest floor in deep greens and warm browns, then add a canopy overhead that feels like it’s glowing. Use tissue paper or thin craft foam to build layered leaves, letting the folds mimic distance.
Stagger small branches across the panels so the viewer’s eye travels from the near edge to the darker background. This scene looks great because it uses natural shapes and gives your trifold a sense of depth without complicated techniques.
Try adding a soft sunbeam effect by sweeping yellow-orange paint on a diagonal strip, then blending outward with a dry brush. If you want it to last, seal the layers with a light coat of matte spray and keep heavier elements glued only at the edges.
2. Coastal Tide Landing With Shell Highlights
Coastal Tide Landing With Shell Highlights
Draw a shoreline curve that crosses all three panels like a single wave that never breaks. Add foam “ocean” ripples using blue acrylic, then sprinkle fine sand texture near the base for realism.
Shells, buttons, or small beads can become highlights along the tideline, catching light as the display is tilted. A trifold layout is perfect here because each panel can show a different moment in the tide.
For personalization, write a tiny name for your coastline in the bottom corner using a steady hand or a fine marker. To keep costs low, use leftover scrapbook paper for sky and sea tones, and save real shells only for accent pieces.
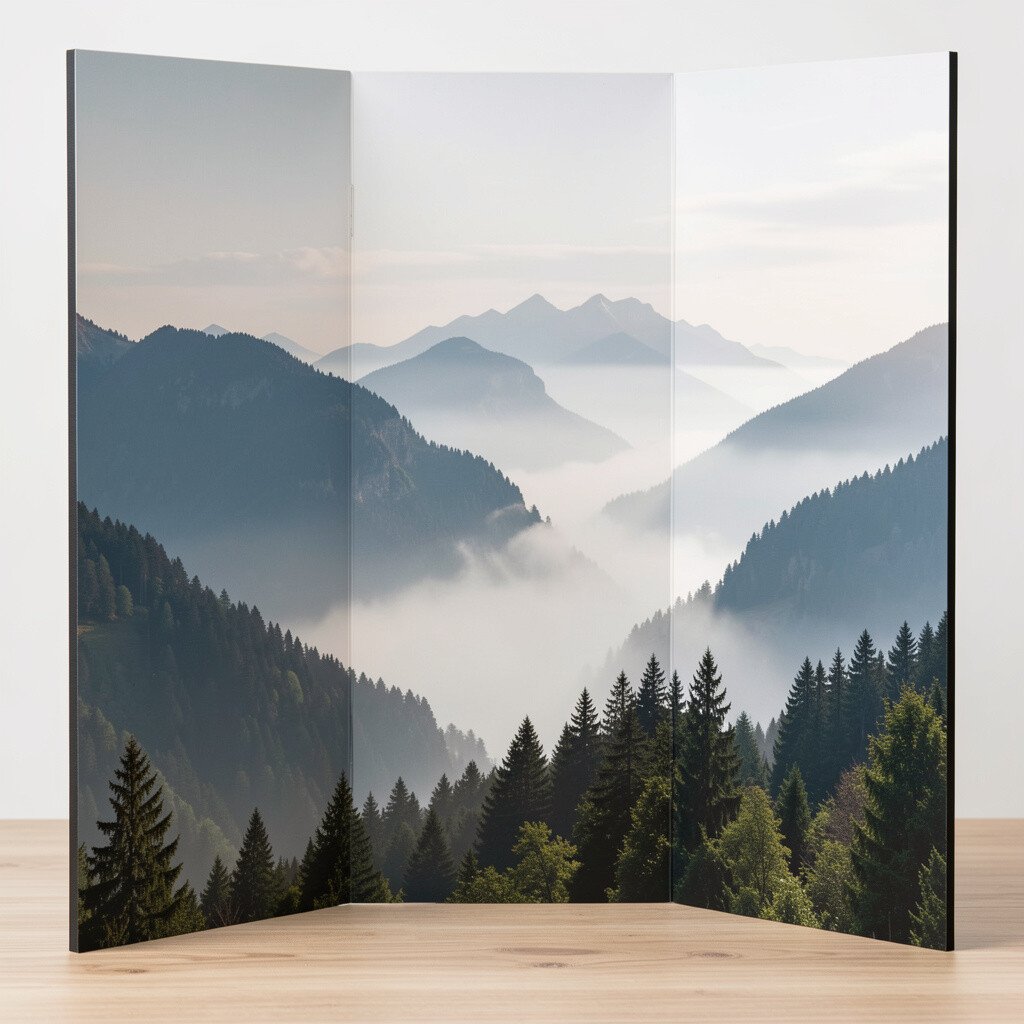
3. Mountain Ridge Mist With Layered Peaks
Mountain Ridge Mist With Layered Peaks
Stack paper strips or felt shapes to form mountain ridges that fade into mist as they recede. Start with dark, bold peaks in front, then use lighter gray and pale blue for the back layers.
After you glue each layer, gently rub pastel chalk over the edges to create a smoky transition. The benefit is that misty gradients hide small glue lines and make the scene feel cinematic.
Try cutting snow caps from white paper and trimming them with a soft curve so they look like they’re catching light. If you’re working on a budget, raid your craft drawer for scrap cardstock, and reserve new purchases for the sky color you love most.
For a current look, many people are using simple geometric layer stacks rather than detailed painting, and it photographs beautifully. Consider a minimal title label on the back panel so the front panels stay clean and modern.
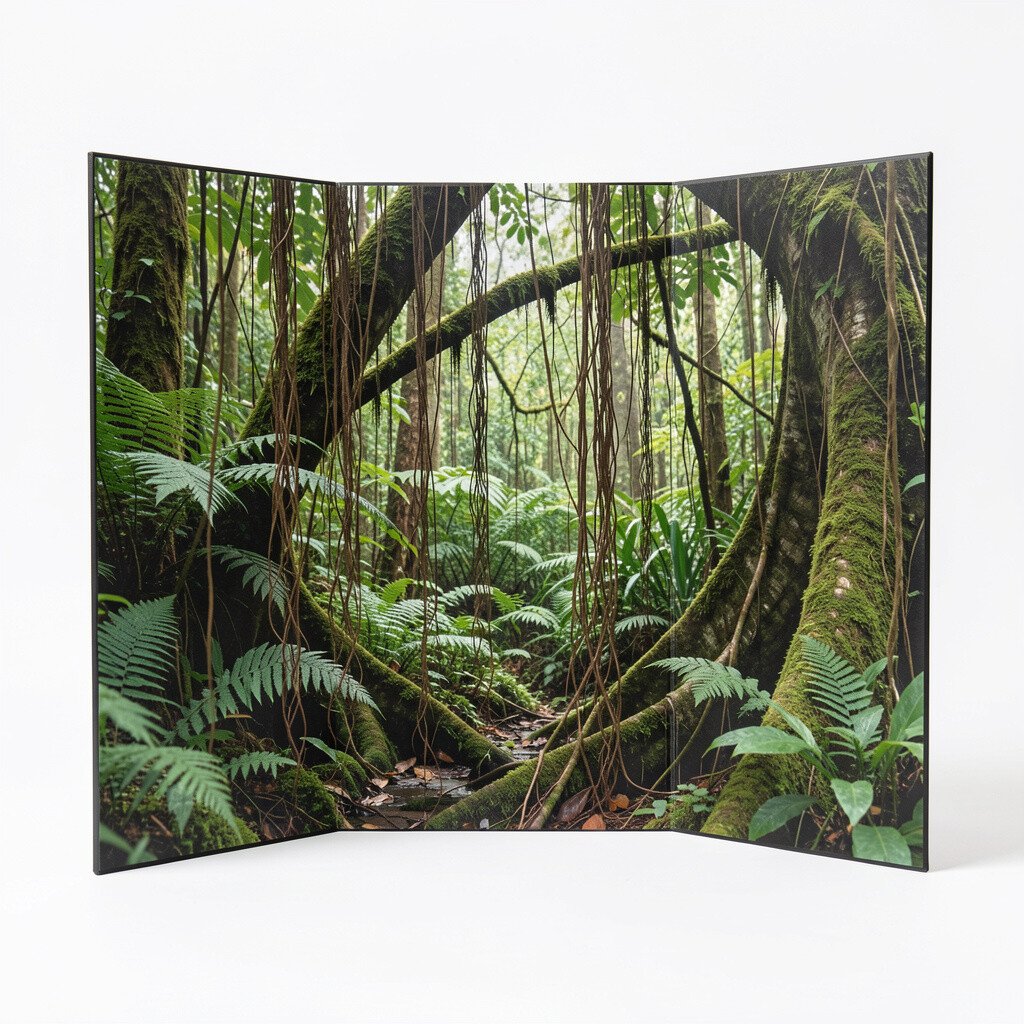
4. Rainforest Understory With Hanging Vines
Rainforest Understory With Hanging Vines
Use broad strokes of green to paint the background, then add darker understory patches where leaves crowd together. Tear or cut leaf shapes from green paper and place them in clusters that overlap the folds.
To bring it to life, attach yarn or crepe paper strips like hanging vines that drape over the seams. This makes your trifold feel interactive and gives viewers something to notice from different angles.
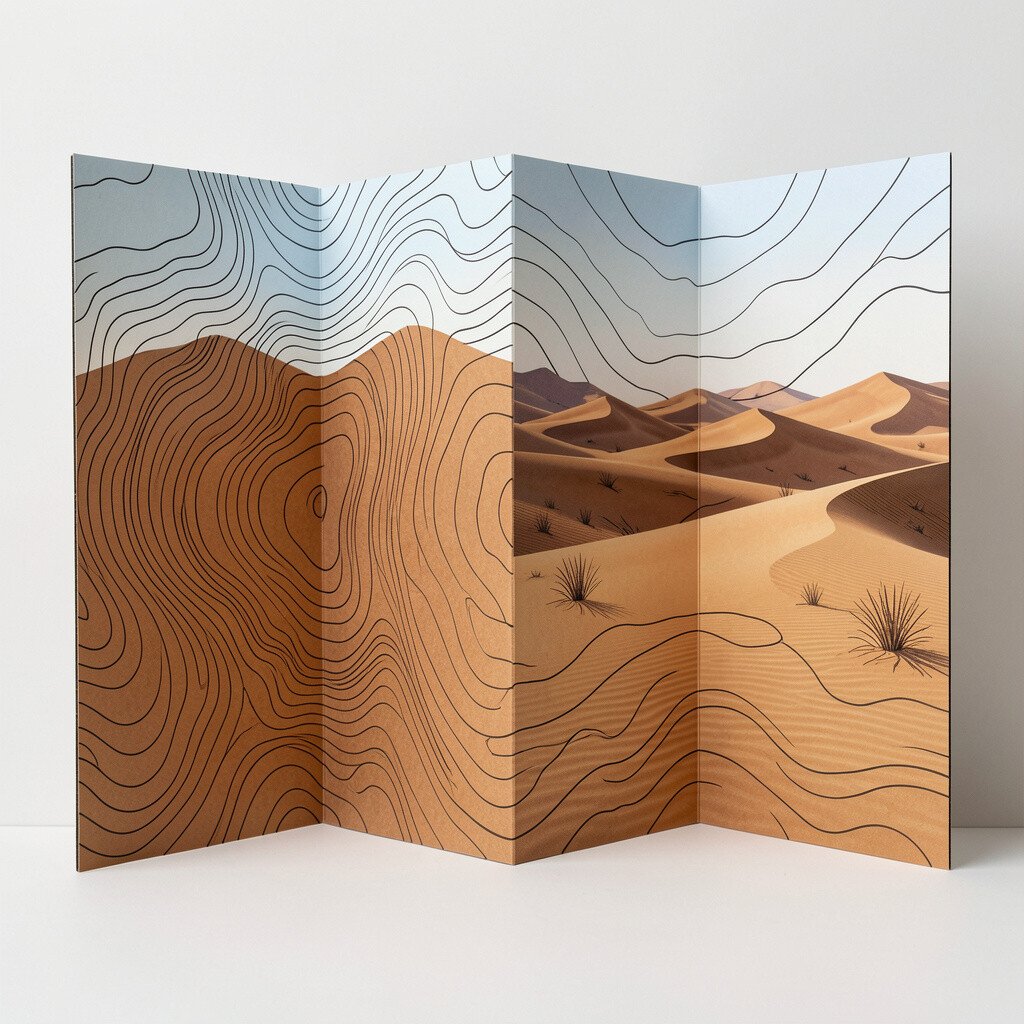
Brush sand-colored paint across the panels, then shape dune curves that rise higher on the outer panels. Add “geology” by drawing thin lines in muted browns and rusts along the slopes.
Use a dry brush technique so the lines look worn by wind instead of printed on flat. The uniqueness comes from mixing bold dune curves with delicate striations, which gives a calm but detailed vibe.
Personalize your display by adding small footprints made from ink stamps or a simple marker outline pattern. If you want to keep costs down, printable texture paper for sand can replace some painting, and it still looks natural.
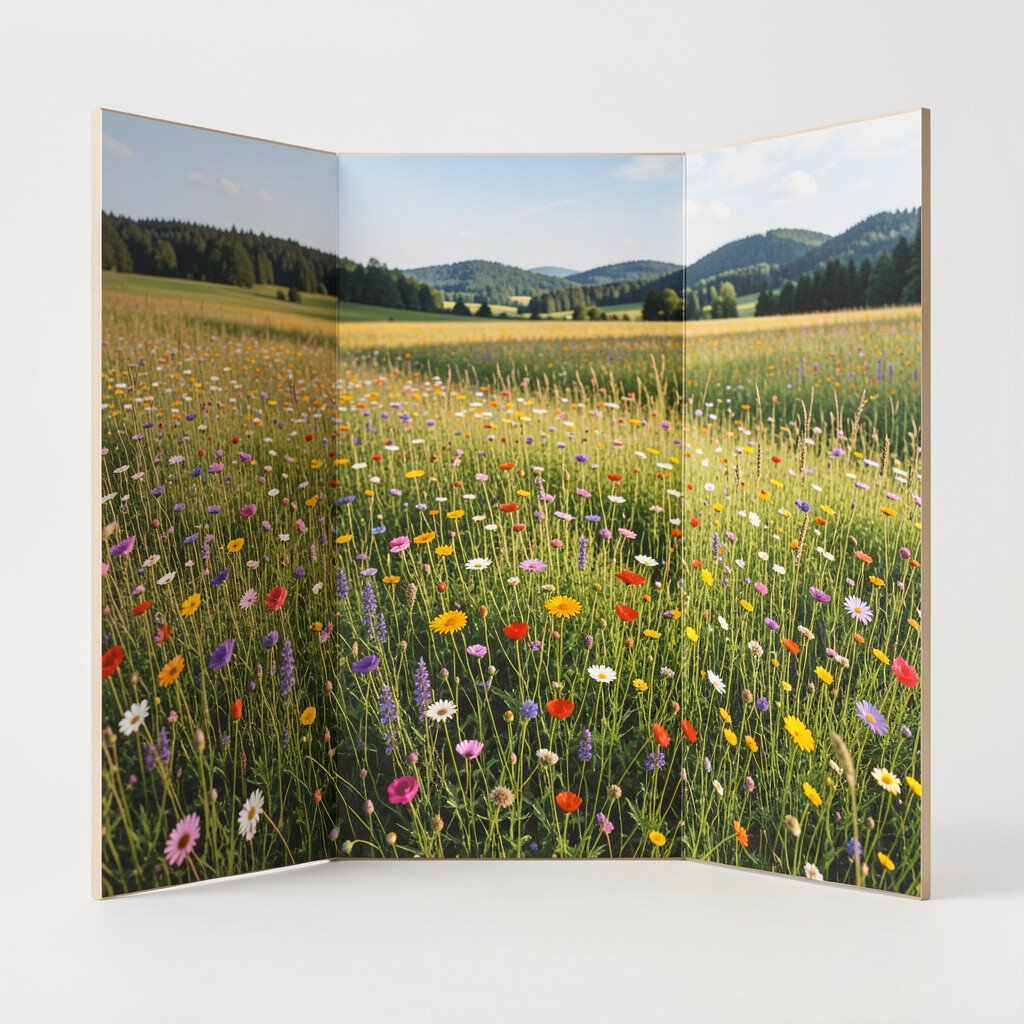
6. Wildflower Meadow With Color Blocking
Wildflower Meadow With Color Blocking
Create a bright meadow using color-blocking rectangles of soft greens and yellow grasses. Then add flower clusters made from layered tissue paper circles or small paper punches.
Let different flower colors repeat across panels so the eye follows a playful rhythm. This design is friendly and cheerful, and it also helps you use up scraps rather than buying new sheets.
For practical structure, glue taller stems on the outer folds and shorter blooms near the center to prevent the display from looking lopsided when opened. Keep small pieces secure with a thin layer of glue so they don’t pop off later.
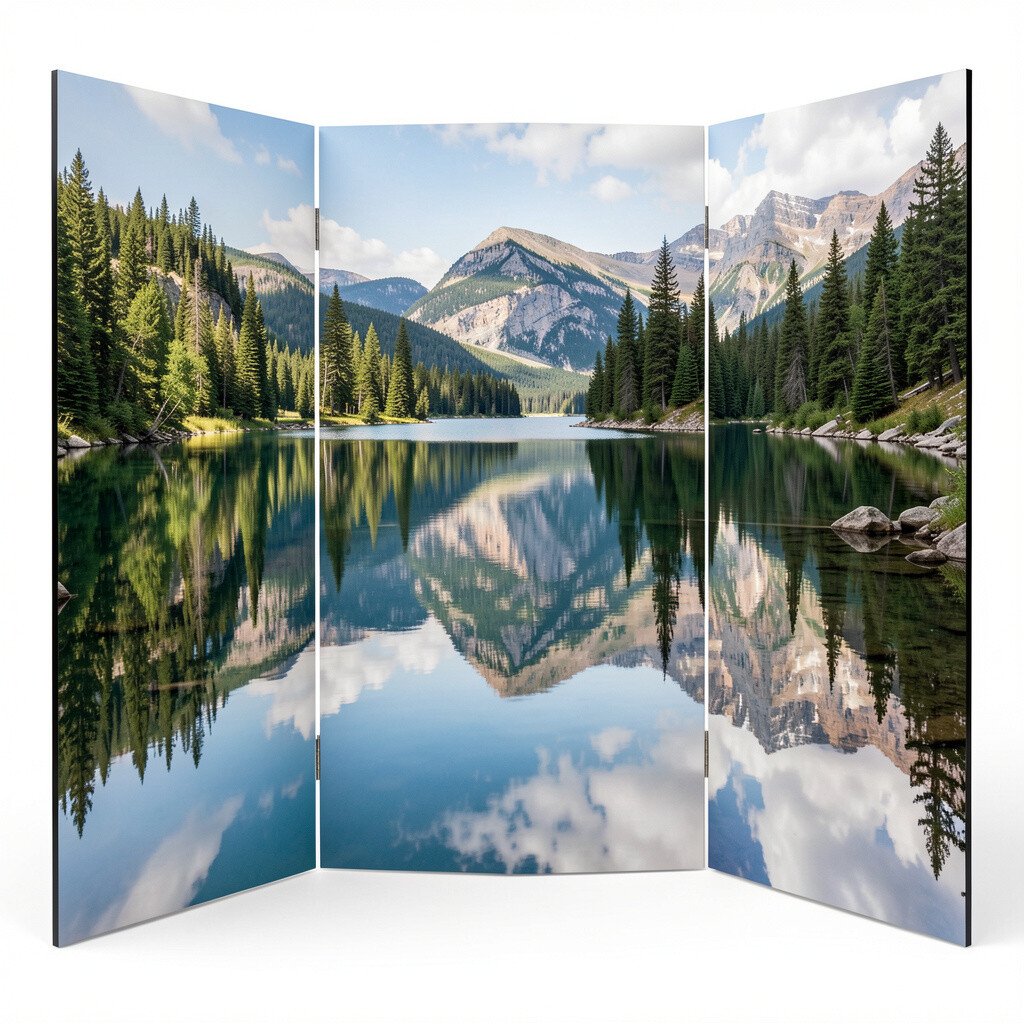
7. Lake Reflections With Mirror-Like Water
Lake Reflections With Mirror-Like Water
Paint the lake base in cool blue-green and then add reflection shapes that mirror trees or reeds above the waterline. You can use glossy gel medium or thin clear plastic film brushed with watery blue to mimic shine.
The benefit of a reflective surface is that it boosts contrast, making your scene feel richer even with simple shapes. When light hits it, the trifold looks more detailed than it actually is.
Personalize the reflection with a small boat silhouette cut from dark cardstock. If you’re mindful about cost, clear packaging film often works as a water layer, especially for a subtle shimmer.
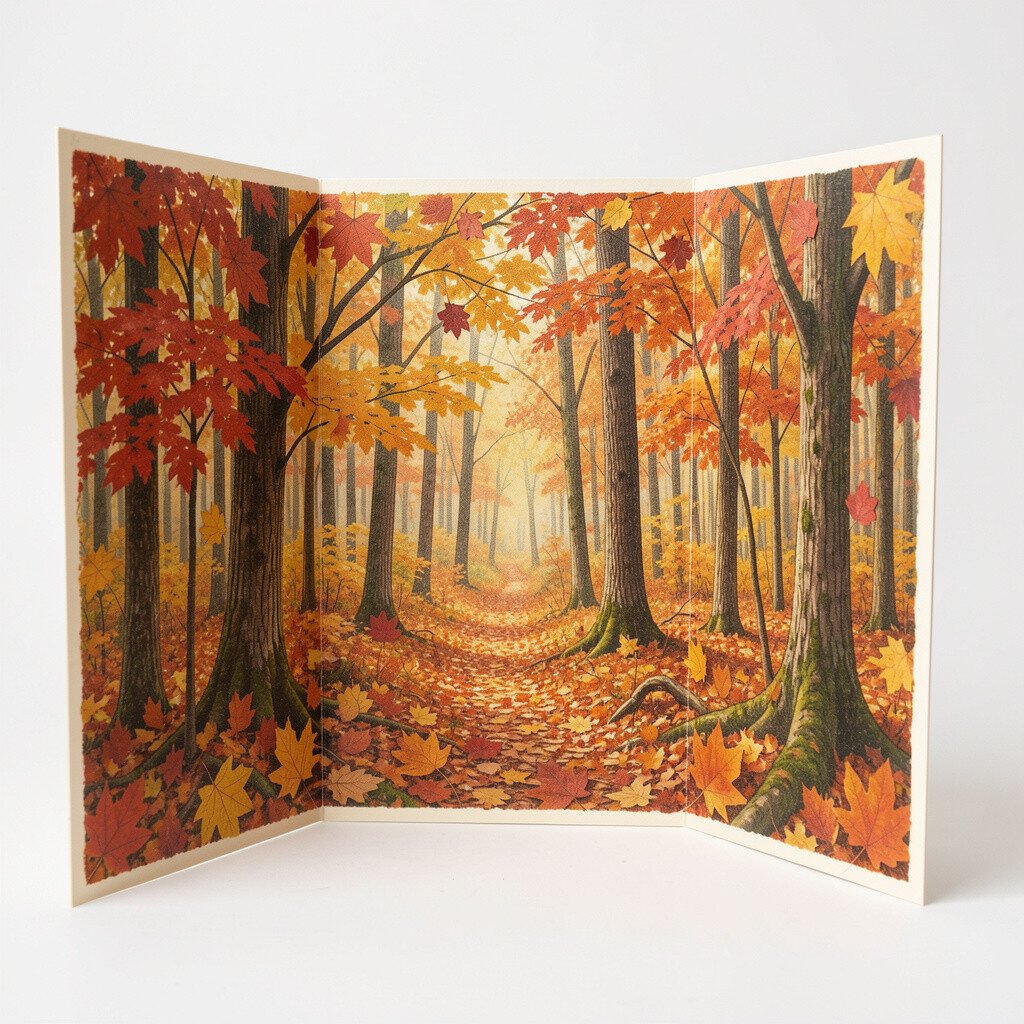
8. Autumn Forest With Leaf Texture Rubbing
Autumn Forest With Leaf Texture Rubbing
Paint a warm gradient background from golden yellow to deep orange, then layer fallen leaf shapes across the bottom. For texture, place real leaves under paper and rub with colored chalk or crayon so the patterns appear naturally.
This technique is unique because it makes every leaf slightly different, which feels more real than identical cutouts. It also saves time since the texture does the work for you.
Add a small “path” strip through the center panel by blending browns and tan paint, then outline it with a darker marker for depth. To protect your rubbed leaves, lightly seal from a distance with matte spray, and let it dry fully before handling.
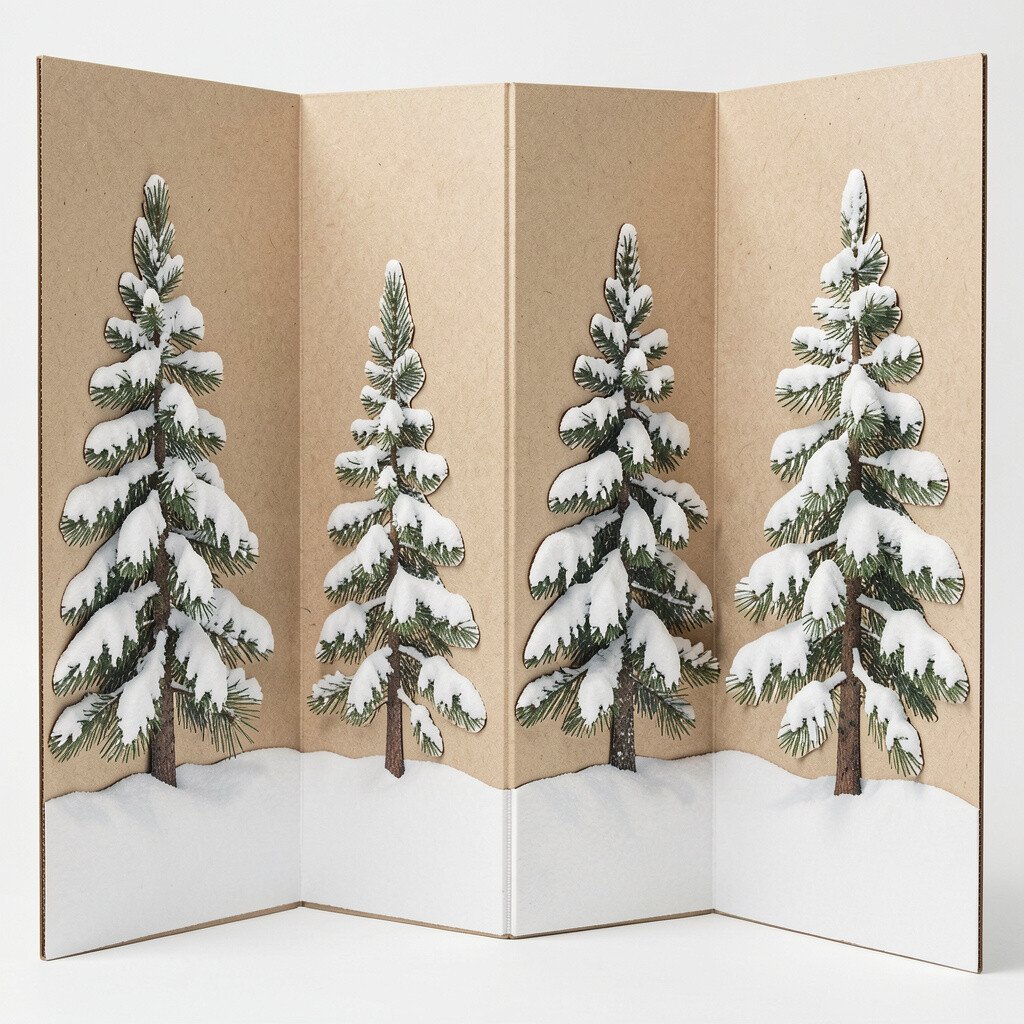
9. Winter Pine Trees With Snowy Cutouts
Winter Pine Trees With Snowy Cutouts
Cut simple pine tree silhouettes from dark paper and glue them in layers so some trees overlap others. Cover edges with cotton batting or white pom-pom bits to create soft snow clouds.
Choose one snow style for consistency, such as fluffy cotton texture, crisp white paper flakes, or both in small amounts. This keeps the scene cohesive and makes the trifold feel tidy.
Personalize with a small signpost on the center panel, like “Cabin Trail,” using a neat handwritten font. If budget matters, cotton balls and recycled cardboard can make convincing snow without extra purchases.
For a trend-worthy look, many displays now favor bold silhouettes with minimal detail, which makes photos look clean and modern. Keep your color palette limited to two or three winter shades for a designer feel.
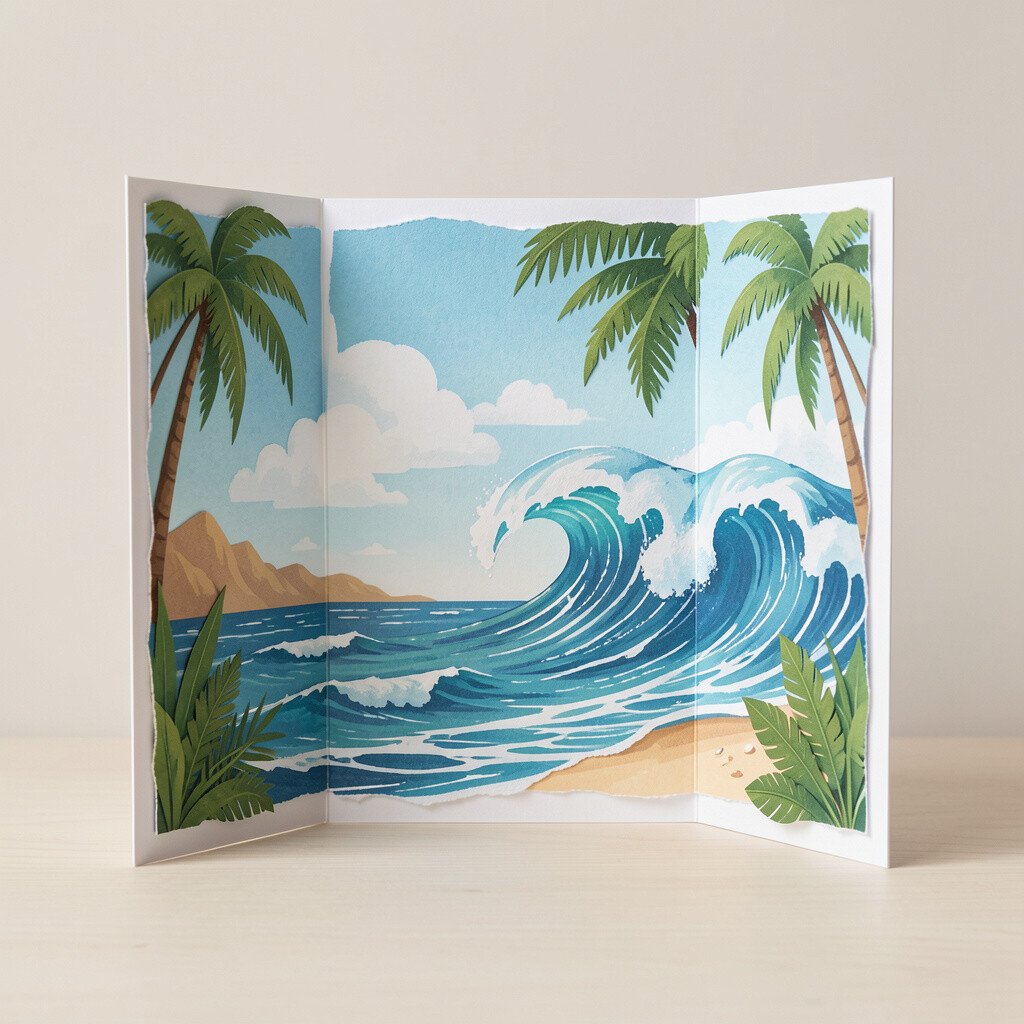
10. Tropical Waves With Torn-Paper Foam
Tropical Waves With Torn-Paper Foam
Paint the ocean background in layered blues, then tear white paper strips and dab them into place for foam. The torn edges look naturally messy, which is exactly what ocean waves do.
Place the tallest foam on the outer panels and taper toward the center to create a strong sense of motion. This is a practical way to guide viewers through the folds without needing fancy tools.
Personalize by adding a tiny palm shadow cast onto wet sand using dark green or charcoal. For cost control, use old magazines or scrap paper for foam and save purchases for your best blue paints.
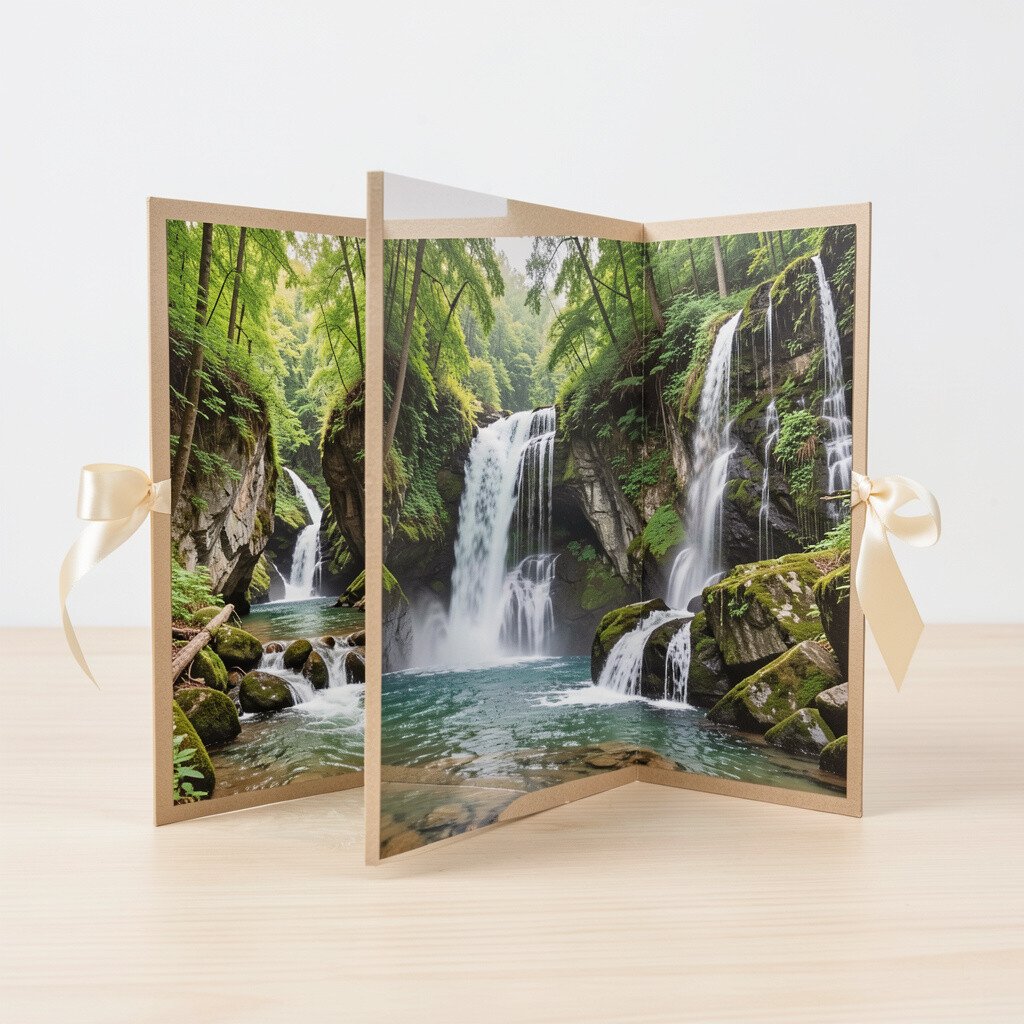
11. Waterfall Canyon With Ribbon “Spray”
Waterfall Canyon With Ribbon “Spray”
Sketch a tall cliff shape across the panels, then add a waterfall that drops from the top into a bright pool at the bottom. Use a light blue base and layer thin strips of white paper to suggest flowing water.
To make spray, cut small ribbon pieces or use organza strips, then pinch them so they fan outward near the waterfall. The benefit is that it adds movement while staying lightweight on the board.
Personalize with tiny “rocks” using gray beads or crumpled foil dots, but keep them mostly on the lower section so the waterfall stays the star. If you want durability, fasten ribbon ends firmly where they attach and avoid overloading the center seam.
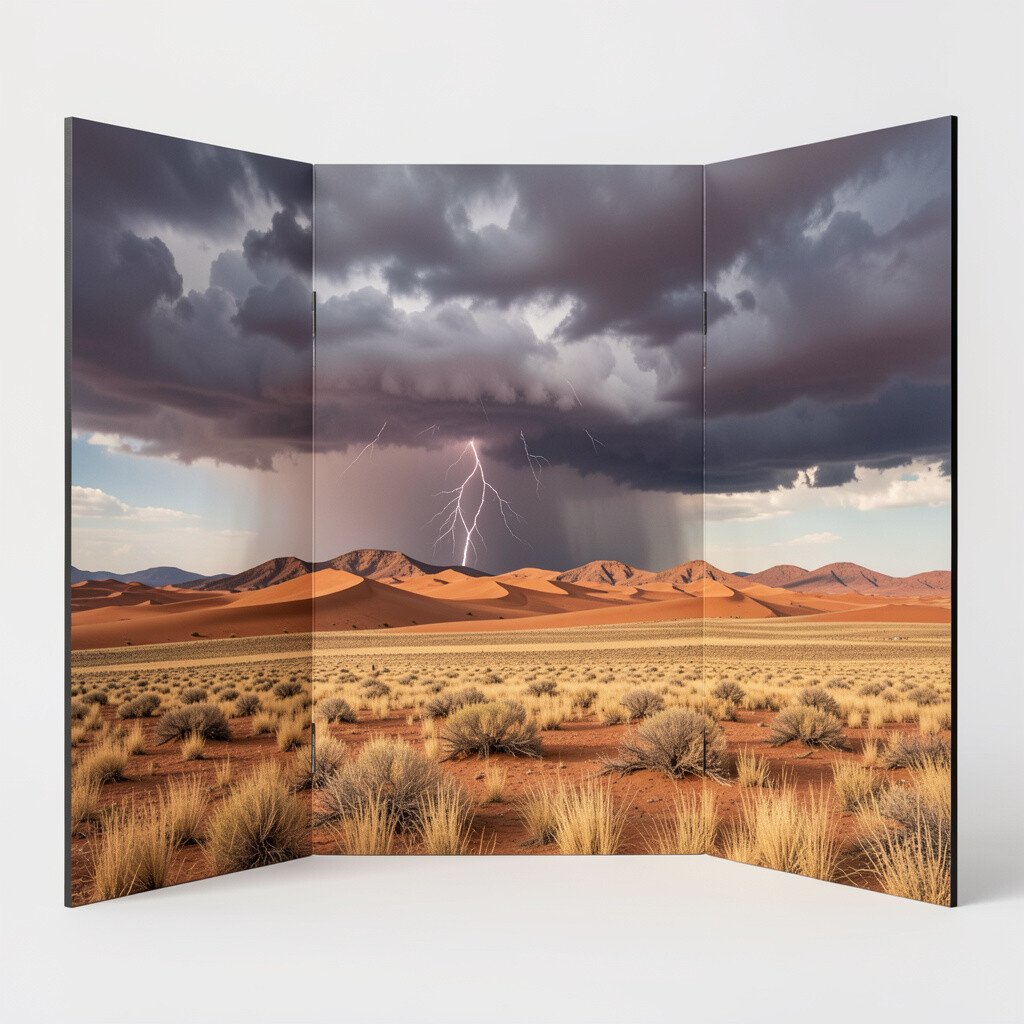
12. Desert Raincloud With Steppe Color Drama
Desert Raincloud With Steppe Color Drama
Set your scene with a dramatic sky that shifts from peach to deep purple across the three panels. Add a raincloud using torn paper layers and soft blending so it looks like dust and rain mixing together.
Instead of detailed raindrops, use thin lines cut from translucent vellum or clear plastic to create a gentle rainfall effect. This helps your trifold look airy and not heavy.
For personalization, create a small “storm map” style label in the corner, like “South Wind,” to tell a story without clutter. When planning costs, vellum from gift bags can be repurposed, and paint can be done with inexpensive craft supplies.
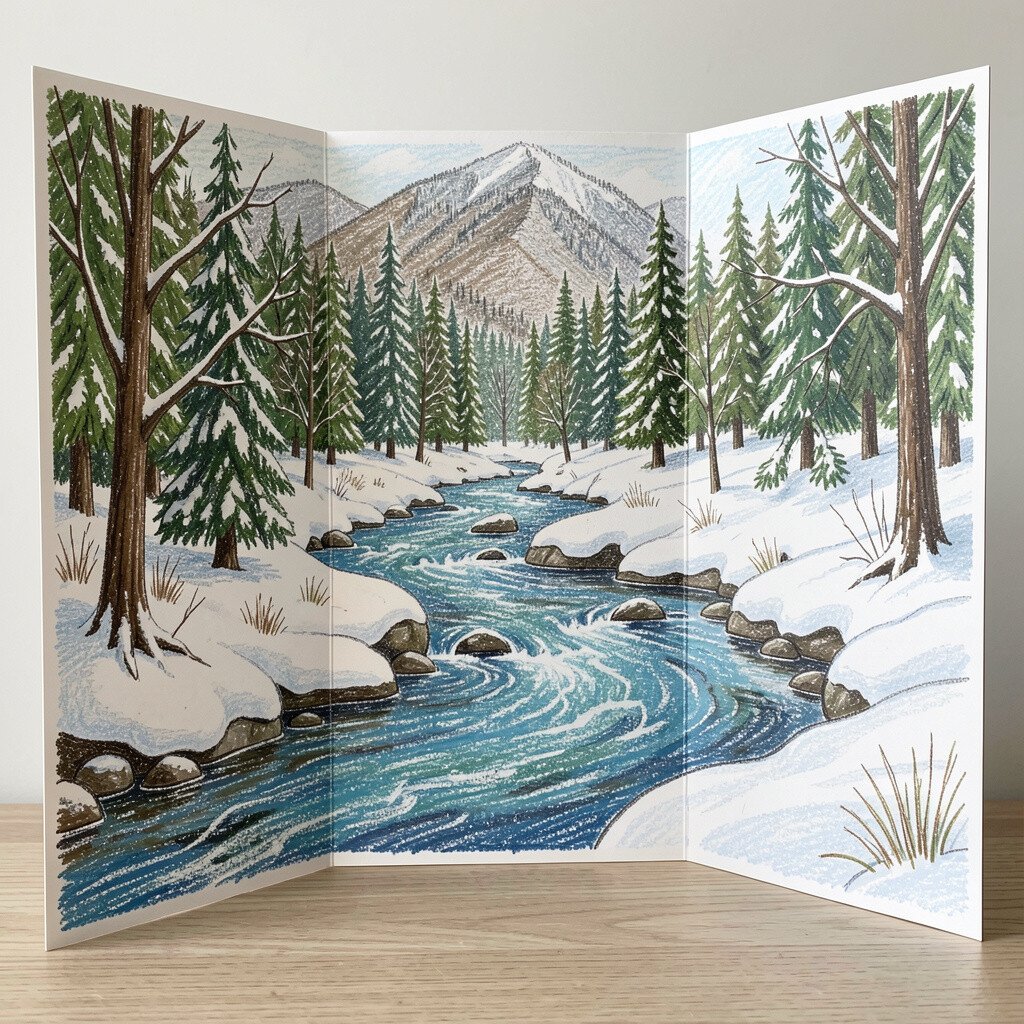
13. Snowy River With Crayon Resist Highlights
Snowy River With Crayon Resist Highlights
Draw the river path using a light crayon or white wax, then paint over it with cool blue watercolor or acrylic. The resist lines will appear like bright ice edges, which instantly adds realism.
Frame the river with pine cutouts and sprinkle tiny dots of white for falling snow. This method is unique because it blends art tricks with simple assembly, giving a polished finish.
Personalize by adding a small bridge silhouette on one panel using black paper and a couple of dots for lantern lights. For cost considerations, crayon resist uses items you likely already own, and it reduces the need for specialty materials.
To keep everything safe for display, press down paper firmly at the seams and let paint fully cure so textures don’t smear.
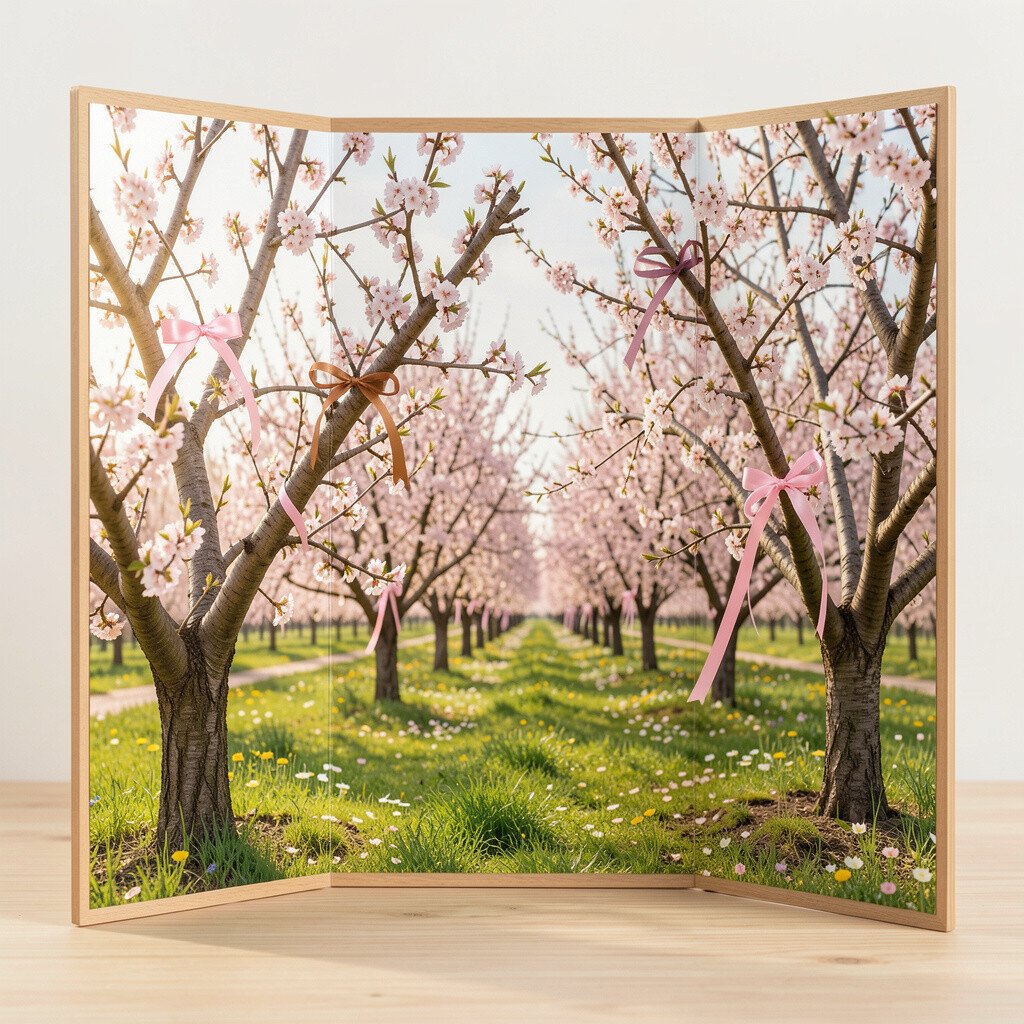
14. Spring Orchard With Blossoms and Bows
Spring Orchard With Blossoms and Bows
Paint light green branches and then add blossoms using cotton pads pulled apart into petals or small paper circles with folded edges. Arrange blooms so they sit lightly over the fold lines, creating a soft layered feel.
Use small pink or white accents in repeating patterns to keep the scene joyful. This gives strong visual rhythm and makes it easier to finish quickly without running out of ideas.
Personalize by tying a tiny bow at the side and attaching it to a branch as a “display charm,” especially for seasonal events. If you want to stay budget-friendly, old ribbon scraps can add polish without buying new decorations.
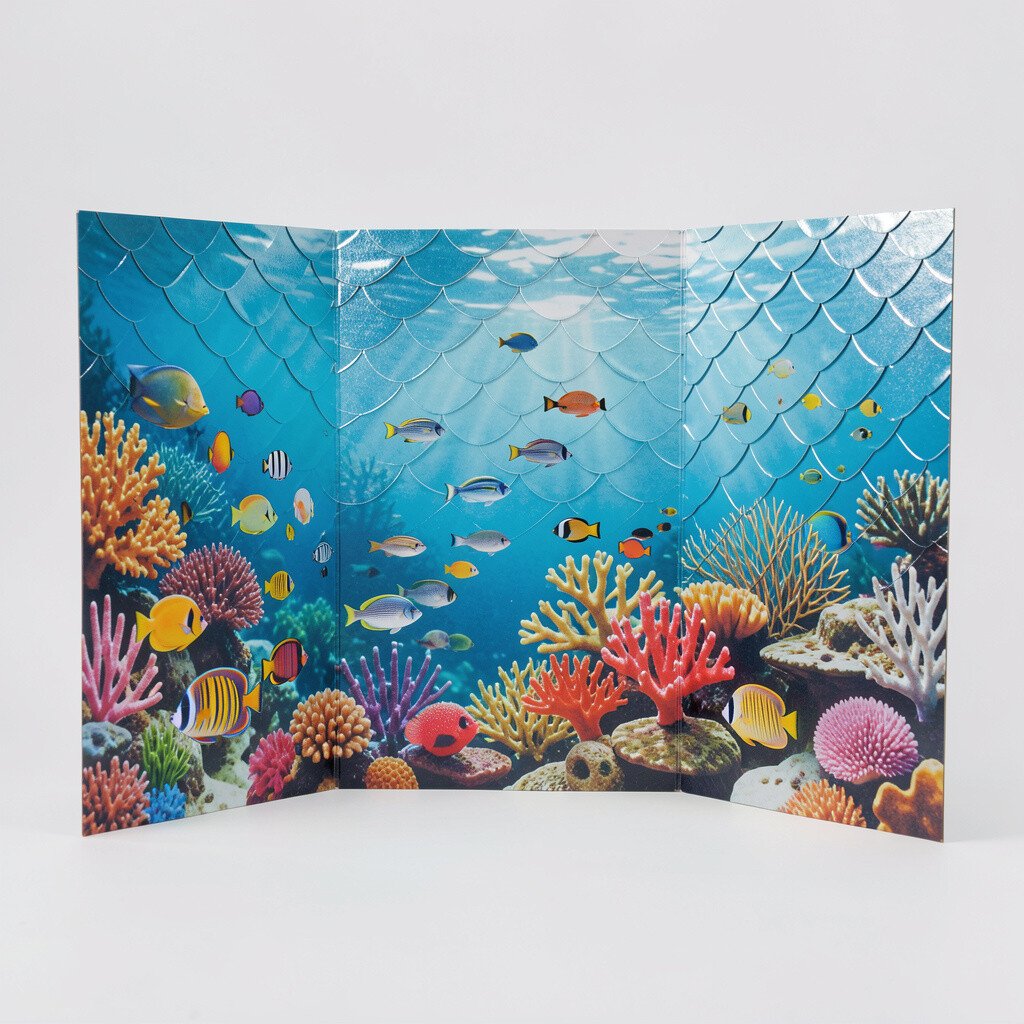
15. Coral Reef With Foil “Fish Scales”
Coral Reef With Foil “Fish Scales”
Set the background with gradient blues, then place coral shapes made from textured paper or foam in warm pinks and oranges. For fish details, cut small fish shapes and add foil pieces to suggest scales.
The benefit is that foil catches light and makes the reef look vibrant even in indoor lighting. A trifold also helps you vary depth, with simpler corals in the back and brighter ones up front.
Personalize by adding tiny sea creatures like paper starfish, which you can shape from cardstock scraps. For cost control, use recyclable food wrappers or craft foil only for small accents rather than covering everything.
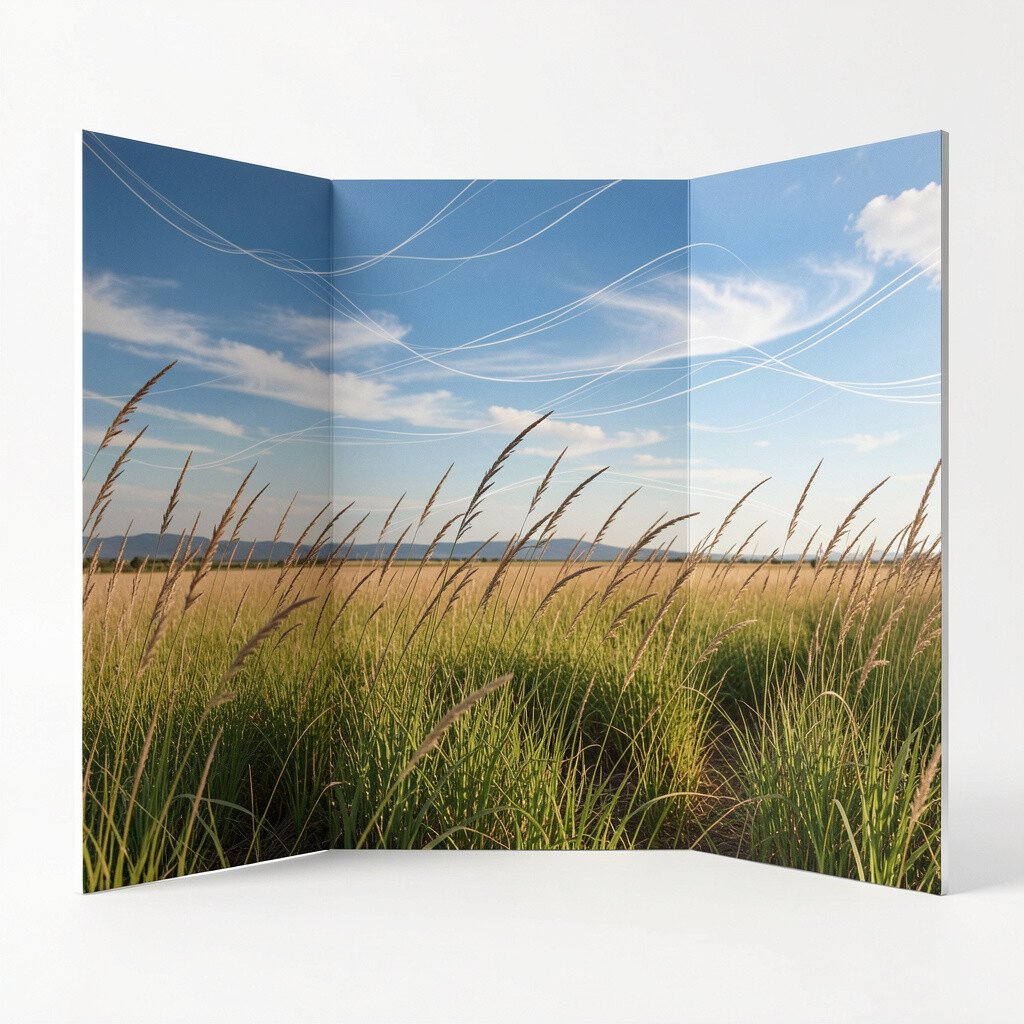
16. Prairie Sky With Windgrass Lines
Prairie Sky With Windgrass Lines
Paint a wide sky using blended blues, then add a soft horizon across the three panels. For windgrass, draw thin lines with green and yellow markers, varying thickness to show movement.
This design feels soothing and modern because it relies on line work instead of heavy textures. It’s also practical since it uses simple supplies and still looks expressive.
Personalize by adding a small sun motif or a tiny bird cutout at the top corner of one panel. If you want a trend vibe, keep the colors muted and focus on clean lines, which are popular for minimalist nature art.
When mounting, avoid making lines too close to the fold so the board doesn’t smear as it opens and closes.
17. Mangrove Roots With Curved Branch Patterns
Mangrove Roots With Curved Branch Patterns
Paint a dark teal water base and then add mangrove roots using brown paper strips curled slightly with a pencil. Glue roots so they hang into the “water,” creating an intricate frame that spans all three panels.
To make it look more real, layer thinner root strips over thicker ones and add small leaf shapes at the top. The benefit is that the roots create visual texture without needing fine painting skills.
Personalize with tiny “dragonfly” silhouettes cut from black paper near the center panel. For cost considerations, craft scissors and scrap cardstock are enough, and you can reuse old greeting cards for leaf accents.
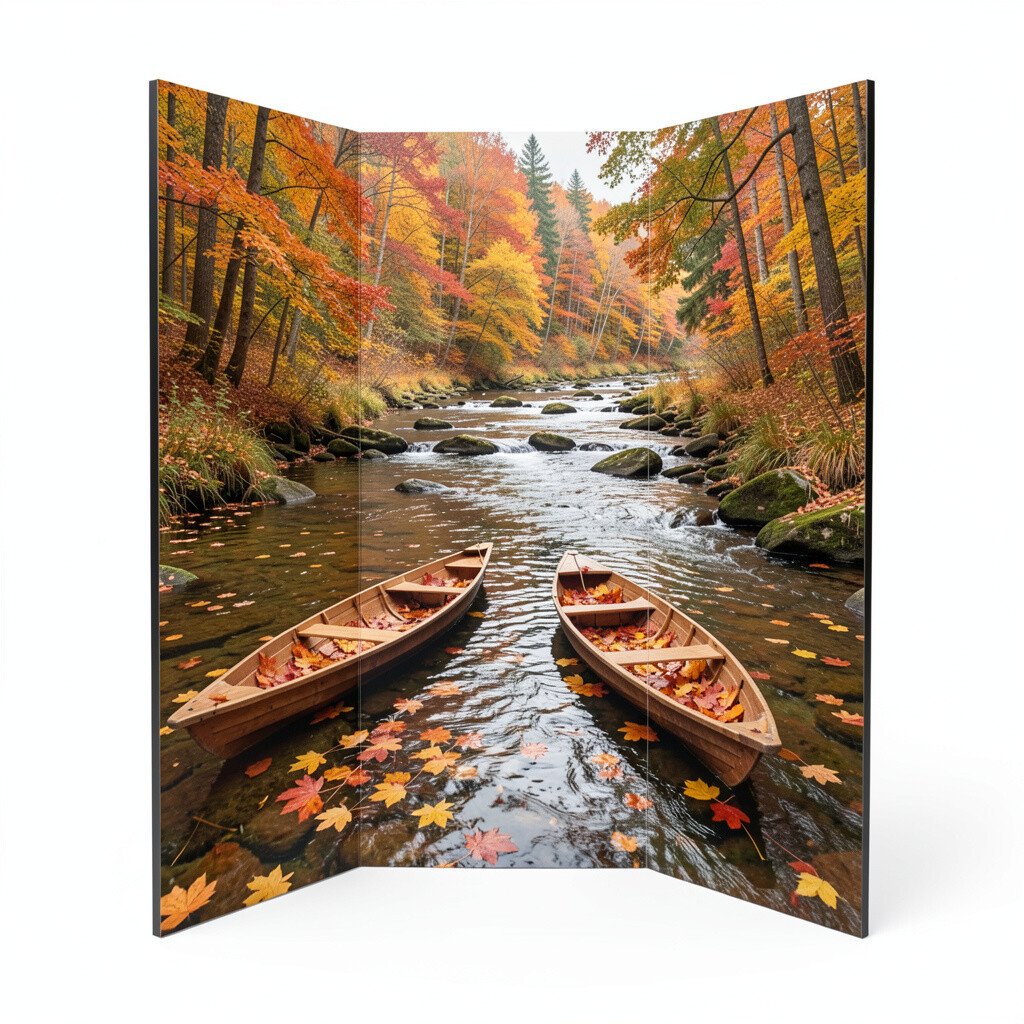
18. Autumn Creek With Floating Leaf Boats
Autumn Creek With Floating Leaf Boats
Draw a creek that zigzags across the board, then paint water in layered greens and teals. Add floating leaves using small paper boats made from folded paper with leaf shapes on top.
This idea feels unique because it combines a nature scene with a playful element that looks like a story happening. Viewers naturally lean closer when they see motion-like details on a flat surface.
Personalize by adding a “gathering place” marker, like a tiny rock sign, created from a scrap of brown paper and a light ink label. If you’re counting supplies, use recycled paper for boats and just add a few real leaf accents for charm.
For a clean finish, keep glue mostly at the boat edges so the “floating” look stays light.
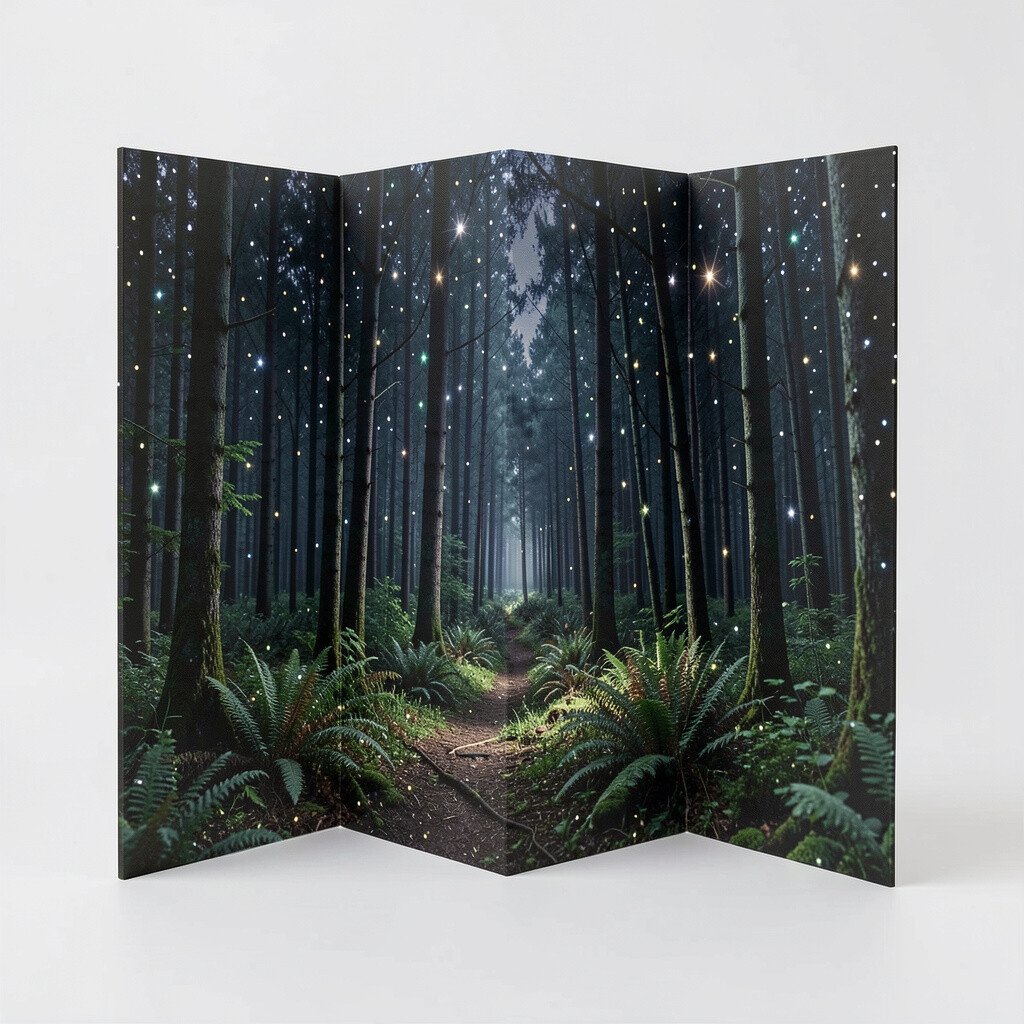
19. Night Forest With Glow Dot Stars
Night Forest With Glow Dot Stars
Paint the background a deep midnight blue, then sponge on lighter gradients to mimic foggy moonlight. Create stars with small dot stickers or punch holes in cardstock and outline them with white ink.
To add uniqueness, make firefly dots using glow-in-the-dark paint or a few tiny reflective beads placed sparingly among tree shapes. The benefit is that your scene feels magical without requiring a complicated build.
Personalize the mood by choosing a moon style, such as a thin crescent cutout or a circle with a textured edge. For cost considerations, simple sticker stars and minimal glow paint go a long way.
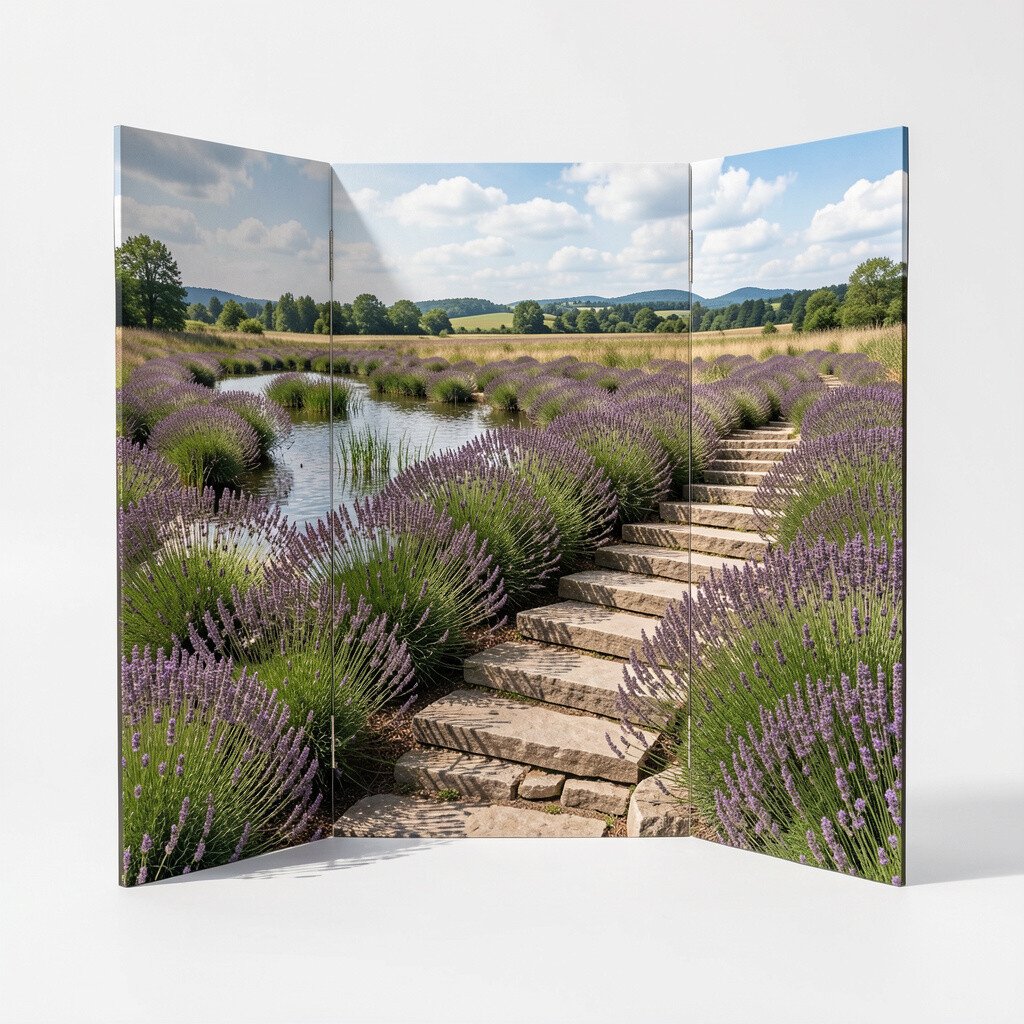
20. Water Meadow With Lavender Steps and Stones
Water Meadow With Lavender Steps and Stones
Start with a soft meadow base in pale green and lavender highlights, especially near the lower folds. Add stepping stones using small gray circles or textured paper squares arranged as a path that draws attention across the trifold.
Mix in tiny wildflower cutouts and a few long grass strips so the scene feels balanced rather than empty. This works well because the stones give a clear focal point and the flowers keep it lively.
Personalize by adding a short date or location style text with a fine marker on the back panel, so the front stays uncluttered. If you want to control costs, use leftover fabric scraps or old paper for grass textures and reserve new materials only for stones and flowers.
For a practical display tip, reinforce any raised elements with extra glue at corners and test the fold opening gently before you finish sealing, so everything stays aligned.