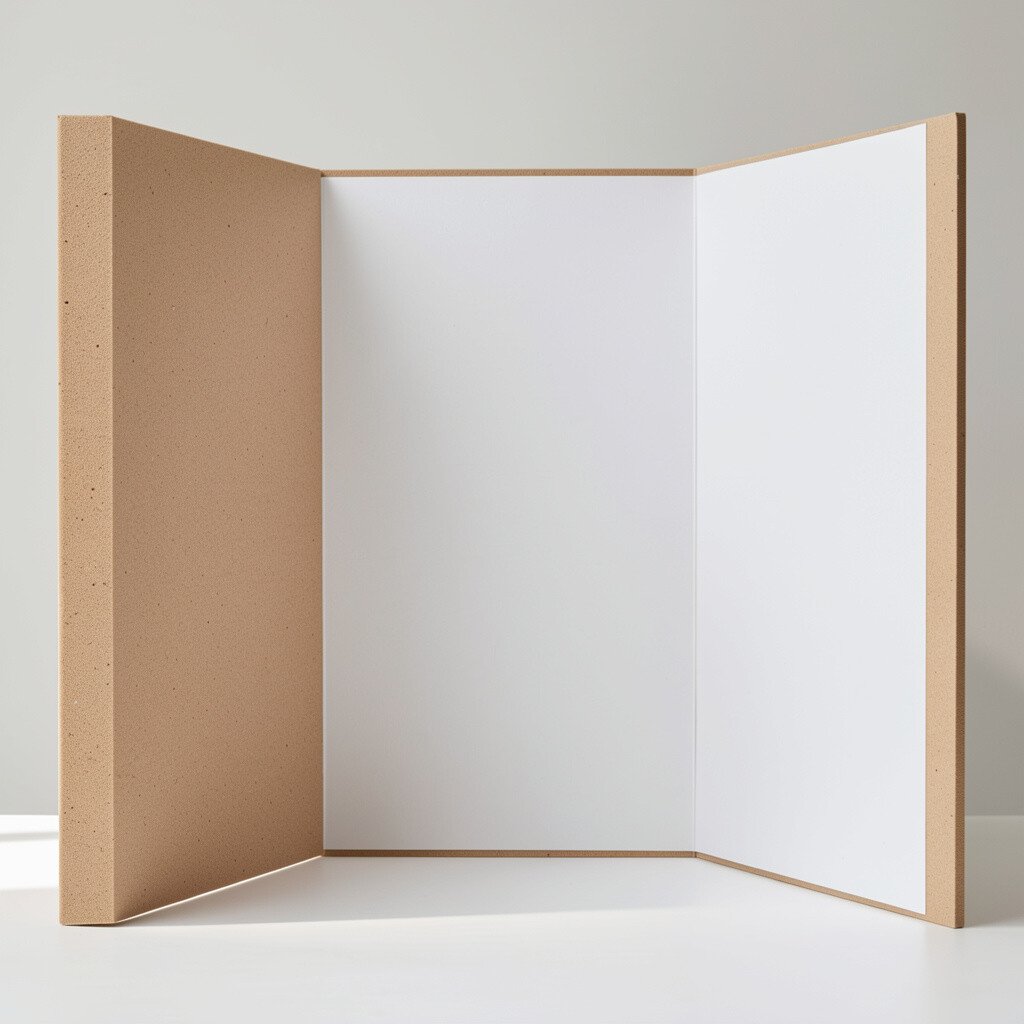
Foam board gives you a smooth, clean surface that looks great under lights. It’s light enough to carry around, which is handy for school presentations and craft fairs.
Use a sharp craft knife for clean cuts and keep the blade fresh for neat edges. For a stronger fold, score gently along the fold line before assembling, and press the crease flat with your fingers. Paint, add paper layers, or cover it with scrapbook paper to make it your own.
2. Corrugated Cardboard for Budget-Friendly Builds
Corrugated Cardboard for Budget-Friendly Builds
Corrugated cardboard has a bouncy, textured look that feels sturdy even when it’s affordable. You’ll love it for mockups, storage-friendly crafts, and quick prototypes.
Choose thicker sheets for better structure, especially if your trifold will hold small items. Seal the surface with a layer of glue diluted with water or use matte medium so glue doesn’t soak in unevenly. To personalize, paint over the ridges lightly and then glue on cut shapes for a layered street-art vibe.
For cost control, ask local shops for used shipping boxes and trim off any printed areas you don’t want. If your project will be displayed in a humid space, keep it indoors or add a protective coating to reduce warping.
3. Bristol Board for Smooth, Gallery-Like Finishes
Bristol Board for Smooth, Gallery-Like Finishes
Bristol board feels extra polished when you want crisp drawings and crisp lettering. It holds detail well, so your lines look sharp and steady.
Go for a thicker sheet if you want the trifold to stay rigid, especially after repeated opening and closing. Use a ruler for straight folds and burnish the crease gently to prevent cracking. When you’re personalizing, mix dry-erase accents, colored pencils, and light watercolor washes for a soft yet clean look.
For practical tips, test your media in a small corner first since some markers may bleed depending on your brand. If you’re working on a deadline, pre-plan your layout with measurements so trimming stays quick and accurate.
4. Poster Board for Classic Craft Show Results
Poster Board for Classic Craft Show Results
Poster board is the reliable go-to when you want bright color and easy handling. Its finish is sturdy, so it works for printed graphics, stickers, and collage style designs.
Use a brand-new blade for clean edges and fold along a scored line for the nicest hinge. Paint markers, acrylic paint, or thick glue stick layers all tend to hold well. To stay trend-friendly, consider adding QR-like design patterns or modern gradients made from colored paper strips.
5. Gatorboard for Professional Displays
Gatorboard for Professional Displays
Gatorboard looks sleek because it has a durable surface that takes printing and paint nicely. It’s a favorite for presentations because it stays flat and resists bending.
When you cut it, wear eye protection and use a steady hand for smooth edges. For folding, score carefully and support the board while you crease so you don’t crush the surface. You can personalize with photos, heat-transfer vinyl, or fine-line drawings that keep their crispness.
It can cost more than basic boards, but it’s worth it when you want a polished, long-lasting result. If you’re using heavy paper layers, gatorboard helps everything look balanced without sagging.
6. Plastic Sheets for Water-Resistant Trifolds
Plastic Sheets for Water-Resistant Trifolds
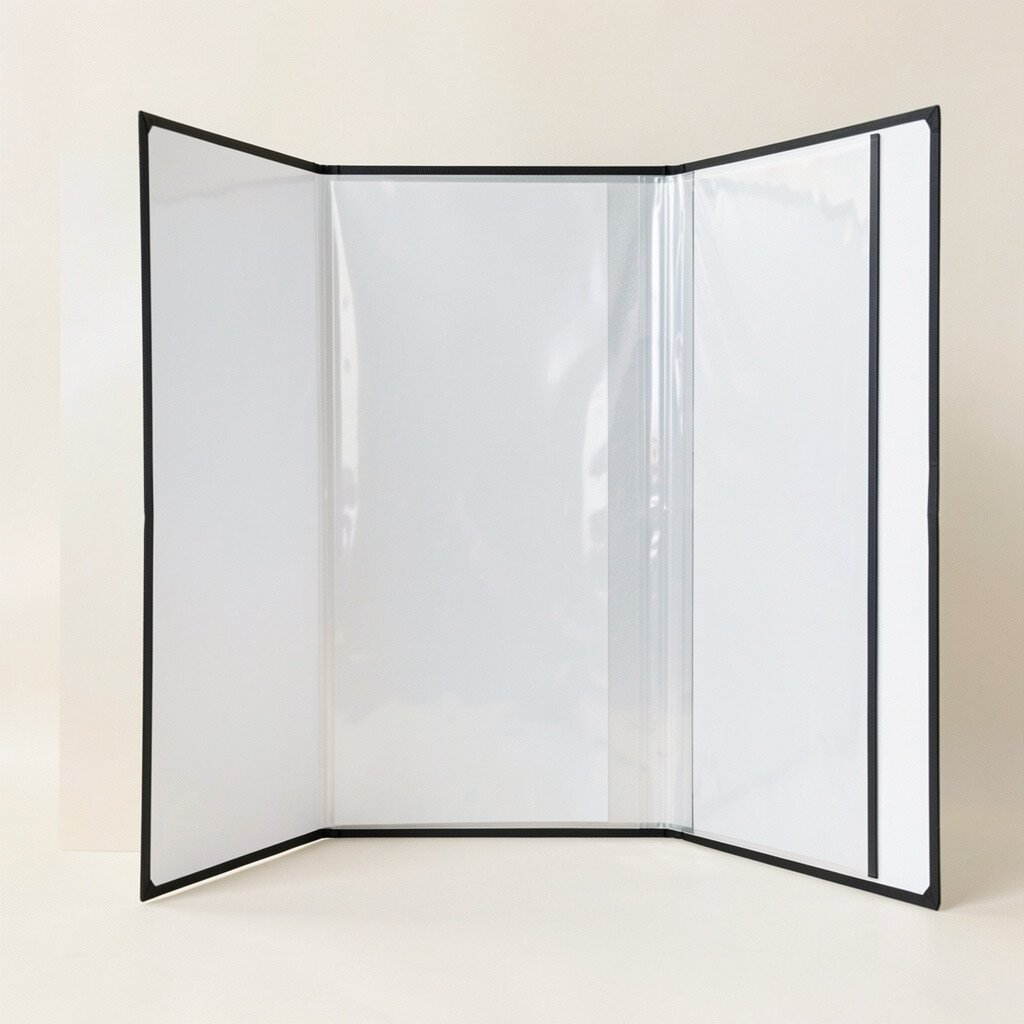
Plastic sheet materials bring a glossy, modern feel, especially when you want durability. Your trifold can handle spills better than many paper-based boards.
Choose a plastic type that can be scored for fold lines, then reinforce the hinge with hinge tape or strong clear tape. For practical results, clean the surface before adding vinyl, stickers, or printed paper, because dust can cause edges to lift. Personalize by layering frosted overlays or using transparent colored film for a stained-glass effect.
If cost matters, look for clear packaging materials or reuse larger plastic covers from safe sources. Just keep the material away from heat sources to avoid warping during crafting.
7. Wood Veneer Panels for Warm, Natural Charm
Wood Veneer Panels for Warm, Natural Charm
Wood veneer panels create a cozy, natural look that instantly feels “made with care.” The grain pattern gives your trifold depth even before you add decorations.
Use a craft saw or careful scoring tools for cutting, and sand the edges so they don’t feel rough. For folds, veneer panels can be tricky, so many people design them as hinged sections using flexible backing or wrap-around hinges. Personalize with paint pens, burned wood marks, or thin stenciled designs that follow the grain.
While wood veneer often costs more, it can be worth it if you want a premium feel for a lasting display. In current trends, natural textures and earthy color palettes are popular, so pairing veneer with neutral cardstock and greenery accents often looks fresh.
8. Canvas-Backed Boards for Texture and Depth
Canvas-Backed Boards for Texture and Depth
Canvas-backed boards add a textured “artist studio” vibe that feels less like paper and more like a crafted artwork. They’re great for mixed media, especially when you want paint and fabric details to blend.
Gently stretch decorative fabric over the surface using glue that dries clear, then paint accents around the edges. For folding, you may prefer to mount canvas on a foam or board base for easier creasing while keeping the canvas look. Personalize by using stencils and dry brushing so the canvas texture shows through in a beautiful, uneven way.
9. Magnet Sheets for Interactive Hinges
Magnet Sheets for Interactive Hinges
Magnet sheets bring an interactive twist to trifold designs. Your panels can snap into place, which is fun for kid projects and useful for demos.
Plan your layout so the magnets won’t show through if you’re using thin materials or photos. Cut with care and edge-seal with thin tape or a protective coating so the material stays smooth over time. For personalization, add removable note cards or tiny labels that attach and detach like a mini learning system.
These materials can cost more than standard boards, but they save you time later because you skip complicated hinge hardware. If you’re working on a tight budget, reuse magnets from old signage and mount them onto a simple trifold base.
10. Fabric-Backed Foam for Soft, Decorative Projects
Fabric-Backed Foam for Soft, Decorative Projects
Fabric-backed foam feels cushy and gives your trifold a cozy, handmade vibe. It’s especially nice when you want to add embroidered details or soft pocket organizers.
When you fold, test the material first since some fabric backing resists sharp creases. You can create a smoother hinge by attaching thin fabric tape on the inside fold line for flexibility. Personalize with appliqué shapes, felt icons, and layered trims that add color without needing heavy paint.
For practical use, pick a fabric backing that won’t fray easily, and keep edges neat with fabric glue. If you’re cost-conscious, shop craft remnants or use older garments for the fabric layer while keeping the foam as your structure.
11. Felt Boards for Cozy, Touchable Learning Displays
Felt Boards for Cozy, Touchable Learning Displays
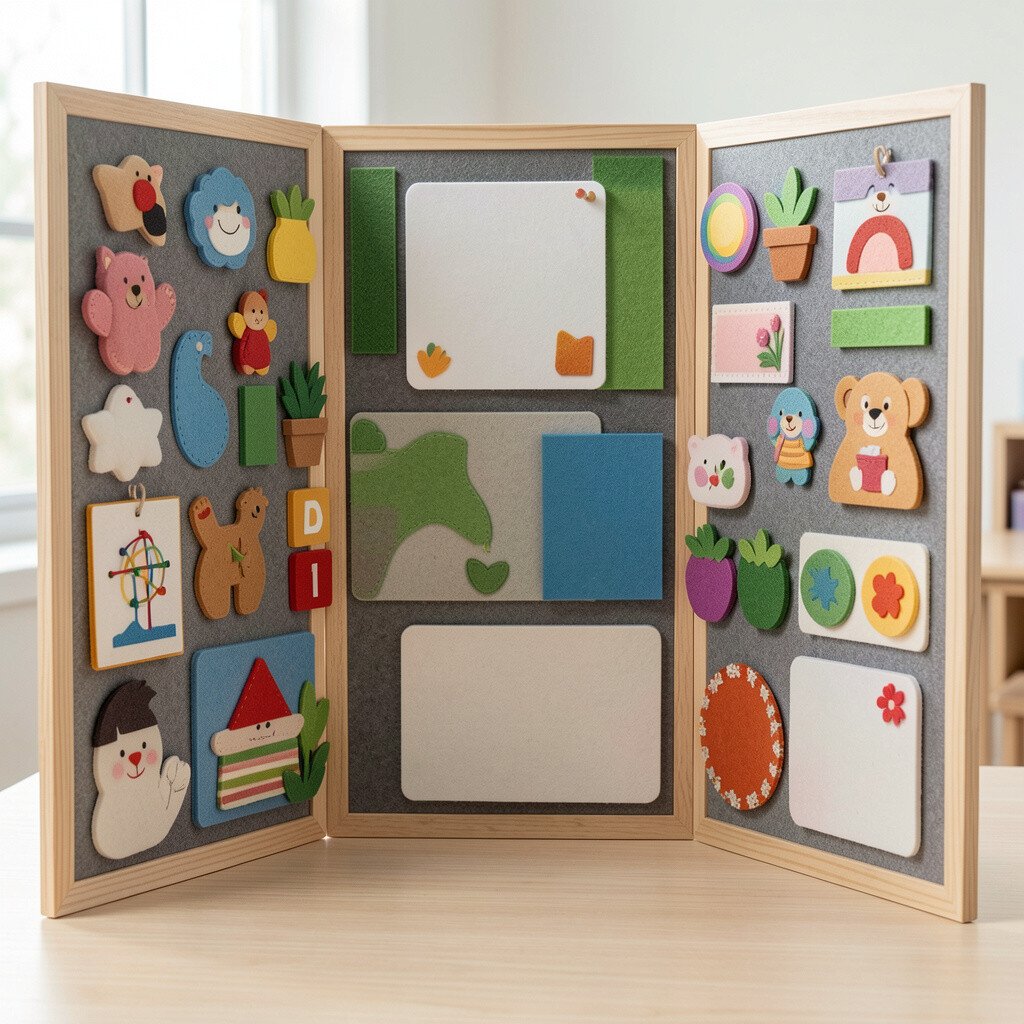
Felt boards look warm and playful, like a craft store dream. They’re also great for adding textures that you can touch without worrying about paper tearing.
Use strong adhesive to attach felt panels smoothly, then plan your fold so the fibers don’t bunch. If your design includes pockets or removable pieces, felt holds little items well, especially when you use snap fasteners or sew-on loops. Personalize by layering felt shapes, adding felt flowers, and using contrasting thread for a stitched look.
Felt can vary in price, so consider buying thicker sheets for structure and saving money on thinner sheets for decorative overlays. A current trend is soft learning boards, so adding mini scenes and movable characters can feel modern and fun.
12. Cork Sheets for Natural Pin-Friendly Layouts
Cork Sheets for Natural Pin-Friendly Layouts
Cork sheets bring a warm texture and a practical advantage for pinning and hanging. Your trifold can hold notes, small cards, and tiny cutouts with push pins or tacks.
Cut cork with a sharp utility knife and go slowly so edges don’t crumble. For folding, cork itself doesn’t bend well, so you’ll get the best results by using cork as a covering over a foldable base like foam or cardboard. Personalize with painted cork sections, stamped patterns, or a border of twine for a rustic look.
Cost-wise, cork ranges, so compare thickness and hunt for sales or bulk craft packs. If your project needs to look classy, pair cork with clean typography and muted colors like sage, cream, and warm gray.
13. Laminate-Look Board for Sleek, Cleanable Surfaces
Laminate-Look Board for Sleek, Cleanable Surfaces
Laminate-look board gives your trifold a polished finish that’s easy to wipe. It’s a great choice for displays that might get handled often.
For best results, sand lightly or use an appropriate adhesive meant for slick surfaces so layers don’t peel. Fold by scoring lightly if the board allows it, and reinforce hinges with clear tape or fabric hinge strips. Personalize with printed papers sealed under a clear coat so the colors stay bright and protected.
Since this type can cost more, it’s smart to use it for the outer panels and keep the inside on a cheaper base. If you’re making a portable display, the cleanability is a big plus for classroom use.
14. Recycled Paperboard for Eco-Friendly Crafting
Recycled Paperboard for Eco-Friendly Crafting
Recycled paperboard has a sturdy, earthy character that feels good to work with. The slight speckling and natural tone make designs look authentic and handmade.
Expect it to be a bit more textured, so plan for how glue and paint will soak in. For a crisp trifold, use a heavier grade and score carefully to keep edges tidy. Personalize with seed-paper accents, earthy ink stamps, and layered shapes that highlight the recycled texture.
Cost can be lower if you catch sales, and it’s a smart option for people who like sustainable projects. A current trend is mixing eco materials with modern design, so bold typography and simple color blocks look especially striking on recycled board.
15. Shiplap-Style Panels for Farmhouse Aesthetic
Shiplap-Style Panels for Farmhouse Aesthetic
Shiplap-style panels add a classic, cozy texture that feels instantly inviting. Even without heavy decoration, the lines create visual interest.
To make a trifold, use the shiplap panels as a decorative skin over a foldable base, since true wood-like boards don’t always crease nicely. Seal seams so the surface looks clean and then add your graphics with strong adhesive. Personalize with hand-lettered words, faux greenery, and small cutout icons like stars, hearts, or seasonal shapes.
These panels may cost more than basic poster board, but they can make your project look far more expensive. If you want to budget, buy a smaller sheet for the front and use simpler materials inside for structure.
16. Acrylic Display Board for Glossy, Modern Shine
Acrylic Display Board for Glossy, Modern Shine
Acrylic display board creates a bright, glossy look that feels clean and modern. Light reflects off the surface, making photos and bold colors pop.
Cutting acrylic usually needs proper tools, so plan ahead and consider having it cut where you buy it. For trifold folding, acrylic generally needs a different approach, such as using it for flat covers or adding a flexible hinge system. Personalize with vinyl decals, laser-cut labels, or layered printed designs under clear protective film.
It can be costly, but it’s excellent when you want longevity and a professional feel. If you’re using it as a cover, you can save money by choosing thinner sheets and pairing them with a sturdier paper-based inner core.
17. Metalized Mylar for Futuristic, Eye-Catching Designs
Metalized Mylar for Futuristic, Eye-Catching Designs
Metalized mylar brings a futuristic shine that looks amazing in photos and under stage lighting. It’s bold, reflective, and perfect for science themes, party displays, or event booths.
Because mylar can crinkle, treat it gently and test adhesives carefully so the film stays smooth. Reinforce the hinge area with flexible clear tape and keep folds controlled by scoring the base underneath. Personalize with layered paper shapes, holographic stickers, or color-blocked backgrounds that match the reflective vibe.
Mylar prices vary, but you can often find affordable sheets in craft packs. A current trend is using shiny accents with simple layouts, so try focusing on one strong title and a few standout visuals rather than overcrowding.
18. Tiered Foam Layers for Dimensional Hinged Effects
Tiered Foam Layers for Dimensional Hinged Effects
Building with tiered foam layers creates a dimensional, “pop-up” feel without needing complicated machinery. Your trifold can look like a mini stage where elements stand out from the page.
Use multiple foam pieces and glue them onto a base so your fold stays strong while the raised parts remain flexible. Plan the thickness so the panels close neatly, and leave a small gap near the hinge for smooth movement. Personalize with layered lettering, raised icons, and tiny cutouts that cast light shadows for extra drama.
Cost considerations are simple because you can use smaller offcuts for layers and save the largest sheets for the base. For practical crafting, measure your closure space before you glue, then do a quick dry fit to catch any bumps early.
When you keep the layers intentional and not too thick, the result looks clean and professional. This approach also matches current trends in tactile design, where texture and depth make people stop and look longer.