1. Classroom-Style Cork Frame That Shows Off Favorites
Classroom-Style Cork Frame That Shows Off Favorites
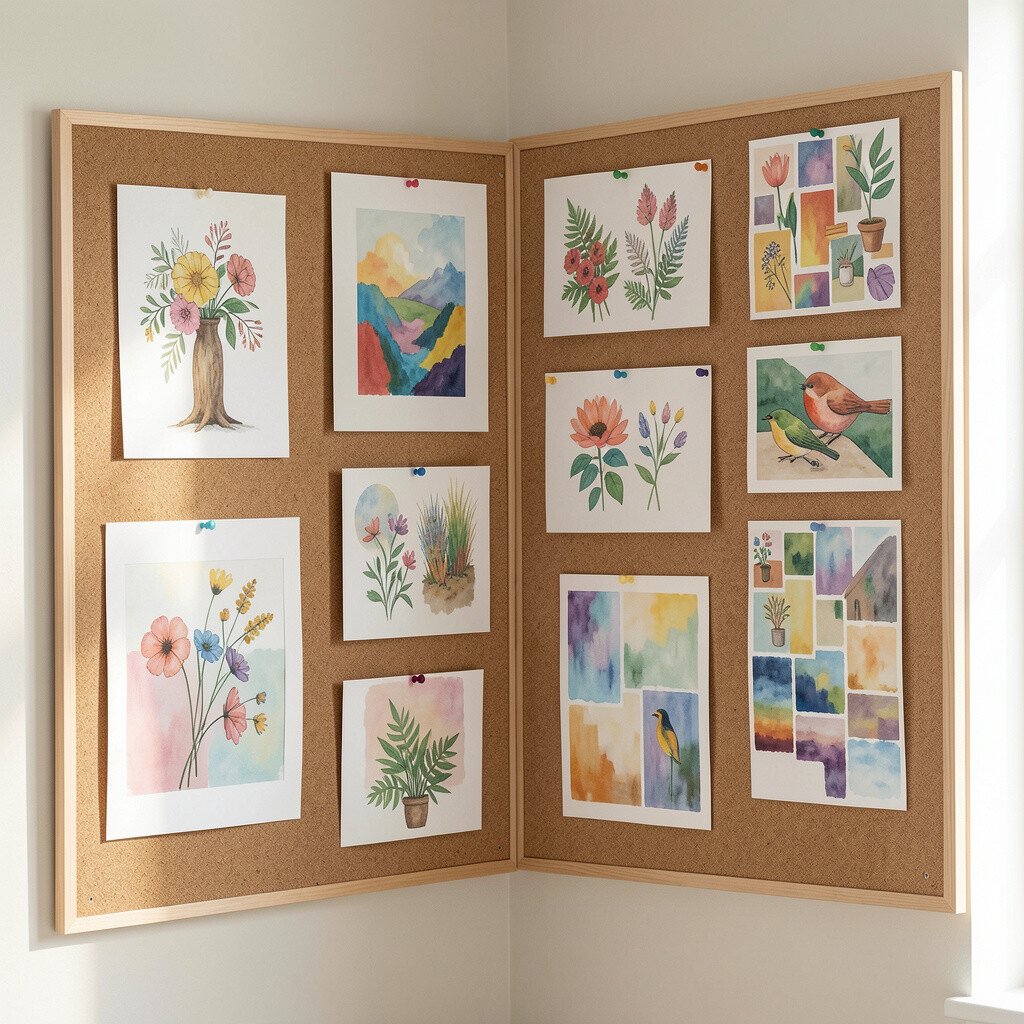
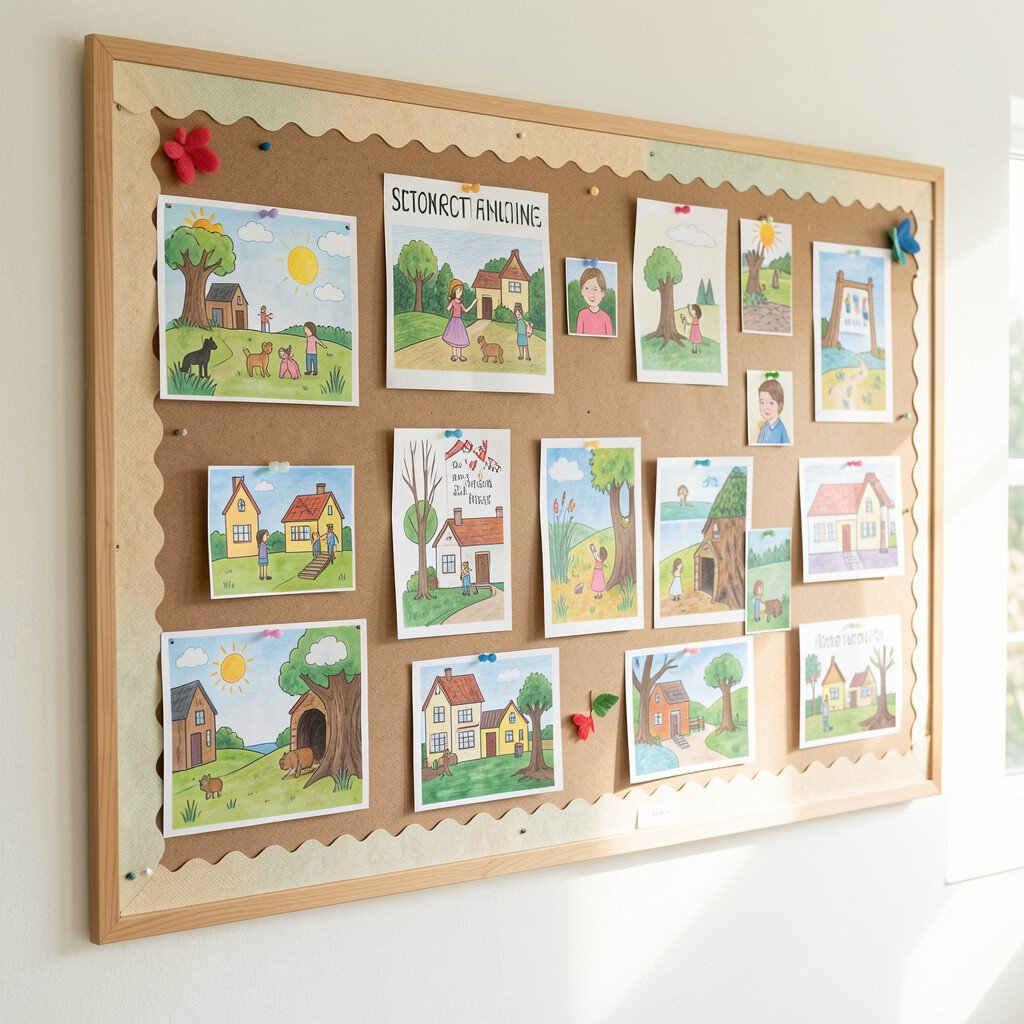
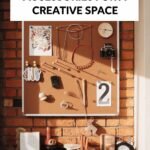
Imagine a warm cork board tucked inside a slim frame that keeps paper from curling at the edges. Each time you add a new drawing, it looks intentional, like a mini gallery wall.
Use push pins or small clips so kids can swap pieces without help. This setup helps kids see their work as valued, and it makes cleanup simpler because everything has one place. For personalization, let the child pick a color ribbon border or add a name card on the side, and consider adding a clear plastic sleeve near the bottom for older “archive” pieces.
2. Magnetic “Gallery Strip” With Easy Swaps and Bright Layouts
Magnetic “Gallery Strip” With Easy Swaps and Bright Layouts
A long strip of smooth metal turns art into a moving display, where magnets hold photos and drawings flat. Bright washi tape around the edges creates a cheerful border that feels different every season.
Pair magnets with small photo clips so you can move items quickly during busy weeks. Kids benefit from frequent rotation, because newer art gets attention instead of being buried. Keep a simple stack of spare magnets in a labeled envelope so you never scramble when it is time to change the display. For cost control, buy a sheet of magnetic material in a size that fits your space, then frame it with inexpensive trim.
To match current trends, many families are mixing photos, QR-linked family stories, and kid-created captions, which makes the board feel modern without extra effort. Personalization can be as easy as letting each child choose one “featured” magnet color per month. If you want extra protection, place magnets over a thin sheet of plastic so art can slide in and out more smoothly.
3. Spinning “Wheel of Art” Panel for Fresh Rotation Every Week
Spinning “Wheel of Art” Panel for Fresh Rotation Every Week
Picture a round display panel where papers sit like spokes, and each week you rotate the wheel to highlight a new piece. The visual movement makes the whole board feel playful, almost like a craft toy.
This idea is great for kids because it reduces the stress of deciding what to show next. You can keep the rotation consistent, so the child always knows their art will get a turn. Use lightweight poster board in matching colors for the background so the art pops even when the wheel spins.
To personalize, add a small “Today’s Theme” card that the child helps choose, such as animals or rainy-day pictures. If you want practical tips, keep the wheel away from high-traffic corners where bumping can knock off papers. For a budget-friendly version, use a lazy Susan base with paper holders made from binder clips and foam strips.
When families are busy, this kind of system supports routines, which helps reduce clutter. You can also include a “favorite so far” slot that keeps one special piece on display longer. It is uniquely fun because the board becomes part of the household conversation, not just storage.
4. Fabric-Pinned Art Wall That Feels Soft and Cozy
Fabric-Pinned Art Wall That Feels Soft and Cozy
A fabric-covered board can look warm and welcoming, like a giant felt canvas for kid creations. Instead of hard push pins, you attach drawings with fabric ties or small clips that feel gentle.
This approach helps because it reduces tears and pinholes, especially for crayon-heavy artwork. Choose washable fabric so you can refresh the surface if it gets dusty or stained. For personalization, let kids pick patches or sewn-on shapes that reflect their interests, such as stars, dinosaurs, or planets. It is a unique way to make art display feel calm, not harsh.
5. Pocket Page Organizer Board for Instant Protection and Neat Storage
Pocket Page Organizer Board for Instant Protection and Neat Storage
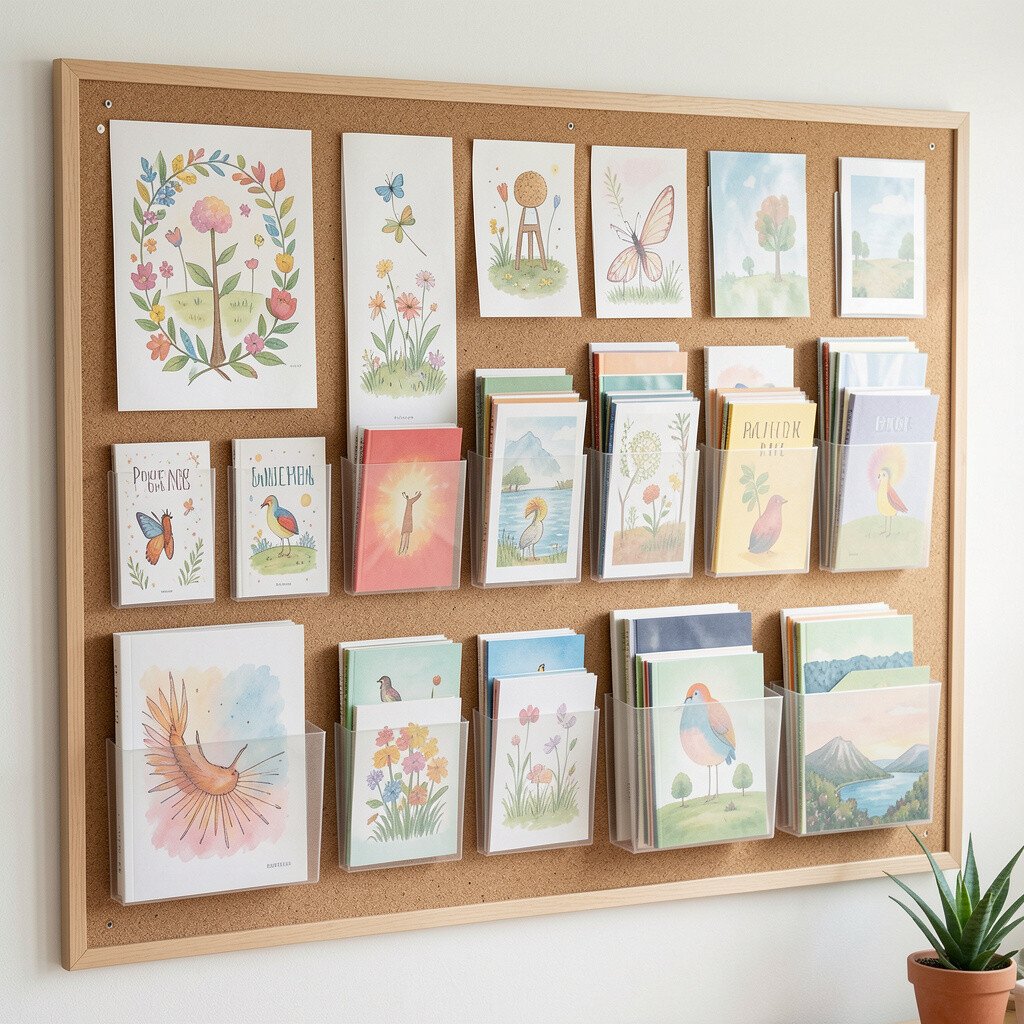
Think of a board covered with clear page pockets that hold drawings flat like a photo album. The art stays clean, protected from smudges, and easy to flip through when someone wants to look back.
This style helps kids because it keeps fragile pieces from getting bent or lost. You can rotate the pages by moving one sheet at a time, which feels orderly even in a busy home. For practical tips, use thicker plastic sleeves for marker drawings so they do not snag on edges. Consider cost by using binder inserts you can reuse and a simple backing board like foam board or cork.
To personalize, add a child-made cover page at the top with their name, age, and a short sentence about what they were learning. Current trends often mix portfolio-style organization with casual family storytelling, and this board fits that vibe nicely. It is also wonderfully unique because it blurs the line between display and keepsake.
6. Wooden Clip Rail for Hanging Artwork Like Mini Curtains
Wooden Clip Rail for Hanging Artwork Like Mini Curtains
A wooden clip rail makes it feel like art is hanging in a tiny boutique. Clothespins or cloth clips hold each piece, and the board looks charming even when it is only partially filled.
Kids enjoy this style because it is easy to add new work without wrestling with pins. Use a sturdy rail and add a row of small clip hooks so you can vary the height for different sizes. For personalization, paint the rail with a child’s favorite color and add hand-drawn doodles on the sides.
On a practical level, cloth clips allow you to swap quickly, which helps the display stay fresh. If cost is a concern, you can repurpose a craft or clothing rack rail and mount it with simple brackets. This board is uniquely useful because it lets you show everything from small sketches to longer classroom pages without tearing.
7. Chalkboard Frame With Art Windows for Captions and Dates
Chalkboard Frame With Art Windows for Captions and Dates
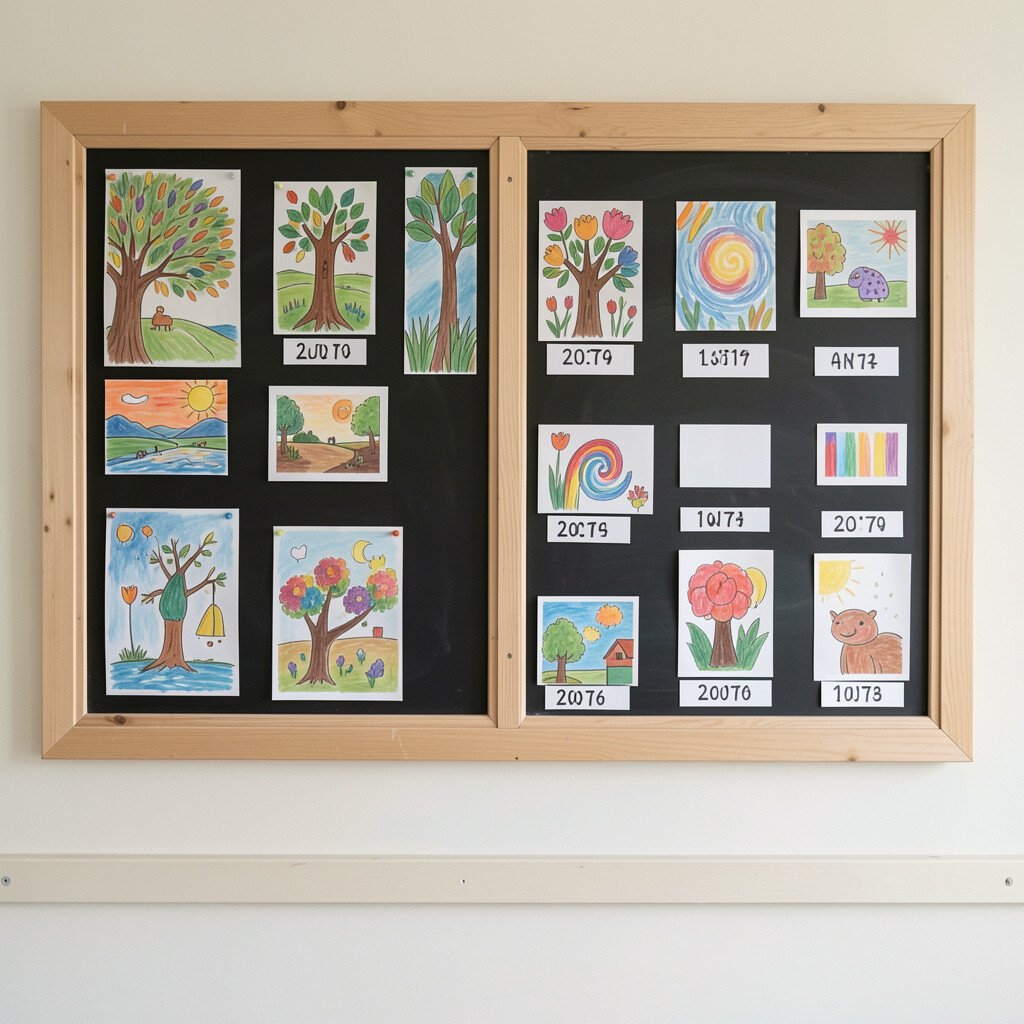
A chalkboard background turns the display into a place where kids can write captions right beside their artwork. You can draw simple frames around each piece, which makes even messy scribbles look thoughtfully arranged.
This setup builds pride because kids can add their own words, like “made me happy” or “this one is for Mom.” Use chalk markers for older kids if they press too hard with regular chalk. For personalization, create a routine where you erase and redraw frames every month so the board feels new.
Chalkboard frames are a nice trend right now because they support rotating content and quick edits without printing anything. Keep a small eraser tray or chalk holder mounted nearby to cut down on mess. It is also cost-friendly since chalkboards come in many sizes, and you can cover an existing board with chalk paint for less than buying new.
8. Clear Panel “Floating Art” Display With Layered Depth
Clear Panel “Floating Art” Display With Layered Depth
Imagine a clear acrylic or plastic panel that makes artwork look like it is floating above a colorful backing. When light hits the surface, layered pieces catch the eye and create a gentle depth effect.
This style helps because the art stays flat and protected, especially for paper that curls. Use spacers or small corner stands so multiple pieces can sit in layers without sticking. For practical tips, pick a backing color that matches the child’s favorite palette, and avoid very dark colors if you want lighter drawings to pop.
Personalization can include adding tiny stickers or painted shapes behind the art so each display feels like a scene. A unique twist is to include one “memory card” layer with a photo of the day the artwork was made. This board can also support current trends like mixed media displays since it works well with photos, ticket stubs, and simple captions.
9. Storytelling Bulletin Board With Velcro Scenes for Sequenced Artwork
Storytelling Bulletin Board With Velcro Scenes for Sequenced Artwork
Picture a board covered in bright felt where kids attach story scenes using Velcro strips. You can place drawings in order, like chapters, so the art tells a little tale each time you look.
This helps kids understand sequence and encourages them to talk about what happened first and next. Velcro reduces tearing and makes switching scenes smooth and safe. For practical tips, cut simple felt shapes and label the back with tiny symbols so kids can match the right spot without adult help.
Personalization ideas are endless because kids can create “characters” from their own paper art and reuse them in new stories. Cost considerations can stay low since felt sheets and Velcro strips are usually affordable, and you can build the board one section at a time. It is uniquely engaging because the board becomes interactive, not just decorative.
When families look for more meaningful display, this format offers that meaning by turning art into narrative. You can also rotate weekly, which keeps the board from getting cluttered with too many pages. Each new scene invites conversation, and that is a big benefit for kids who love to explain their ideas.
10. Accordion-Style Foldout Board for Space-Saving Displays
Accordion-Style Foldout Board for Space-Saving Displays
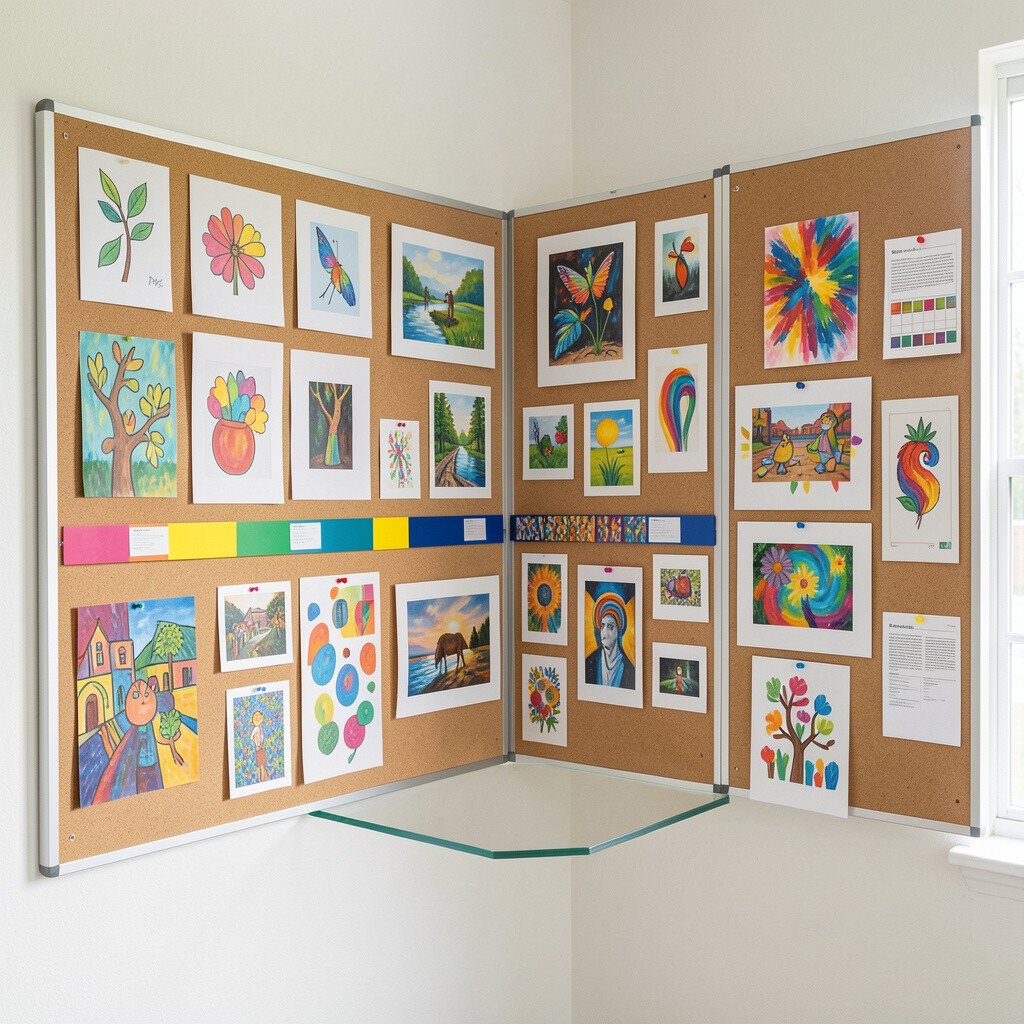
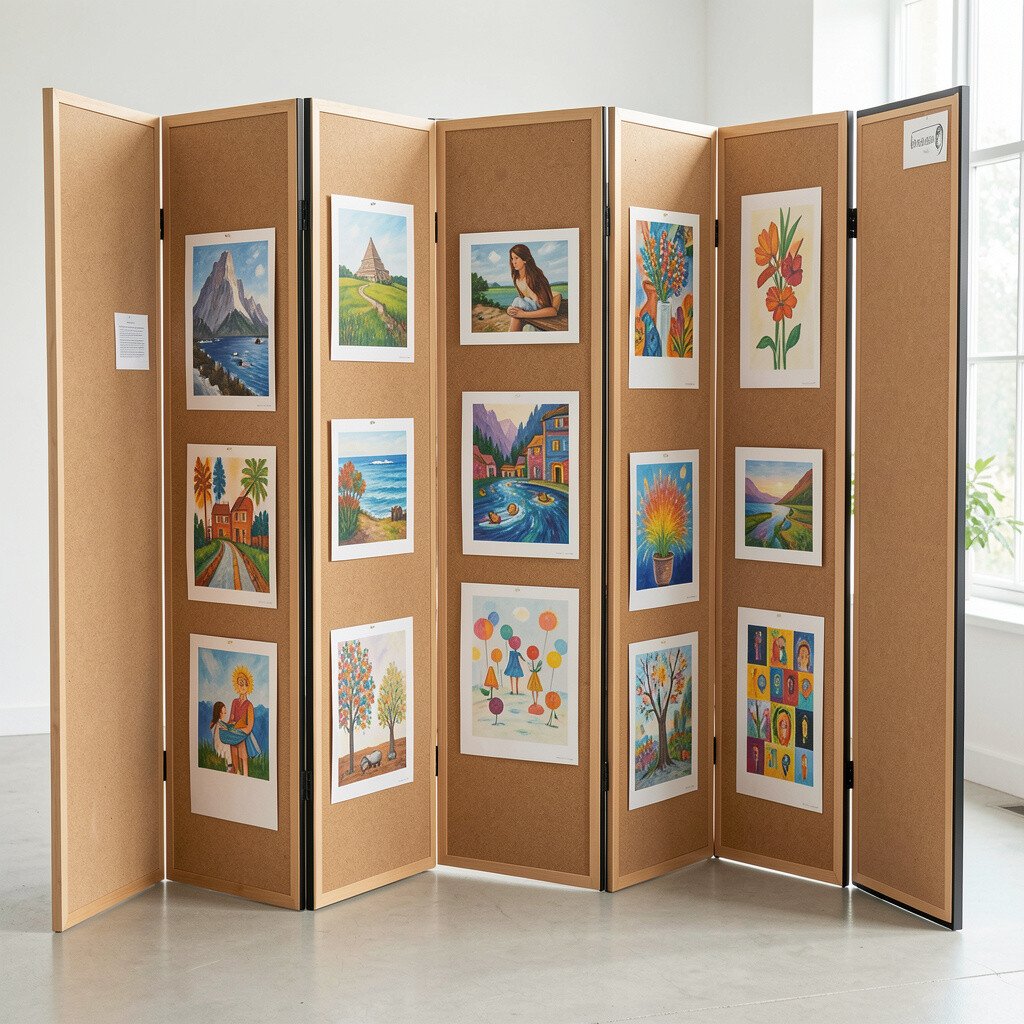
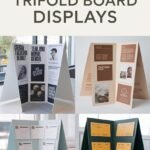
An accordion foldout display gives you a neat pop-out wall where artwork can be tucked into sections. When it closes, it looks like tidy storage, and when it opens, it turns into a colorful showcase.
This is especially helpful for rooms with limited wall space, because the display can expand when you need it and shrink when you do not. Kids benefit because they can pick which section to update without rearranging everything. For practical tips, keep each accordion panel dedicated to a theme like drawings, crafts, or school work so finding items is easy later.
To personalize, decorate each panel with a different color or pattern so it feels like a set of little art folders. Cost can be reasonable if you use a folding display system you already own, then add sleeves or clip lines. The uniqueness comes from its flexibility, making it feel less like clutter and more like a living portfolio.
11. “Weather Forecast” Board That Highlights Art by Season
“Weather Forecast” Board That Highlights Art by Season
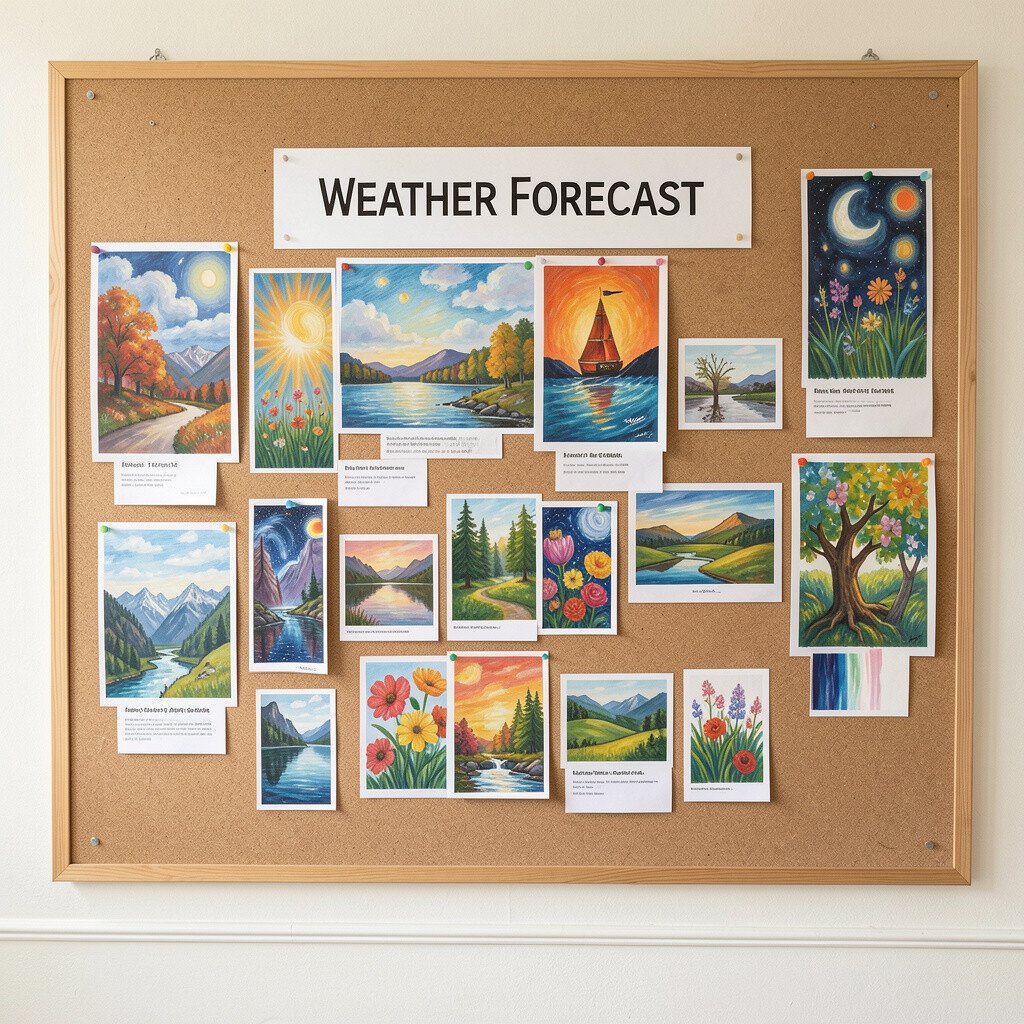
Visualize a bulletin board with a sky-like background and a forecast panel where each piece is tagged to the current season. You can add little paper clouds, snowflakes, or leaves to make every update feel timely and fun.
This helps kids because it connects their art to what they are living through, like fall colors or winter cozy scenes. Use themed cutouts with pockets so you can slide in new work without damaging edges. For personalization, let the child draw a weather icon to match the artwork, even if it is just a simple face sun or storm cloud.
Cost considerations are easy because seasonal decorations can be made from scrap paper and reused. Current trends often encourage seasonal storytelling at home, and this board fits that idea while still keeping everything in one place. It is uniquely satisfying because the display feels like an event, not a routine chore.
12. Clipboard Grid Wall for Strong Hold and Quick Replacements
Clipboard Grid Wall for Strong Hold and Quick Replacements
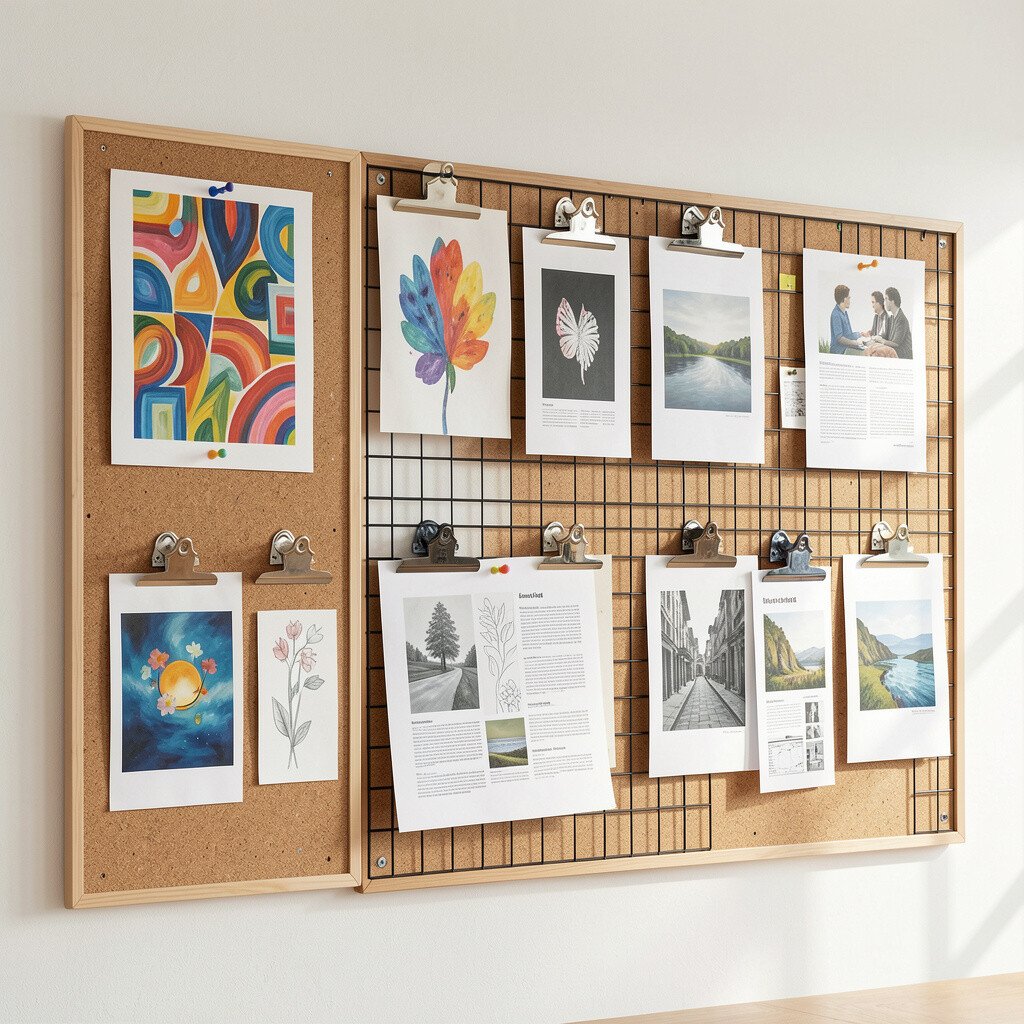
A grid of clipboards turns artwork into a clean, organized wall with built-in holding strength. Each clipboard has a stable back that keeps paper from folding and creates a uniform look.
Kids benefit because replacing art is simple, and it is harder for pieces to slip out during playtime. Use different clip colors for each child so siblings can easily spot “their” area. For practical tips, mount the grid at kid height so they can help with updates and caretaking.
This board is unique because it blends office-like neatness with creative charm. Personalization is easy since you can cover the back of each clipboard with fabric, stickers, or printed patterns. For cost, check craft stores for multi-packs of clipboards or use clipboards you already have and repaint them for a cohesive style.
To match current trends, many families are leaning into uniform presentation styles, and this grid offers that clean look without losing creativity. It also reduces the time adults spend searching for where art went, which is a real practical benefit.
13. String and Clothespin “Art Marquee” With Sparkly Pennants
String and Clothespin “Art Marquee” With Sparkly Pennants
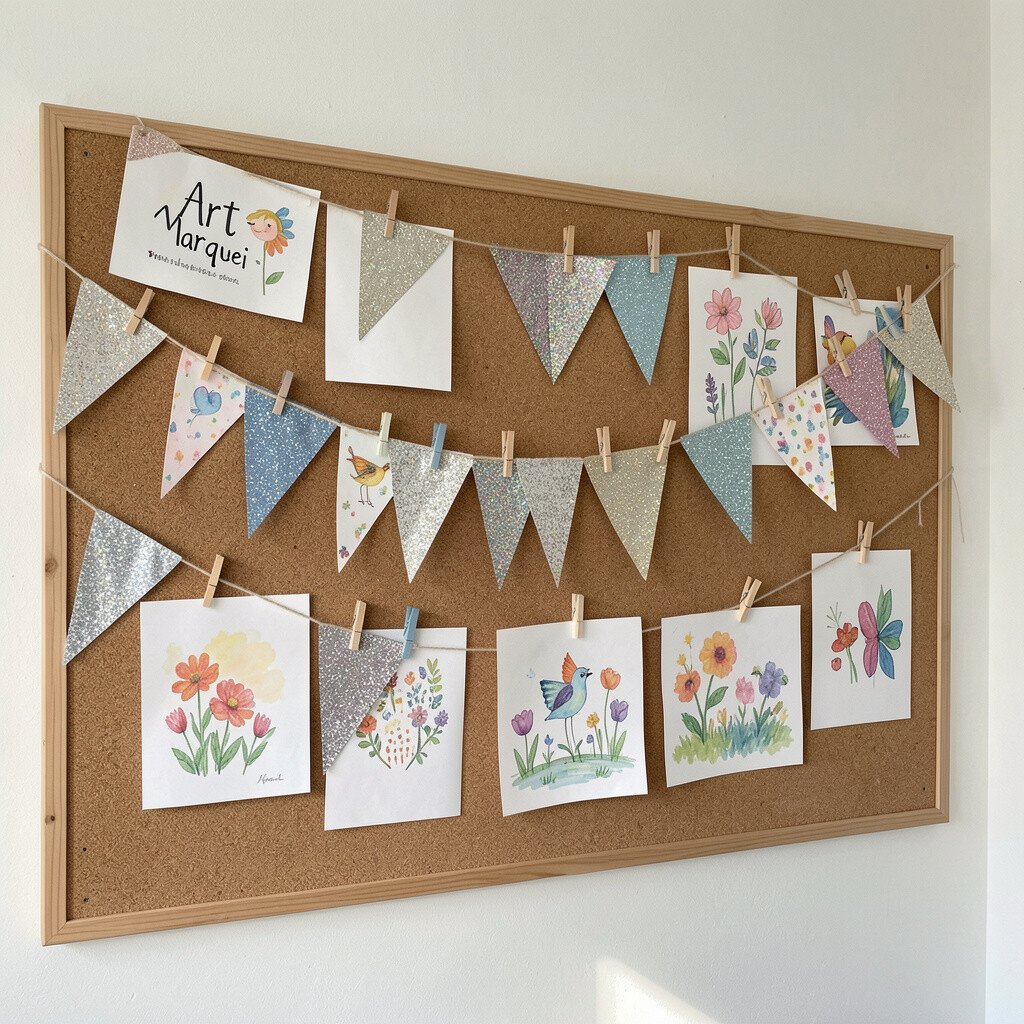
A string-and-clothespin layout can look like a mini marquee, especially when you add pennant flags along the top. The visual rhythm of hanging papers feels light and energetic, perfect for kids’ frequent updates.
This setup helps because the board can hold different sizes easily, from small sketches to larger cut-and-paste projects. Use binder clips for heavier craft paper so the display stays secure. For practical tips, add a gentle arc of string so longer pages have room to breathe without bending.
Personalization ideas can include letting kids pick a “stage name” for their work, like “Monday Masterpieces,” written on tiny tags. Cost considerations stay manageable because string, clothespins, and paper pennants usually cost very little. It is uniquely fun because it feels celebratory every time you attach a new piece.
14. Laminated “Scratch Pads” Board for Reusing Art Areas
Laminated “Scratch Pads” Board for Reusing Art Areas
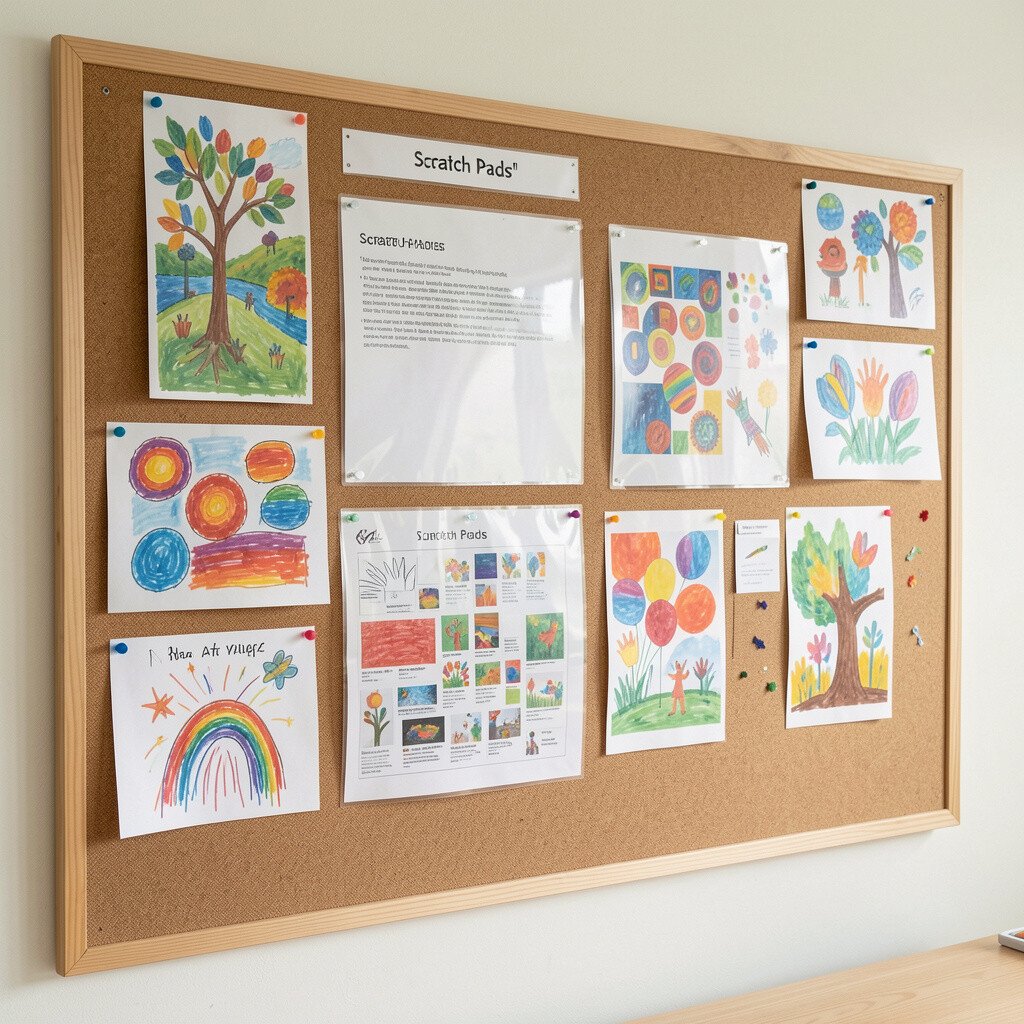
A laminated board with erasable markers creates a display that does not only collect old work. You can draw new designs directly on the surface, then wipe clean and re-use the same space many times.
This helps kids because they learn that making art can be repeatable and playful, not limited to one-time paper. Use a small tray for markers and erasers so supplies do not drift around the room. For practical tips, place the laminated board beside a pocket for finished paper so the wall shows both new and saved work.
To personalize, add magnet letters or magnetic shapes so kids can build scenes and captions quickly. Current trends include using reusable surfaces to reduce waste, and this board supports that idea while still showing creativity. Cost considerations are often lower than you might expect since a simple laminated panel and marker set can cover a lot of display space.
15. Shadowbox Display Shelves With Three-Dimensional Kid Creations
Shadowbox Display Shelves With Three-Dimensional Kid Creations
Shadowbox shelves make art feel more like a collectible, especially when kids add textures like buttons, yarn, and small model parts. The clear front allows you to see details while keeping everything protected.
This helps kids because their crafts are not stuck behind paper, and their extra effort gets visible. Use spacers or foam backing so 3D items sit safely without collapsing. For practical tips, keep one shelf for “just for show” and another for “new work,” which helps you manage what changes often.
Personalization ideas can include labeling the shelf with a child-made title, like “My Robot Zone,” then adding tiny date cards. Cost considerations can be managed by starting with one shadowbox and adding more when you find sales. It is uniquely satisfying because it celebrates the parts of art that usually stay hidden when only paper is displayed.
16. Family Photo + Art Combo Board for Shared Memories
Family Photo + Art Combo Board for Shared Memories
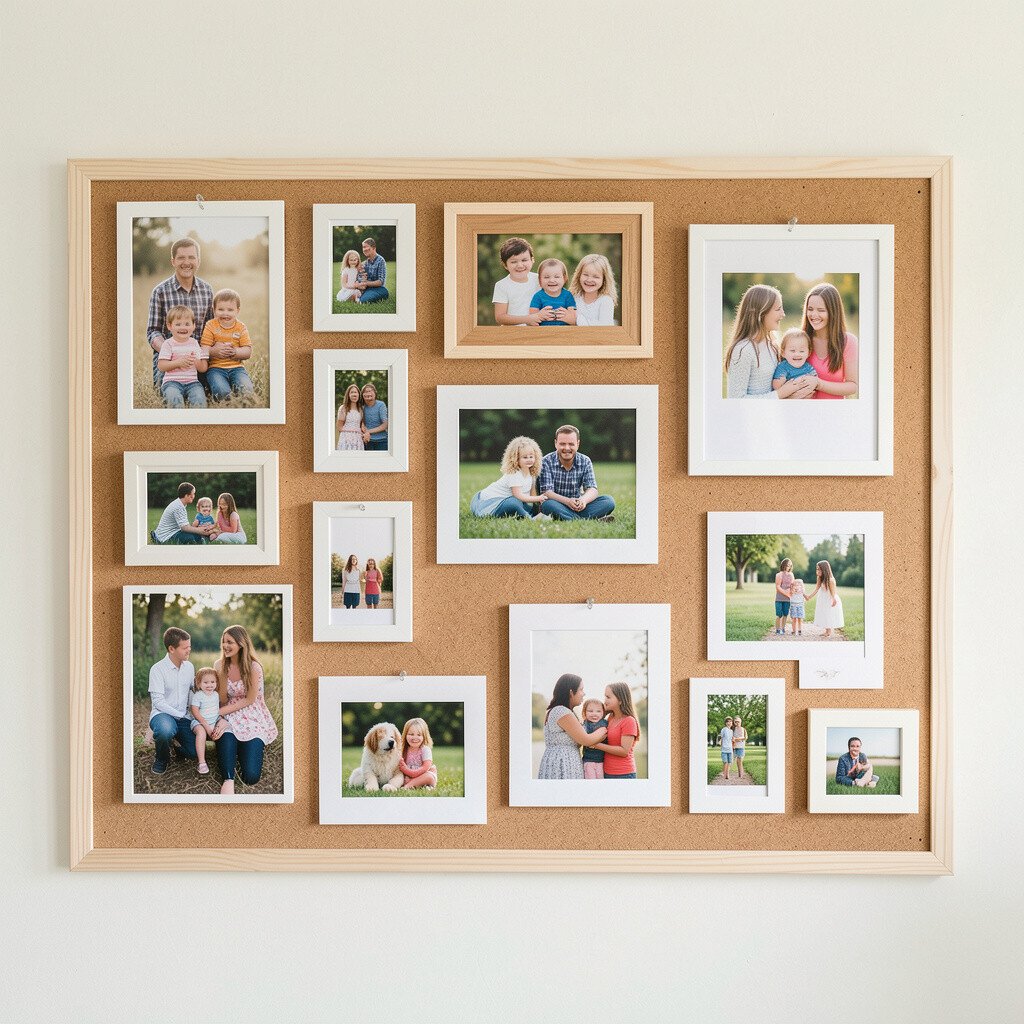
A board that blends family photos with kid artwork looks warm and personal, like a timeline you can touch. The photos give context, and the drawings turn ordinary days into little moments worth saving.
This helps kids because their art becomes part of the story of the family, not just something stored away. Use photo corners or small clips so swapping is easy without bending pages. For practical tips, keep a consistent layout, such as one photo slot followed by one art slot, so the board stays readable.
Personalization is built in because you can let kids choose which picture goes next to their art. Cost considerations are friendly because you can use simple frames, binder pockets, and print photos from a phone. This board is uniquely meaningful, and it matches current trends of sharing process and progress, not just final results.
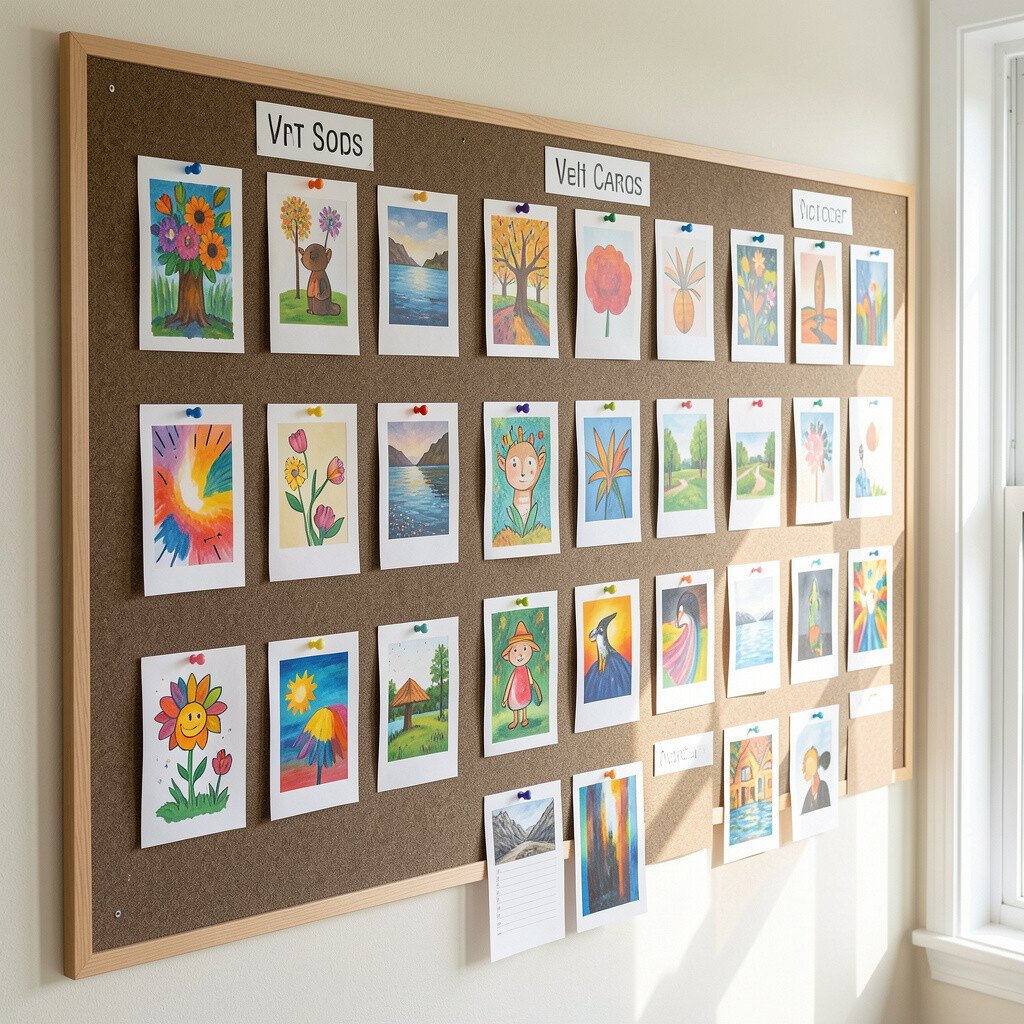
17. “Museum Ticket” Board With Stamped Highlights and Tags
“Museum Ticket” Board With Stamped Highlights and Tags
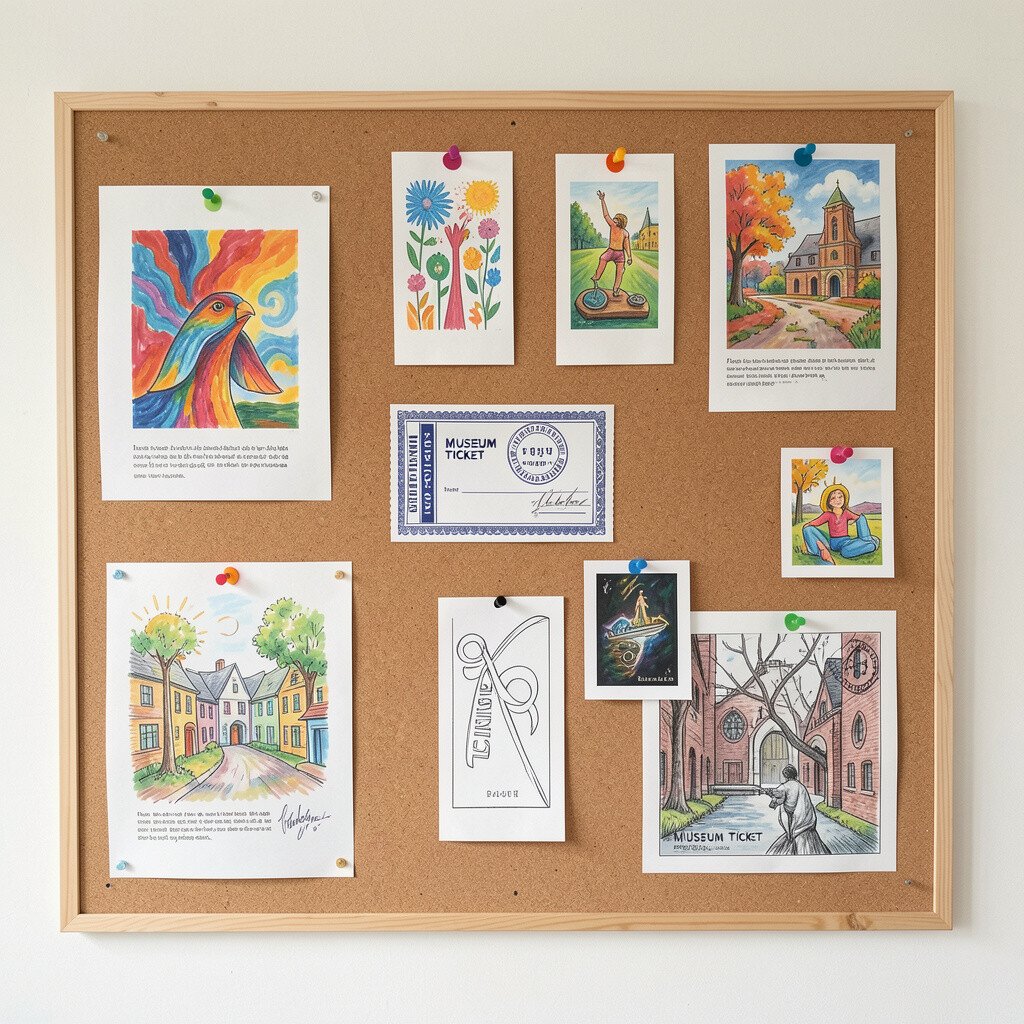
Imagine a bulletin board where each featured artwork gets a little ticket-style tag, like you are visiting an exhibit. The tags can include dates, a kid’s quote, or the medium they used, such as crayons or markers.
This helps kids because it turns display into a celebration, and it encourages them to create with care. Use small stamps or sticker seals to decorate the tags, and attach them to each piece with a corner clip. For practical tips, keep a small box of stamps and extra paper tags so you can update quickly.
Personalization ideas are easy because kids can design the ticket fronts with their own handwriting. Cost considerations stay low since ticket paper can be made from cardstock and stamps can be bargain finds. It is uniquely fun because it makes the board feel like a real event, and that excitement keeps children interested in rotating art.
As a current trend, many families are sharing “highlight reels” of creativity, and this board acts like one right on the wall. It also helps adults because it creates an organized way to remember what was made when.
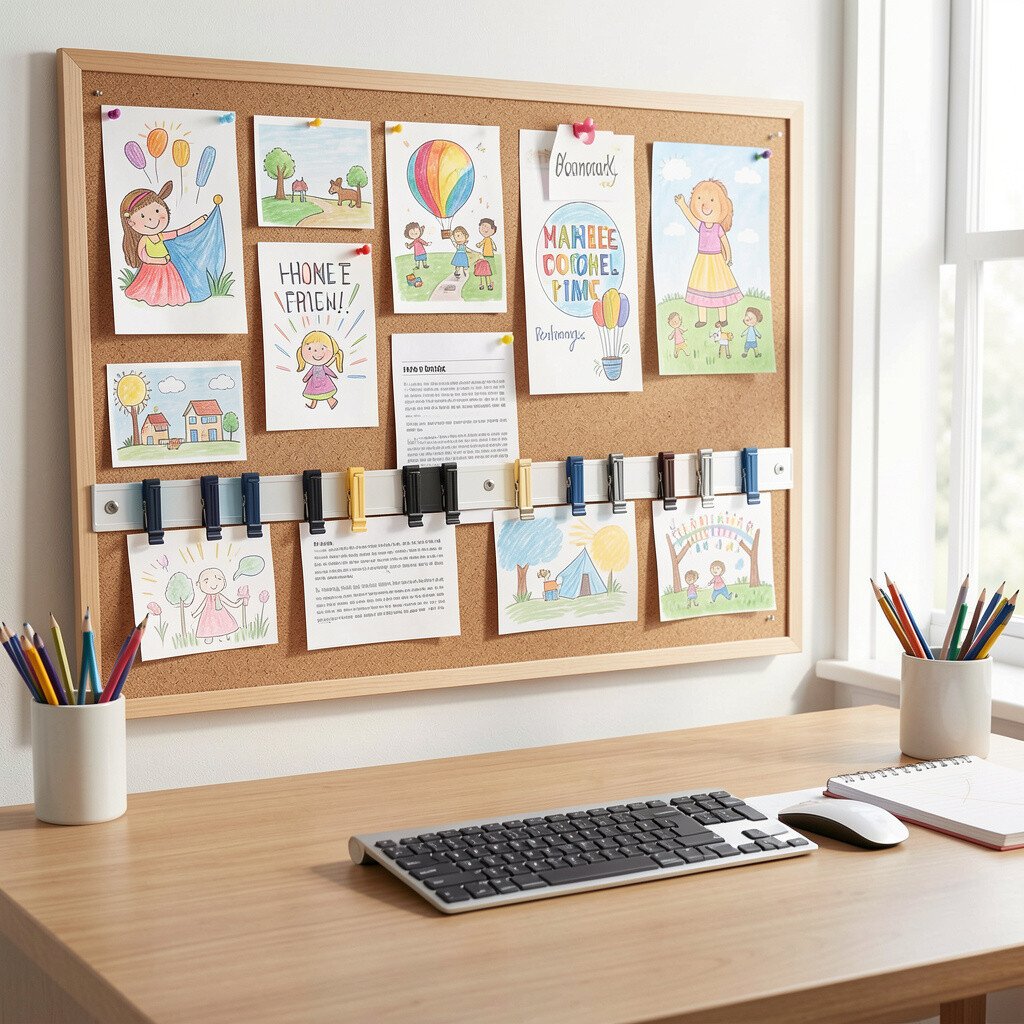
18. Rotating Clip Strip Over a Desk for Homework-Time Pride
Rotating Clip Strip Over a Desk for Homework-Time Pride
A clip strip mounted above a desk keeps art close to where kids spend time learning and thinking. When they glance upward, their best work reminds them that they can make progress.
This helps because it links creativity with daily routines, especially after finishing school tasks. Use small clips or mini binder clamps that hold paper securely without leaving heavy marks. For practical tips, keep the strip at a reachable height so kids can swap work themselves after they finish a project.
Personalization can include arranging the strip by skill, such as “writing,” “drawing,” or “teamwork,” so kids feel seen for different strengths. Cost considerations can be managed with inexpensive strips or repurposed rods, plus a bit of paint for a clean look. The uniqueness is that it functions like a motivational display, not just a storage wall.
19. Foam Board “Art Cards” Wall With Velcro Categories
Foam Board “Art Cards” Wall With Velcro Categories
Picture a foam board filled with labeled spots where kids attach art cards using Velcro dots. Instead of pinning paper directly, you display it like a collectible card set that you can reorganize anytime.
This helps kids because it reduces damage and keeps the art from ripping at corners. Velcro categories also make it easier for siblings to find their own work, which lowers the “who touched it” drama. For practical tips, cut art cards to a consistent size so rotation looks neat and does not overwhelm the board.
Personalization ideas can include letting each child design one category label with drawings, not just letters. Cost considerations remain reasonable because foam board and Velcro dots can be found in craft sections. It is uniquely practical because it turns messy paper into tidy cards while still showing every colorful detail.
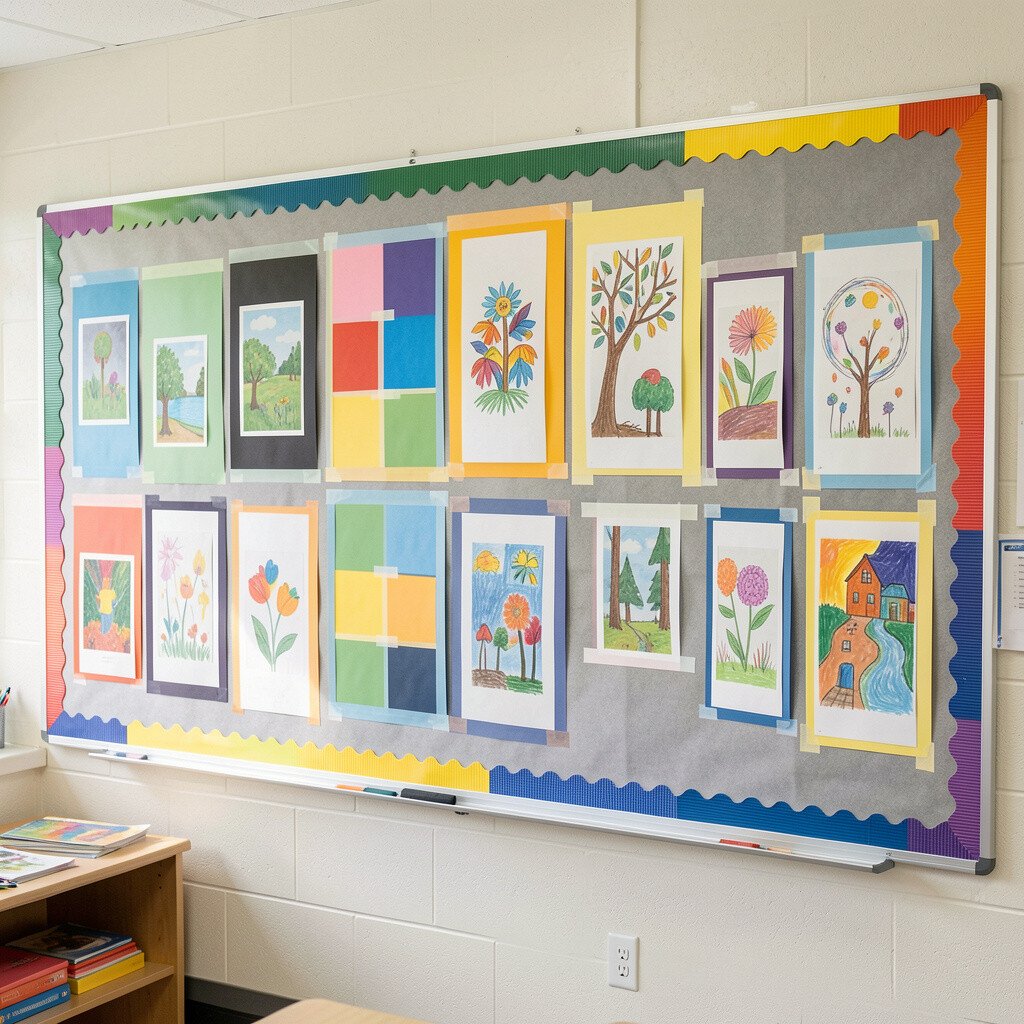
20. Classroom Look With Label-Free Color Blocks and Taped Frames
Classroom Look With Label-Free Color Blocks and Taped Frames
A colorful bulletin board can look like a classroom wall without feeling too strict or organized. Use wide color blocks as backgrounds, then add taped frames around each art piece so it looks curated.
This helps kids because the display is consistent and easy to understand at a glance, even for younger children. Avoid tight labels and instead use visual cues like matching colors and shapes. For practical tips, use removable tape so you can change layouts without damaging walls or paper edges.
Personalization is simple since kids can choose the color blocks, then add small stickers or cutouts to decorate their own sections. Cost considerations are friendly because paper tape, colored cardstock, and simple board backing are inexpensive. The uniqueness comes from the gentle flexibility of taped frames, which lets you shape the display based on what projects you have right now.
As current trends favor playful, mixed layouts, this method keeps the vibe lively while staying orderly. It also supports rapid rotation, which means the board stays full of fresh pride instead of old clutter.
21. Magnetic “Name Trail” Board That Follows Each Child’s Artwork
Magnetic “Name Trail” Board That Follows Each Child’s Artwork
Envision a board shaped like a trail or path where magnets follow a child’s name across the wall. Each new piece gets placed onto the trail, so progress looks like forward movement instead of scattered pages.
This helps kids because it turns art display into a visible journey, which boosts motivation. Use letter magnets or small name plates, then place artwork magnets along the path so everything lines up. For practical tips, keep the path wide enough for different paper sizes and secure heavier crafts with stronger magnets.
Personalization ideas are built in since each child can decorate their trail segment with drawings, stickers, or tiny hand-cut flags. Cost considerations can be kept low by using leftover magnets and making name plates from cardstock and laminate. It is uniquely engaging because the display tells you where new work goes, reducing confusion and making rotation smoother.
To keep it current, consider adding occasional “process moments,” like a photo of the kid working next to the final piece. That style matches the trend toward sharing making, not just finished art. Most of all, this board feels personal, which is the kind of practical magic families notice right away.