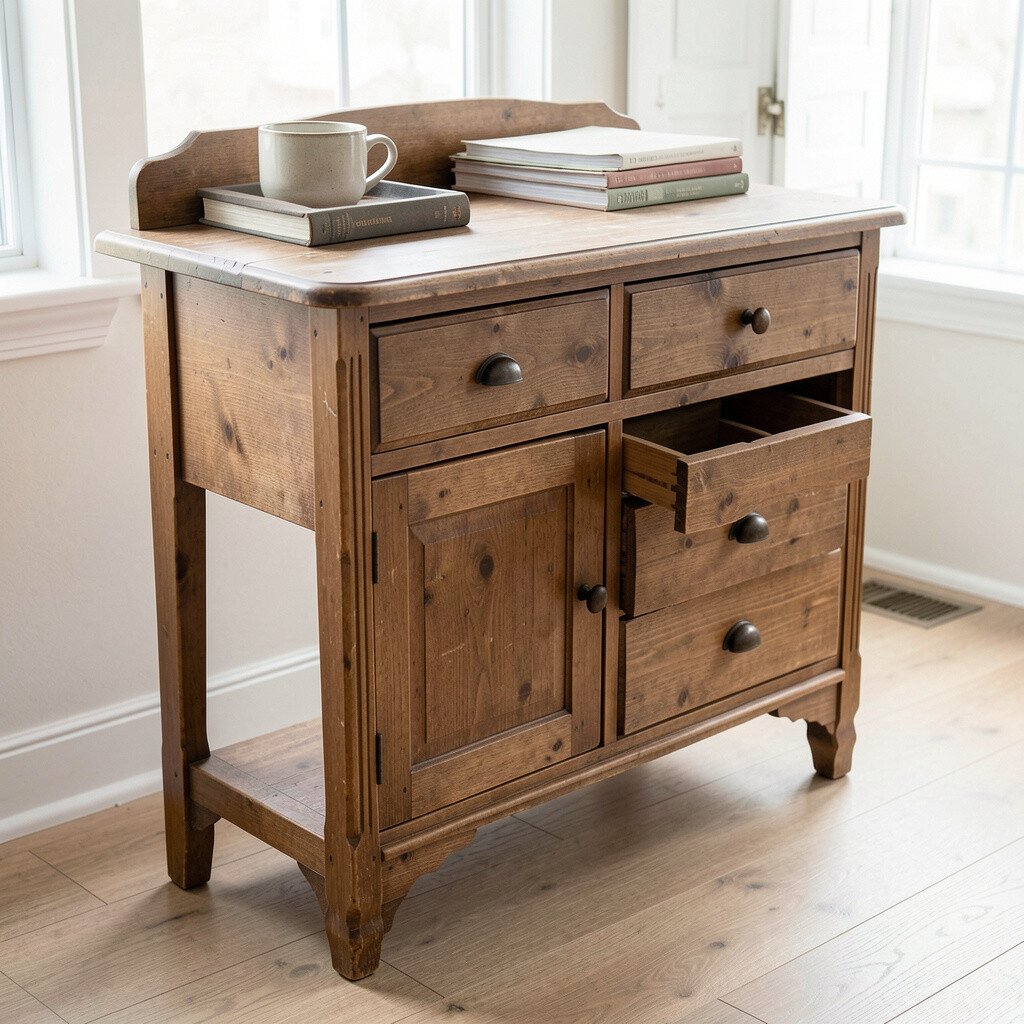
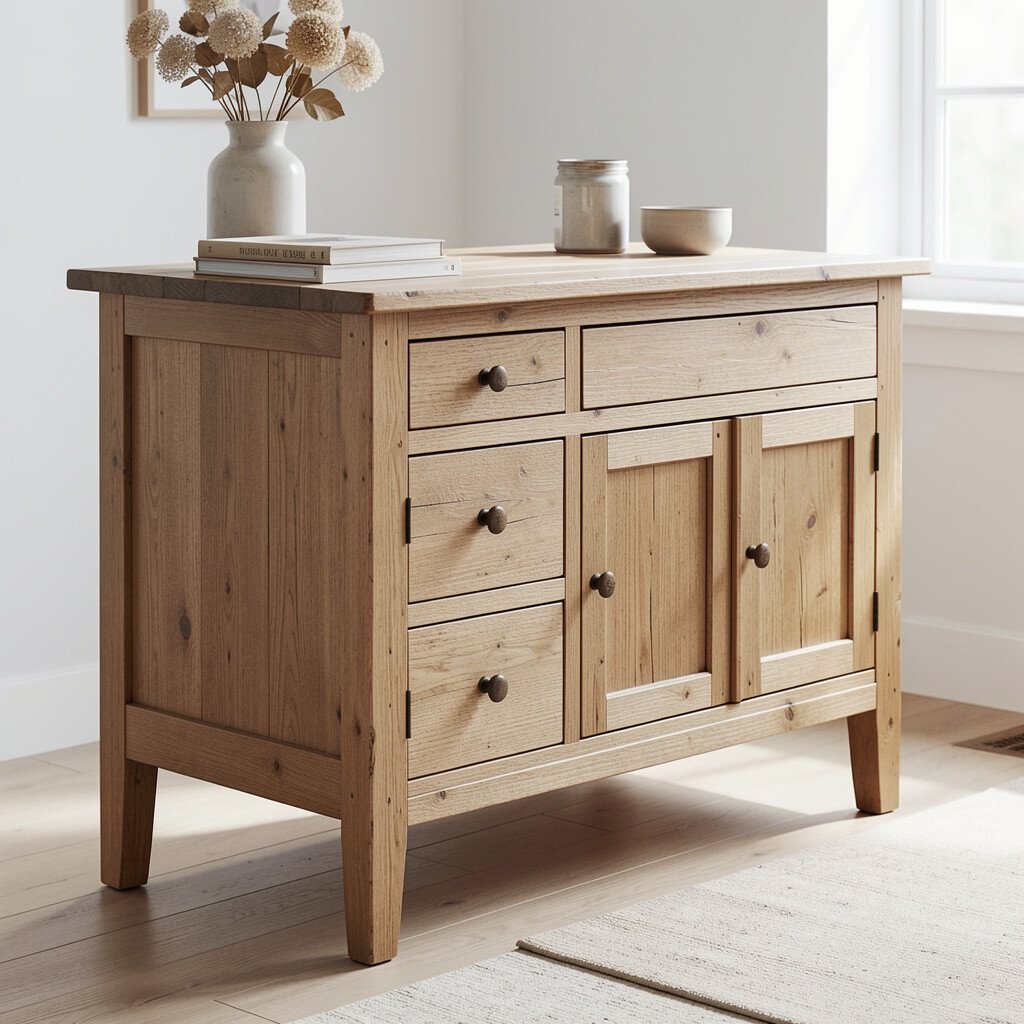
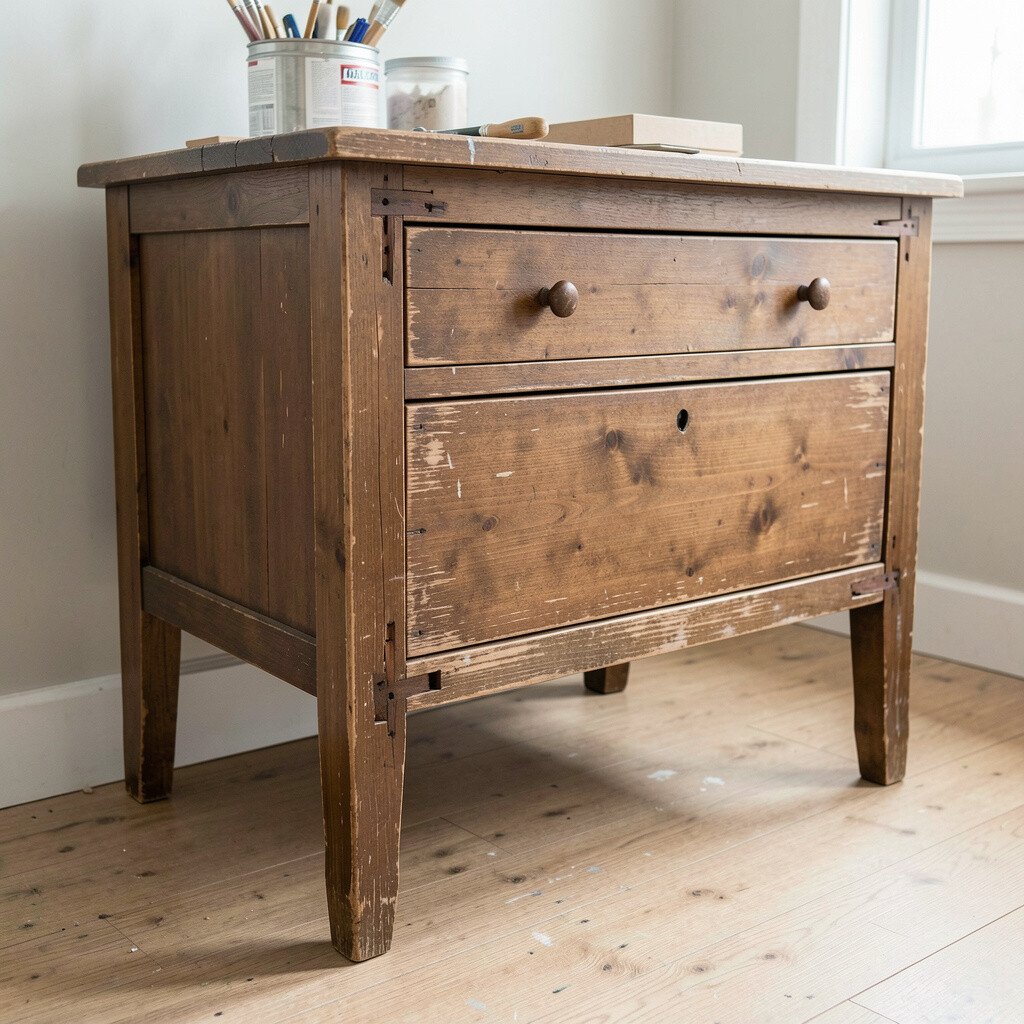
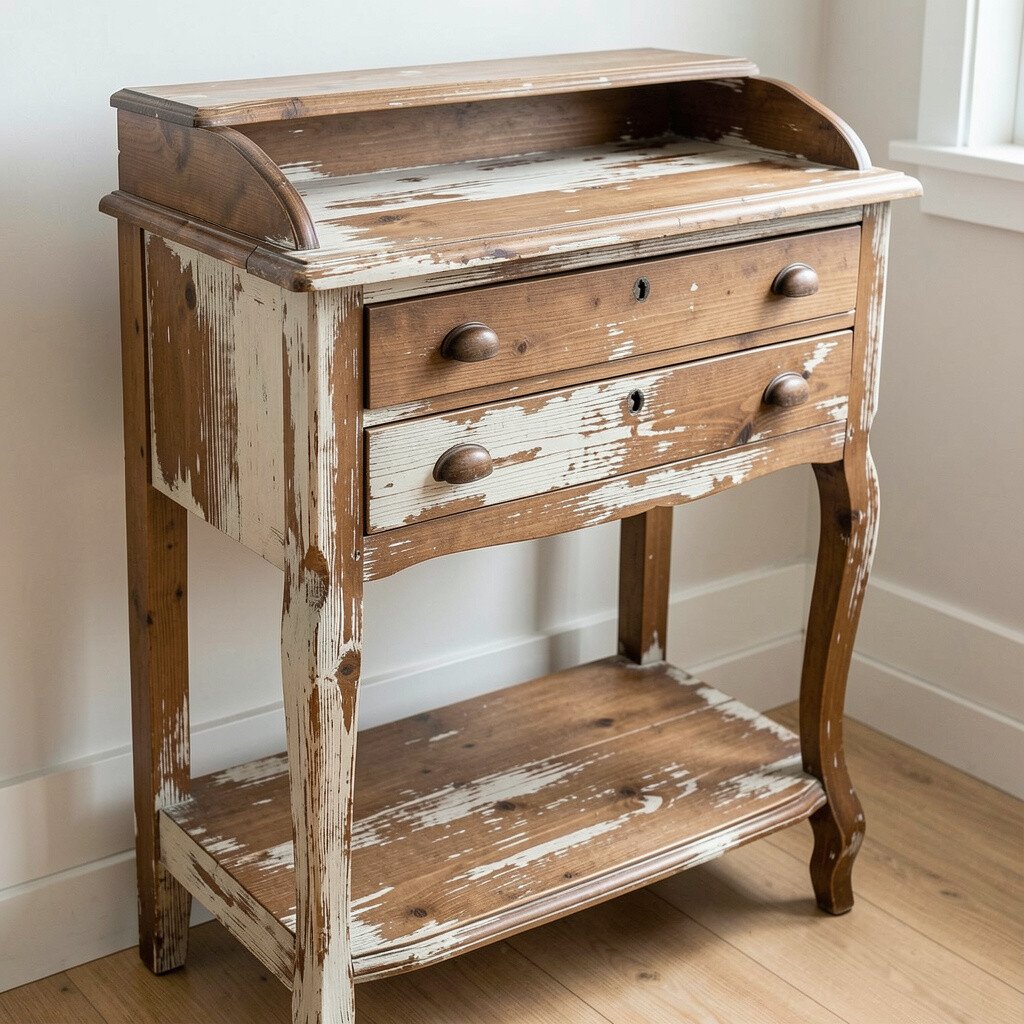
19+ Before Craft DIY The Old Furniture After Ideas
You can make tired furniture look loved again with small, smart changes. The fun part is seeing the “after” moment as the room suddenly feels new.
Planning is your secret weapon, because each choice affects the final look, how long it lasts, and how much effort it takes. With the right steps, even a simple thrift find can become a custom piece that feels like yours.
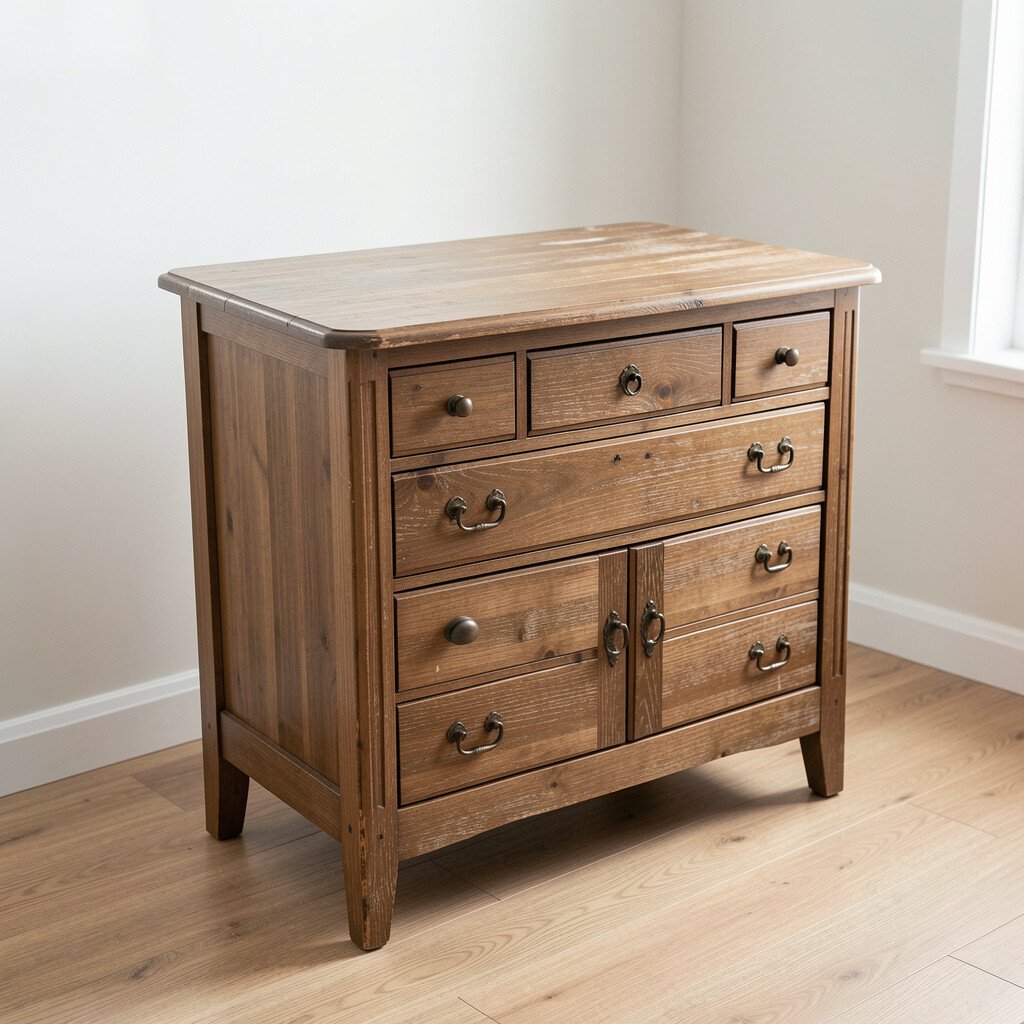
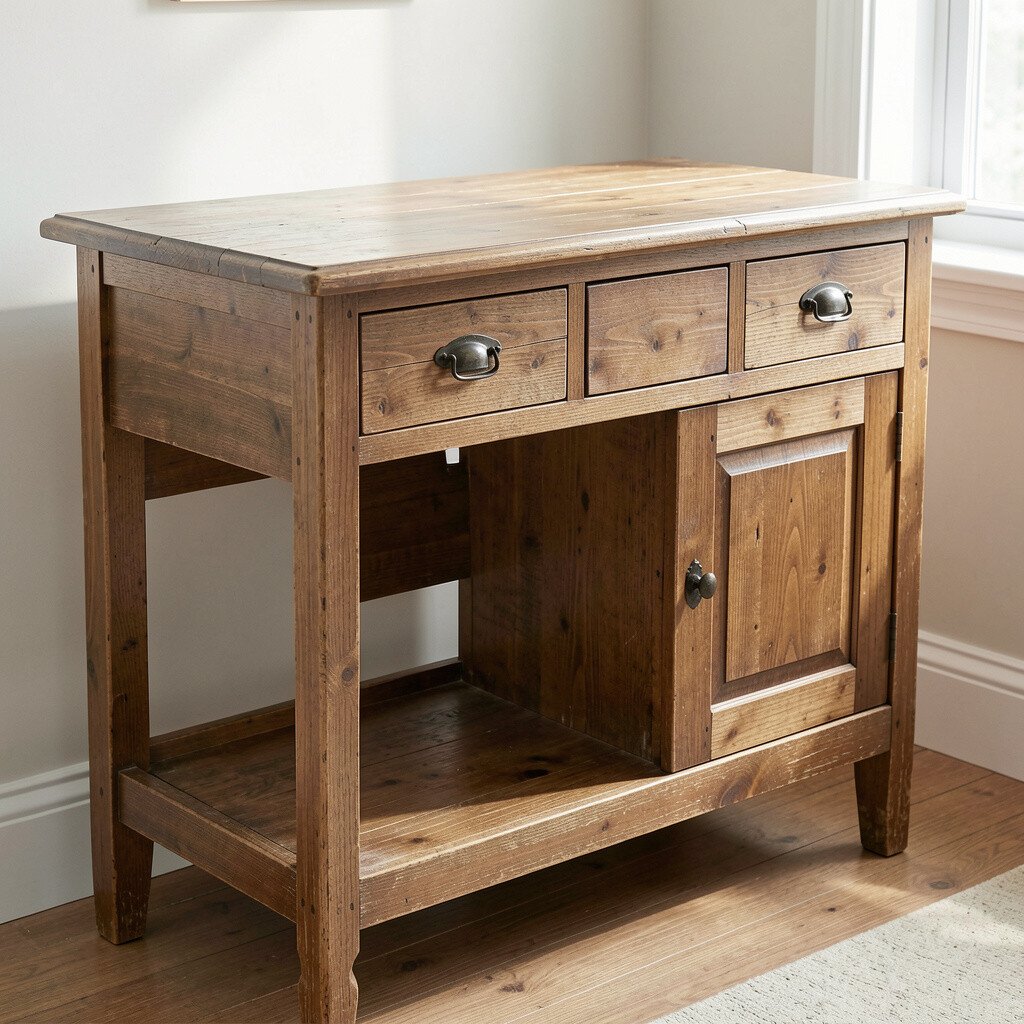
Before anything changes, get close to the furniture and really look. Scratches, stains, and old finishes tell you what the piece needs next.
Start by wiping off dust and grime with warm water and a gentle cleaner, then let everything dry fully. If the surface feels sticky or looks dull, you may be dealing with built-up residue from old wax or oils.
Use a bright light to check uneven spots and raised grain, because those details show up after painting too. When you clean well first, the finish sticks better and the final color looks more even.
2. Choose a Finish Plan That Matches Your Real Life
Choose a Finish Plan That Matches Your Real Life
Think about how the furniture will be used every day, not just how it looks on day one. A dining table needs durability, while a bookshelf can handle lighter traffic.
If you want a smooth, modern vibe, consider sanding and then using a paint and topcoat made for that surface. For a softer, farmhouse look, you can lean into distressing and a protective glaze.
Matching the finish plan to your schedule helps too, because some coatings take longer to cure. Once you know the lifestyle needs, the “after” result feels right and stays beautiful.
3. Fix Loose Joints Before You Paint Anything
Fix Loose Joints Before You Paint Anything
A wobbly chair or shifting cabinet instantly ruins the charm, even if the color is gorgeous. Tighten screws, replace broken hardware, and check every joint by hand.
For wood furniture, consider adding a small amount of wood glue where parts separate, then clamp gently. Let repairs cure fully so you don’t end up with cracks showing through the new finish.
If you spot missing dowels or weakened corners, replace those pieces instead of covering them up. This step makes the final look feel solid, not just “pretty.”
When the structure is secure, you can focus on style choices like sheen and color without worrying about future damage.
4. Strip the Old Finish the Smart Way
Strip the Old Finish the Smart Way
Old paint and varnish can be tough, but stripping isn’t always required. Sometimes a thorough sanding and primer gives you a clean base without the mess.
If the finish is flaking, peeling, or too glossy for paint to grip, stripping may be worth it. Work in a ventilated space and wear gloves, because safety keeps your project enjoyable.
After stripping, wipe away residue and let the surface dry completely before sanding again. This careful prep prevents bumps and peeling later.
5. Sand for Smoothness, Not for Perfection
Sand for Smoothness, Not for Perfection
Sanding is where the furniture quietly changes, even before you see any color. You’re leveling the surface so your new finish looks even and feels smooth to the touch.
Use medium grit to remove roughness and then switch to finer grit for a gentle feel. If the wood grain is uneven, extra attention in those spots helps the final sheen look polished.
When you wipe away dust with a tack cloth, you remove the tiny leftovers that can cause gritty texture. The smoother the base, the more professional the “after” appearance looks.
6. Prime Like You Mean It for Better Coverage
Prime Like You Mean It for Better Coverage
Primer is the bridge between old and new, and it often decides whether your topcoat looks flawless. Skipping primer can lead to patchy spots and uneven color.
Choose a primer that fits your surface, like bonding primer for tricky finishes. Then apply it in thin, steady coats so it dries without drips.
If your furniture has stains, an appropriate stain-blocking primer helps prevent color bleed. A good primer makes your chosen color look true and vibrant.
7. Paint with Color Stories, Not Random Shades
Paint with Color Stories, Not Random Shades
Pick a color that matches the mood of the room, because furniture often becomes the visual anchor. Warm cream and sage can soften a space, while deep navy can add drama.
Try testing a small spot first so you can see how the paint looks in your lighting. Morning sun can make a color brighter, while evening lamps can shift the tone.
For an extra personal touch, blend colors using painter’s tape lines or a subtle gradient. When you plan the story, the final piece feels intentional.
To keep your paint job neat, use thin coats and let each one dry fully before the next layer.
8. Add Texture for That “Craft” Feel
Add Texture for That “Craft” Feel
Sometimes the best before-and-after difference is texture, not just color. A lightly raised pattern can make the piece feel more expensive and artistic.
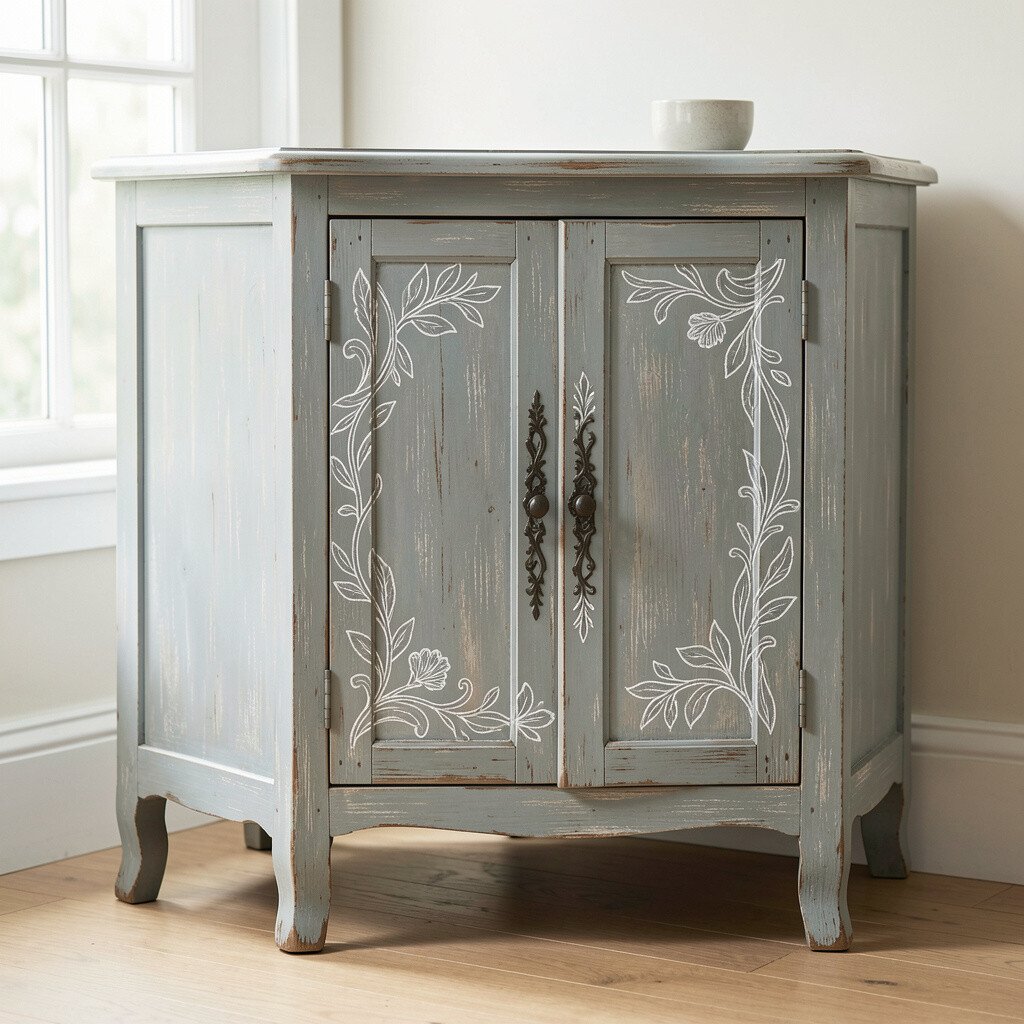
Use a stencil, a carved template effect, or a textured medium to create gentle depth on doors or drawer fronts. Even simple wave patterns can make plain furniture look like a designer find.
Work slowly and clean your tools right away, because textured details are only as crisp as your process. This kind of finish hides minor imperfections while adding character.
Pair texture with a satin topcoat to keep it looking fresh instead of shiny and sticky.
9. Swap Hardware for a Fast, Big Upgrade
Swap Hardware for a Fast, Big Upgrade
New knobs and pulls can change the whole personality of a cabinet or dresser. It’s one of the easiest upgrades with a quick payoff you can see immediately.
Choose hardware finishes that match your room details, like brushed brass with warm lighting or matte black for a modern edge. Measure carefully so the screw spacing fits and you don’t have to rebuild mounting holes.
When you reuse hardware in the wrong size, you risk crooked installs and extra patching later. A clean fit makes the “after” look neat and satisfying.
For personalization, consider mixing finishes, such as pairing a mix of shapes for a playful look.
10. Create a Custom Look with Staining and Glazing
Create a Custom Look with Staining and Glazing
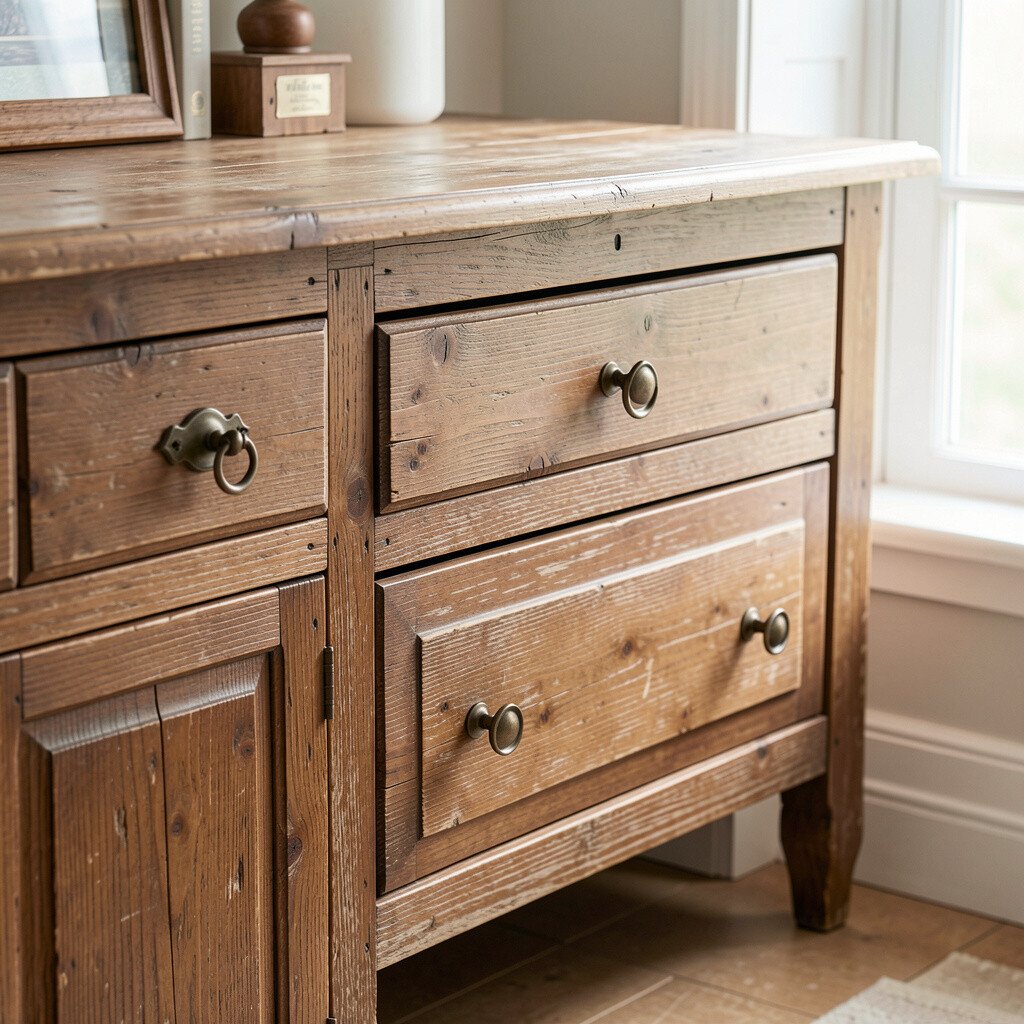
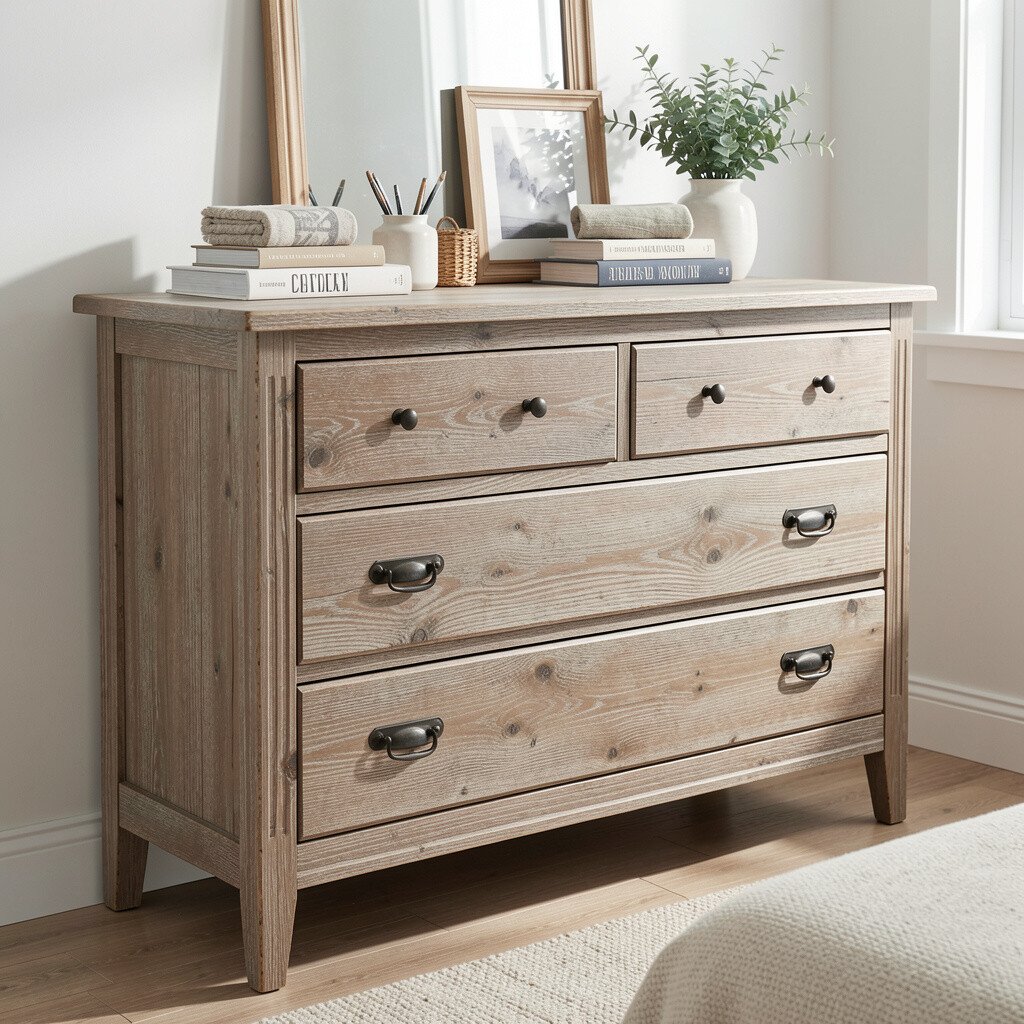
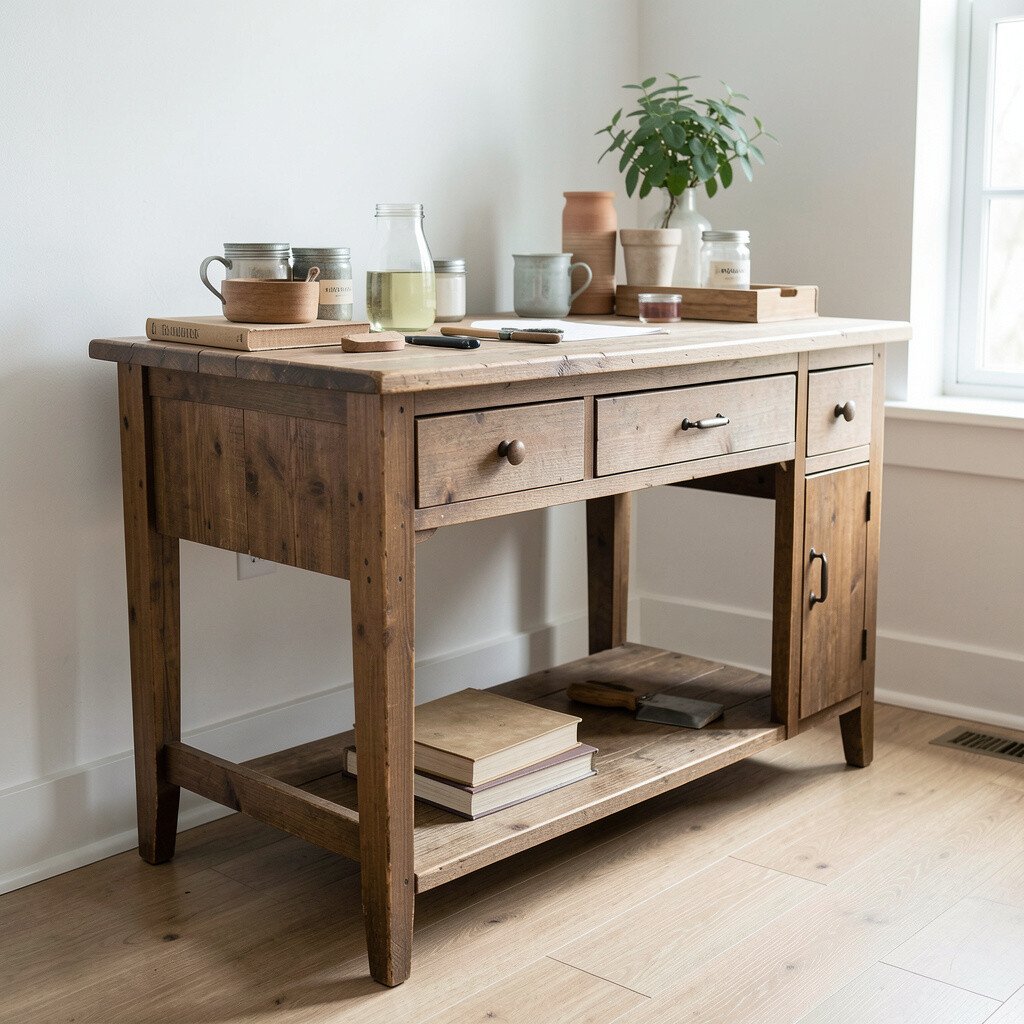
If you love wood, painting isn’t your only option. Stain and glaze can highlight grain while adding depth to the existing character.
Start by sanding gently so stain can soak in evenly, then apply stain with a cloth or brush in smooth strokes. After it dries, a glaze can add shadowy contrast in corners and carved details.
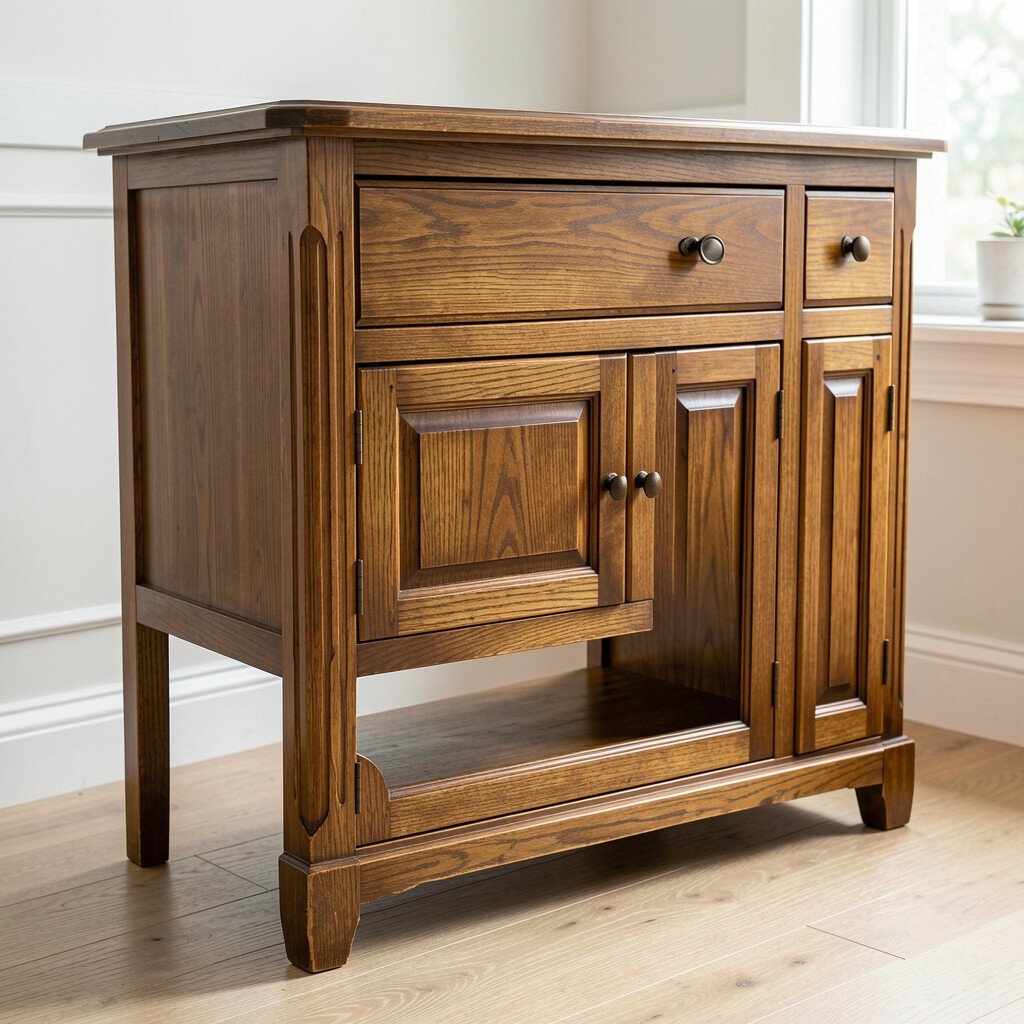
This method often looks great on cabinets, dressers, and chair seats because it keeps a natural warmth. It also tends to feel timeless, which is a nice benefit if your style changes later.
For cost control, you can use fewer products since stain and glaze can replace layered paint techniques.
11. Protect the Finish with the Right Topcoat
Protect the Finish with the Right Topcoat
A beautiful finish needs protection so it stays gorgeous when life happens. The topcoat helps resist scuffs, water rings, and everyday wear.
For high-use pieces, choose a durable clear coat made for furniture, and apply it evenly. Multiple thin coats usually look smoother than one thick coat.
If you want a soft, modern feel, satin or matte topcoats can reduce glare and hide tiny imperfections. Gloss looks sleek but can show brush marks more clearly.
Let each layer dry and cure as directed, because rushing this step can lead to tacky spots. When the protection is right, your “after” finish stays strong.
12. Use Vinyl, Chalk Transfers, or Decals for Personality
Use Vinyl, Chalk Transfers, or Decals for Personality
Decorative accents can make a piece feel personal without heavy woodworking. A well-placed decal can turn a plain drawer into a statement.
Chalk transfers and stencils work nicely for labels, florals, or simple icons. Vinyl is great for clean lines and can be repositioned before you commit.
Before applying any design, seal the base with a coat of paint and let it cure, especially if you’re using transfers. This step helps the graphics stick well and keeps edges crisp.
If you enjoy seasonal changes, choose removable vinyl so you can update the look later without repainting everything.
13. Embrace Distressing for a Worn, Cozy Vibe
Embrace Distressing for a Worn, Cozy Vibe
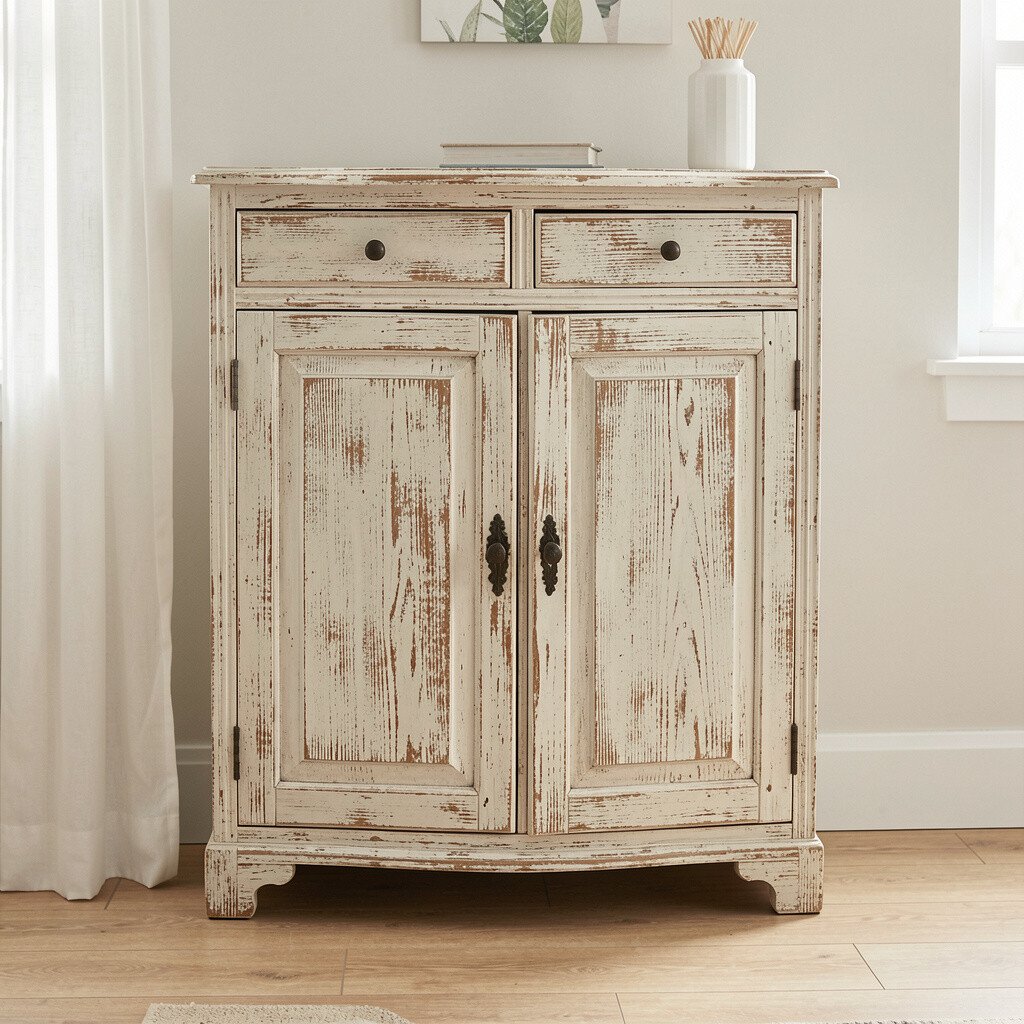
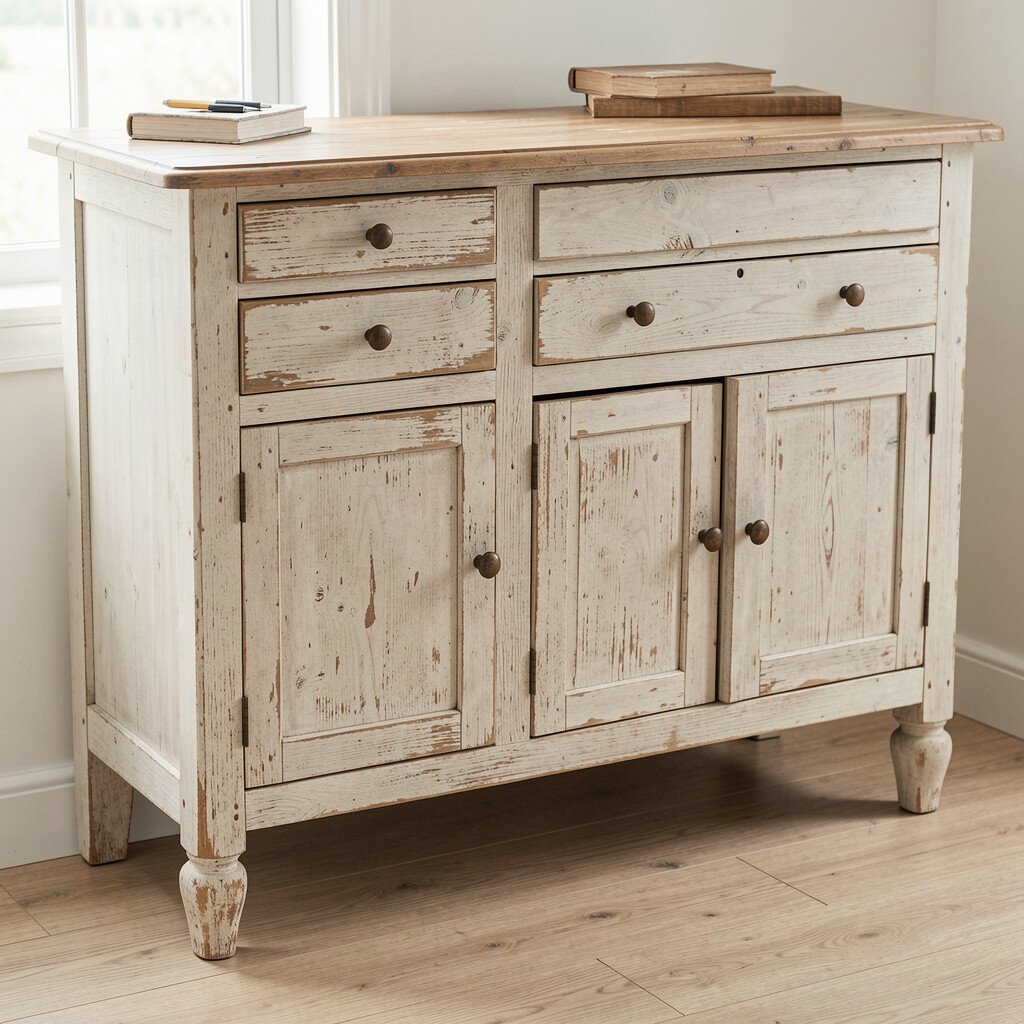
Distressing can make a new finish look like it already has stories. The key is doing it lightly and intentionally so it looks natural.
Start with controlled sanding on edges and corners, then add small scuffs where hands would naturally touch. You can also use a dark glaze in seams for subtle aged contrast.
This style fits current trends because many rooms now mix old textures with clean lines. It pairs well with warm neutrals and natural fibers like jute or linen.
Try practicing on a hidden drawer bottom first, because you’ll learn how quickly the look forms.
14. Turn a Dresser into Storage That Works Better
Turn a Dresser into Storage That Works Better
Before you paint, think about how you want to store things now. A dresser can become a tidy command center with a few practical changes.
Consider adding drawer dividers, adjusting shelf height, or installing soft-close slides for smoother use. When drawers glide quietly, the piece feels upgraded instead of just decorated.
If you need more organization, line drawers with fabric, peel-and-stick liners, or sealable paper. That makes cleaning easier and adds a cozy detail people notice when they open drawers.
Planning for function also helps your design decisions, because your hardware and color choices can match the new purpose.
15. Repurpose the Layout with Shelf Inserts and Liners
Repurpose the Layout with Shelf Inserts and Liners
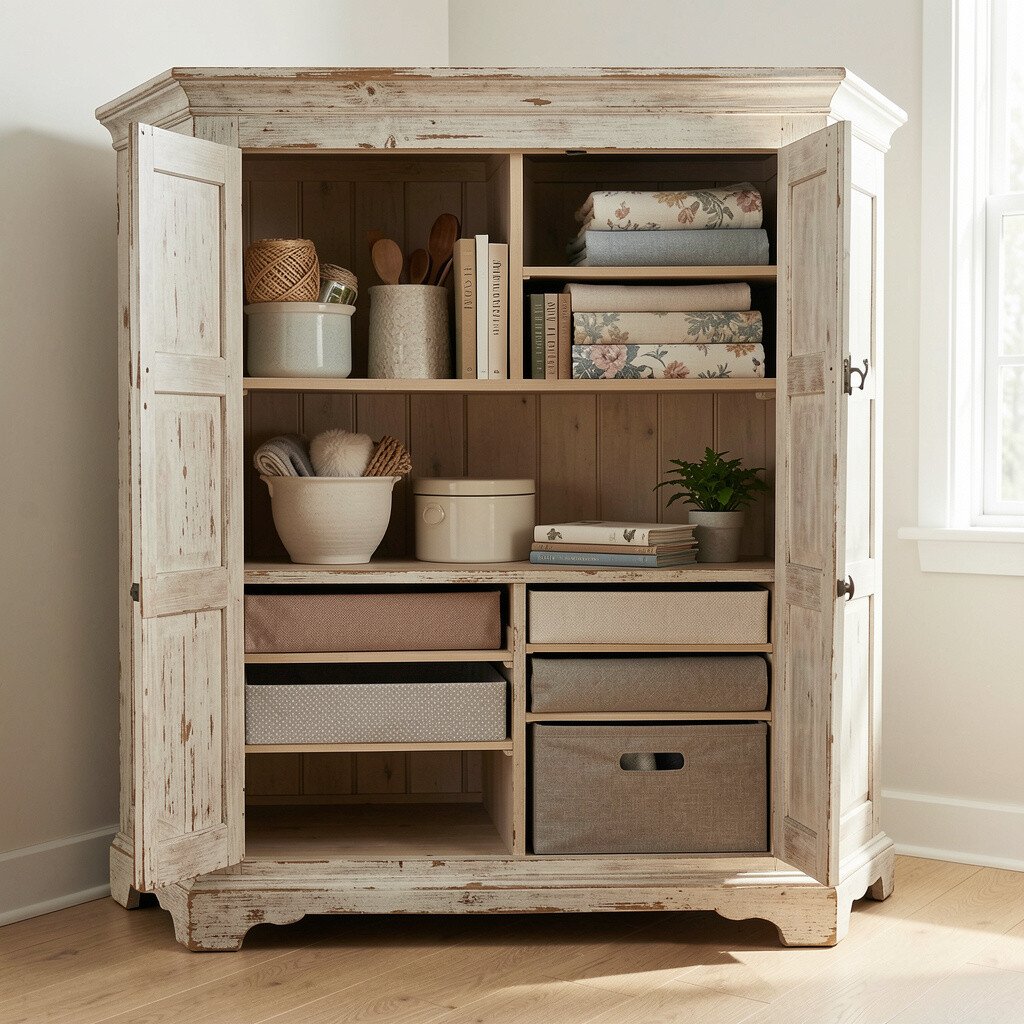
Repurposing is where creativity shows up in the everyday details. A cabinet can hold pantry items, craft supplies, or even a small media setup.
Add shelf inserts for smaller containers, because it keeps items from tipping and reduces visual clutter. Liners help protect surfaces from stains and make the inside feel finished.
For personalization, use patterned shelf paper, then seal it so it stays wipeable. Choosing washable materials can keep maintenance low while still feeling stylish.
This approach also helps cost considerations, because you can keep the original structure and just improve the interior comfort.
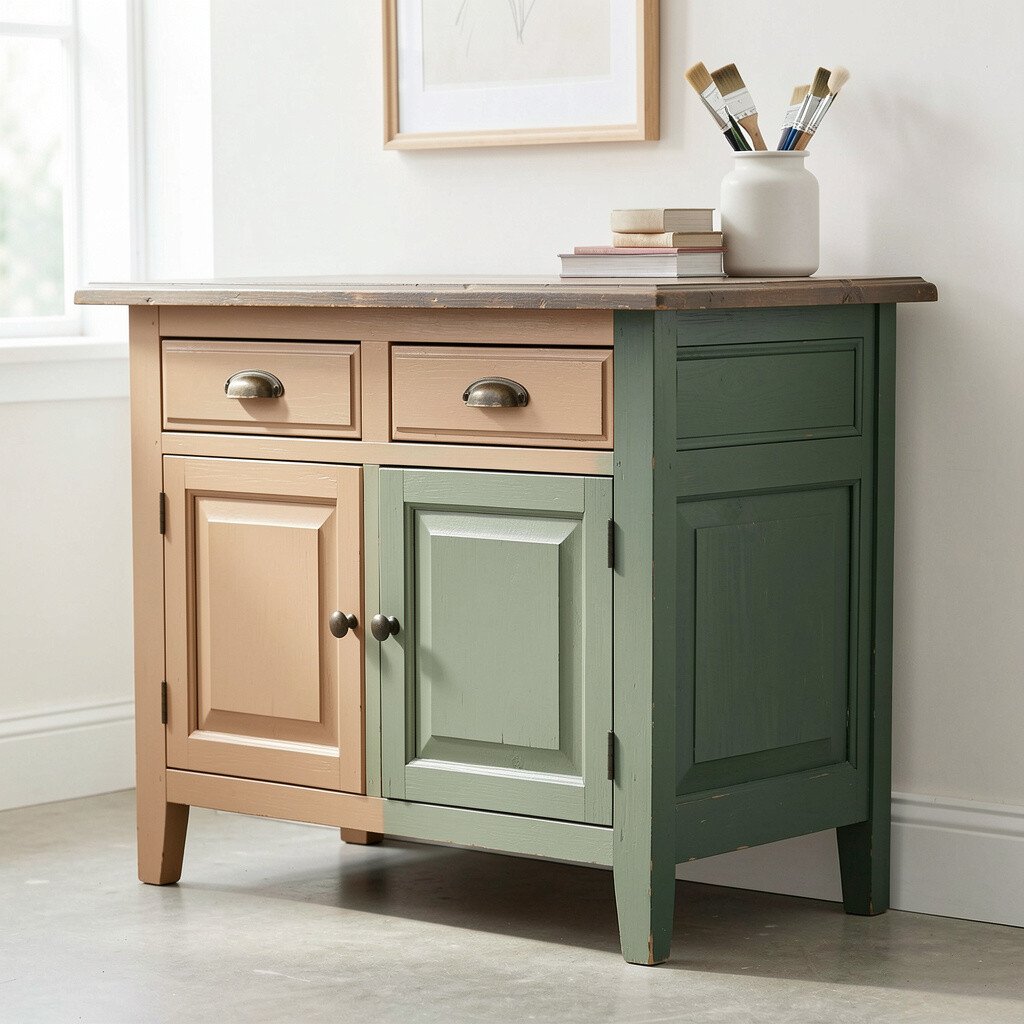
16. Make a Bold “Before-and-After” with Color Blocking
Make a Bold “Before-and-After” with Color Blocking
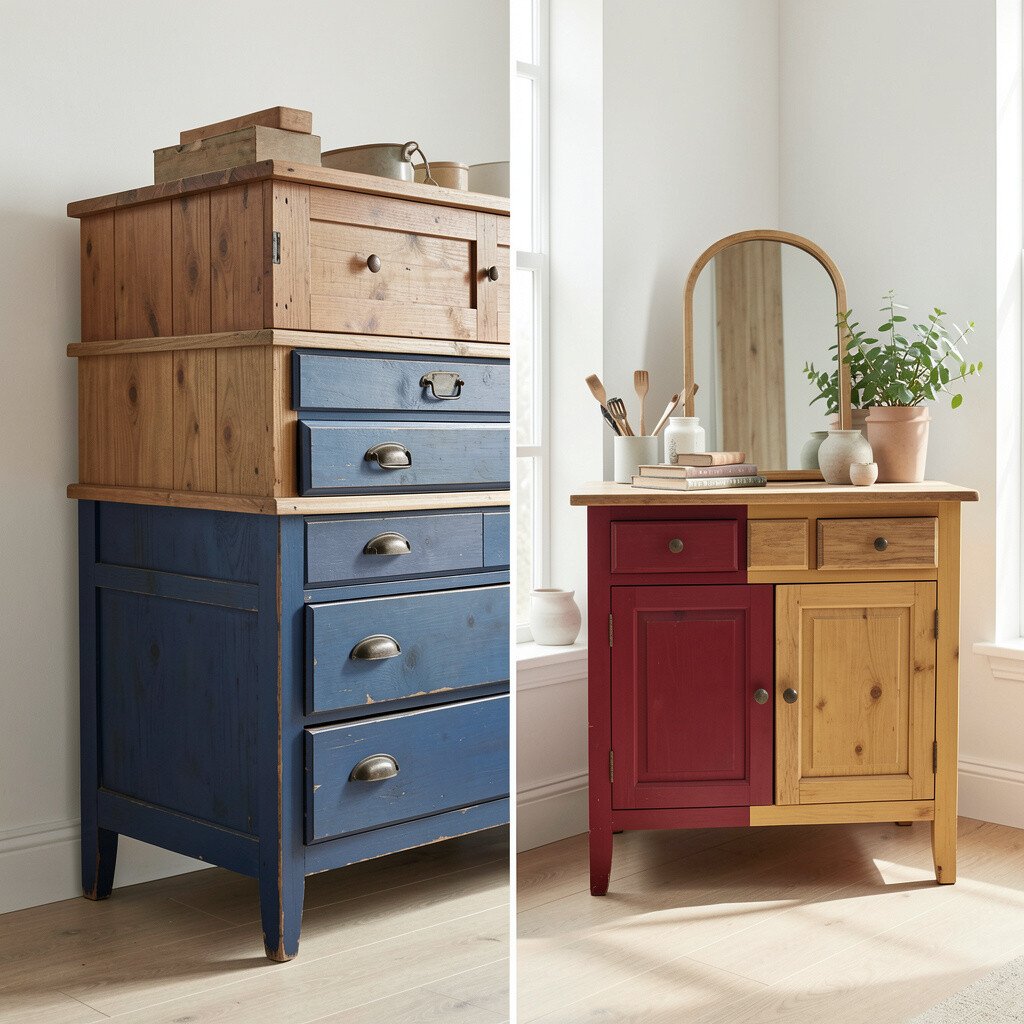
Color blocking creates instant contrast and makes your work look like a design plan, not a quick coat. It’s especially striking on dressers, cabinets, and end tables.
Use painter’s tape to map sections, then apply one color at a time and remove tape while the paint is still slightly tacky if recommended. The edges look sharp, and you get clean lines that feel modern.
Try pairing one deep tone with a lighter neutral for balance. If you want a trendy look, consider earthy terracotta or muted green paired with cream.
When you use thin coats, you reduce the chance of bleed-through, which is a common frustration in taped projects.
17. Upgrade Lighting and Styling to Show Off the New Finish
Upgrade Lighting and Styling to Show Off the New Finish
The furniture “after” moment isn’t only about the paint, stain, or hardware. How you style it makes the makeover feel complete and intentional.
Place a lamp nearby, add a small tray, or hang art in the same color family so the piece blends beautifully. When the room has matching cues, even simple upgrades look like part of a full design.
Try styling with a mix of heights, like a tall vase and a short book stack. This visual balance draws attention to the texture or color you worked so hard to create.
If the furniture now has a warm finish, pick decor in natural materials like wood, rattan, or stone for a cohesive look.
18. Avoid Common Mistakes That Ruin the Look
Avoid Common Mistakes That Ruin the Look
Even careful people run into issues like uneven coverage, dust specks, or sticky surfaces. Catching the problem early saves time and money later.
Don’t rush drying between coats, because paint can trap moisture and create soft spots. Also, sand thoroughly between layers if you’re going for a smooth feel.
Use the right brush or roller for your paint type, since cheap tools can leave streaks that show under light. When you notice lint, stop and clean the area before continuing.
Keeping a small journal of what you did and what you used helps future repairs feel easier. That kind of practical thinking makes your project feel confident.
19. Plan Cost Smartly by Using What You Already Have
Plan Cost Smartly by Using What You Already Have
DIY can be budget-friendly when you shop with a plan. Start with what you already own, like sanding pads, brushes, and cleaning supplies.
Then prioritize the items that matter most for quality, such as primer and a durable topcoat. These choices often cost a little more up front but save you from redoing the entire job.
For color, buy small sample pots if you’re unsure, then commit once you love the shade. You can also mix paint to stretch your budget while still keeping the color consistent.
If you’re adding decals or stencils, watch for sets that include extra designs so you get more variety without extra spending.
20. Make It Yours with Small Details That Feel Like Magic
Make It Yours with Small Details That Feel Like Magic
The most memorable makeovers often include small touches that are hard to copy. Maybe it’s a custom drawer label, a hand-drawn stripe, or a tiny pattern near the handle.
Consider adding felt pads, a new felt-lined top, or a subtle border around a mirror inset for a polished feel. Small upgrades improve daily use and make the piece feel thoughtful.
If you love a personal story, use a family color palette or a motif from a trip you took. That kind of meaning turns a piece into a keepsake.
When you finish, step back and check from different angles, because furniture is seen in motion. If you notice a spot that feels unfinished, adjust it while everything is still fresh and you’ll love the final “after” more.