14+ Upcycled Window Box Ideas From Old Furniture To Try
The windowsill is a great place to get crafty without buying much. Old furniture can become charming planters in a way that feels personal and practical.
You’ll get more than pretty greenery. You’ll also save money, reduce waste, and add character to your home.
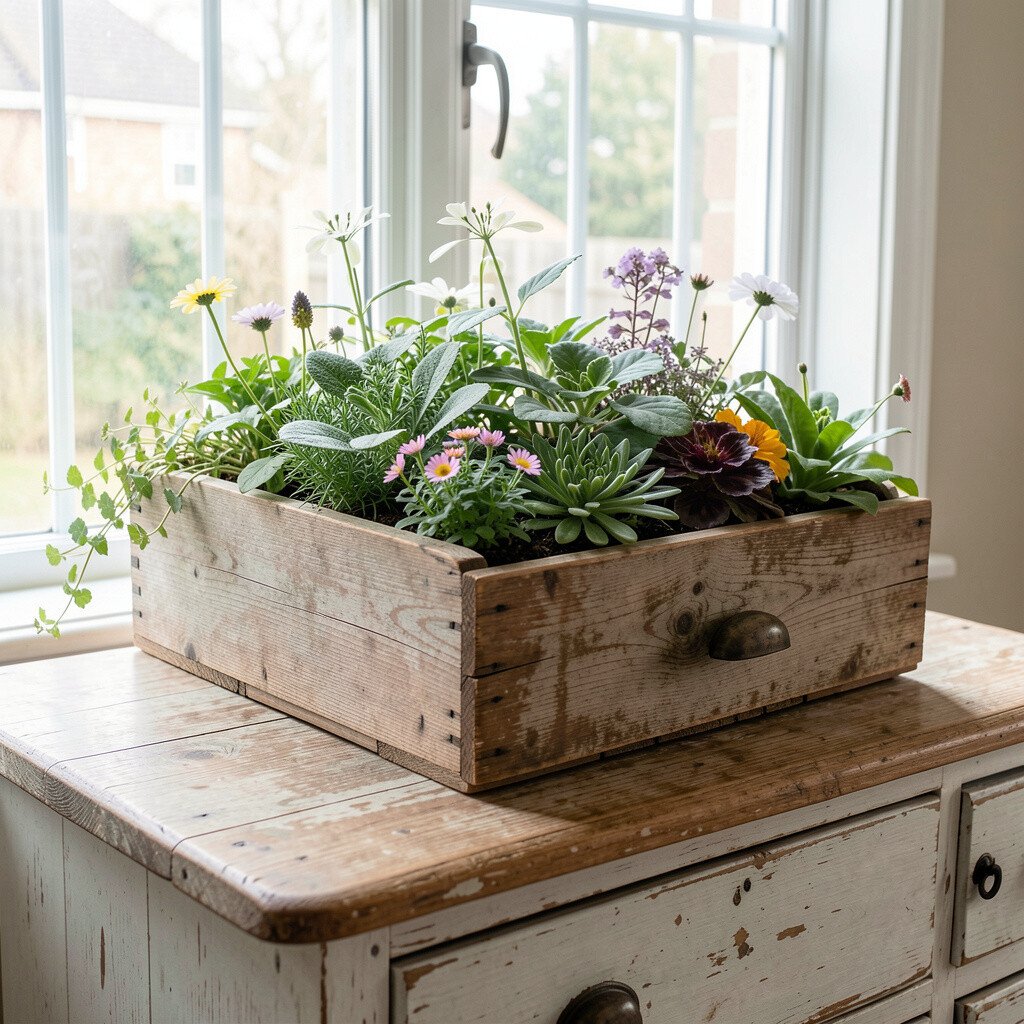
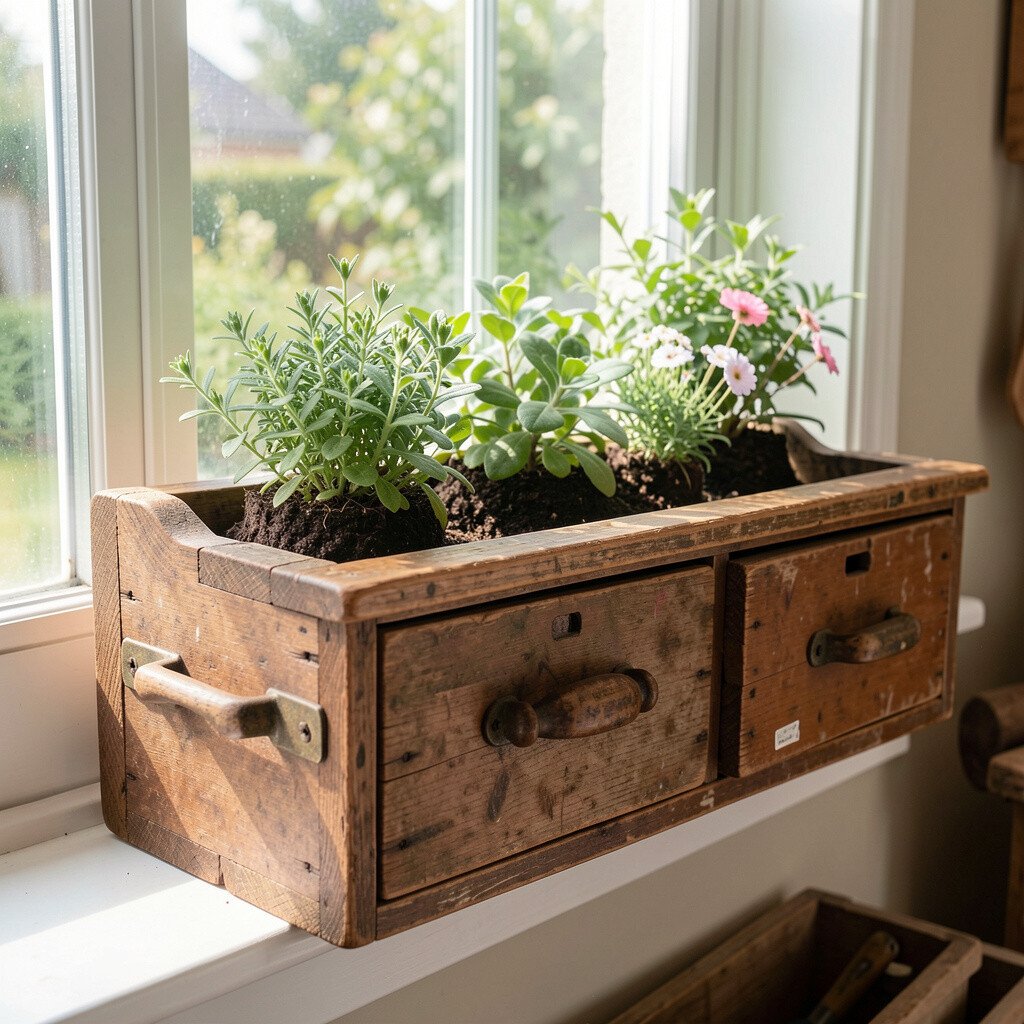
Find an old dresser drawer that still holds its shape, then clean it well so soil won’t mix with dust and old finishes. Choose a drawer with a nice wood grain so the front feels like decor even when plants are small.
Measure your window opening and mark where the drawer will sit, then add drainage holes to the bottom using a drill. Line the inside with a thin waterproof barrier, fill with potting mix, and plant herbs like basil, thyme, or mint for a fresh look and easy harvest.
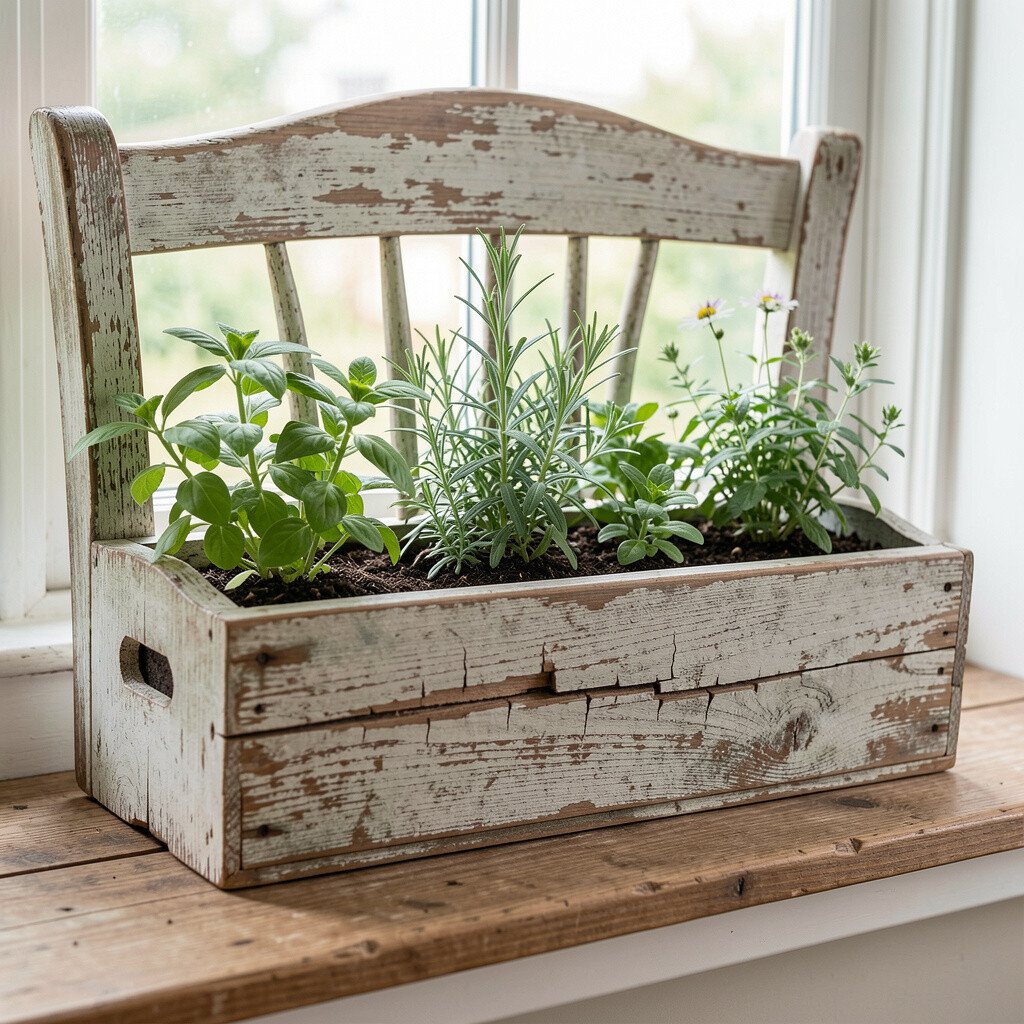
2. Cracked Chair Back Herb Boxes
Cracked Chair Back Herb Boxes
Look for a chair back with slats or turned pieces, then remove any loose parts and sand rough spots smooth. The airy shape lets light move through while the plant stems peek out like a little garden sculpture.
Attach a shallow container to the chair back using sturdy brackets or screws, and seal gaps so water doesn’t leak into the wood. Add a liner, then set in soil and small seedlings for herbs or compact flowers that like bright windows.
For personalization, paint the chair back in a soft pastel or keep the worn wood for a cozy rustic vibe. This style stays on-trend because chunky, vertical planters are popular in small-space gardening right now.
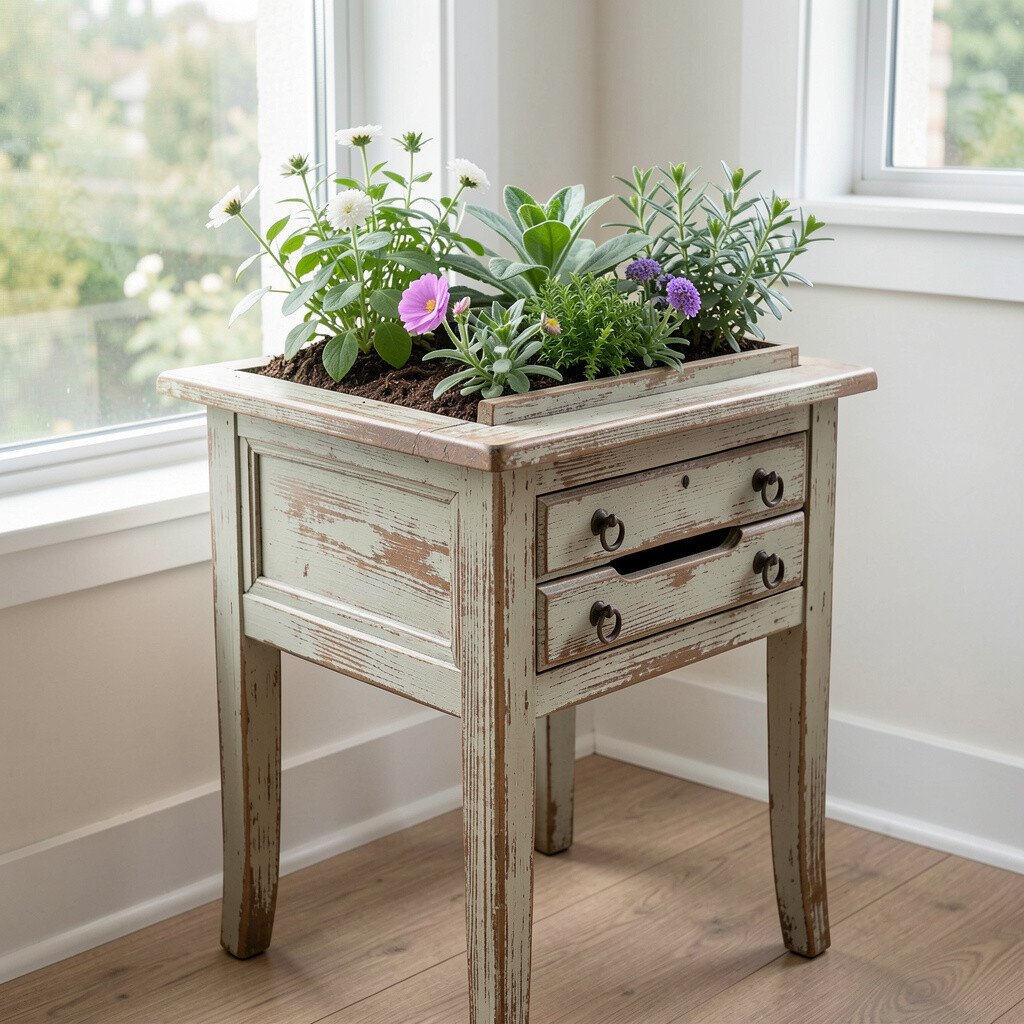
3. Side Table Cutout Window Box
Side Table Cutout Window Box
Pick a small side table, then use a jigsaw to create a wide opening in the top where plants can sit. The cutout gives a clean, modern window box look while still using furniture you already have.
Seal the cut edges with wood-safe paint or varnish, then drill several drainage holes in the bottom panel you use to cover the space. Secure the planter to the windowsill with L-brackets so it doesn’t shift when you water.
Use a mix of trailing and upright plants so it looks full from a distance, like creeping thyme paired with a taller sage or marigold. Keeping the original table hardware as a decoration makes the piece feel unique without extra shopping.
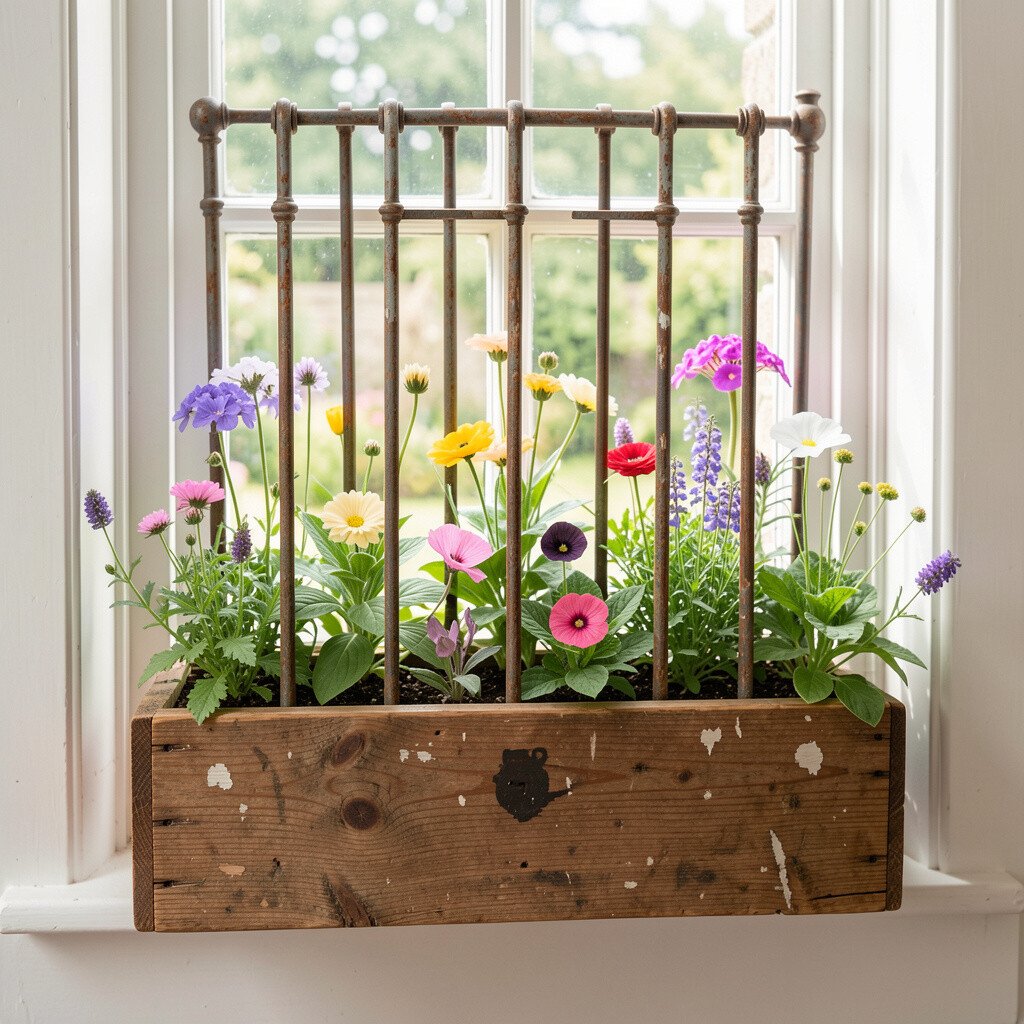
Take a section of old bed frame rail and clean off rust, then sand until it feels smooth to the touch. The strong metal frame makes a sleek window display that stands out even when flowers aren’t in peak bloom.
Attach small planter pots or create a narrow trough along the rail with brackets, making sure each planting pocket has drainage. Line the pockets with a barrier fabric and add potting mix that drains well for healthier roots.
To make it practical, water with a small can and check moisture daily during hot weeks. This idea fits current trends toward airy, metal-and-wood styling while still being budget-friendly.
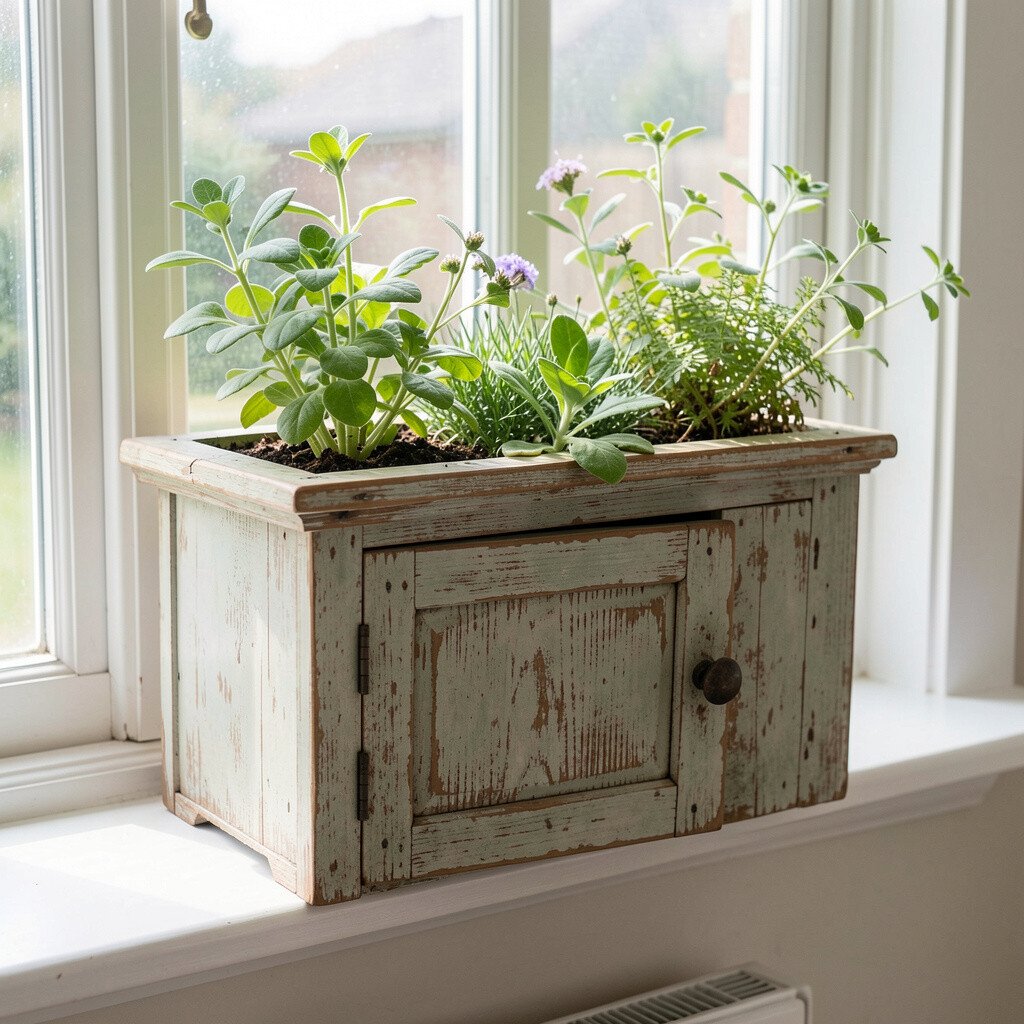
5. Vintage Cabinet Door Raised Planter
Vintage Cabinet Door Raised Planter
Find an old cabinet door, remove hardware, and decide which side will face outward for a tidy finished look. The flat surface gives a perfect background for colorful blooms.
Secure a shallow planting box to the back or underside, then drill drainage holes and add a liner to protect the wood. Add soil and plant compact flowers or lettuce varieties that can handle a window’s changing light.
For personalization, stencil a simple design or leave the paint chipped for an antique vibe. You’ll enjoy a one-of-a-kind display because every cabinet door has its own shape and history.
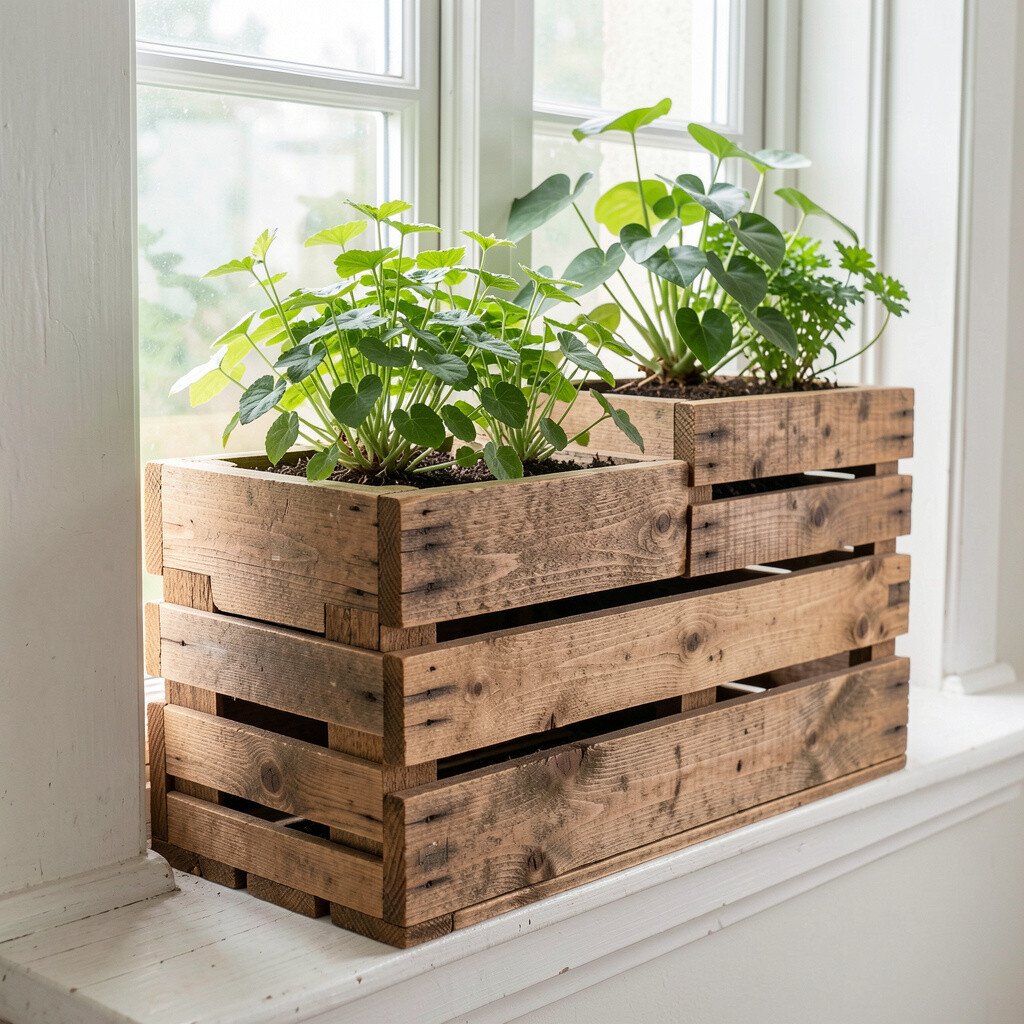
6. Wooden Crate Stack Window Planters
Wooden Crate Stack Window Planters
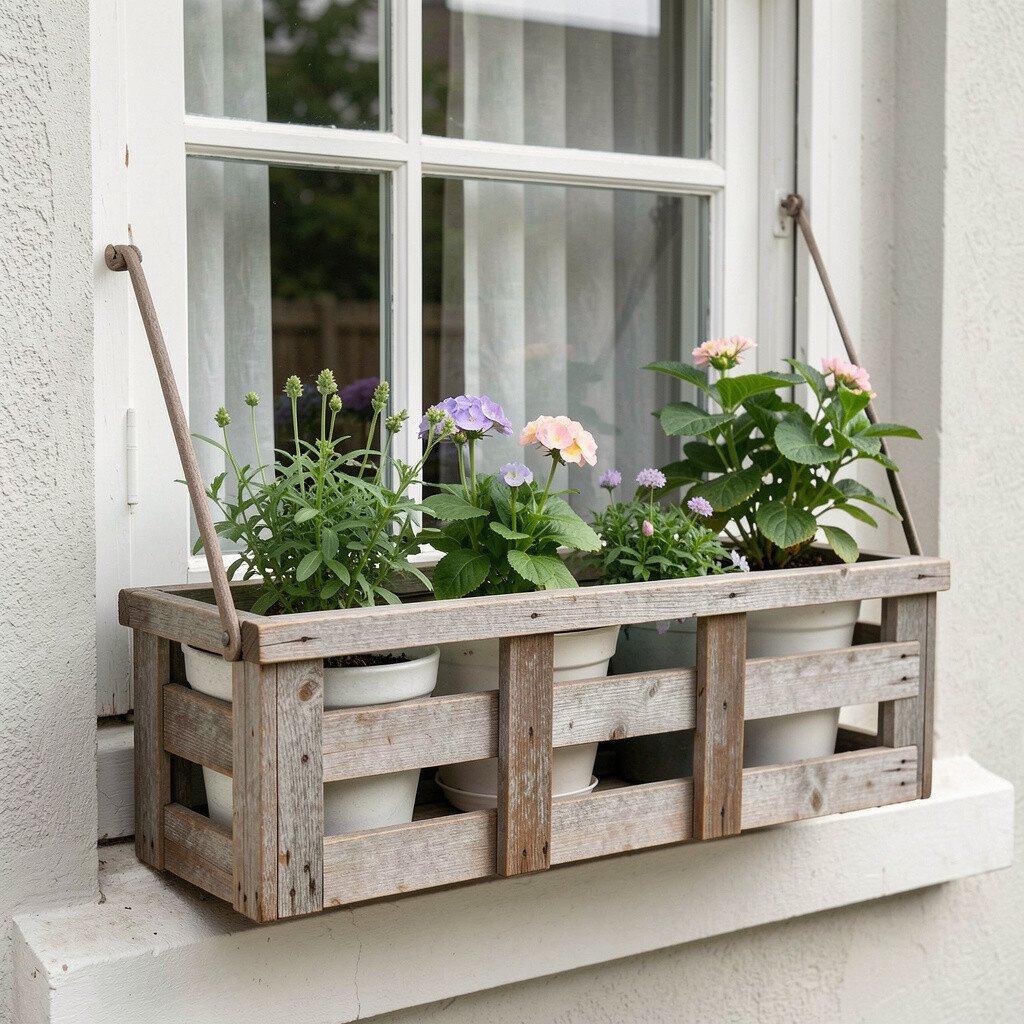
Use a small wooden crate and cut it down so it fits your window width without blocking the view too much. When you stack two crates, the different heights create an eye-catching layer of greenery.
Drill drainage holes in each crate section, then line with landscaping fabric before adding potting mix. Plant small flowering varieties on the top shelf and trailing plants on the lower shelf for a fuller look.
If you want easy care, choose plants with similar water needs and rotate the crates each week so growth stays even. This setup feels popular because layered planters are trending in home decor and small-space gardening.
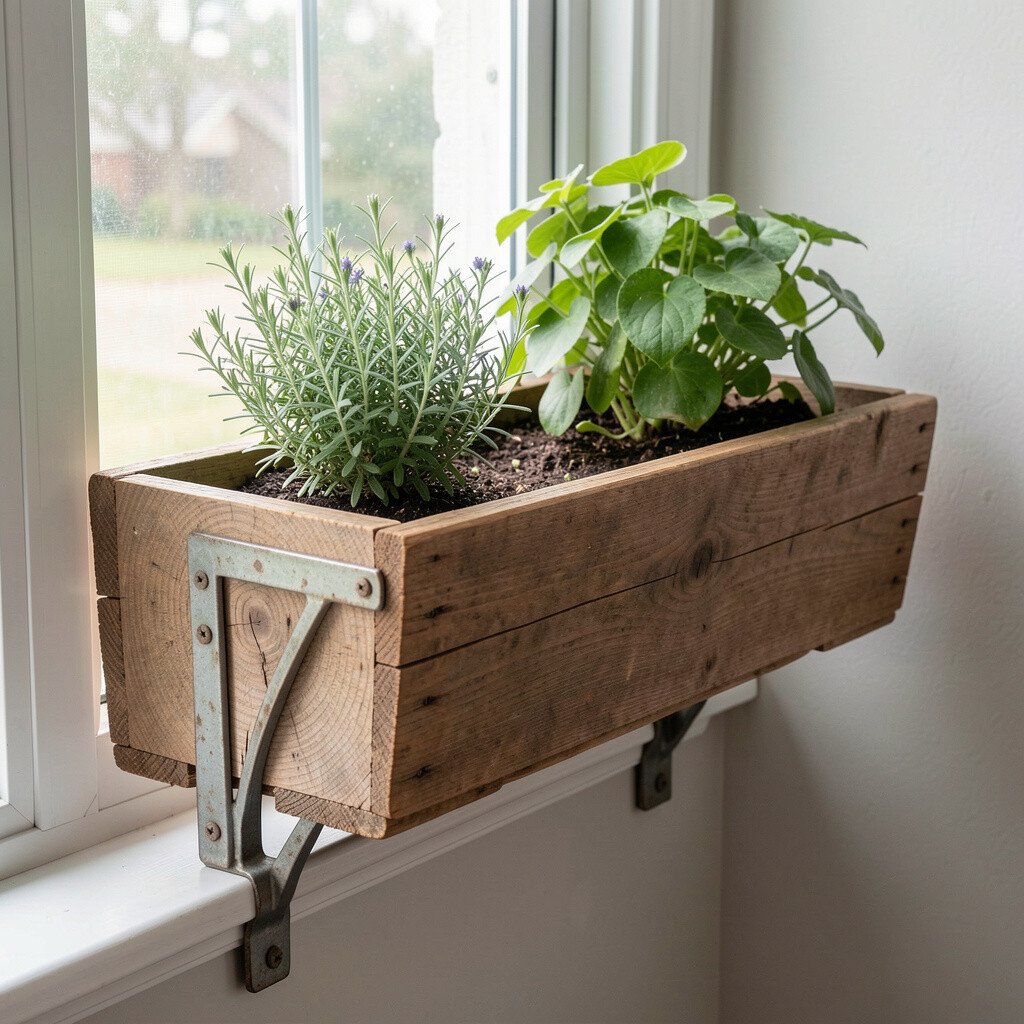
7. Wardrobe Shelf Brackets to Hold a Trough
Wardrobe Shelf Brackets to Hold a Trough
Grab a pair of old wardrobe shelf brackets and a leftover wood board, then make a trough-style planter that looks custom. The metal brackets give strong support and a built-in feel for your window area.
Sand the wood, seal it well, and add drainage holes so excess water can escape. Slide in potting mix and plant herbs, pansies, or hardy leafy greens depending on the season.
To keep things tidy, add a drip tray under the planter or place it slightly above a saucer. Personalize with a painted edge in a color that matches your curtains or window frame for a coordinated look.
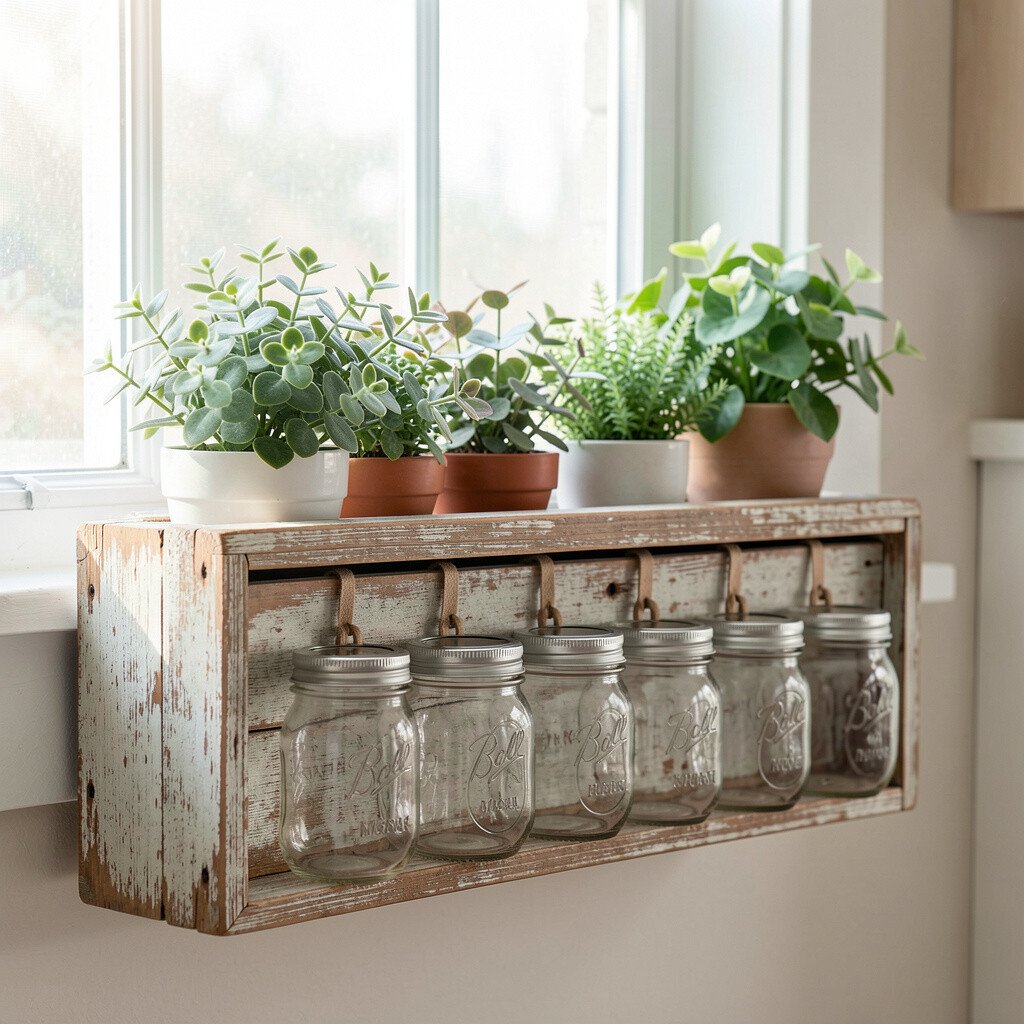
8. Old Drawer Front with Hanging Mason Jars
Old Drawer Front with Hanging Mason Jars
Repurpose a drawer front as a backing board, then attach a row of mason jars for a hanging-window planter style. The jars look bright and vintage, especially when you see tiny green shoots through the glass.
Make sure each jar sits securely using jar holders or simple screws, and add a small hole at the bottom if the jar isn’t already designed for drainage. Use lightweight potting mix and plant small herb starters like chives, parsley, or dwarf thyme.
For practical watering, fill jars carefully and watch for excess water under the drawer front. This kind of vertical, jar-based gardening stays in style because it’s charming and very space-saving.
9. Rolling Tool Cart Window Box Station
Rolling Tool Cart Window Box Station
Take an old rolling tool cart and convert one shelf into a long planter, then keep the mobility so you can move plants for sun. The wheels make it easier to adjust for sunlight without tugging heavy containers.
Install a drainage-friendly liner on the shelf and drill holes if needed, then add potting mix and your favorite flowers or herbs. Because cart corners are sturdy, you can personalize with a matching painted color or keep the original worn metal for an industrial look.
When watering, use a tray or catch basin so runoff doesn’t damage the floor. This is a smart option if your window light changes a lot throughout the day.
10. Wooden Mirror Frame Planter with Side Supports
Wooden Mirror Frame Planter with Side Supports
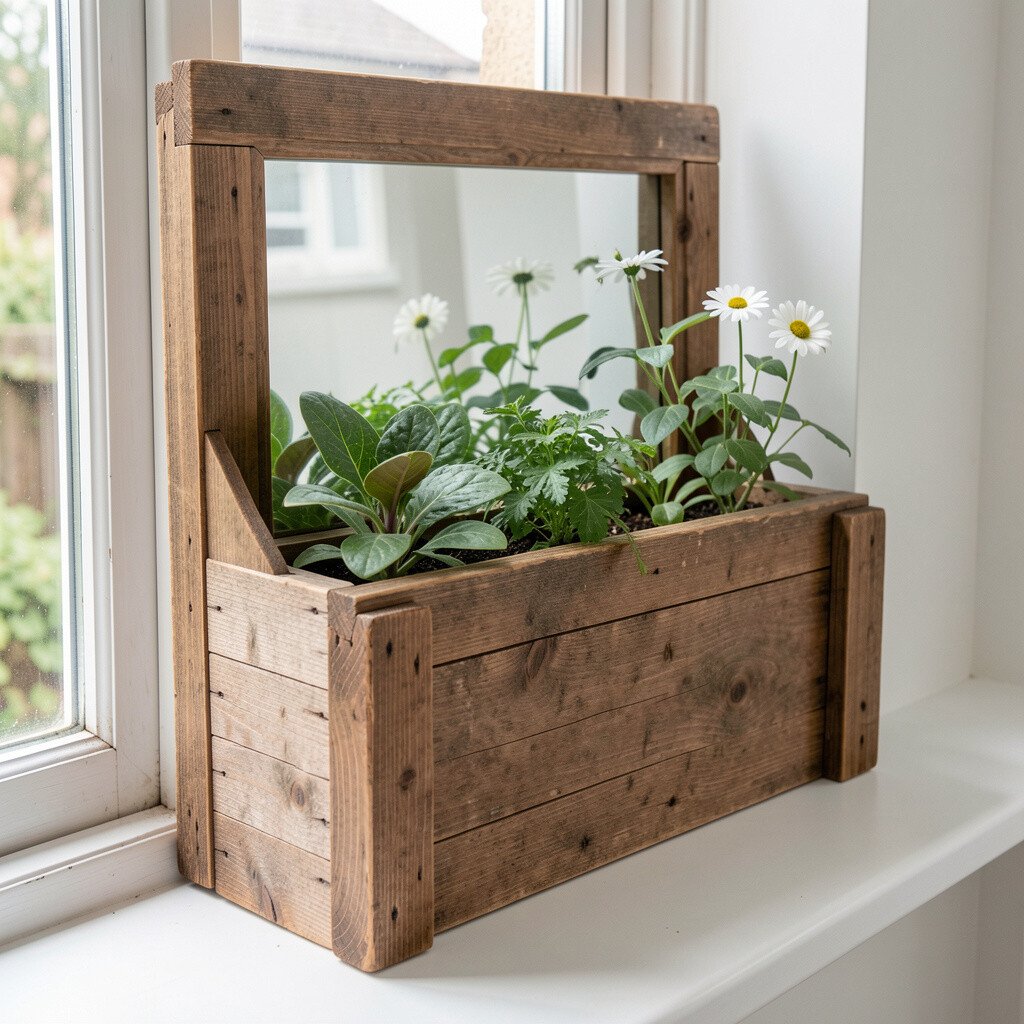
Use the frame of an old mirror, clean it thoroughly, and keep the inner border as the shape guide. The frame gives instant structure and makes your plants look like they’re displayed in a living picture.
Attach side supports and a back panel, then create a shallow planting depth with a liner and soil. Drill drainage holes and test water flow by running a little water in the sink before you hang or set it by the window.
For personalization, add a chalkboard-style paint panel behind the plants for seasonal notes or simple messages. The look is unique because it blends decor and gardening in a way that feels artistic.
Choose drought-tolerant plants like succulents and small cacti if your window runs bright and dry. If your space stays humid, you can go for leafy greens instead.
11. Bentwood Ladder Planter for Window Corners
Bentwood Ladder Planter for Window Corners
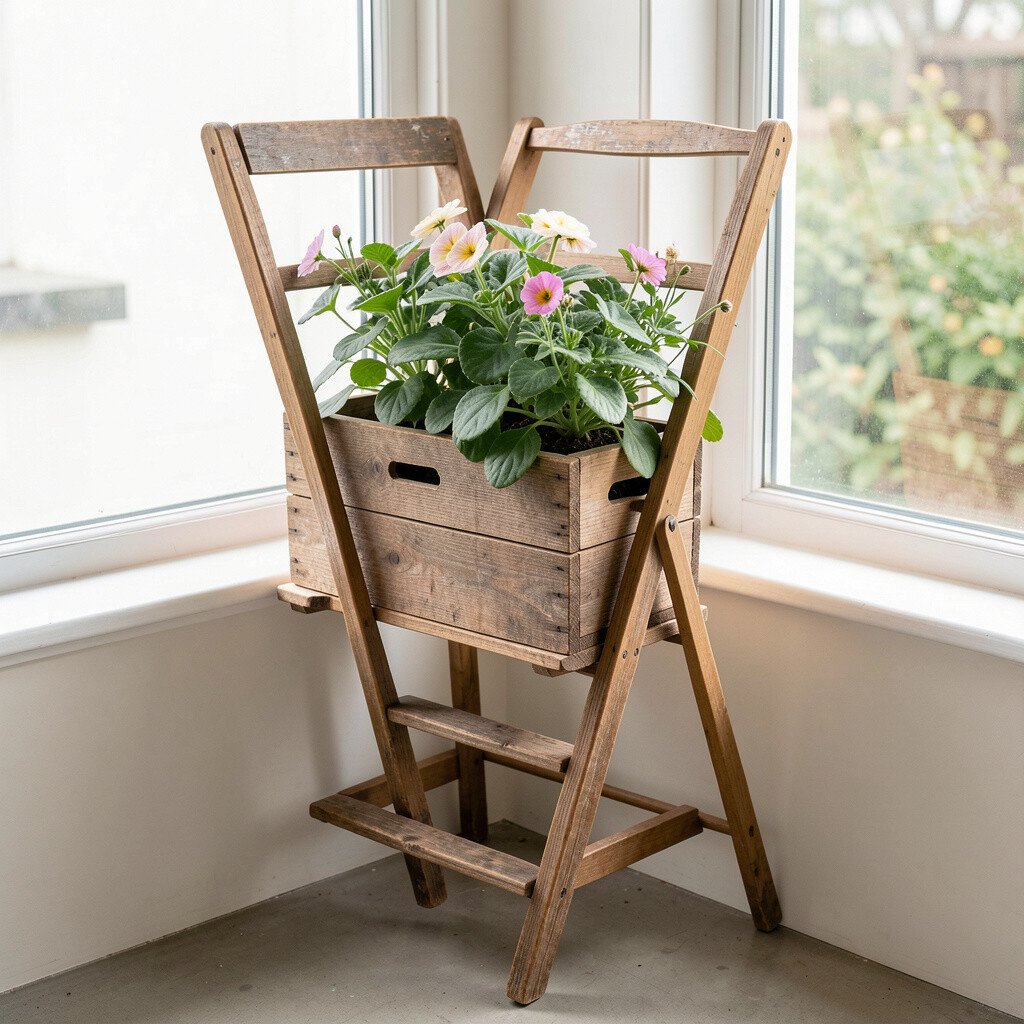
Turn a small wooden ladder into a window corner planter by placing it so the rungs face outward toward the light. The slanted lines look natural, like a mini indoor garden rack.
Wrap each rung with a fabric liner or attach shallow trough baskets, then fill with mix and plant herbs or small annuals. Add drainage and ensure any excess water can escape so the wood stays protected.
To make care simple, group plants by how much water they need and keep a small spray bottle nearby for quick checks. This setup feels current because plant racks and ladder styling are popular in modern homes.
For cost savings, use inexpensive seed packets and start small seedlings that grow into the spaces between rungs.
12. Piano Bench Steps into Three-Tier Window Box
Piano Bench Steps into Three-Tier Window Box
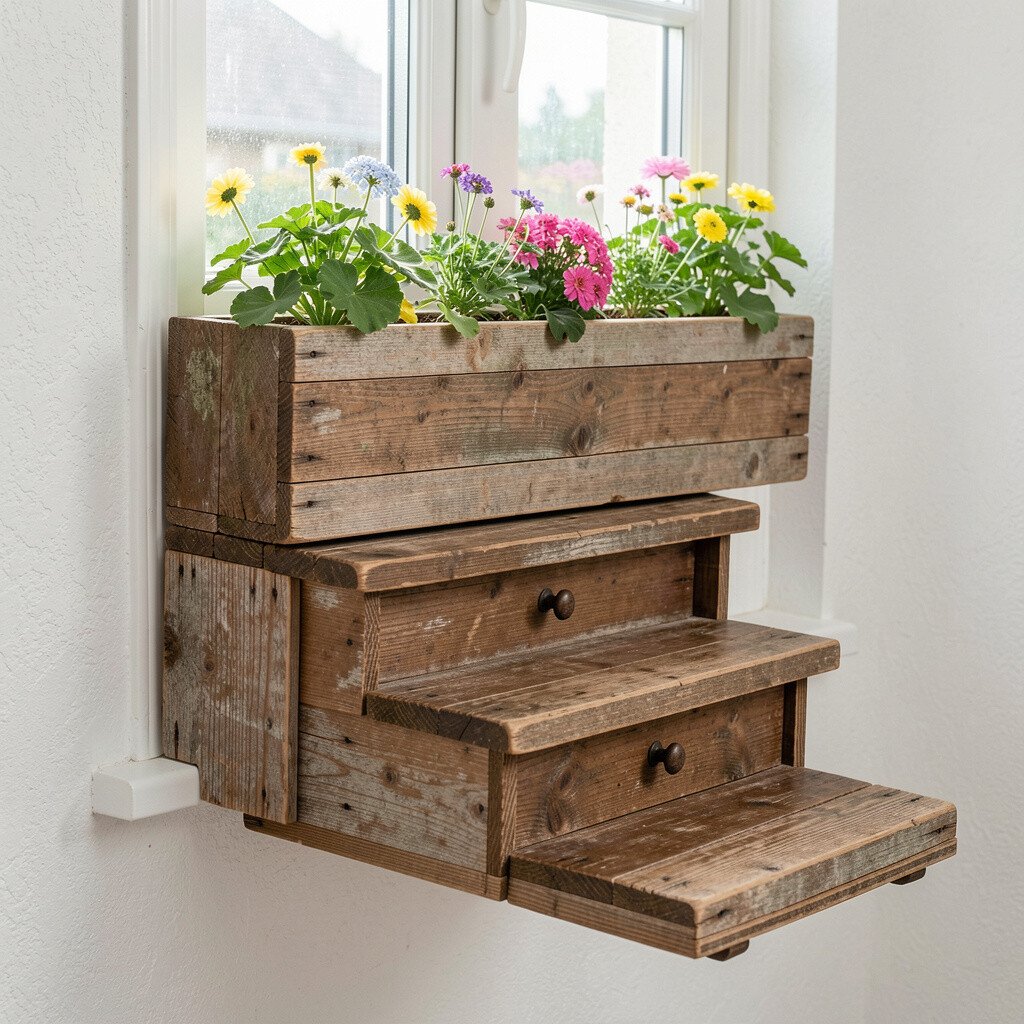
Find an old piano bench with steps or a slatted top, then cut the seating area into three sections that fit your window. The stepped layout creates a dramatic tiered planter effect that looks full fast.
Seal the sections, drill drainage holes, and add a liner before filling with potting mix. Plant with height in mind, using taller varieties on the back tier and shorter ones at the front so everything is visible.
Personalize by painting each tier in a slightly different shade, like cream, sage, and dusty teal. The tiered look is trending because it gives more visual depth than a single long planter.
13. Wooden Jewelry Box with Sliding Seedling Trays
Wooden Jewelry Box with Sliding Seedling Trays
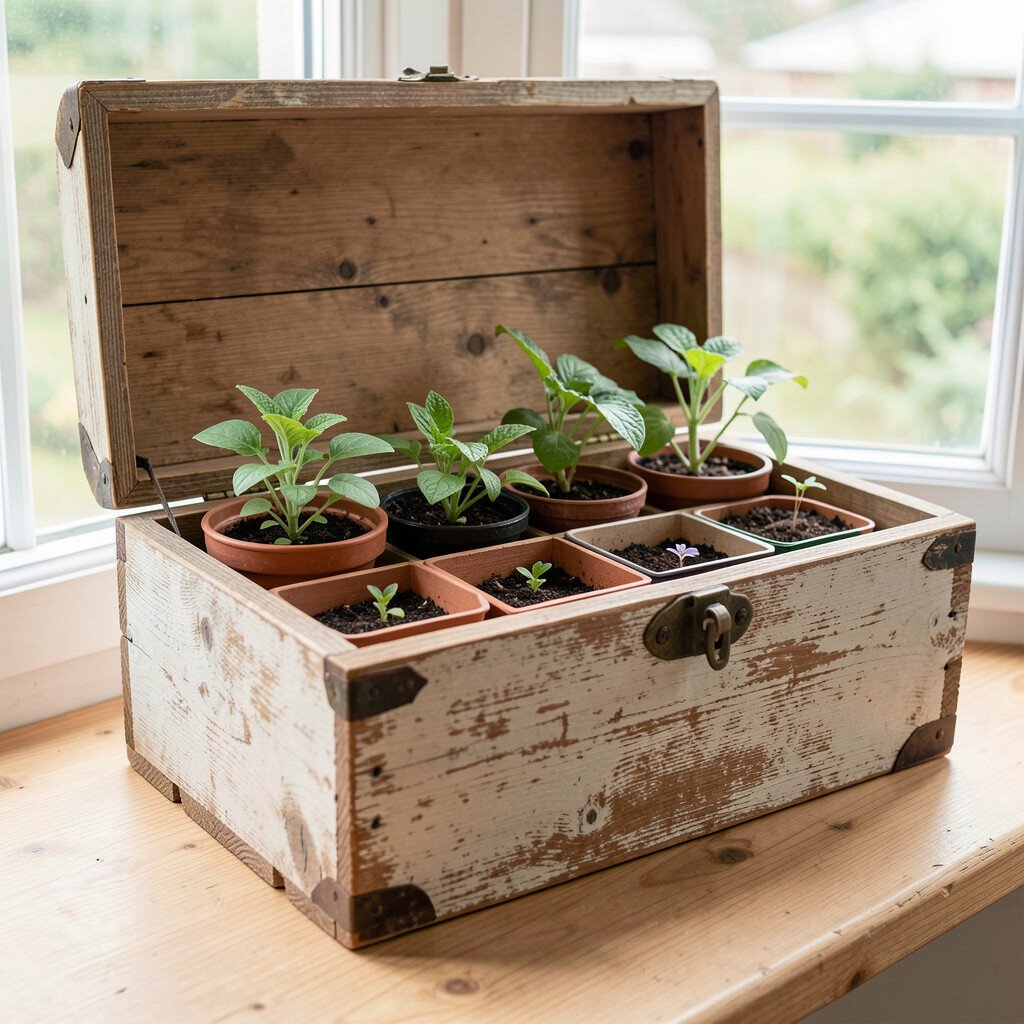
Reuse a wooden jewelry box by removing the dividers and turning it into a compact window planter. The small size makes it perfect for growing starter herbs or tiny flower seedlings.
Create a removable inner tray, then add drainage holes and a catch tray under it so spills don’t ruin the wood. Use a breathable liner, then pack soil lightly for good root growth.
For personalization, keep the original felt lining style or swap it out with a fabric that matches your room. This idea is unique because it turns a “keepsake” piece into something living and useful.
Choose plants that don’t mind being root-close, like microgreens, small peppers, or compact marigolds.
14. Window Box from Old Tool Drawers and Handles
Window Box from Old Tool Drawers and Handles
Gather several shallow tool drawers, clean them, and arrange them side by side to form a long window box. The drawer fronts add a charming pattern, and the metal handles make the whole piece feel sturdy.
Drill drainage holes in each drawer bottom, line with a waterproof barrier, and then fill with potting mix. Plant a mix of greens and blooms so some containers stay leafy while others bring color.
For practical tips, keep a small watering schedule and check that water drains evenly through all drawers. The uniqueness comes from the repeated drawer shapes, and it also feels like an upcycled trend that many people are using to create gallery-style garden decor.
15. Patio Chair Slat Frame Window Planter
Patio Chair Slat Frame Window Planter
Use an old patio chair with slats, remove any fabric, and clean the frame until it’s free of grime. The slatted shape gives a breathable feel and looks airy beside the window.
Attach a removable planting trough or fabric-lined box inside the frame, then add drainage holes in the liner base. Fill with soil and plant cascading flowers like trailing petunias or stringy herbs for a gentle spill over the edges.
Personalize with ribbon ties or small painted dots on the slats to guide where each plant goes. This is a budget-friendly idea because chairs are often available cheaply, and it offers a one-of-a-kind look that won’t blend into anyone else’s decor.
Water slowly so the soil settles, and rotate the chair a quarter turn every week for balanced growth.