15+ Things Nobody Tells You About Window Kitchen Lighting
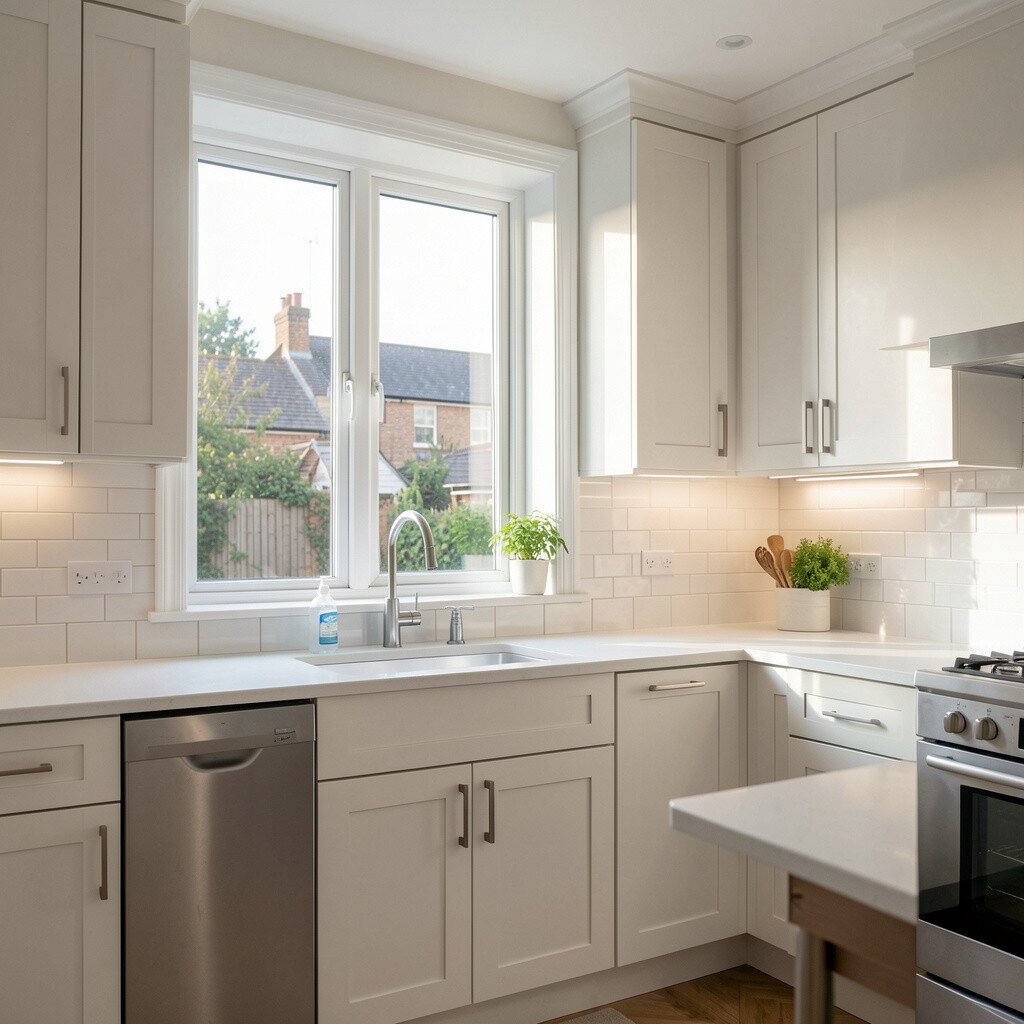
Window light can feel simple, but it behaves like a picky roommate. When you get it right, your kitchen starts looking like a home magazine.
Below are the little realities that change how your space feels day to day. Use them to plan lighting that looks good, works hard, and fits your budget.
Morning light has a cool sparkle, while late-day light warms everything up. Your countertop and cabinets can look like two different rooms depending on the hour.
Instead of guessing, watch the kitchen at different times and notice how colors shift on the walls. If you add warm bulbs when the window already feels warm, the whole space can turn overly cozy. Aim for lighting that stays steady as daylight changes so your kitchen looks balanced all day.
2. Your Window Creates Shadows You Don’t Notice Yet
Your Window Creates Shadows You Don’t Notice Yet
Even bright windows can throw sharp shadows across the sink, island, or stovetop. A person standing at the counter may block the light at the worst moment, making work feel harder.
Place task lighting so it fills the shadowed zones rather than competing with the window. Try under-cabinet lights aimed slightly toward the counter, and check them by standing in the exact spots you cook from. When the light lands where your hands move, chopping and wiping feel easier and safer.
Also pay attention to what happens when someone opens the refrigerator. The light you want on food prep shouldn’t vanish every time a door swings, so think about how reflections move around the room.
3. The Glass Can Fight Your Bulbs
The Glass Can Fight Your Bulbs
Some windows have tint, low-emissivity coatings, or thick glass that changes the light passing through. That can make your interior lighting look mismatched or dull compared to what you expected.
When you plan bulbs, use a quick test by buying a couple of samples first. Place them in the fixtures you already have, turn everything on, and compare how the window area blends with the rest of the kitchen. If the glass makes daylight feel gray, choosing bulbs with a warmer, more neutral tone can bring life back.
Don’t forget to check the view from inside and from outside. Landscaping lights, patio glare, and neighboring windows can all affect how your kitchen lighting looks in the real world.
4. High Windows Need Different Placement Than Low Ones
High Windows Need Different Placement Than Low Ones
Light sources at the ceiling can wash out detail if your window is high and the room is deep. You might end up with a bright ceiling and darker work surfaces.
If the window sits above eye level, add layers closer to the counter and sink. Use fixtures that spread light across a wider area, like slim linear lights or diffused sconces near the wall. Then confirm the effect with a simple test: turn on only the added lights at dusk and see whether the cooking surfaces still look welcoming.
5. Your Reflections Are Part of the Lighting Plan
Your Reflections Are Part of the Lighting Plan
Polished tiles, glossy cabinet paint, stainless steel, and even shiny faucets bounce light around. This is helpful, but it can also cause glare in places you least expect.
Choose finishes intentionally and keep an eye on where brightness hotspots appear. If you see glare, try adjusting angles, adding diffusers, or using shades with a soft spread. A well-placed dimmer can also make reflections feel gentle instead of harsh.
For personalization, you can lean into reflections with metallic accents while keeping the task areas diffused. The trick is to keep the work zones comfortable even when the window is blasting.
6. Curtains Change Everything More Than You Think
Curtains Change Everything More Than You Think
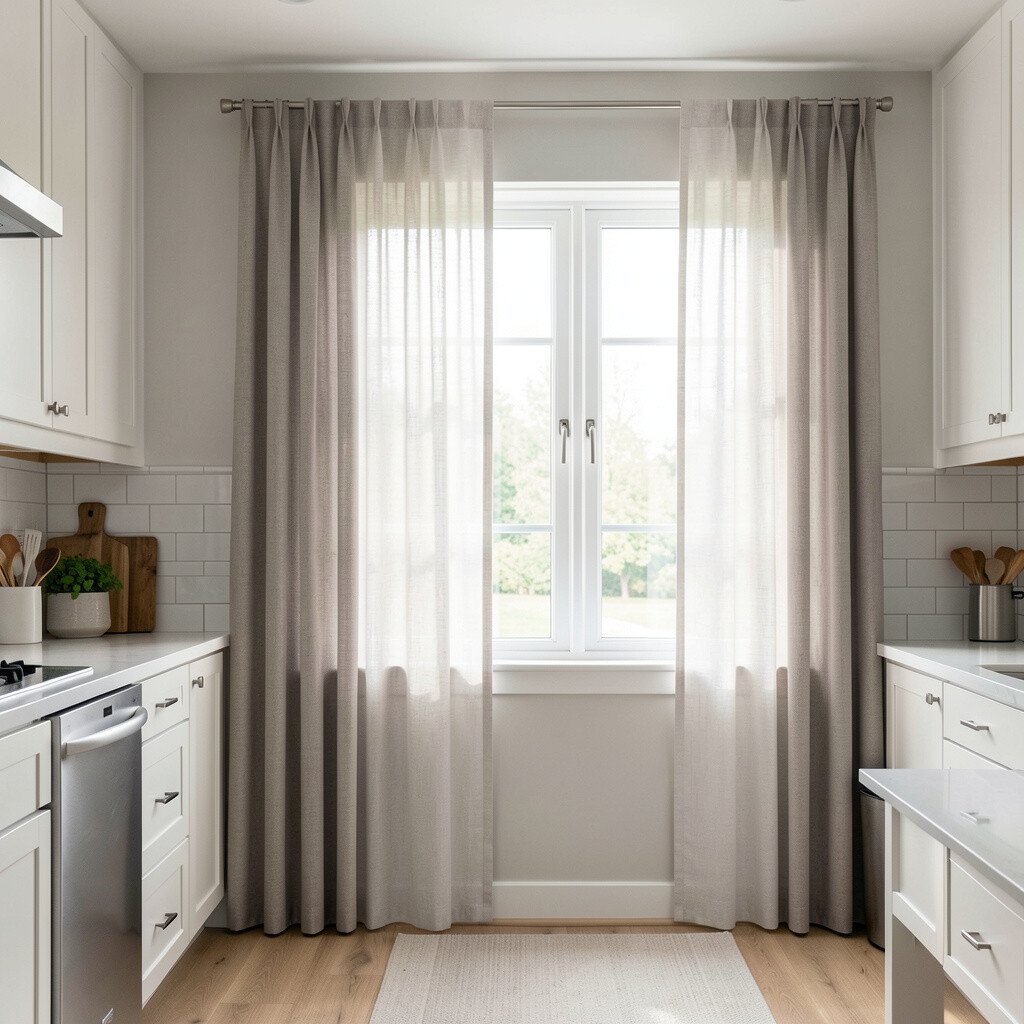
Sheer curtains soften the window light and make the room feel airy. Thick drapes cut the brightness and can create a dramatic mood that doesn’t always help during prep.
Switching curtain styles is like changing your lighting system. In bright seasons, sheers can reduce glare and help your bulbs blend in naturally. If privacy drapes are necessary, consider layering a lighter inner panel so you still get usable light during the day.
7. The Bulb Wattage Myth Can Waste Your Money
The Bulb Wattage Myth Can Waste Your Money
People often pick bulbs based on wattage alone, but what matters is brightness, color, and how evenly the light spreads. Two bulbs with similar wattage can look totally different in your kitchen.
When buying, focus on lumens and color temperature as your guiding points. Choose fixtures that match the bulb’s spread, so you don’t waste light in areas you won’t use. This saves money because you won’t replace bulbs repeatedly after realizing the effect isn’t right.
You can also reduce costs by using fewer, higher-performing fixtures instead of many weak ones. Proper placement means each light does more work.
8. Don’t Ignore Switch Locations
Don’t Ignore Switch Locations
A beautiful lighting setup can still feel annoying if you have to reach awkwardly to turn it on. In busy kitchens, convenience is part of comfort.
Place controls where you naturally stand, like near entrances or at the edge of the kitchen. If you have multiple zones, use separate switches so you can light only what you need. Dimmers and smart controls are trending right now because they help you match brightness to the time of day and the mood you want.
9. Window Light Mixes With Ceiling Light in Predictable Ways
Window Light Mixes With Ceiling Light in Predictable Ways
When window light hits the ceiling, it changes how overhead fixtures read in color. This can make your kitchen look warmer or cooler depending on the direction of sunlight.
Start by choosing one “main” lighting color and building around it. If you use warm bulbs everywhere, the window may amplify the warmth and make white walls look creamy instead of crisp. To personalize, try a neutral tone for fixtures near the window so the daylight feels supported rather than fought.
Take a moment to test at dusk, because overhead lighting behaves differently when the room is less naturally lit. That’s when you can see whether the blend feels harmonious or patchy.
10. Under-Cabinet Lighting Isn’t Just for Work
Under-Cabinet Lighting Isn’t Just for Work
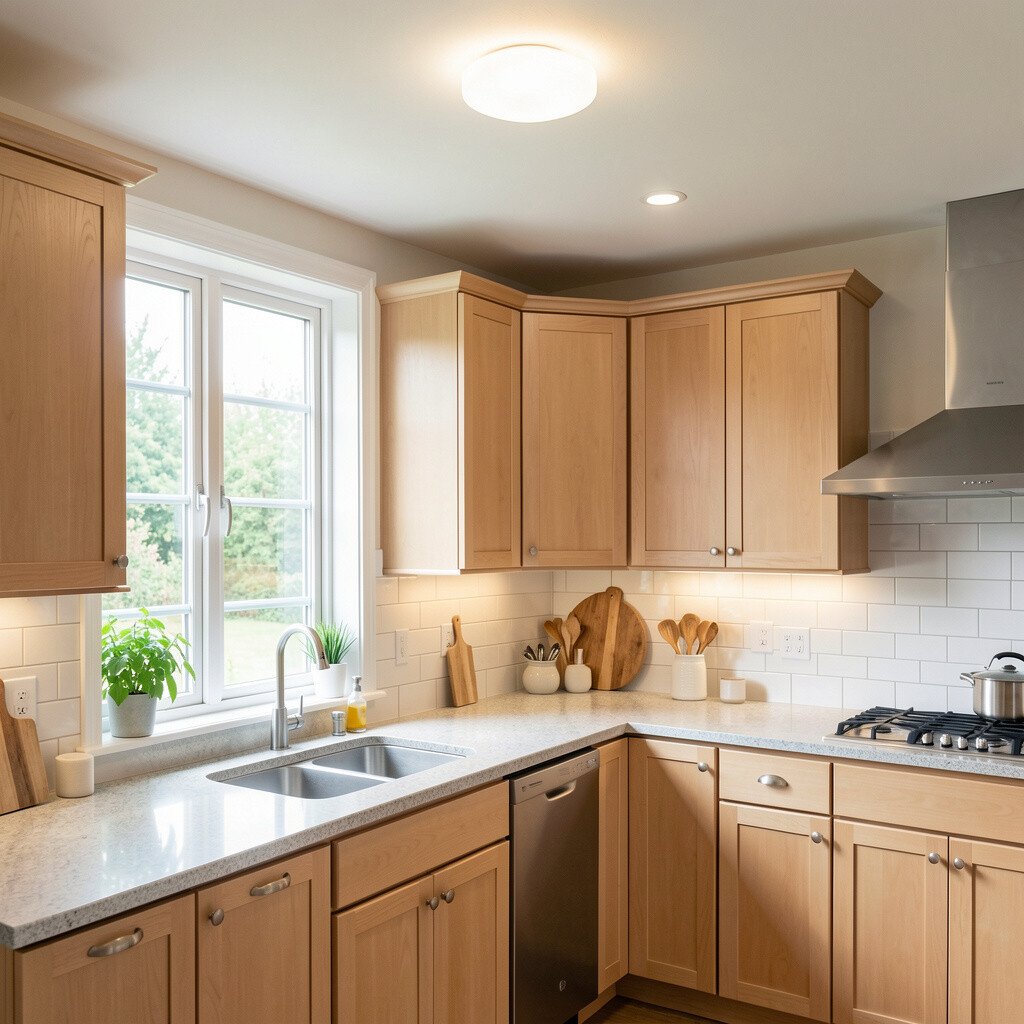
Under-cabinet lights can make your countertops look brighter and cleaner, but they also add a gentle glow along the front edges. That glow helps the room feel finished, especially at night.
Choose diffused strips or fixtures with covers to avoid seeing bare LEDs. When the light is even, it makes small spaces feel larger. For a practical upgrade, add lights to the cabinet line that runs along your main prep surface first, since that’s where you notice the improvement immediately.
11. You Can Match Lighting to How Your Family Moves
You Can Match Lighting to How Your Family Moves
Every kitchen has its own rhythm, like where someone usually stands when rinsing plates or how the morning coffee routine plays out near the window. Your lighting should support those paths.
Walk through your usual tasks with the lights off, then turn on only one source at a time. Notice which areas feel awkward or shadowy, and target those spots with task lights. Personalization is powerful here, because the “right” setup for a big family may feel excessive for a quieter household with a single go-to work zone.
If you cook in the evening, prioritize warm, flattering light near the sink and stove so the window doesn’t become the only star of the show.
12. You May Need More Than One Style of Fixture
You May Need More Than One Style of Fixture
Window light is soft and directional, while many kitchen fixtures are designed to be bright and evenly distributed. Using only one fixture type can lead to uneven mood and uneven color.
Layering creates a more natural look. Pair a ceiling or pendant style for overall brightness with under-cabinet lights for prep and a small accent near a dining nook or backsplash. This is a uniqueness boost because it makes your kitchen feel curated instead of generic.
For cost control, invest first in the fixtures that directly affect daily tasks. You can add mood pieces later, when you know exactly where you want extra glow.
13. Blue-White Lighting Can Make Food Look Weird
Blue-White Lighting Can Make Food Look Weird
Cool, blue-leaning bulbs can make skin tones and certain foods look less appetizing. You might not notice during a quick check, but your kitchen will feel off once you start cooking and serving.
Choose a bulb temperature that flatters what you touch most, like fruits, vegetables, and cooked meals. Warm and neutral options usually look more natural under window-mixed conditions. If you like a crisp look, use brighter light in task areas and keep ambient lighting slightly warmer so the overall vibe stays friendly.
14. Window Frames Can Block Light From Reaching Fixtures
Window Frames Can Block Light From Reaching Fixtures
Decorative mullions, thick frames, and deep window sills can block the direction of natural light. That means the brightest areas on sunny days might not line up with the brightest areas at night.
Before you commit, observe how light travels across your kitchen floor and counters. If a deep sill causes a shadow line, place lighting to fill that zone rather than trying to “boost” the window area. This approach avoids buying extra gear that still won’t reach the surfaces you want to brighten.
For personalization, you can also style the window area with plants or artwork that looks good under both daylight and your evening lighting, creating a consistent focal point.
15. Smart Dimmers and Timers Reduce Overpaying for Brightness
Smart Dimmers and Timers Reduce Overpaying for Brightness
Using full brightness all the time can waste energy and make your kitchen feel harsh when you want calm. Dimming changes the mood instantly and makes light feel more like an intentional design choice.
Smart dimmers and timers are common right now because they help you schedule lighting around real life. You can set a gentle evening glow while keeping strong task lighting for cooking windows. It’s also a practical way to protect your eyes and reduce glare when the sun has set.
For budget planning, start with the areas you use most and add smarter controls as you go, rather than upgrading everything at once.
16. You Can Create a “Window Glow” Even on Cloudy Days
You Can Create a “Window Glow” Even on Cloudy Days
You don’t have to accept gloomy mornings as part of life. With the right placement, you can get a soft, window-like glow that makes the kitchen feel bright and inviting.
Try adding a gentle vertical light near the window wall or a diffused light source that washes the nearby surface. Pair that with task lights so cooking stays practical while the overall mood stays warm. This kind of lighting feels unique because it uses the same comfort cues as daylight, even when the sky doesn’t cooperate.
Test your final setup on an overcast day if you can, because that’s when you’ll see whether your “glow” is truly balanced or just borrowed from sunny conditions.