The surface of your canvas is like a quiet voice that can add drama before you even touch a brush. Small texture choices can make your paintings feel alive and personal.
Here are texture ideas you can try right away, with practical ways to keep them under control and costs you can estimate.
Start by brushing on a thin layer of gesso, then dab a damp sponge over the wet surface. You’ll see soft clouds bloom across the canvas like fog lifting from a field.
Let it dry fully, then paint on top for a misty, forgiving ground that hides tiny mistakes. For personalization, try different sponge textures or use two colors of gesso tinted with a little acrylic paint. This method is budget-friendly because gesso and sponges are easy to find, and it matches a current trend toward airy, atmospheric underpaintings.
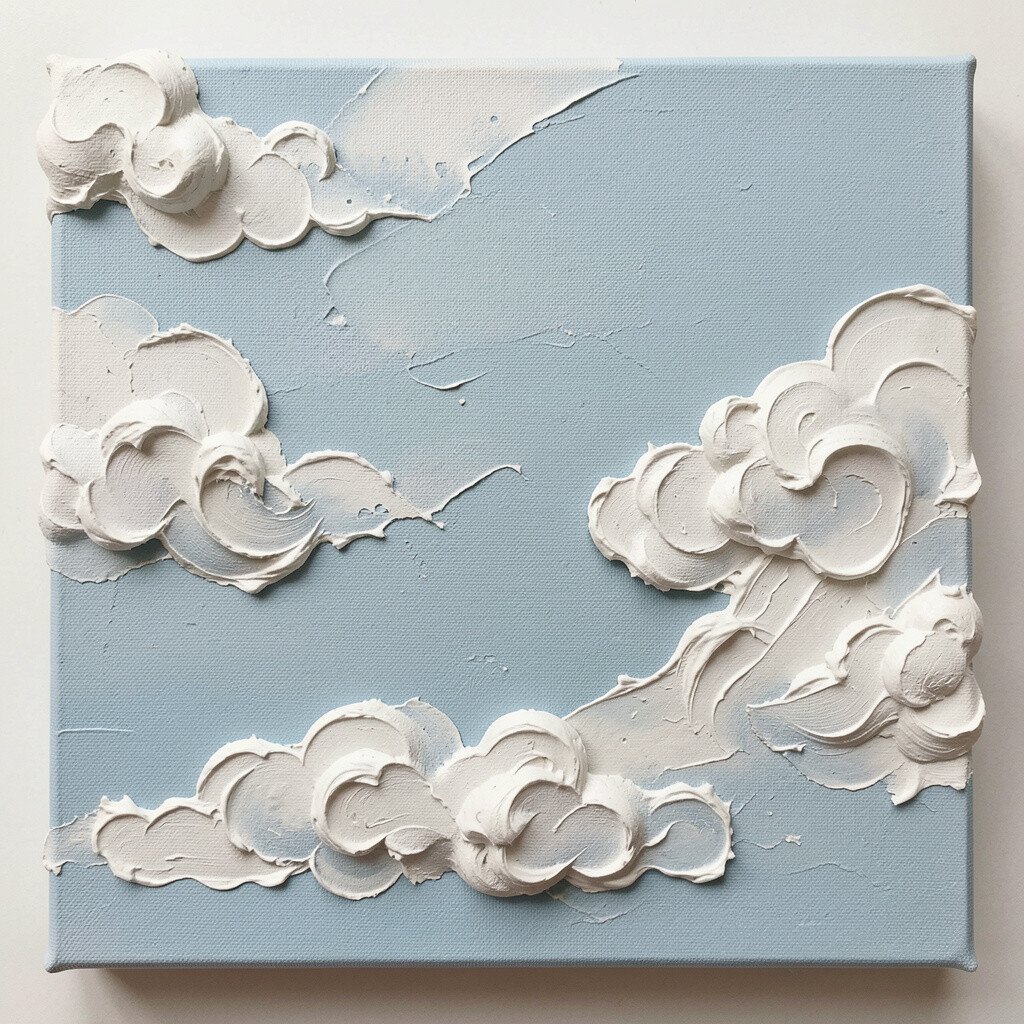
2. Palette-Knife Ridges That Catch the Light
Palette-Knife Ridges That Catch the Light
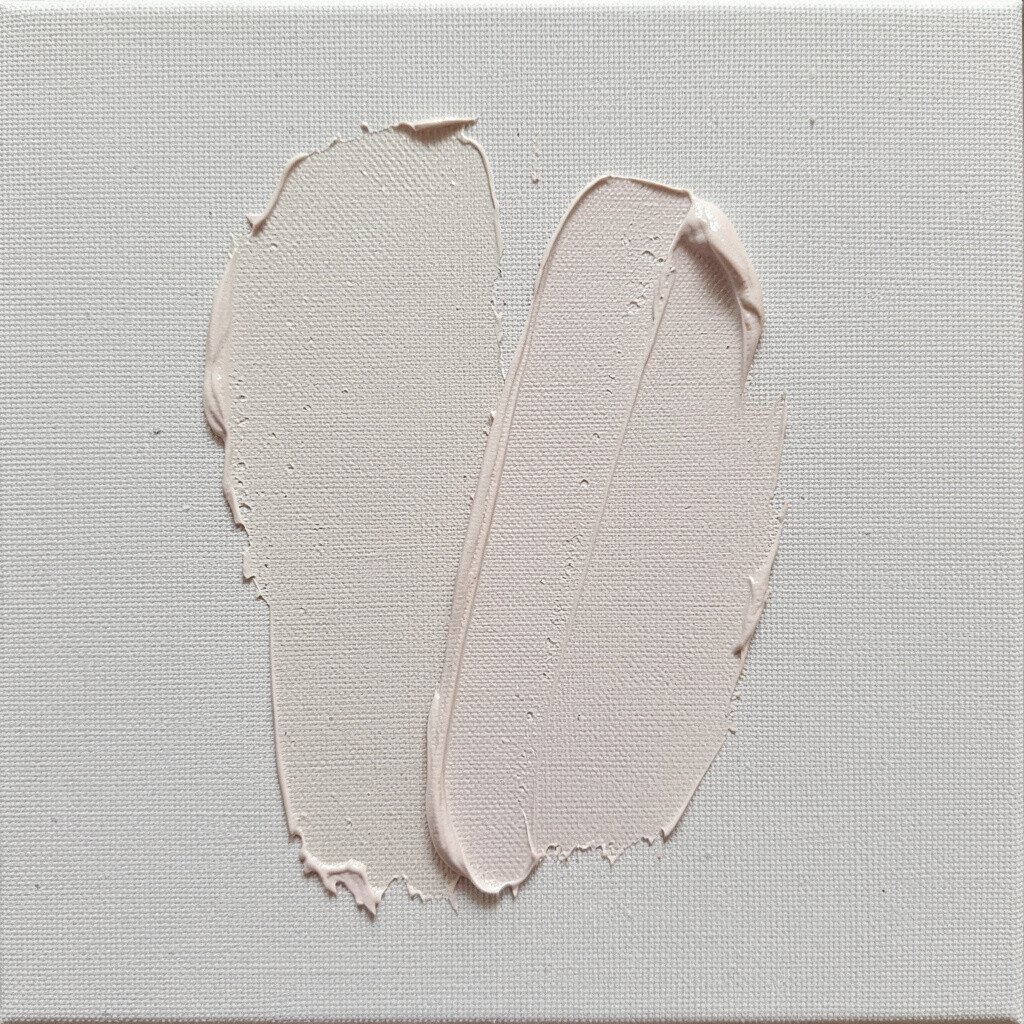
Load your brush with thick acrylic medium or paste and pull it across the canvas using a palette knife. The marks leave sharp ridges that look like tiny hills under a bright lamp.
When you paint over the ridges, the raised areas create highlight-like edges, even if your color is simple. For a personal twist, vary your pressure so some lines feel crisp and others feel melted. If you want a low-cost route, use acrylic heavy body paint mixed with a bit of gel medium so you don’t need expensive specialty products.
In many modern works, artists use visible structure to make the surface feel like it has a weather story, and knife ridges fit right in.
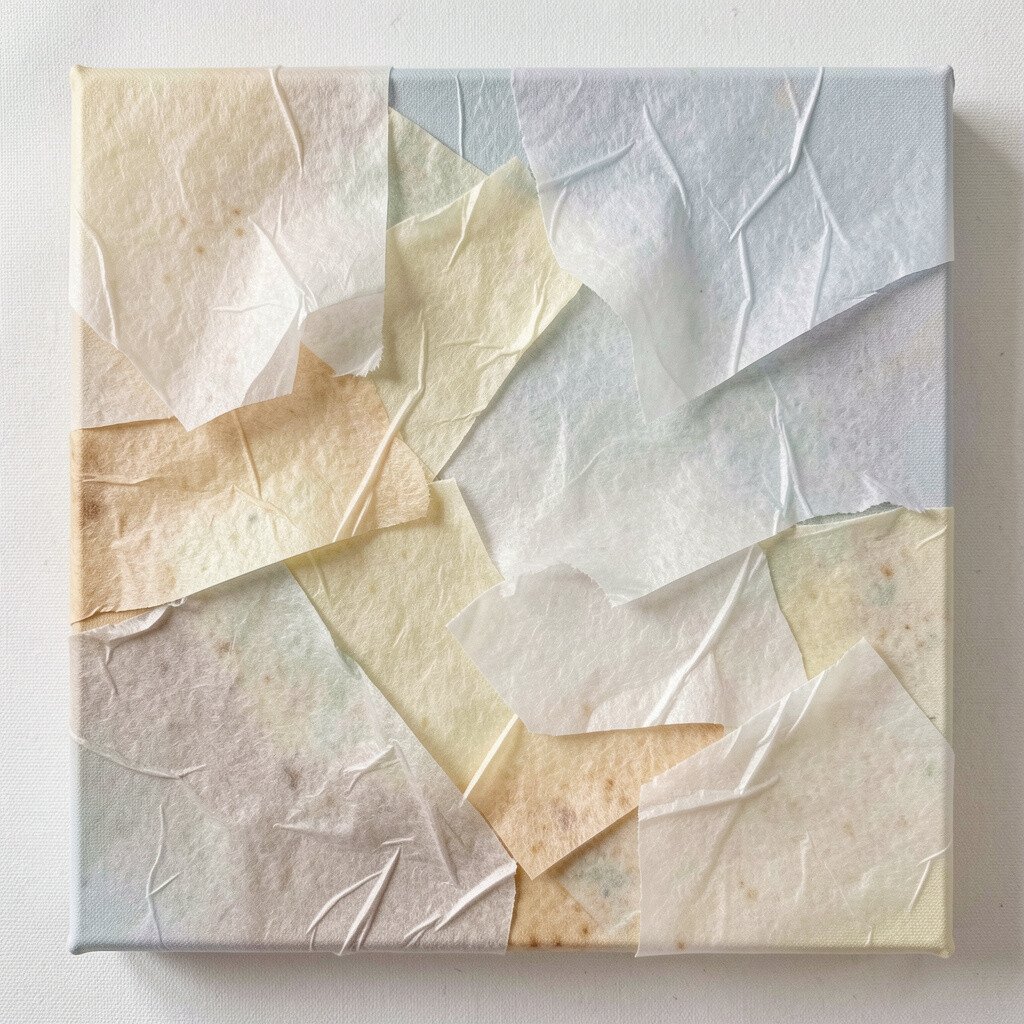
3. Tissue Paper Transfers for Collage Glow
Tissue Paper Transfers for Collage Glow
Tear tissue paper into uneven pieces and press them onto a tacky layer of matte medium. The canvas will gain delicate fragments that look like sunlit paper floating under paint.
When the medium dries, paint over the top with translucent layers so the edges look embedded, not glued on. Use gel medium for a smoother finish or matte medium for a dry, art-book feel. This is a great way to personalize landscapes, letters, or abstract moods without buying many new supplies.
You can keep costs low by saving tissue from gifts or packaging, and the look also matches the current love for mixed-media surfaces in everyday art trends.
Try different tissue colors or tint the medium slightly to create a glow that peeks through.
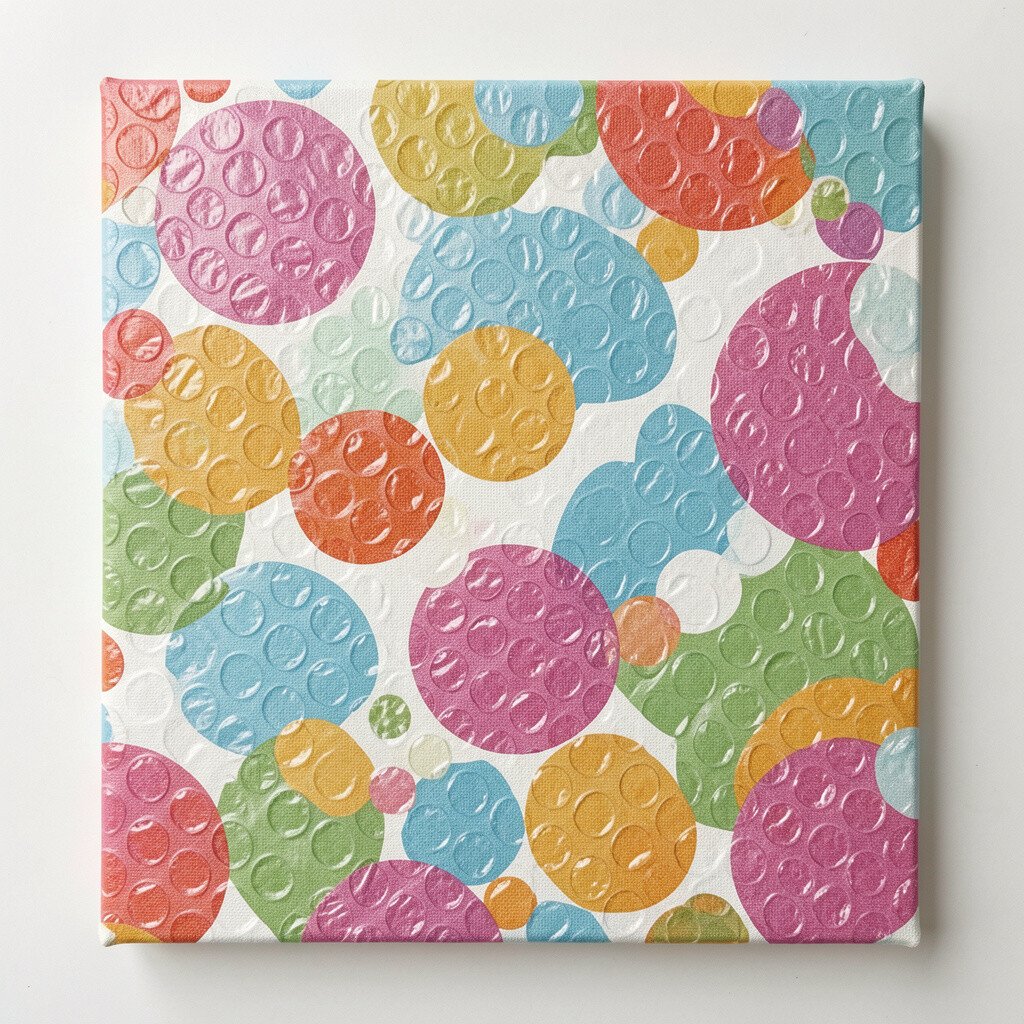
4. Bubble Wrap Prints for Playful Pop
Bubble Wrap Prints for Playful Pop
Press bubble wrap onto wet acrylic or modeling paste, then pull it away slowly. The canvas will show a field of rounded bumps, like a neat pattern of tiny domes.
After drying, paint over the bubbles with semi-opaque colors so some circles stay visible, adding rhythm and motion. If you want to control placement, tape down the edges of the wrap before pressing. This texture idea is inexpensive, uses a common household item, and fits trends that celebrate tactile patterning.
5. Sand-Scatter Texture for Earthy Weight
Sand-Scatter Texture for Earthy Weight
Mix acrylic paint with fine sand or add sand to a clear gel to create a grainy paste. Brush it in swirls or dot it like constellations, and your canvas will feel grounded and heavy.
Once dry, the surface handles light and shadow in a way that makes earthy subjects look more real. For personalization, choose different grain sizes or mix in tiny pigment bits so your ground has its own personality. You’ll usually spend little, since sand is cheap and you can often reuse it from craft stores or garden supplies.
This kind of gritty texture stays popular because it gives paintings a weathered, lived-in look that viewers instinctively trust.
6. Crumpled Foil for Metallic Sparks
Crumpled Foil for Metallic Sparks
Press crumpled aluminum foil onto a tacky medium layer, then seal it with a thin coat of gel. The surface becomes shiny in broken flashes, like captured lightning in a storm cloud.
Paint translucent color washes over the foil so the sparkle shifts from warm to cool as your viewer moves. A cost-conscious approach works well here because plain foil is affordable, and you can use small scraps rather than whole sheets. This technique also matches a modern trend toward bold highlights and reflective accents in mixed textures.
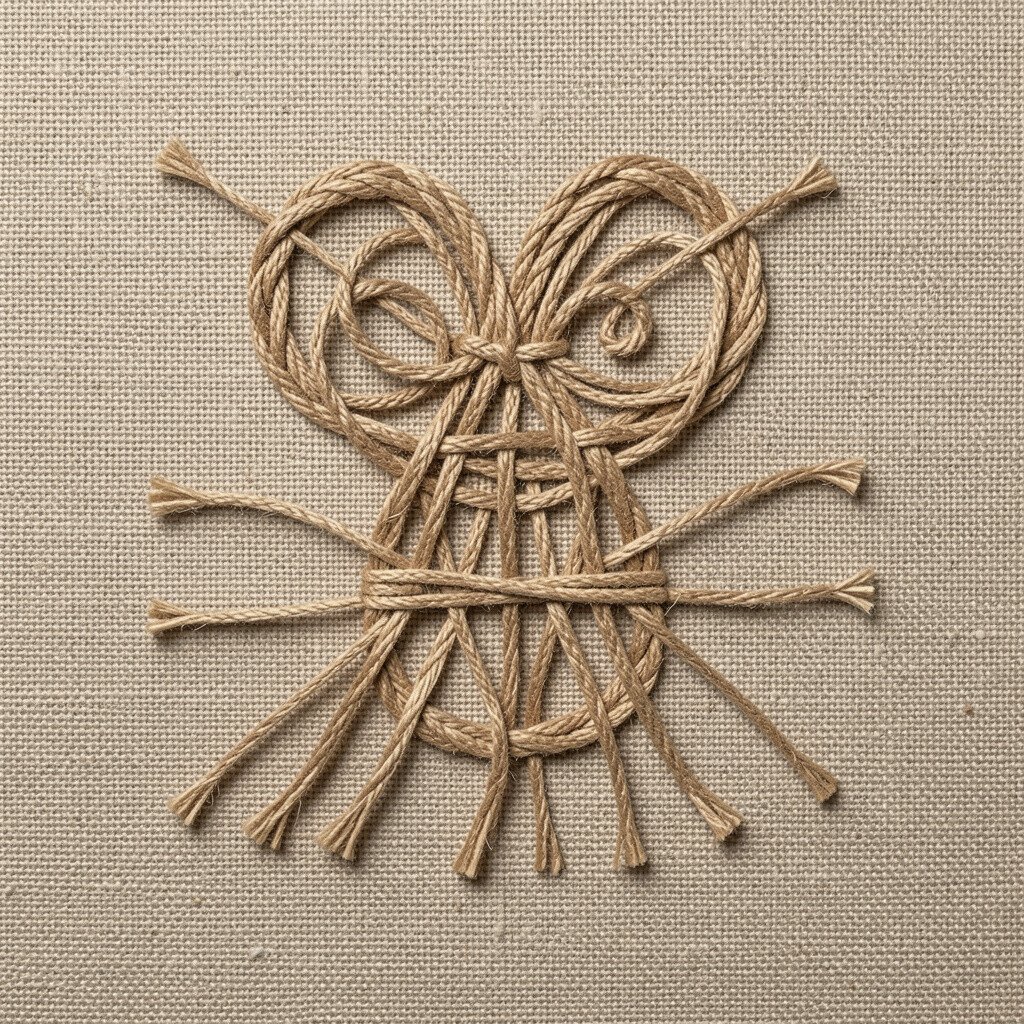
7. Cord Imprints for Woven Character
Cord Imprints for Woven Character
Roll a length of string, yarn, or braided cord through modeling paste, then drag it across the canvas. You’ll get woven grooves that feel like fabric patterns pressed into wet clay.
Let it dry and then soften the contrast with paint layers so the texture becomes part of the story, not a distraction. For personalization, use different thickness cords or create crossed paths for a net-like effect. Costs can stay low because yarn and cord are inexpensive, and this texture looks fresh in styles that borrow from textile art.
Keep a small scrap paper nearby to test how deep the imprint goes before you commit.
8. Dry Bristle Drag for Hairline Energy
Dry Bristle Drag for Hairline Energy
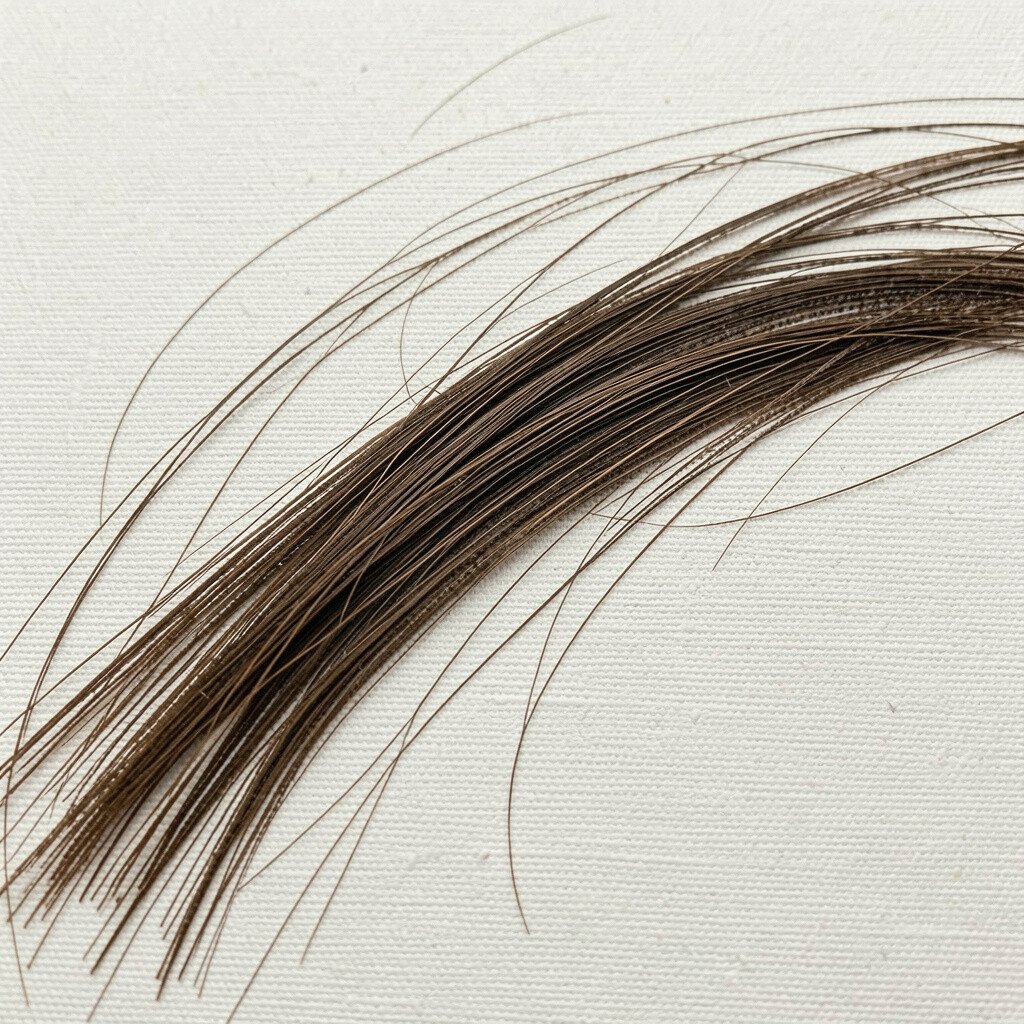
Use a stiff brush with very little paint and lightly drag it over a tacky primer layer. The canvas gets fine, sketchy streaks that look like wind lines or quick pencil marks.
To make it pop, add one or two thicker paint areas nearby so the hairline texture frames them. Personalize it by using a brush you love but don’t mind roughing up, since bristle drag textures come from imperfect tool marks. This is a near-zero cost method because it uses tools you likely already own, and it fits current minimalist trends that still rely on surface movement.
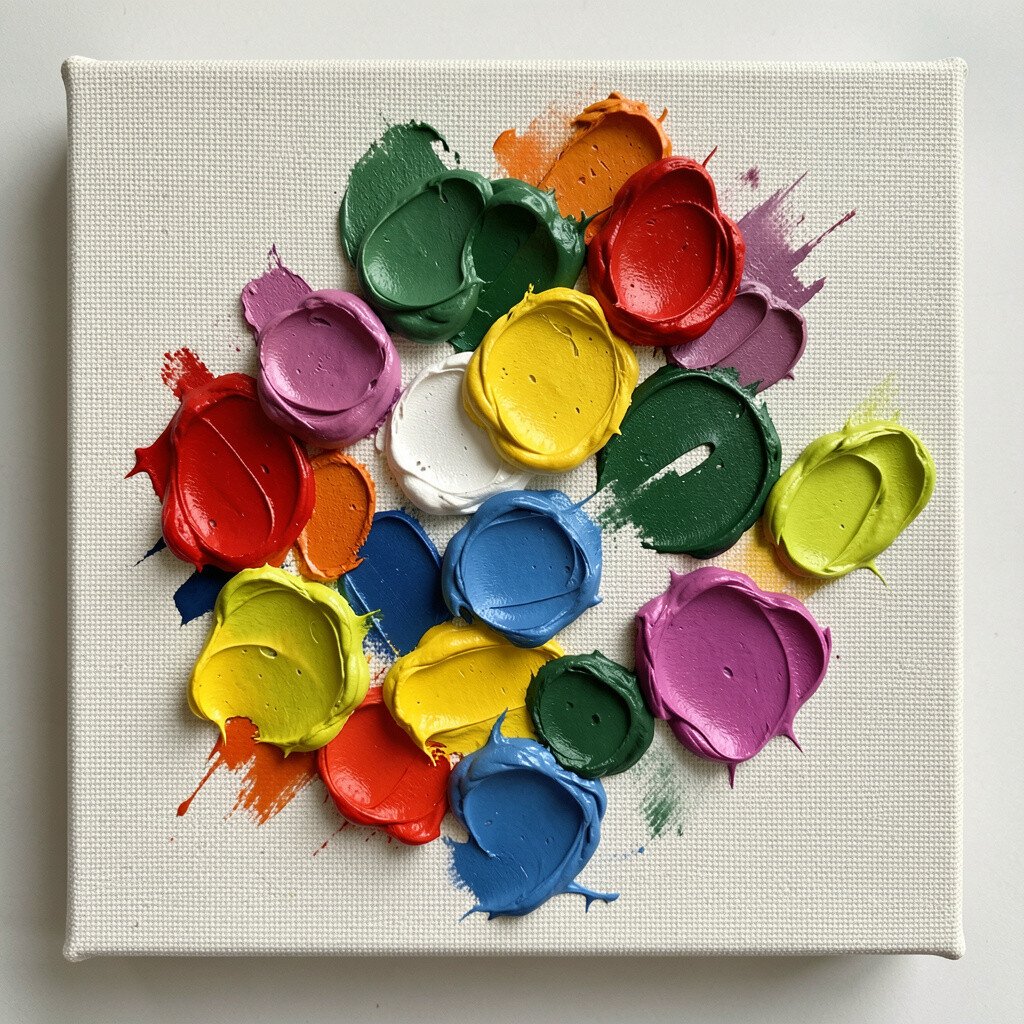
Drop a few colors of acrylic paint into gel medium on a palette, then swirl gently with a spoon. You’ll see liquid ribbons spread and fold like marbling in stone.
Apply the marbled mix to the canvas by dragging a palette knife or lightly blotting with a foam pad. Once dry, the surface looks layered and smooth but still has subtle depth. Personalize it by limiting your palette to two or three tones so the texture reads clearly, and keep costs down by reusing leftover paint from earlier projects.
This look fits trends that blend smooth color fields with surprising, organic texture.
10. Modeling Paste Footprints for Rhythm
Modeling Paste Footprints for Rhythm
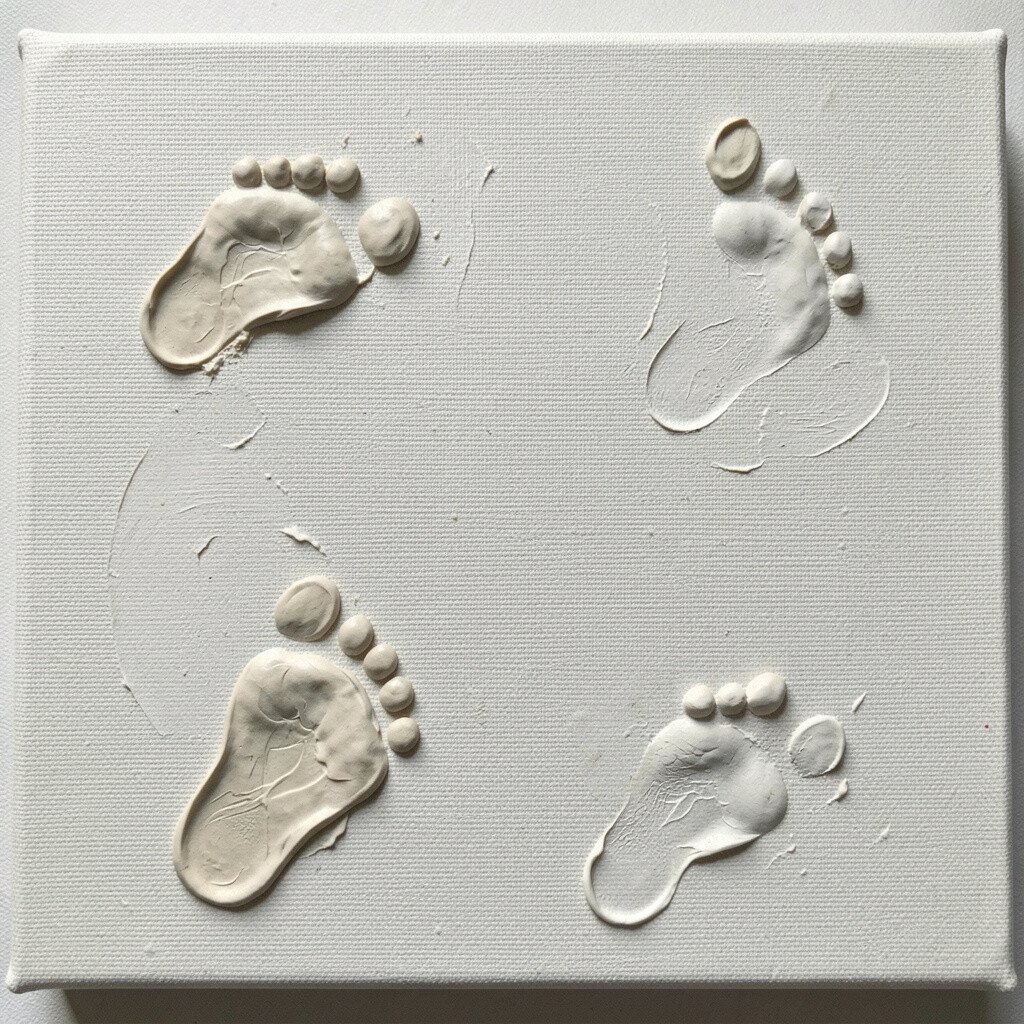
Dip the sole of a small stamp or a textured object into modeling paste, then press it onto the canvas like repeated footprints. The marks appear as a steady beat across the surface.
After drying, paint around the impressions to create negative-space shapes, or fill them in for a more graphic look. For personalization, use textures from everyday life like bottle caps or patterned rubber erasers, and arrange them in a direction that matches your subject. Modeling paste can cost more than basic supplies, but you can stretch it by mixing with a cheaper paste medium so you get plenty of coverage.
11. Acrylic Ink Blowback With Texture Underneath
Acrylic Ink Blowback With Texture Underneath
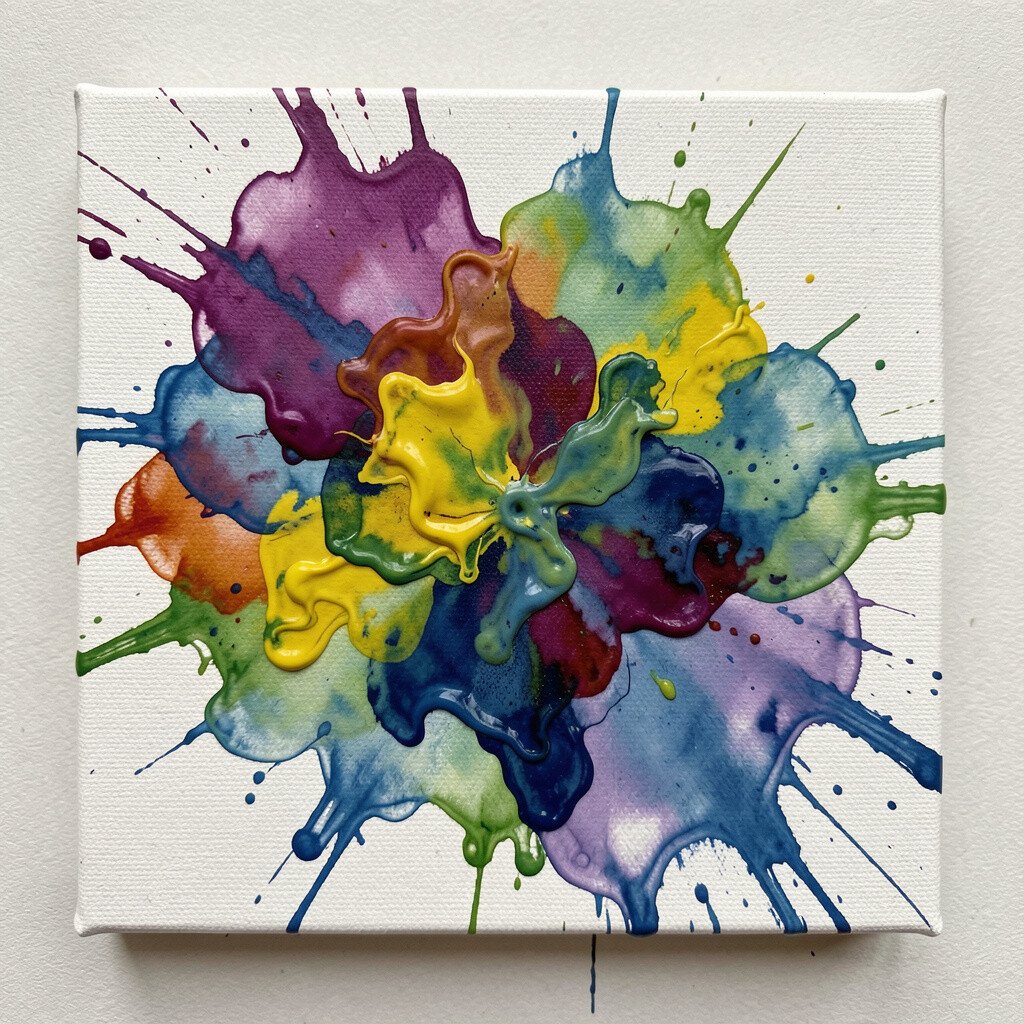
First create a textured underlayer with gesso clouds or sand scatter, then add acrylic ink on top. When you blow or fan the ink, it travels along the bumps and creates feathery edges that feel wild but controlled.
The raised parts guide the ink like little roads, making your patterns look intentional instead of random spill. Personalize the direction by using a straw, a fan brush, or even a folded paper shield to control where the ink spreads. This method can be budget-friendly if you use small ink bottles and blend with water-based mediums, and it matches current abstract trends that celebrate fluid, unpredictable results.
12. Masking Tape Lifts for Sharp Geometry
Masking Tape Lifts for Sharp Geometry
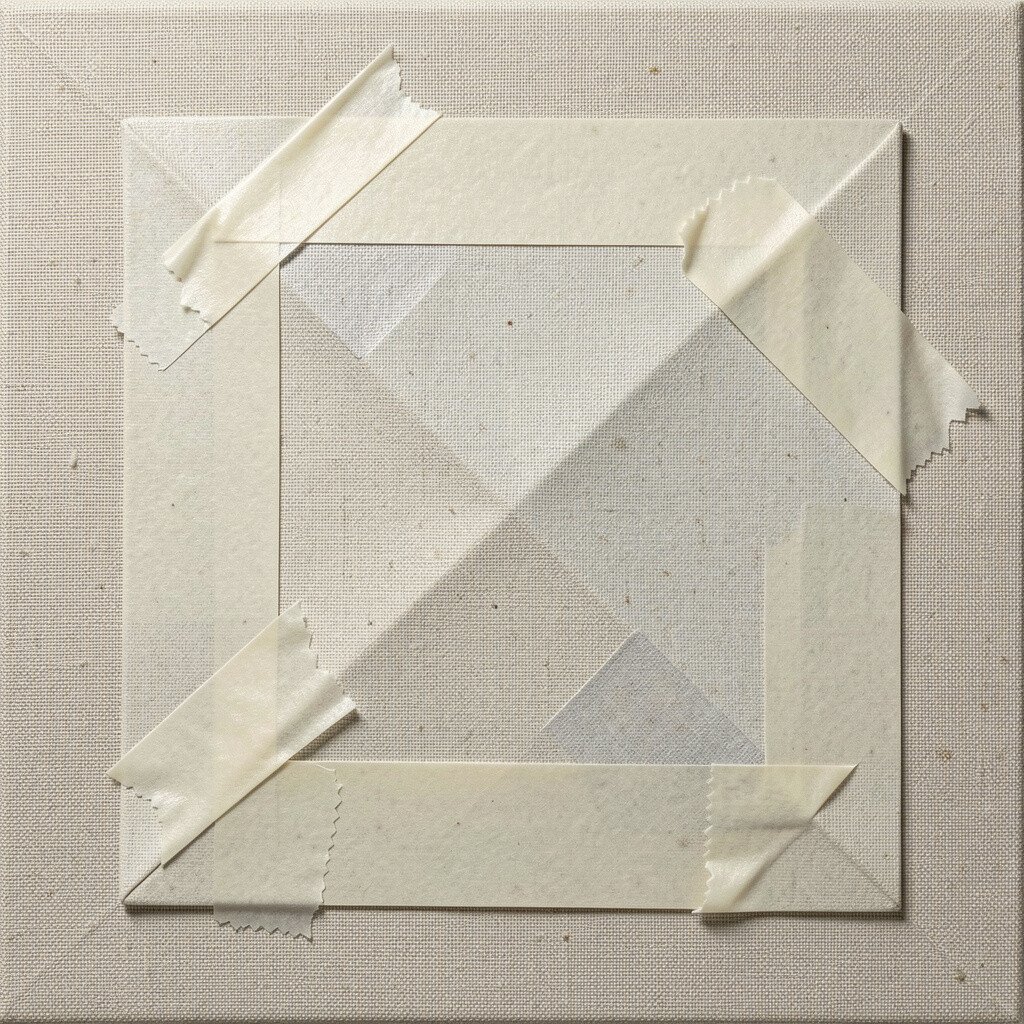
Press masking tape onto a wet or tacky paint layer, then peel it back to reveal clean lines. The canvas gains crisp borders that look like modern paper cuts set inside paint.
Repeat in layers with different colors so each tape lift adds a new geometric memory. For personalization, vary tape width or angle so your composition feels like it’s been drafted by hand. This is a low-cost idea that uses everyday tape, and it’s popular right now because it pairs well with bold color blocking and graphic abstraction.
To avoid tearing, remove the tape while the paint is still slightly flexible.
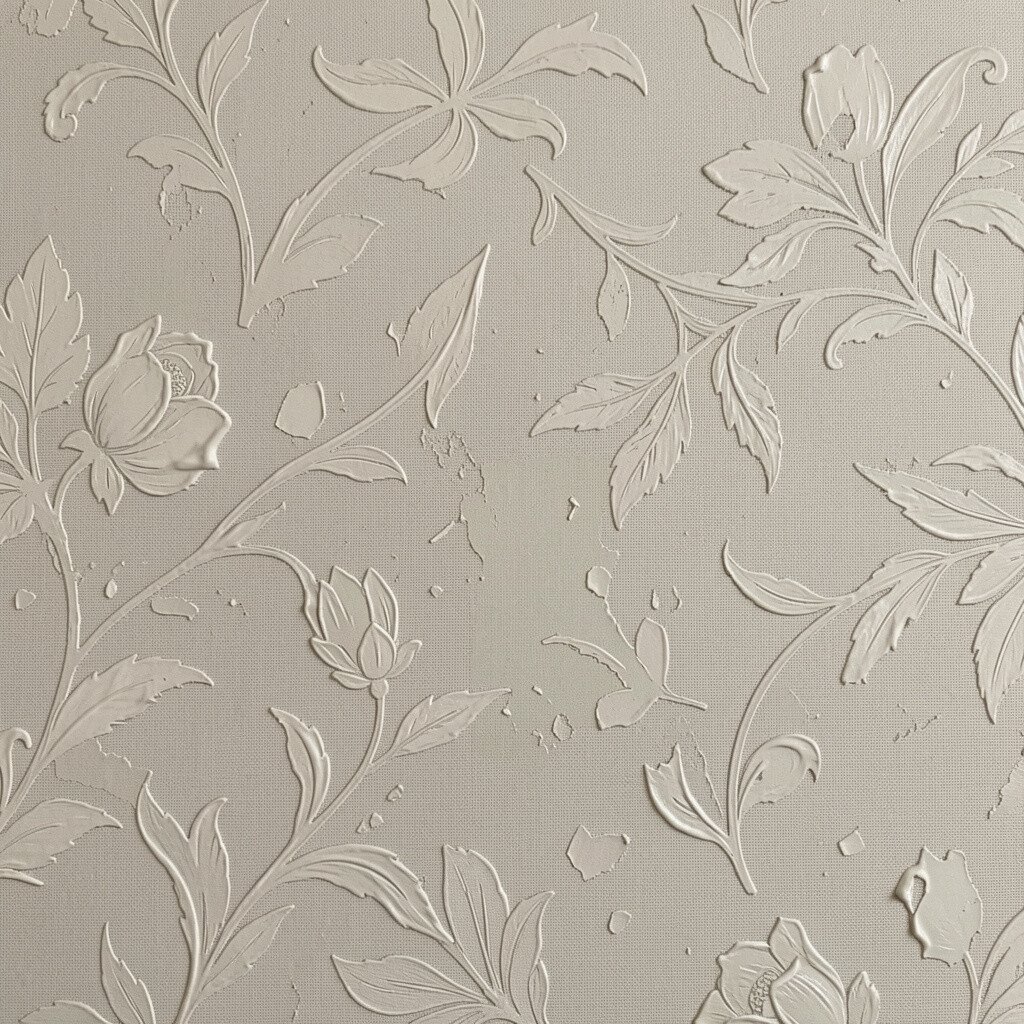
Cut small scraps of old wallpaper or textured paper, then glue them lightly with matte medium. The canvas shows raised patterns that resemble vintage surfaces beneath fresh color veils.
Paint thin layers over the top so the embossed design becomes softer and more integrated. Personalize by choosing one pattern to repeat, like leaves or stripes, and letting it show up only in certain areas for a secret detail feel. Wallpaper scraps are often free or very cheap, making this a cost-friendly way to get a high-end, curated look that feels on-trend in vintage-inspired art.
14. Sponge Scrub Highlights With Limited Paint
Sponge Scrub Highlights With Limited Paint
Wet a small sponge, squeeze it nearly dry, and scrub gently over paint while it’s still workable. You’ll lift small amounts of color, creating bright patches and subtle speckles like sun through leaves.
This texture trick is helpful because it gives you highlights without needing perfect brush control. Personalize it by using colored sponge stains, like a hint of yellow or blue on the sponge, so the “lifted” spots become tinted. Costs stay low since sponges are cheap, and this approach fits the current trend toward looser, painterly finishes that look effortless but are carefully handled.
Work in small sections and stop before the canvas shows too much bare primer.
15. Wax Resist With Colored Pastes
Wax Resist With Colored Pastes
Rub soft wax or candle wax onto the canvas in your intended shapes, then cover it with colored acrylic paste or paint. Where wax sits, the paint resists and leaves bright, glowing lines under a veil.
Once everything is dry, you can deepen the contrast by adding another thin layer so the resist marks look deliberate and crisp. For personalization, try layering wax patterns and letting them intersect, like overlapping stars or map lines. Wax can cost a little depending on what you buy, but basic candle wax works and you’ll use only small amounts, so the overall cost stays reasonable.
16. Concrete-Style Texture With Finish Mortar-Like Paste
Concrete-Style Texture With Finish Mortar-Like Paste
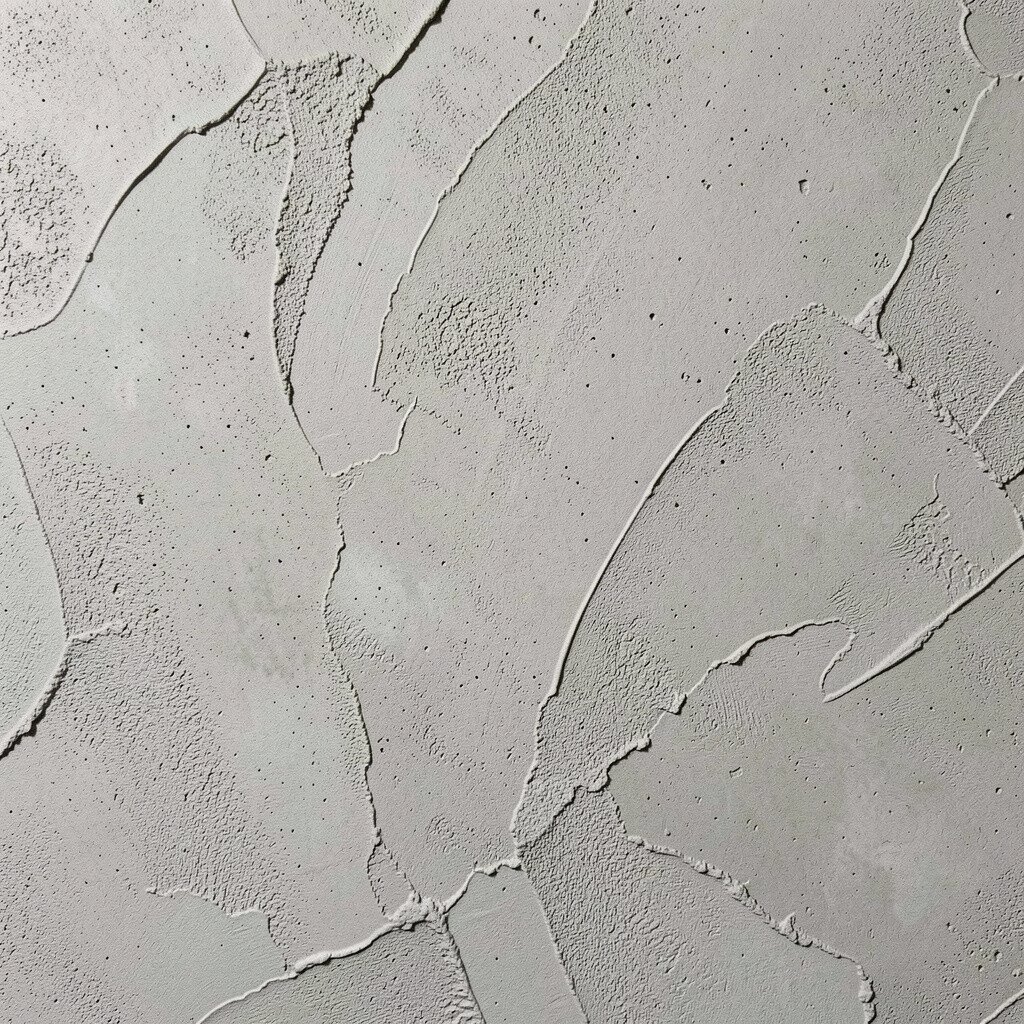
Mix acrylic medium with a small amount of fine plaster or texture paste to get a thick, spreadable body, then trowel it across the surface. The canvas takes on a concrete-like skin with tiny irregularities and a serious, industrial mood.
After it dries, seal it with a flexible varnish or a thin gel top coat so paint layers sit smoothly on top. Personalize it by stamping patterns into the wet paste with a textured card or by sanding lightly for a softer feel. This can cost more than gesso or sand, but buying a small bag of fine plaster can be efficient, and the look matches current interests in urban, tactile aesthetics.
Use it as a background or as a focused panel area so your artwork has a strong stage without covering everything in heavy texture.