17+ Classroom Decor Ideas That Boost Collaboration
Walls can feel like silent team members. With the right choices, they start inviting students to work together.
When decor supports shared routines and visible thinking, group work becomes easier and more fun. The best part is that you can start small and still see changes fast.
Set up a small area at the door with soft colors, comfy seating, and a tidy “start here” vibe. Students should feel like they are stepping into a place where partners are expected, not optional.
Use a rug or mat to define the space, then add a simple banner with encouraging words and class norms. Pair that visual comfort with a quick routine like pairing up as soon as coats go away.
2. Flexible Seating Stations
Flexible Seating Stations
Choose decor that supports different ways to work, like stools, lap desks, or rolling chairs. Visual variety helps students feel ready to join a group instead of settling into one fixed pattern.
Arrange seating into zones using rugs, shelf dividers, or a few lightweight screens. Label each zone with simple icons, and rotate groups through so collaboration feels like a natural part of the day.
For practical setup, keep cords out of sight, place supplies in reach, and avoid clutter that blocks movement. If you want cost control, look for gently used furniture or DIY options like repainted stools and clear storage bins.
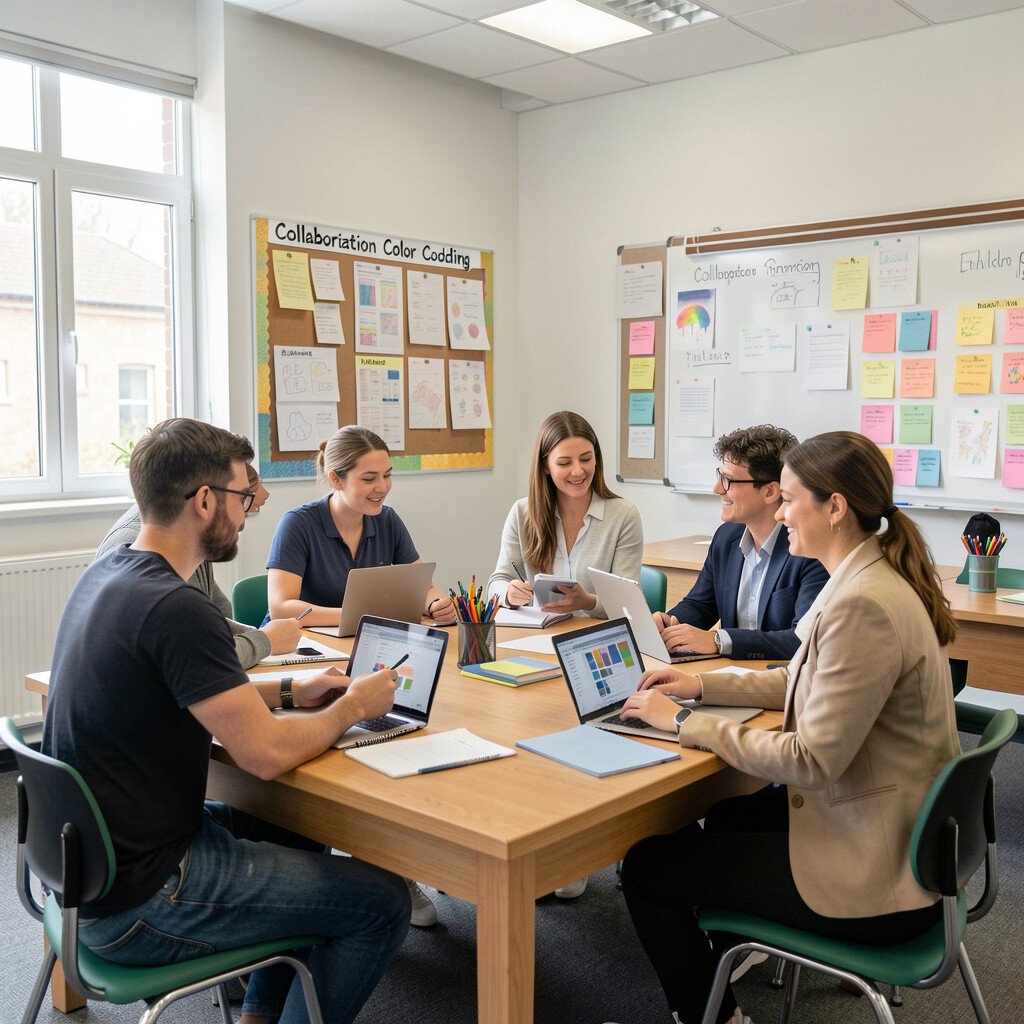
3. Collaboration Color Coding
Collaboration Color Coding
Pick a handful of colors and use them everywhere so students recognize roles without extra talking. When students see the same color on chairs, posters, and folders, they switch partners more smoothly.
Add color bars to the top of group folders, turn-taking cards, and even on wall charts for tasks. For a personalization touch, let students vote on which colors feel most like “our team.”
To keep it current, use bright, friendly shades that match modern classroom design trends like warm neutrals plus one bold accent. Keep it practical by using washable labels and swapping only the small items when you change groups.
4. Co-Working Wall Panels
Co-Working Wall Panels
Create large wall panels where students can place work side by side. A shared display turns group efforts into something visible, which naturally boosts teamwork.
Hang panels with clear pockets or magnetic strips so pages can move without tearing. When you update work weekly, the wall becomes a living timeline of group thinking.
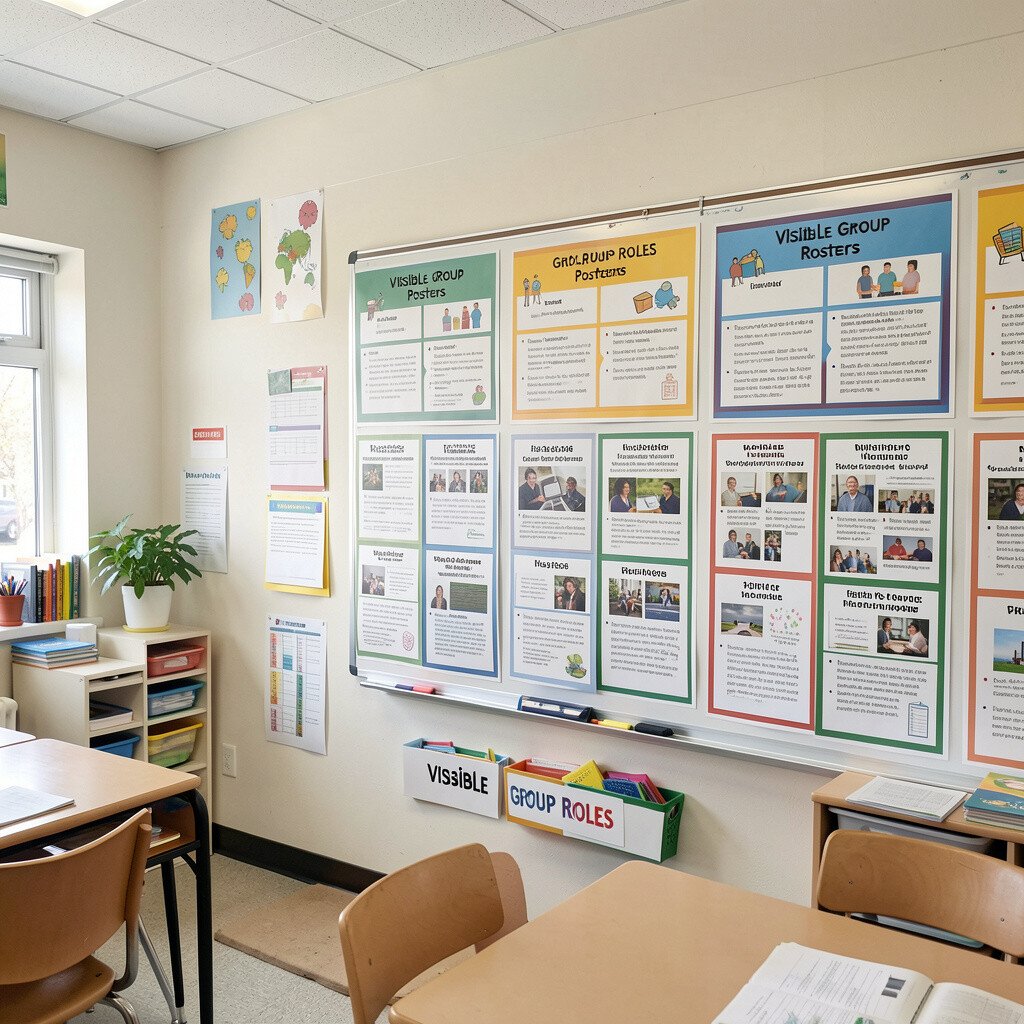
5. Visible Group Roles Posters
Visible Group Roles Posters
Make role expectations easy to spot with posters that use simple icons and short phrases. Students collaborate more confidently when they know what each partner is responsible for.
Use images for roles like speaking, writing, checking, or time keeping, then place the posters near where students gather. Keep the layout clean and friendly so the visual design feels welcoming rather than strict.
For personalization, ask students to choose one icon that matches their favorite teamwork style. If budget is tight, print role cards on colored paper and laminate only the top layer.
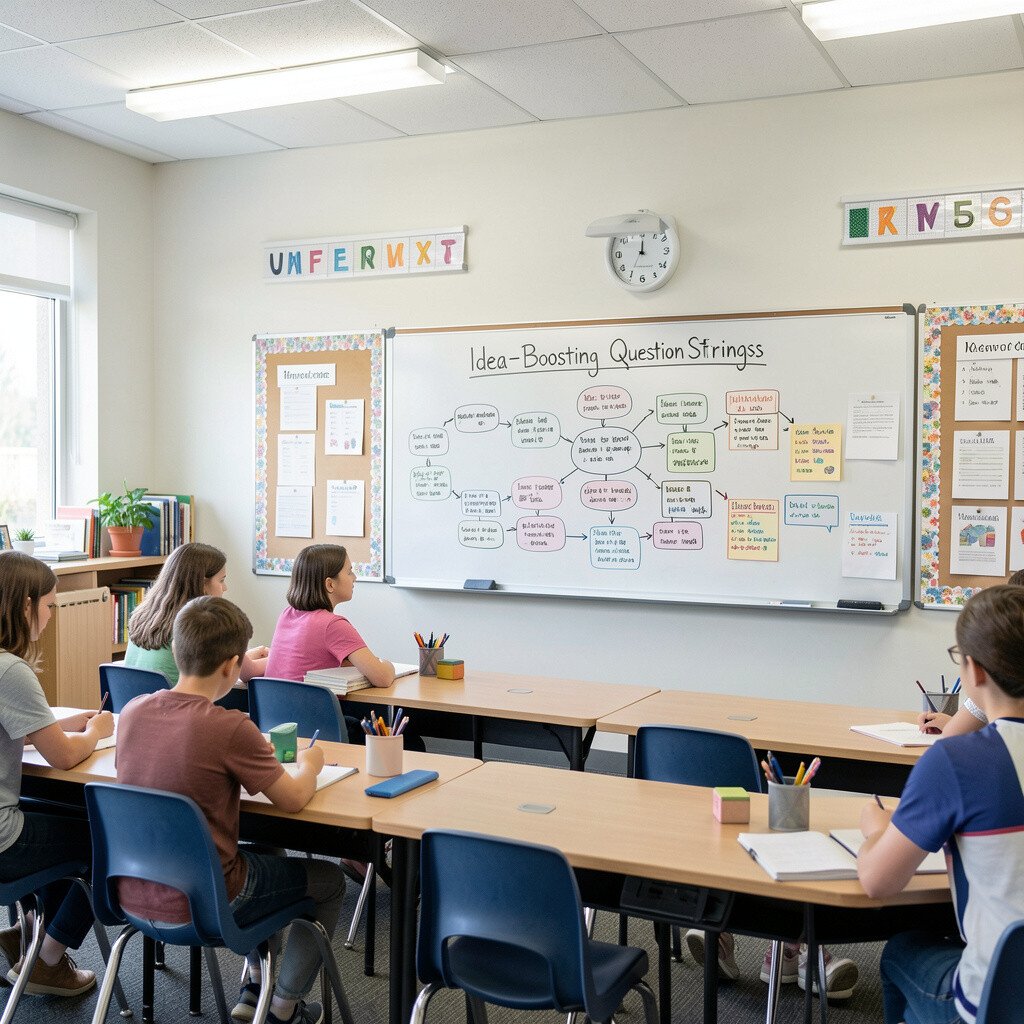
6. Idea-Boosting Question Strings
Idea-Boosting Question Strings
Hang “question strings” that show prompts for discussion, like how to build on an idea or how to ask for clarification. When questions appear as decor, students remember to use them during group tasks.
Use a string line along a bulletin board, then attach cards with clips so you can swap them out each week. Try to choose prompts that fit common classroom moments, like planning, revising, and sharing.
This style is trending toward student-friendly visuals that reduce teacher talk while keeping expectations clear. Make it practical by keeping cards in labeled envelopes behind the display so you can refresh quickly.
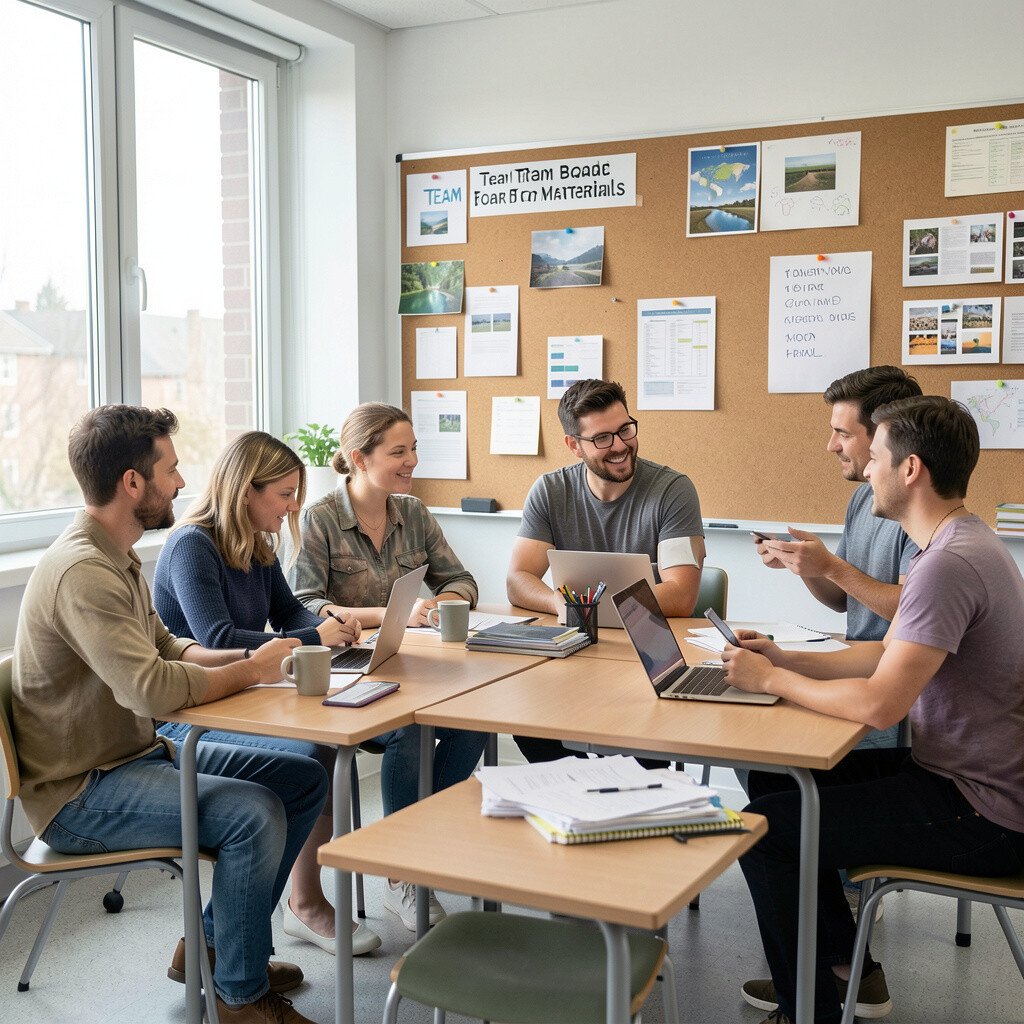
7. Team Trade Board for Materials
Team Trade Board for Materials
Design a board that shows how materials get passed around during collaboration. A clear system prevents “can I get this?” interruptions that break group focus.
Use small sections for items like scissors, glue, rulers, and tech chargers, and show a simple icon for where each piece returns. Add a pocket for “help needed” slips so students know exactly how to request support.
8. Rotating Showcase Gallery
Rotating Showcase Gallery
Set up a gallery wall where students can see work from different groups over time. Seeing peers succeed makes collaboration feel normal and exciting.
Use frames, binder rings, or clipboards mounted on the wall so you can rotate displays easily. For uniqueness, mix student photos with project images and include one sentence about what the team did well.
When you plan displays, keep cost in mind by reusing thrifted frames and updating the content. Current design trends often favor layered frames and clean spacing, so aim for neat, intentional arrangement.
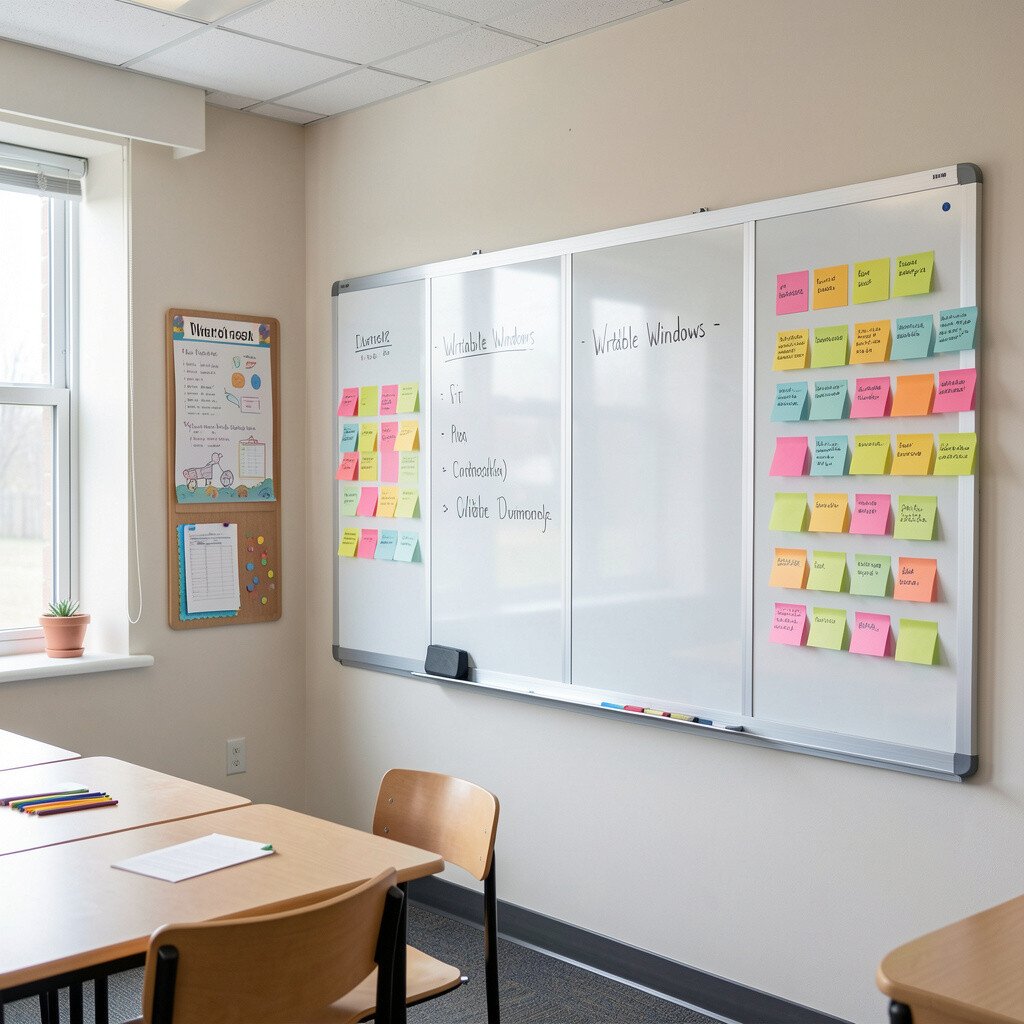
9. Writable Windows and Wall Sticky Notes
Writable Windows and Wall Sticky Notes
Turn part of a wall into a writable area with sticky notes that students can add during discussions. When students can leave ideas where everyone can see them, collaboration grows naturally.
Choose a designated board spot with color-coded sticky pads and a clear “add your thought” spot. Keep the surface protected with a cork panel, dry-erase board, or laminated sheet so it lasts.
This helps students practice active listening because they respond to what others write. If you want to keep costs down, start with one cork section and refill sticky notes only when supplies run low.
Place small decor “curators” on desk corners like mini trays, card stands, or tabletop organizers. These items keep teamwork tools close, so students do not waste time hunting for supplies.
Include a tiny set of helpful cards inside, such as sentence starters for agreeing, disagreeing respectfully, and summarizing. Add a visual cue that says where supplies go back, using icons students understand right away.
For personalization, let student groups decorate the outside of trays with markers or stickers that match their theme. This idea feels unique because the decor also works like a daily collaboration toolkit.
11. Learning Map of Our Community
Learning Map of Our Community
Create a map or mural that links classroom projects to real life in your school community. When students see their work connected to people nearby, groups tend to share more ideas and take roles more seriously.
Use paper cutouts, simple icons, or a large printed map of your area mounted on the wall. Add spaces where groups can post what they learned and who they partnered with, like the library or art teacher.
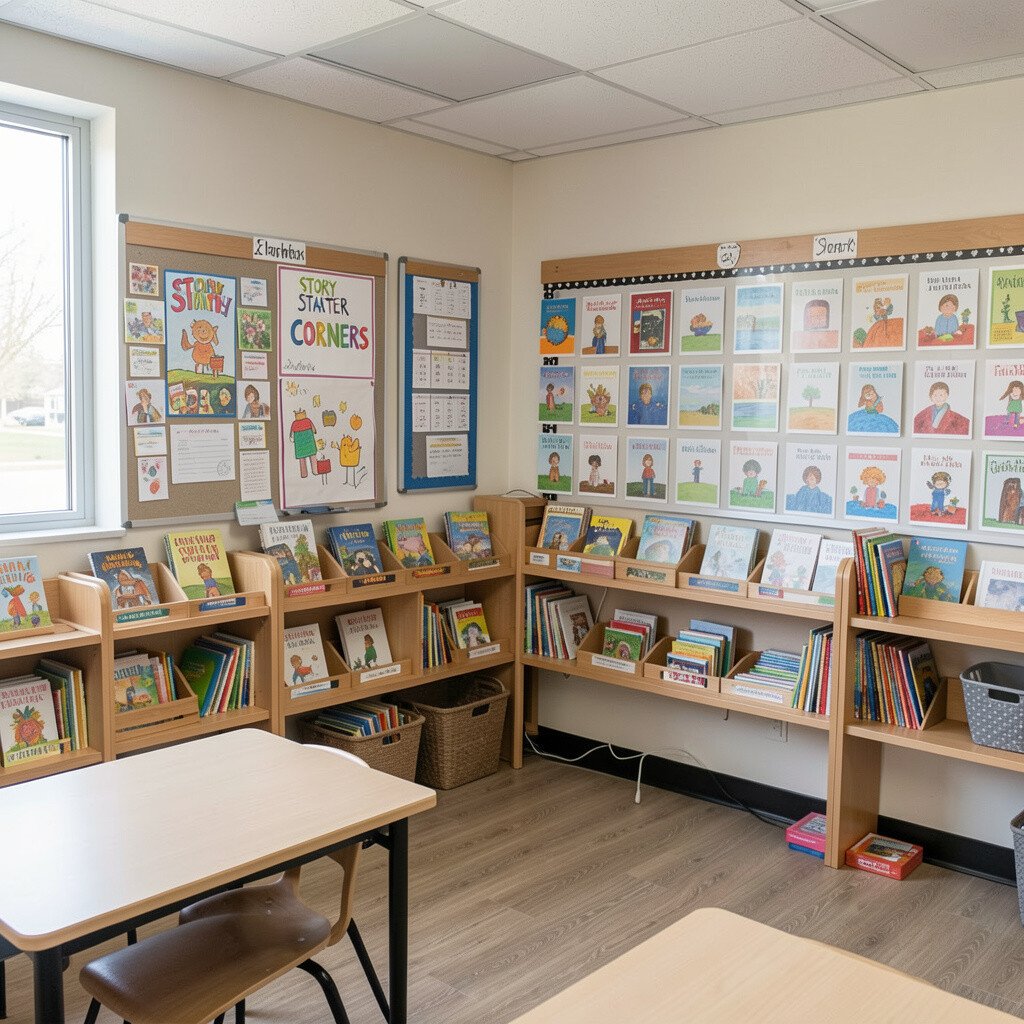
12. Story Starter Corners
Story Starter Corners
Design a corner with story prompts, picture cards, and theme visuals that groups can use while writing or presenting. When the room includes creative cues, students start talking and planning sooner.
Include a basket of prompt cards by genre, plus a small wall display showing example beginnings. Make it practical by choosing durable cardstock and keeping cards in labeled containers.
Current classroom decor trends often include “hands-on inspiration” displays, and this fits right in. Keep costs low by using free printables and reusing materials from previous units.
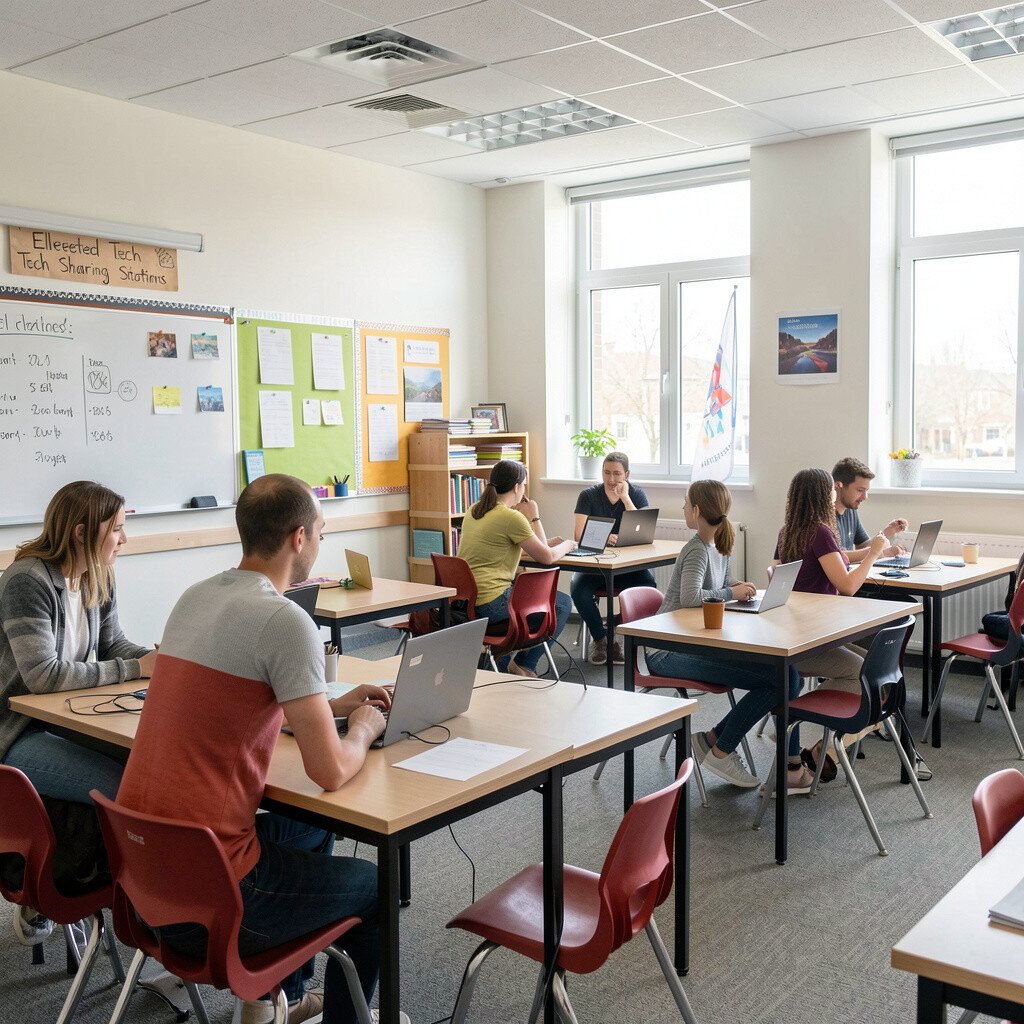
13. Elevated Tech Sharing Stations
Elevated Tech Sharing Stations
Set up a tech area designed for shared use, like a cart with laptops, a tablet charging row, or a screen stand. When devices have a central home, groups treat tech like a group tool, not a personal prize.
Decorate the station with simple visual steps for logging in, saving work, and charging devices. Add a sign that shows team responsibilities for device care so students remember to collaborate responsibly.
To personalize, ask students to design a small “team name” tag for the cart. For cost considerations, use cable organizers, label makers, and a sturdy crate setup rather than expensive display cases.
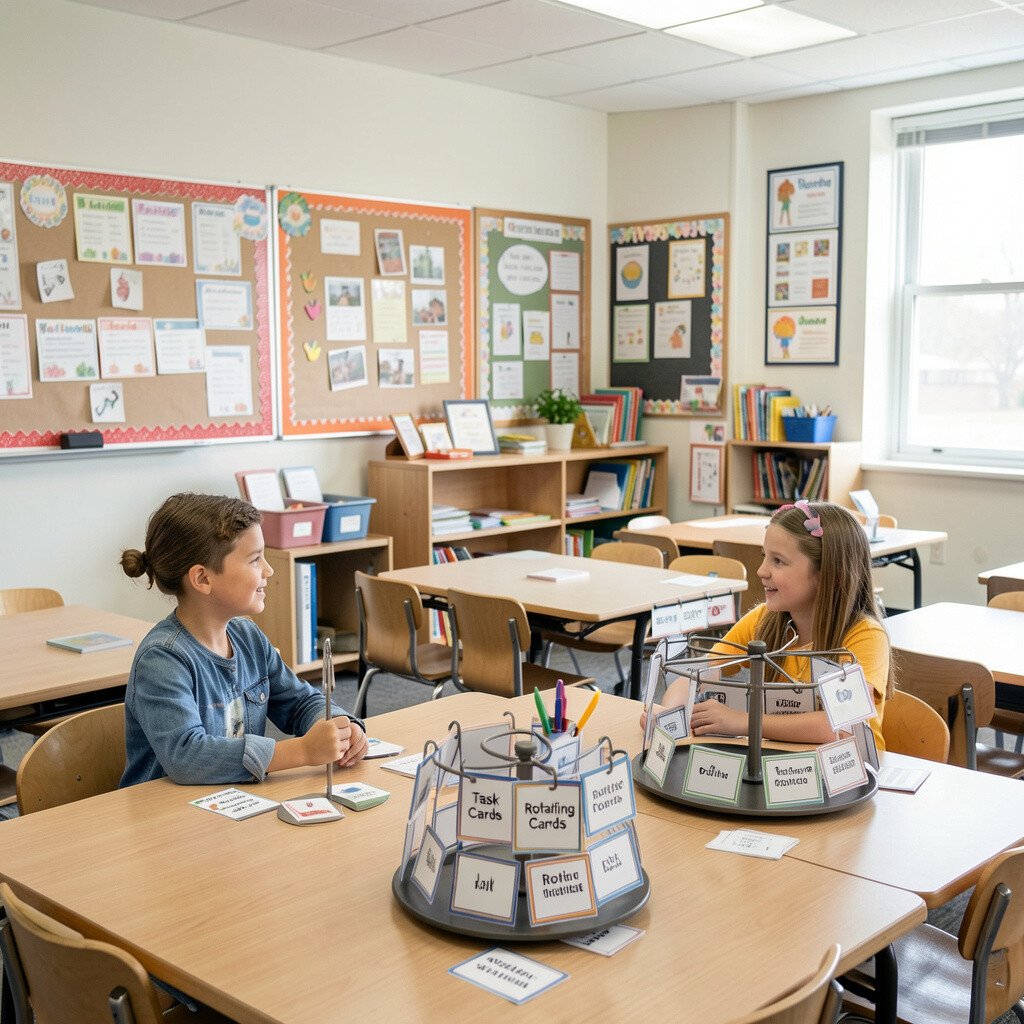
14. Task Cards on Rotating Rings
Task Cards on Rotating Rings
Use rotating rings mounted on the wall to hold task cards for common collaboration activities. When students can grab the right card quickly, they spend more energy working together and less time waiting.
Include cards for steps like planning, drafting, checking, revising, and sharing. Make them visual by using icons, thick borders, and short wording that suits a young reading level.
This setup is both practical and unique because the decor also behaves like a tool. If you want to keep the look modern, choose matching binders or ring clips and maintain consistent spacing around the wall.
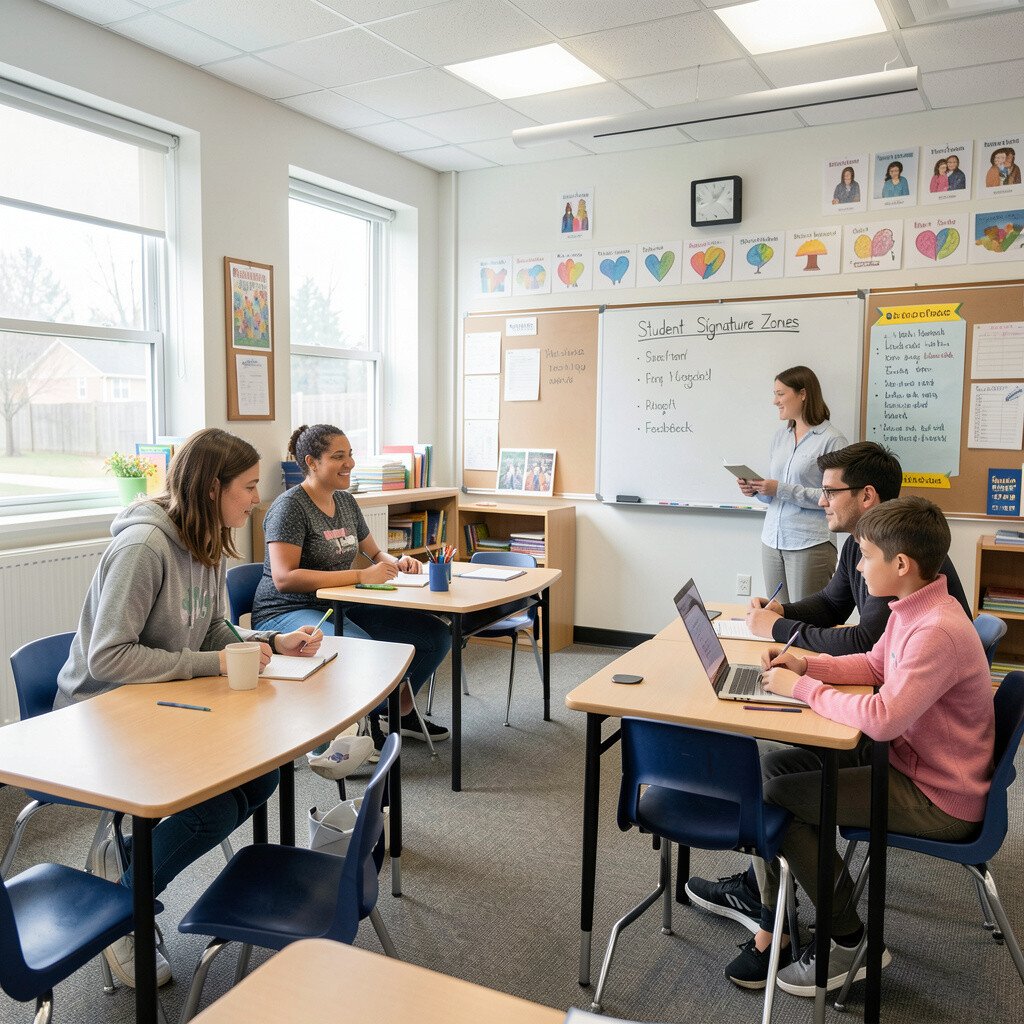
15. Student Signature Zones for Feedback
Student Signature Zones for Feedback
Create a feedback wall where students can post quick comments about group work. Feedback decor encourages respectful talk because the room reminds everyone that ideas should be supported and improved together.
Use speech bubble cutouts, sticky note prompts, or small printed comment stems placed near student work areas. Make it actionable by setting a simple routine for when groups add feedback after sharing.
To help students feel ownership, include a space for group “signatures” using initials or symbols. The best collaboration classrooms make feedback visual and routine, not mysterious.
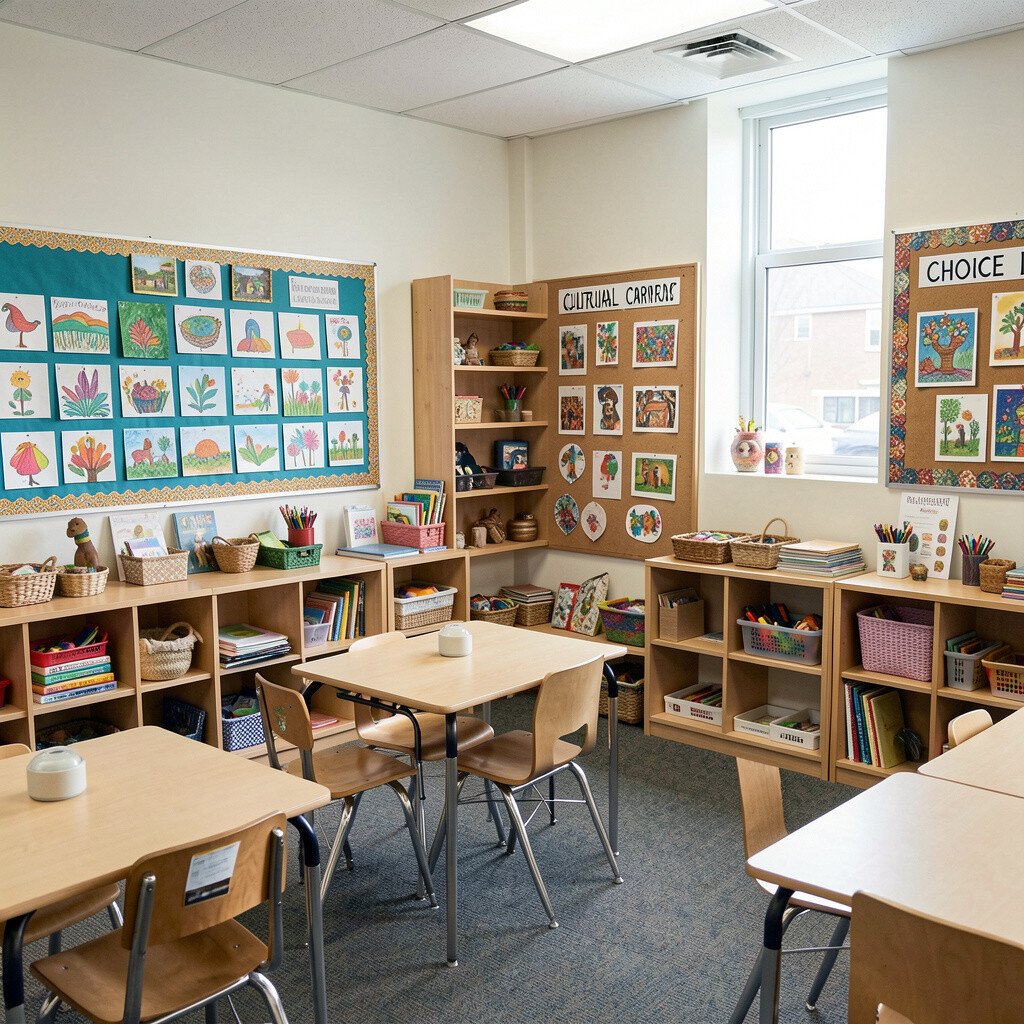
16. Cultural Craft Corners and Choice Displays
Cultural Craft Corners and Choice Displays
Add a small craft corner where groups can choose materials based on their project needs. Choice decor tells students that collaboration includes deciding, planning, and negotiating together.
Display materials in labeled bins with clear picture labels, such as paper shapes, markers, tape, or construction supplies. Personalize the corner with student-created examples, so groups can see what “good work” looks like in multiple styles.
For cost, start with one theme box per month and recycle materials from previous projects when possible. Current trends lean toward maker-style classrooms, so this gives your room that creative, team-driven energy.
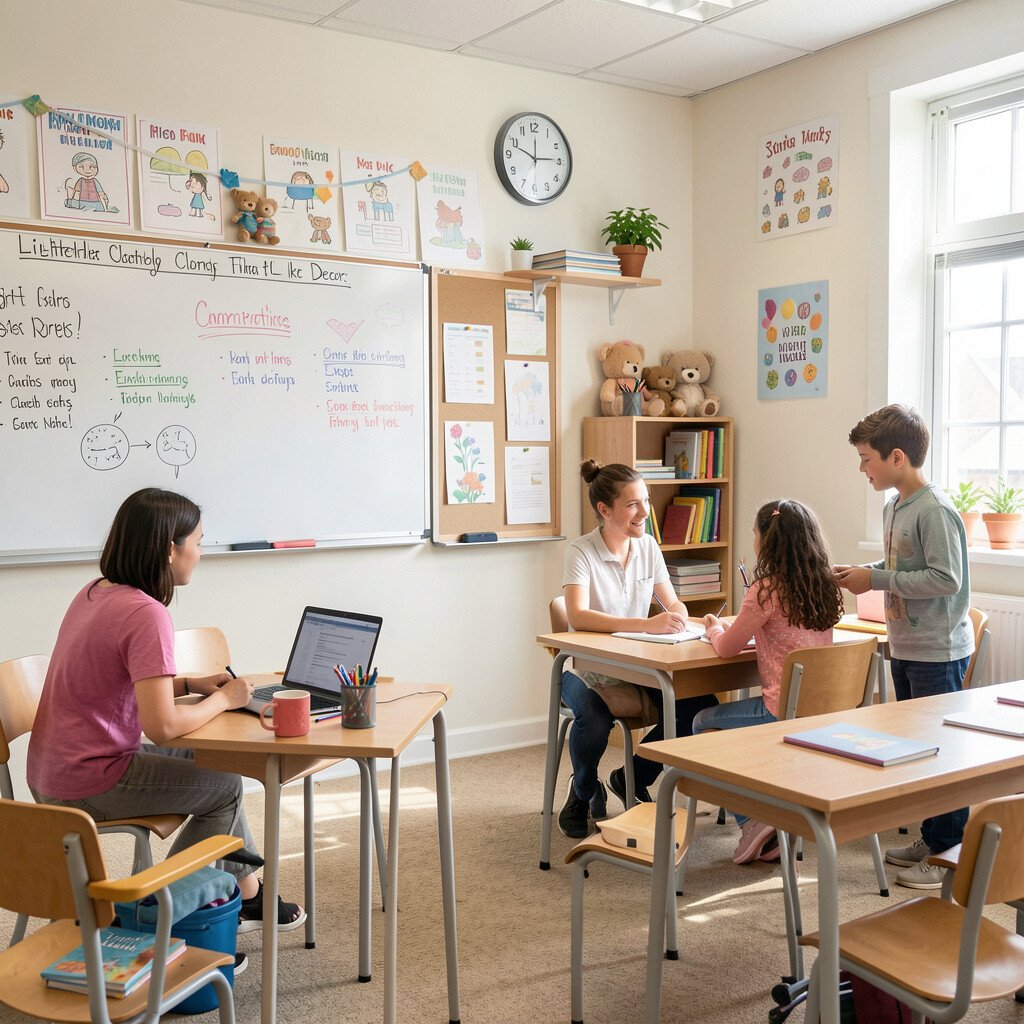
17. Lighthearted Class Norms That Act Like Decor
Lighthearted Class Norms That Act Like Decor
Instead of posting rules in a strict way, display class norms in a friendly visual style. When students see norms as part of the room’s personality, collaboration feels less pressured.
Use playful shapes, friendly fonts, and examples of what teamwork looks like during group time. Include one norm that supports listening, one that supports clear speaking, and one that supports responsibility for shared work.
Keep it practical by updating norms with student input each few weeks, especially after big group projects. This keeps the decor feeling alive instead of stuck in an old unit.
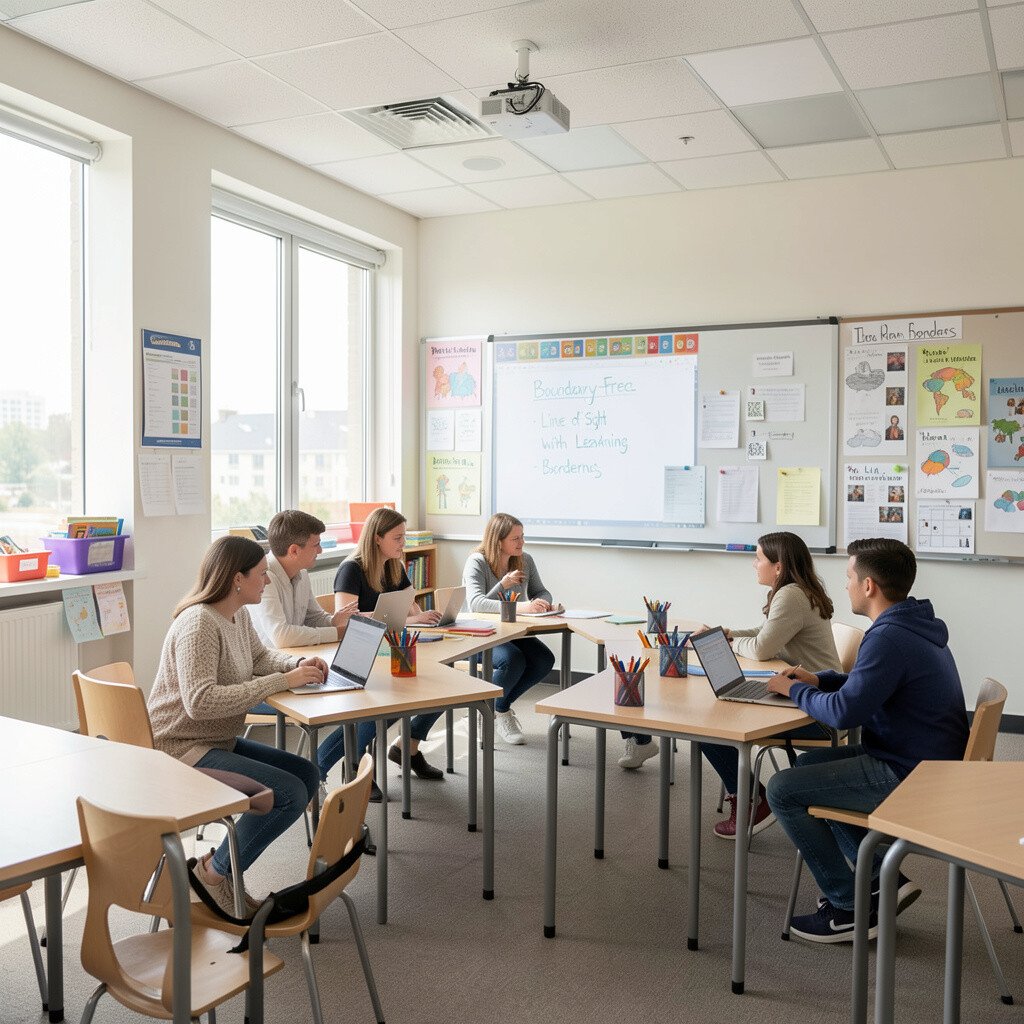
18. Boundary-Free Line of Sight with Learning Borders
Boundary-Free Line of Sight with Learning Borders
Use borders made from trim, rugs, or subtle wall decals to define safe movement paths. When students can move without bumping into others, groups stay closer together and collaborate more smoothly.
Place these learning borders around meeting spots, near group work tables, and along pathways to supplies. Add arrows or simple icons so students understand where to line up for shared materials and where to gather for quick check-ins.
This approach is unique because it blends comfort with structure using gentle visuals. If you want budget-friendly options, use removable painter’s tape for temporary borders and upgrade to vinyl later.