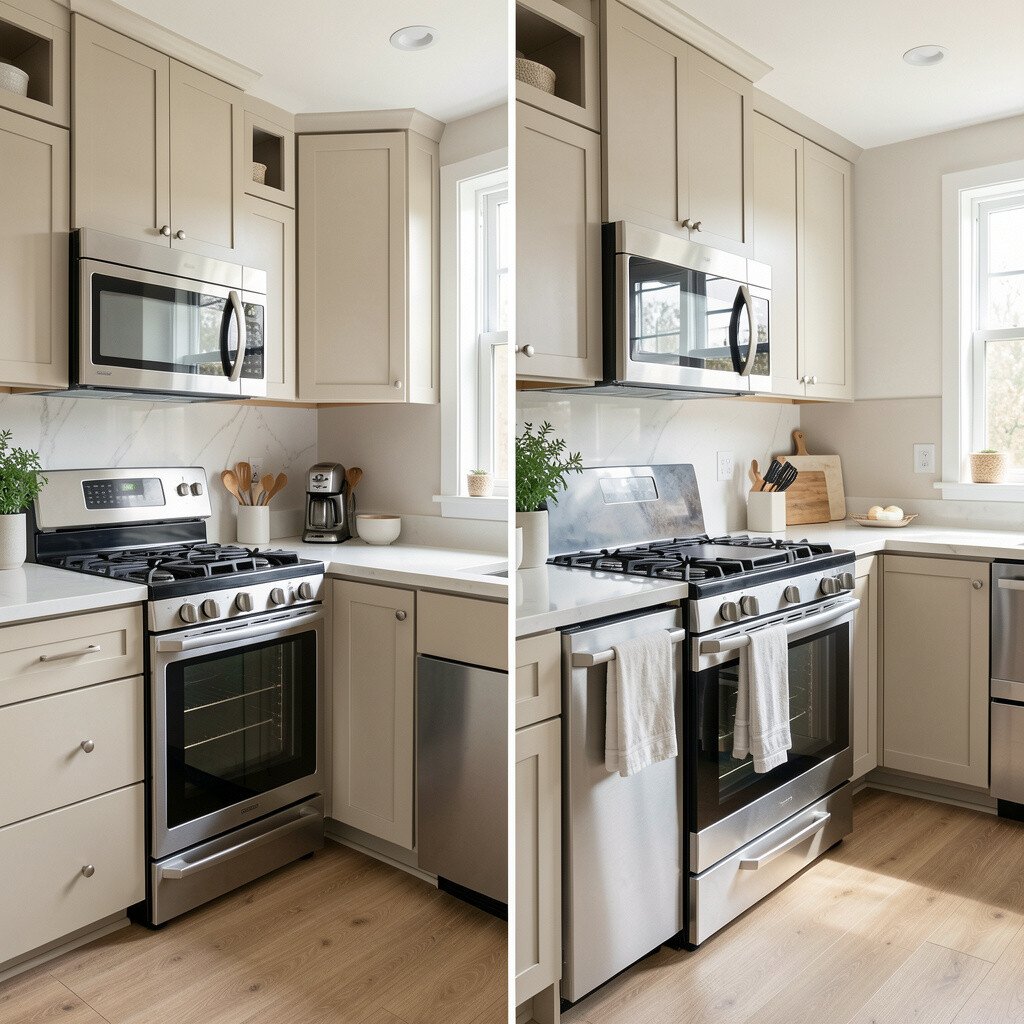
Before, the kitchen light felt harsh and flat, like everything was stuck in the same glare. After, a warm glow softened the corners, and the room looked kinder the moment you walked in.
Swap outdated fixtures for layered lighting that flatters cabinets, counters, and the backsplash. Add dimmers so dinner prep can be bright, but evening meals can feel cozy. For a practical start, choose bulbs with a warm color temperature and test placement before you commit to drilling.
2. Cabinet Paint Refresh in a Soft Color
Cabinet Paint Refresh in a Soft Color
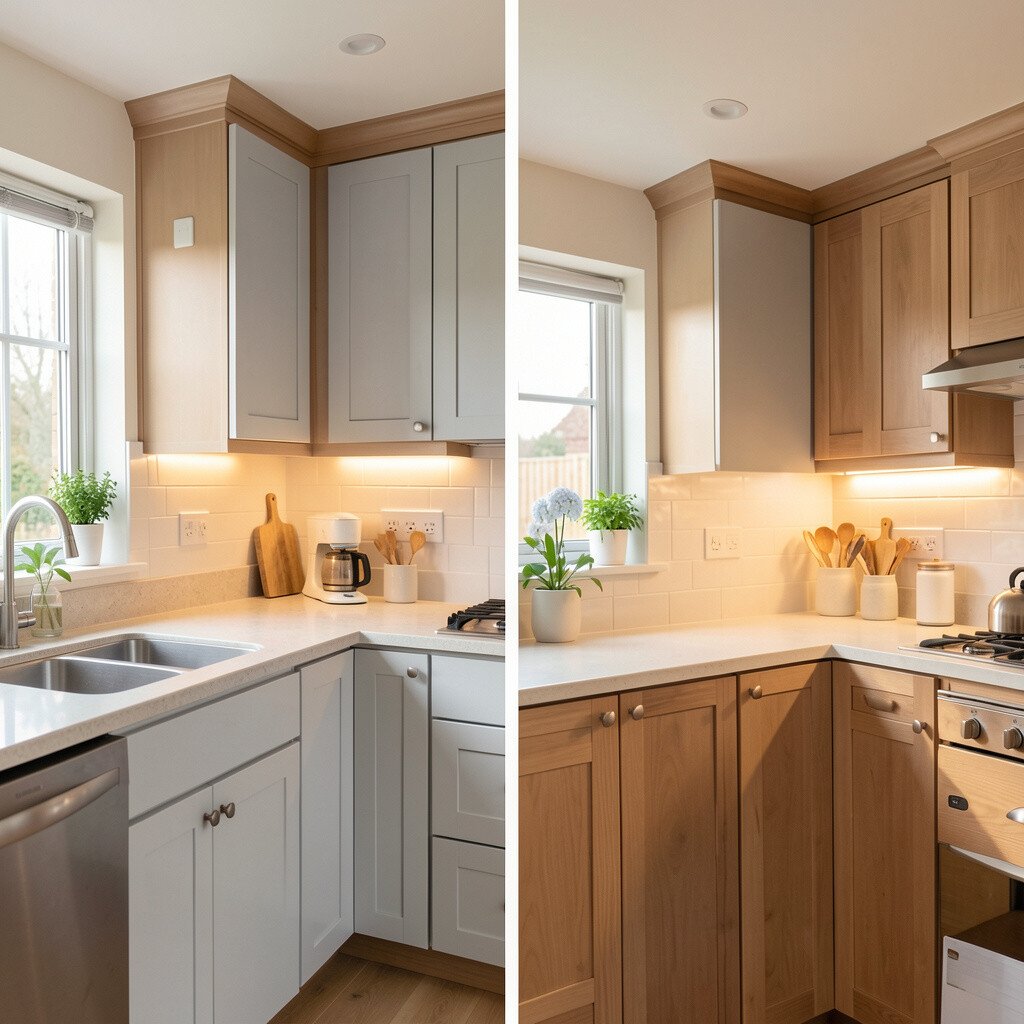
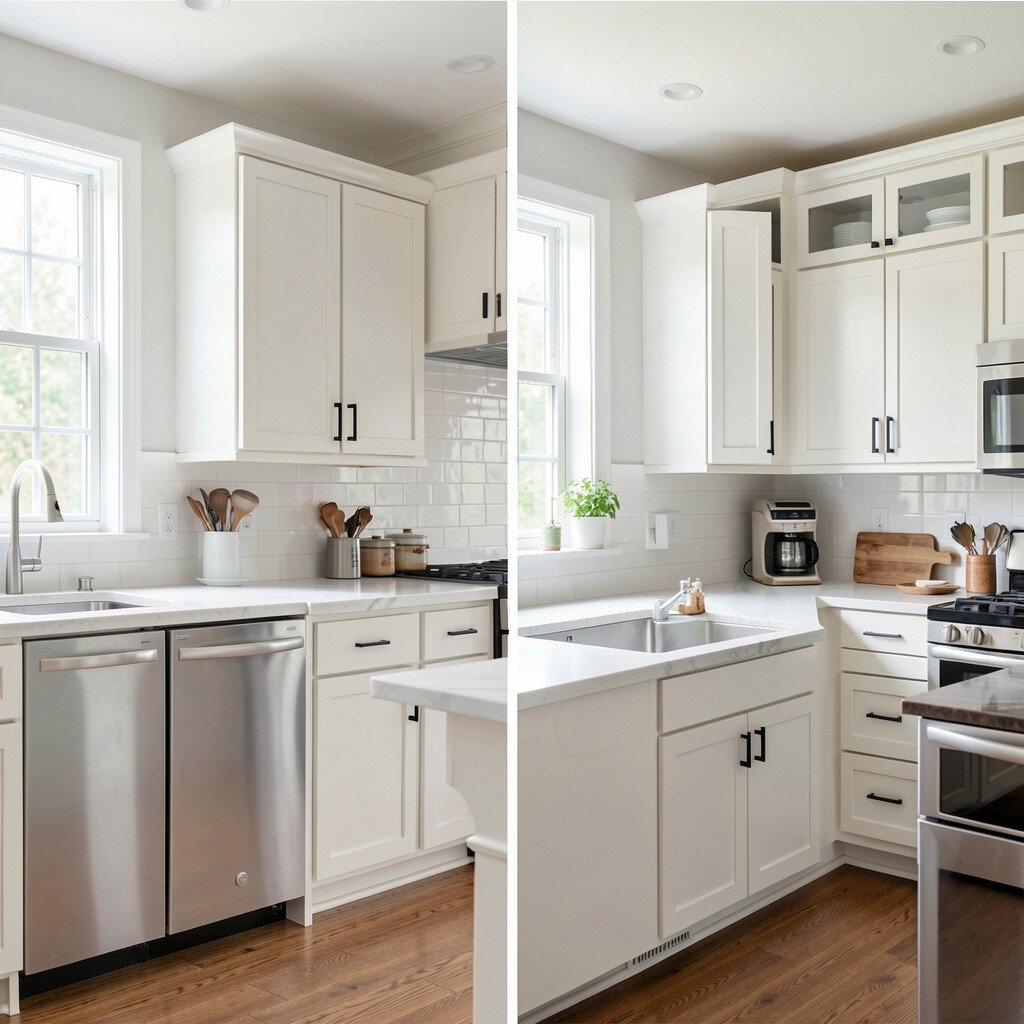
Before, the cabinets looked heavy and a little dated, and the whole space felt visually crowded. After, freshly painted cabinets brought airiness, and the kitchen looked bigger without adding any new furniture.
Pick a soft shade that matches your floors and hardware, like creamy white, sage, or a gentle greige. Prep matters most, so clean thoroughly, sand lightly, and use primer for long-lasting coverage. If you want a budget-friendly edge, focus paint on cabinet boxes first, then upgrade doors later.
3. Open Shelving That Shows Off Everyday Dishes
Open Shelving That Shows Off Everyday Dishes
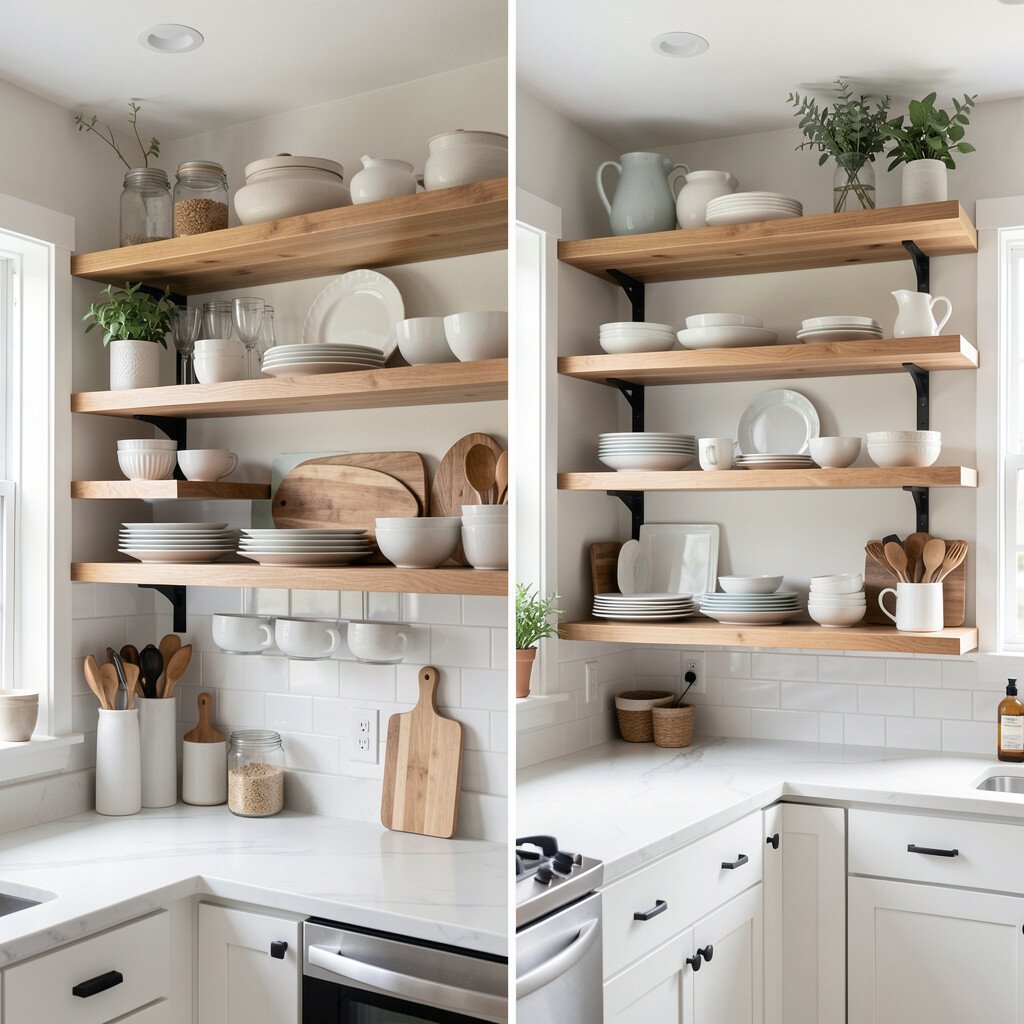
Before, everything stayed behind closed doors, so the kitchen looked busy even when it was clean. After, open shelves displayed favorite mugs and bowls, turning storage into a small style moment.
Use shelves only where you want visual calm, like above the coffee station or near a window. Keep the look tidy by grouping items by color, stacking by size, and limiting what sits out. Add a simple shelf liner and baskets below so daily clutter can still be controlled.
This makeover feels unique because it mixes practicality with personality, and it changes with your seasonal dishes. Choose brackets that match your faucet or cabinet pulls for a pulled-together look. A cost-conscious approach is to measure carefully and reuse existing shelf openings when possible.
4. Countertop Upgrade With Durable Beauty
Countertop Upgrade With Durable Beauty
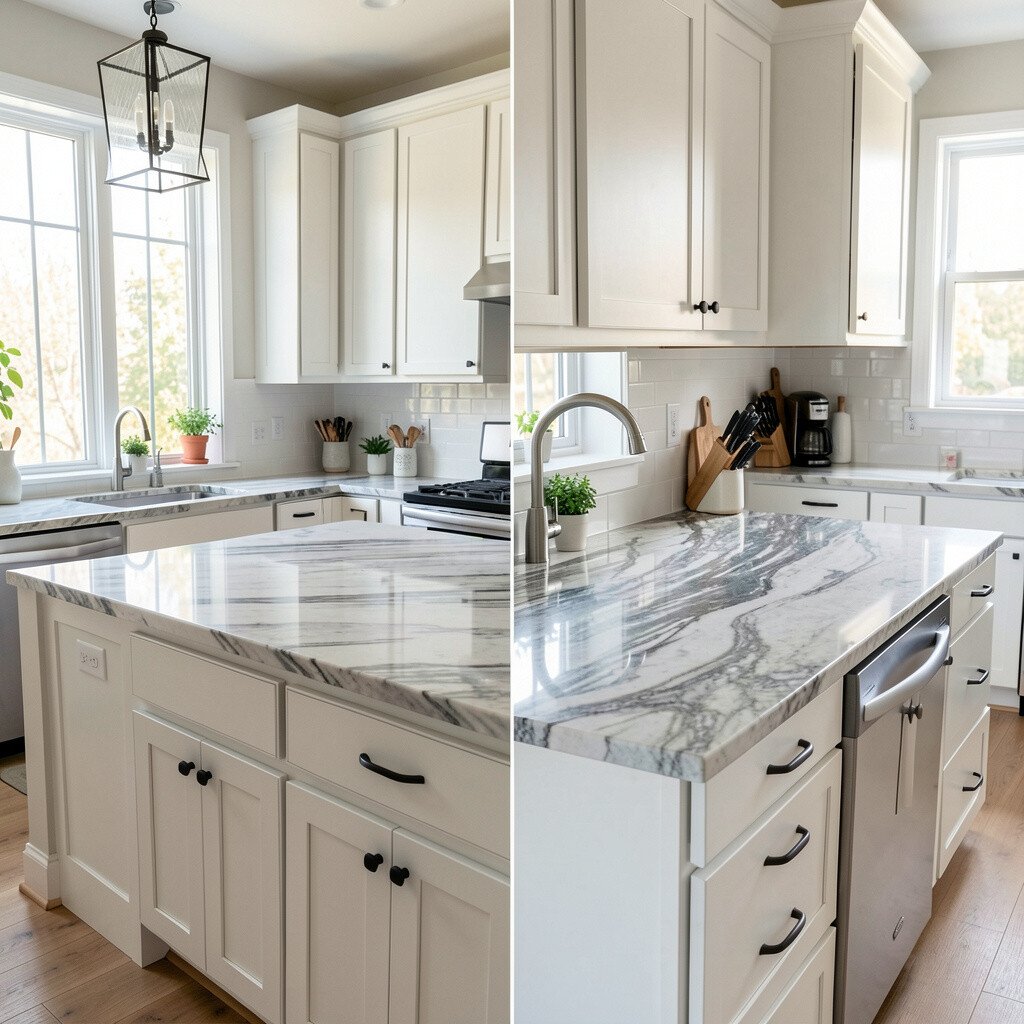
Before, the counters showed scratches and stains that made you second-guess every spill. After, a fresh surface looked smooth and bright, and it made meal prep feel easier.
Consider materials that fit your routine, like quartz for low maintenance or butcher block for warm character. If you cook often, prioritize heat resistance and easy cleaning so the countertop stays pretty longer. To personalize, select a finish that matches your backsplash and add small trays for everyday items like oil, salt, and spices.
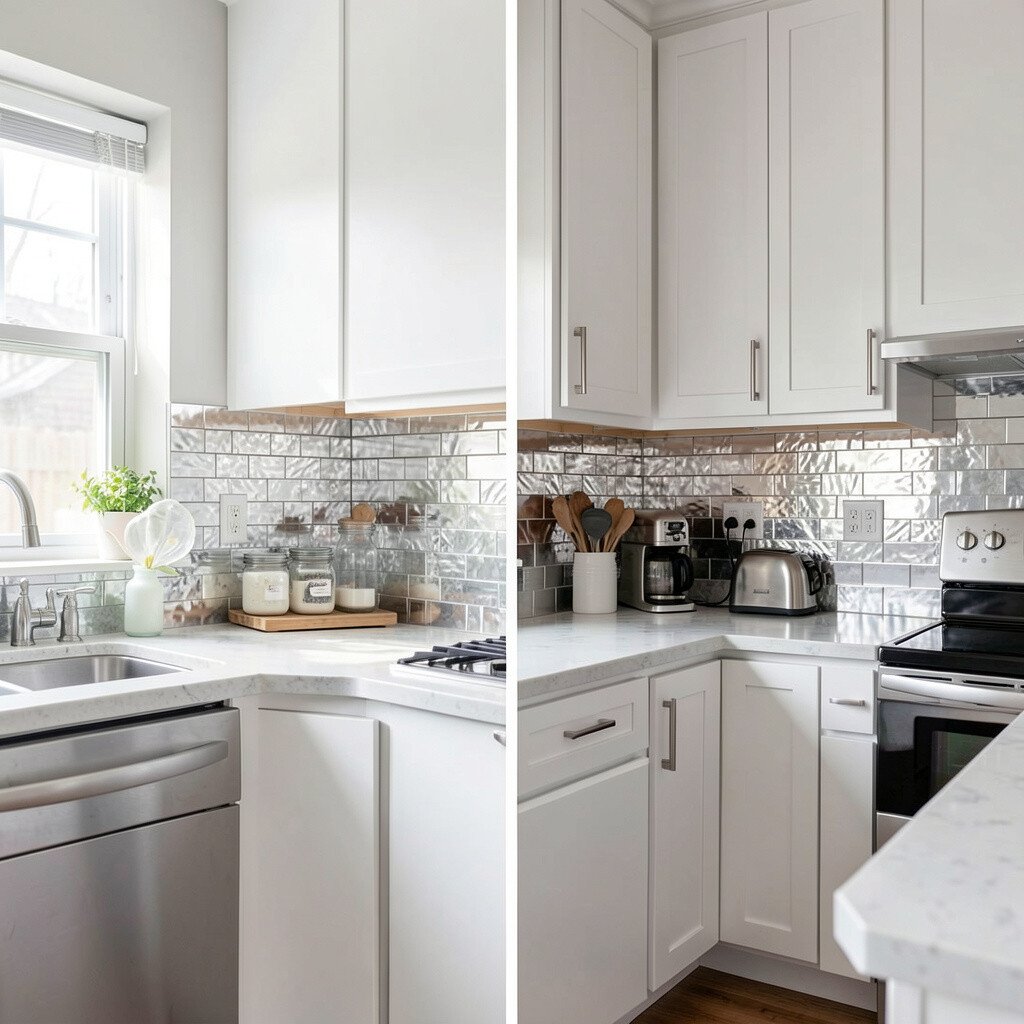
Before, the wall behind the sink looked plain and hard to clean, so splashes seemed to linger. After, the backsplash brought color and texture, making the kitchen feel styled without being fussy.
Choose a tile pattern that suits your taste, such as subway tile for timeless charm or a mosaic for a lively sparkle. Grout color matters more than people think, so pick a shade that hides everyday mess. For a practical tip, plan your layout so edges land neatly near outlets and corners.
Current kitchen makeovers often lean toward mix-and-match textures, like glossy tile paired with matte cabinetry. If you want a budget option, peel-and-stick tile can give a temporary refresh before you commit to permanent work. Just remember that good surface prep is the secret to a clean, lasting finish.
6. Hardware Swap for Instant Makeover Energy
Hardware Swap for Instant Makeover Energy
Before, the old knobs felt mismatched and made the cabinets look worn. After, new pulls and knobs added a crisp look that made everything feel updated.
Match hardware finishes to the faucet, lighting, and any metal accents so the kitchen looks intentional. Try modern bar pulls for a sleek feel or classic cup pulls for a traditional vibe. To keep costs down, replace only the most visible hardware first, then do the rest when you have time and budget.
7. Faucet and Sink Pairing for Cleaner Lines
Faucet and Sink Pairing for Cleaner Lines
Before, the sink area looked dated, and the faucet didn’t match the countertop style. After, a coordinated faucet and sink made washing dishes feel smoother and the whole zone looks sharper.
Choose a sink shape that works with your dishes, like a deep single bowl for big pots or a divider style for everyday convenience. Add a pull-down sprayer for quick rinsing, especially if you prep meals often. When selecting a finish, keep it consistent with cabinet hardware so your kitchen reads as one cohesive space.
This change has a strong before-and-after effect because people focus on the sink immediately. If plumbing changes are too much, you can still upgrade with a faucet that fits the same holes. Consider current trends like matte black, brushed brass, and clean chrome depending on the rest of your kitchen metals.
8. Breakfast Nook With a Small Seating Plan
Breakfast Nook With a Small Seating Plan
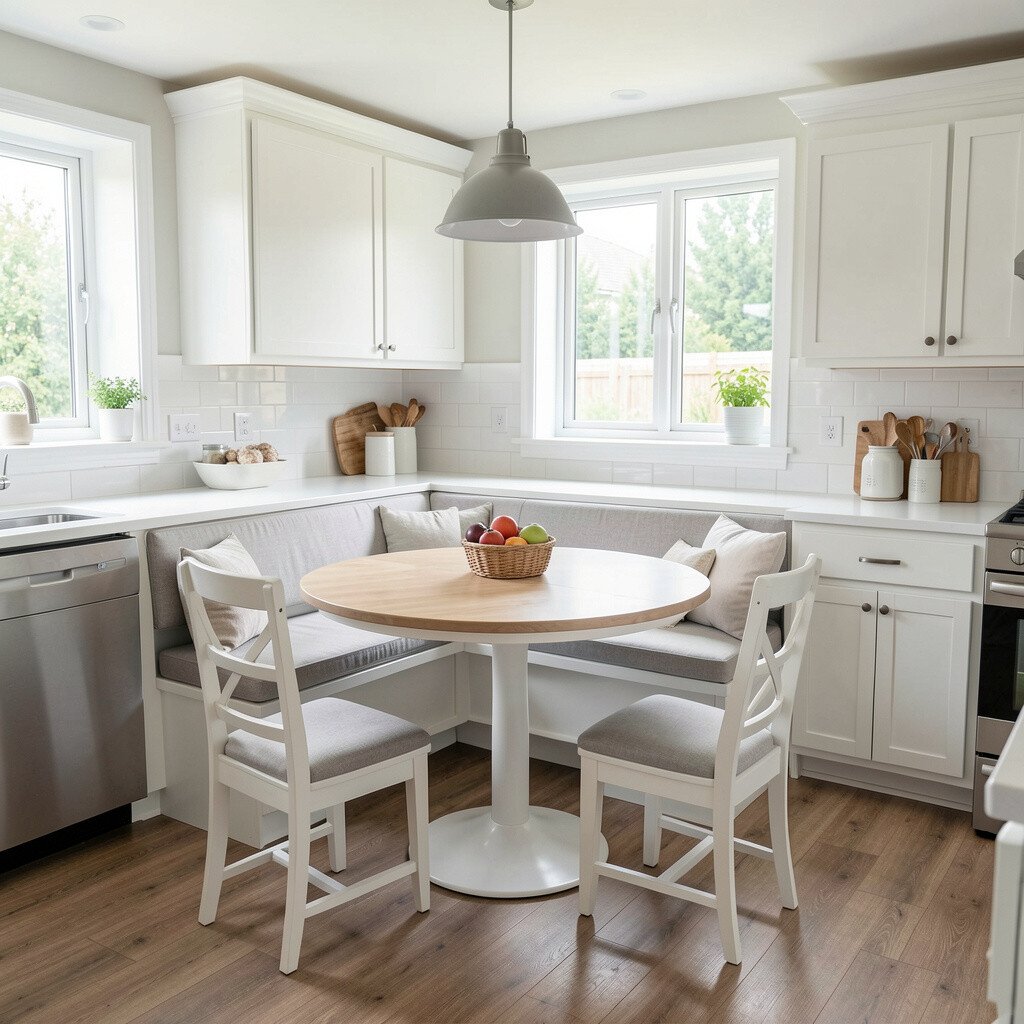
Before, the corner by the window felt unused, like it was waiting for something to happen. After, a compact seating setup made the spot feel welcoming and practical.
Use a bench with storage or a small chair set to keep the area functional without blocking the walkway. Add a table that matches the cabinet height visually, so it feels balanced rather than crowded. For personalization, include a soft rug and a tray for morning drinks so the nook becomes part of your routine.
9. Flooring Refresh With Light-Tone Style
Flooring Refresh With Light-Tone Style
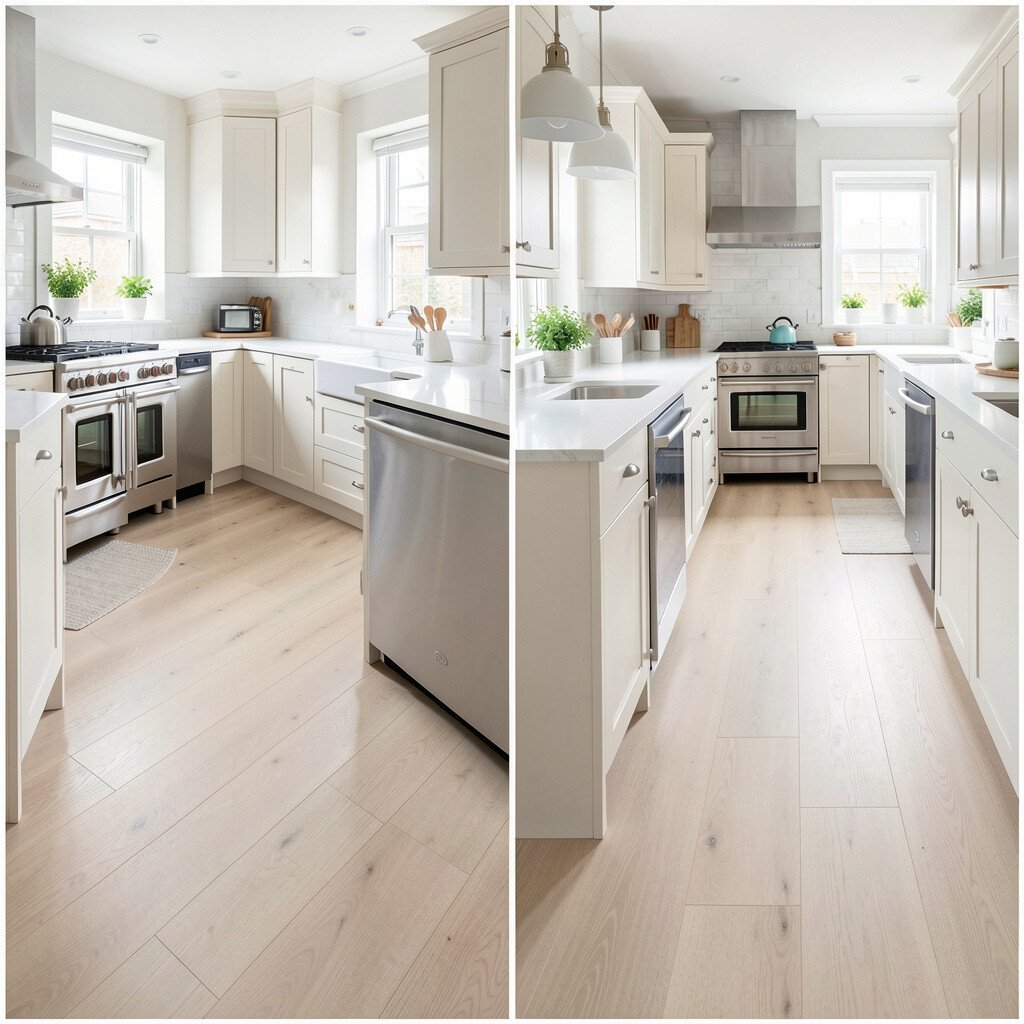
Before, the kitchen floor looked dull and made the room feel darker than it really was. After, brighter flooring added warmth and helped the walls and cabinets look more vibrant.
Light wood tones, vinyl plank, or water-friendly laminate can bring a current look while staying practical. Choose plank direction and layout carefully because it affects how large the room feels. If you want a cost-aware upgrade, consider flooring that installs with less downtime so you can keep cooking with minimal interruption.
This makeover feels unique because it changes your kitchen’s “mood” every time you step in. Pair it with matching baseboards or trim paint so the edges look clean. When you pick a finish, think about the way natural light moves through the space during the day.
10. Pantry Makeover With Clear Containers and Labels
Pantry Makeover With Clear Containers and Labels
Before, pantry items blended together, and it was hard to find what you needed quickly. After, a tidy system made cooking smoother, and the shelves looked bright and calm.
Use matching containers or stackable bins so jars, snacks, and grains don’t look scattered. Keep a simple restock routine so the pantry stays neat even on busy weeks. For personalization, choose container shapes that fit your cooking habits, like tall canisters for pasta or shallow bins for baking mixes.
11. Spice Storage That Keeps Flavors Easy to Reach
Spice Storage That Keeps Flavors Easy to Reach
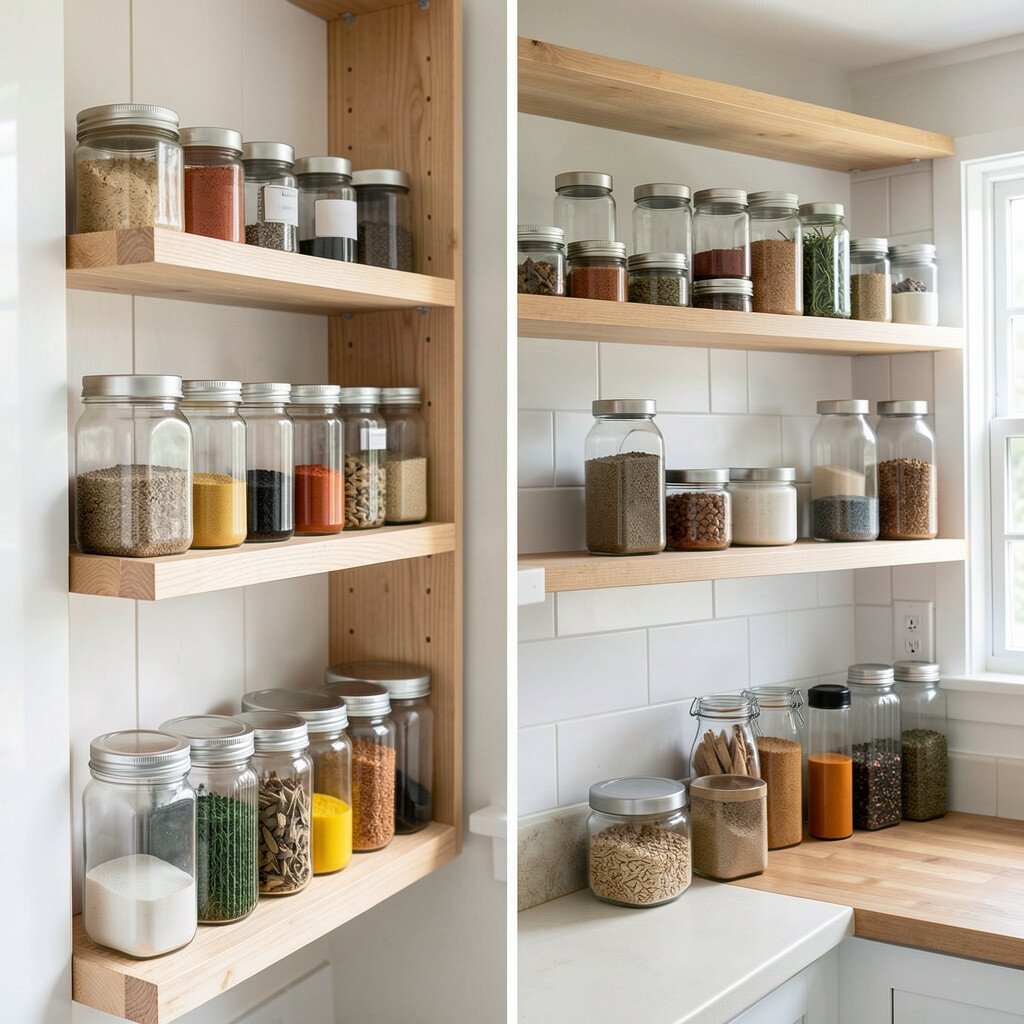
Before, spices lived in random spots, so you had to hunt for the right jar mid-recipe. After, a smart spice setup made every flavor feel within reach.
Try a drawer organizer with small compartments, or mount a slim rack near the cooktop. Use tiered trays for cabinet shelves so labels face you, not the back wall. To keep it budget-friendly, start with your top spices and upgrade containers one shelf at a time.
12. Kitchen Island Seating With Hidden Storage
Kitchen Island Seating With Hidden Storage
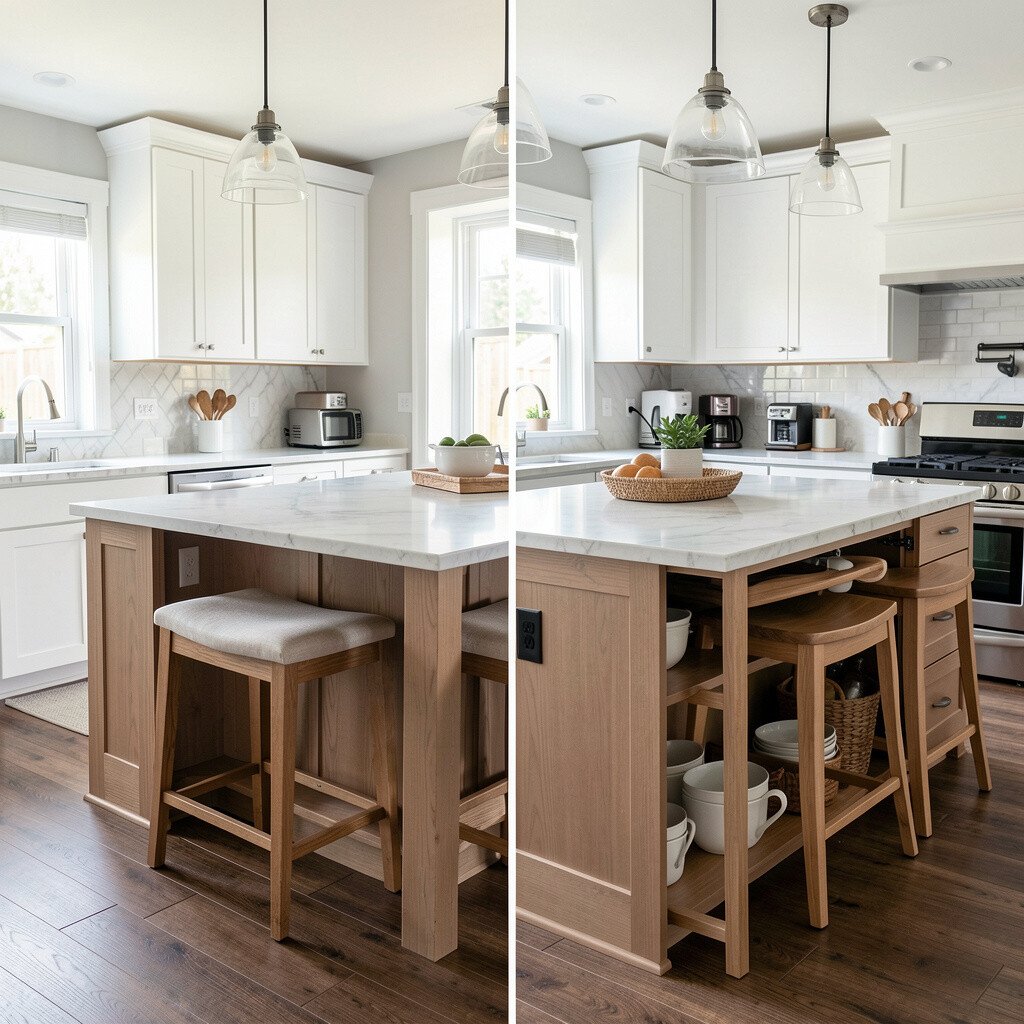
Before, the island looked pretty but didn’t offer much daily help, so counter space stayed cluttered. After, seating plus storage made the island feel useful and easy to keep tidy.
Add drawers or a lift-top section so bags, wraps, and extra tools stay out of sight. Choose bar stools with comfortable backs if you spend time chatting or doing homework at the counter. For personalization, select fabric or finishes that echo your cabinet color and create a cozy vibe.
This is a uniqueness win because it changes how the room works, not just how it looks. A cost consideration is to focus on the most-used storage first, like a drawer system for utensils and napkins. If a full island upgrade isn’t possible, even adding a storage base or adding bins can create a strong before-and-after effect.
13. Open Table Styling With a Flexible Runner Setup
Open Table Styling With a Flexible Runner Setup
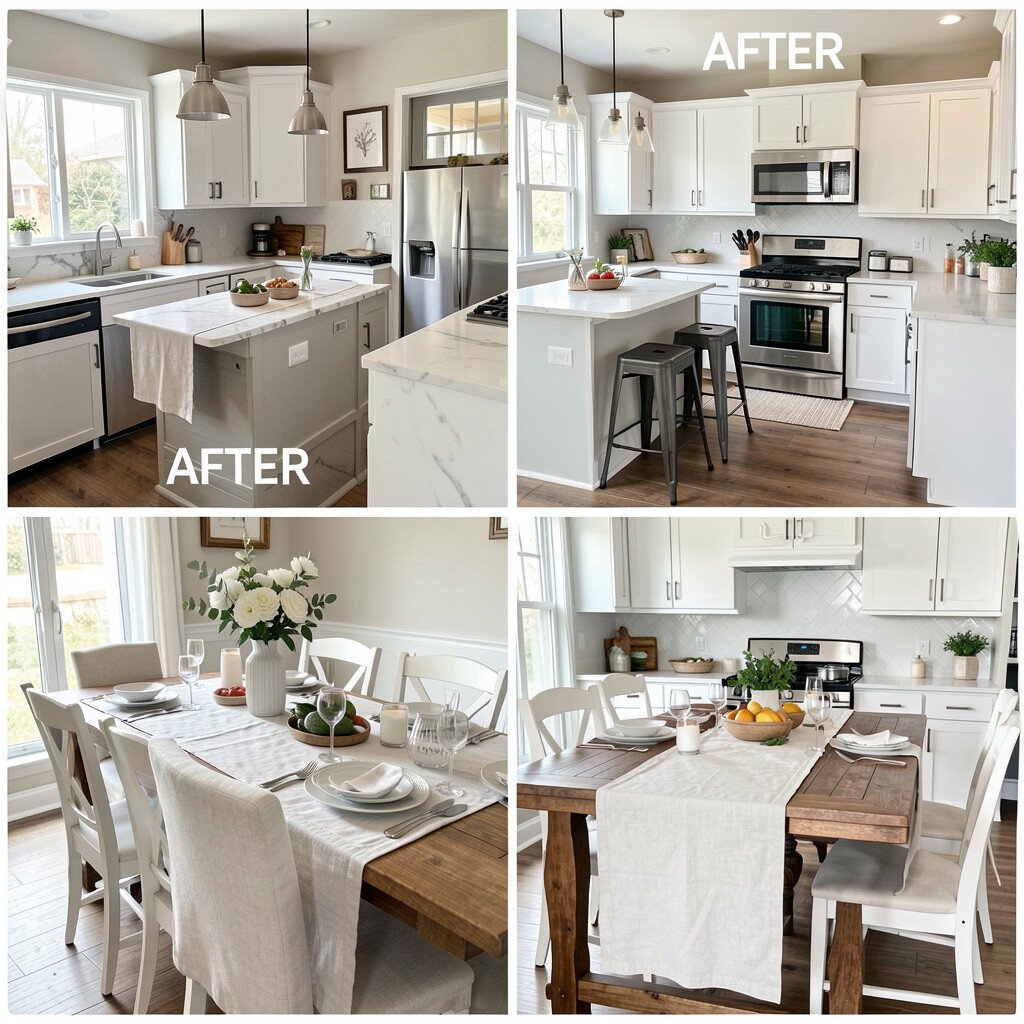
Before, the kitchen table area looked plain, so the space didn’t feel like a gathering spot. After, a simple styling system made everyday meals feel more special without extra clutter.
Use a washable runner or placemats that can be swapped with seasons, so the table always looks fresh. Keep a small centerpiece that doesn’t block conversation, like a low tray with a bowl of fruit or a vase of greens. If your budget is tight, focus on textiles and simple accessories, since they give the quickest visual boost.
14. Wall Paint and Trim for Bright, Clean Contrast
Wall Paint and Trim for Bright, Clean Contrast
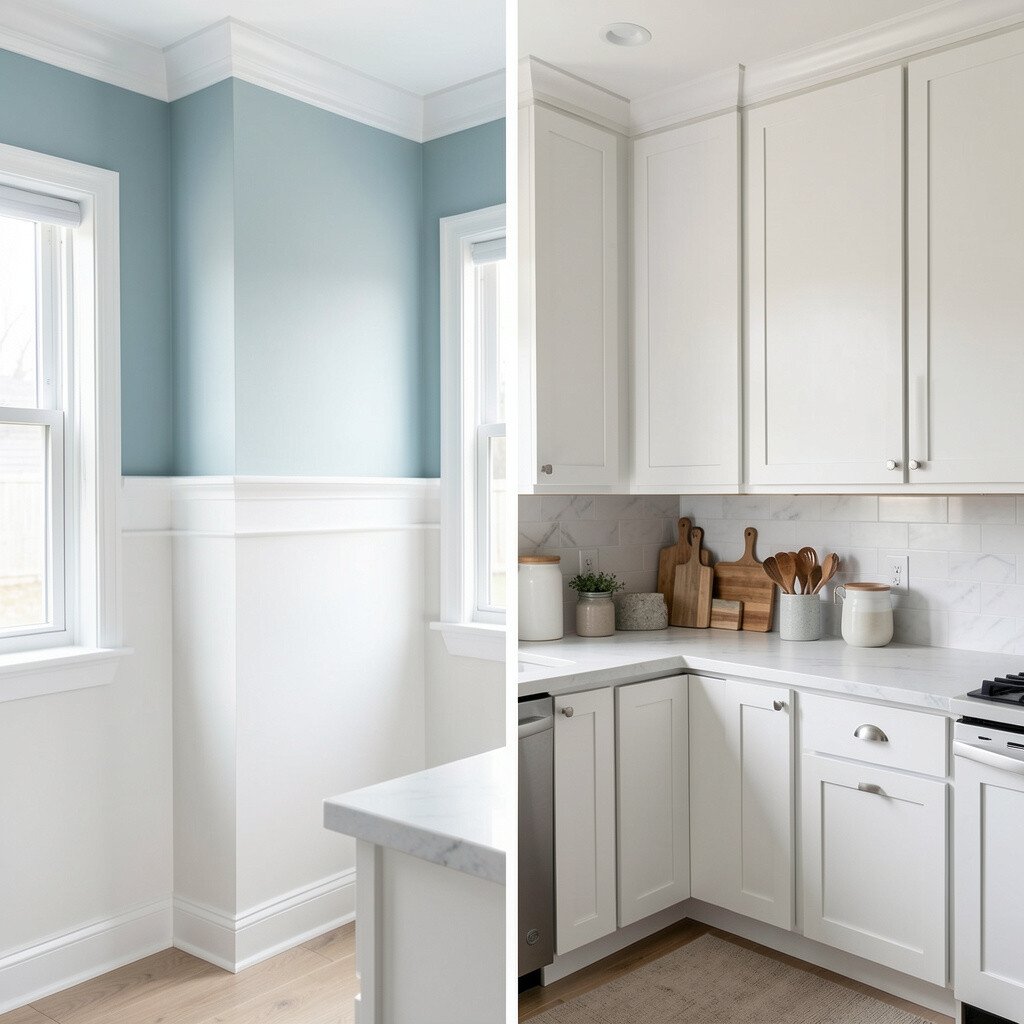
Before, the walls and trim blended together, and the kitchen felt flat and slightly gloomy. After, fresh paint with crisp trim lines made the whole room look clean and ready to cook.
Choose paint finishes that handle real kitchen life, like eggshell on walls and satin on trim for easy wipe-down. Match colors to your cabinets and flooring so you don’t fight your existing tones. For a practical personalization idea, paint behind open shelving or in a small nook to add depth without major remodeling.
15. Microwave Re-Position With Better Counter Flow
Microwave Re-Position With Better Counter Flow
Before, the microwave sat where it squeezed your work space, forcing you to clear counters every time you cooked. After, moving it opened the area, and prep felt smoother right away.
Consider installing a built-in microwave or using a dedicated appliance garage so counters stay clear. Measure carefully and think about safe height placement so the control panel is easy to reach. This is also a current trend, since more kitchens aim for clean sightlines and more usable countertop space.
A cost consideration is to weigh small move versus new cabinetry, because a simple bracket solution can be affordable. If you keep the microwave, add a small cart or tray system so it supports cooking without stealing room. Personalize by adding a matching coffee station zone nearby for a cohesive “work triangle” feel.
16. New Window Treatments for Texture and Privacy
New Window Treatments for Texture and Privacy
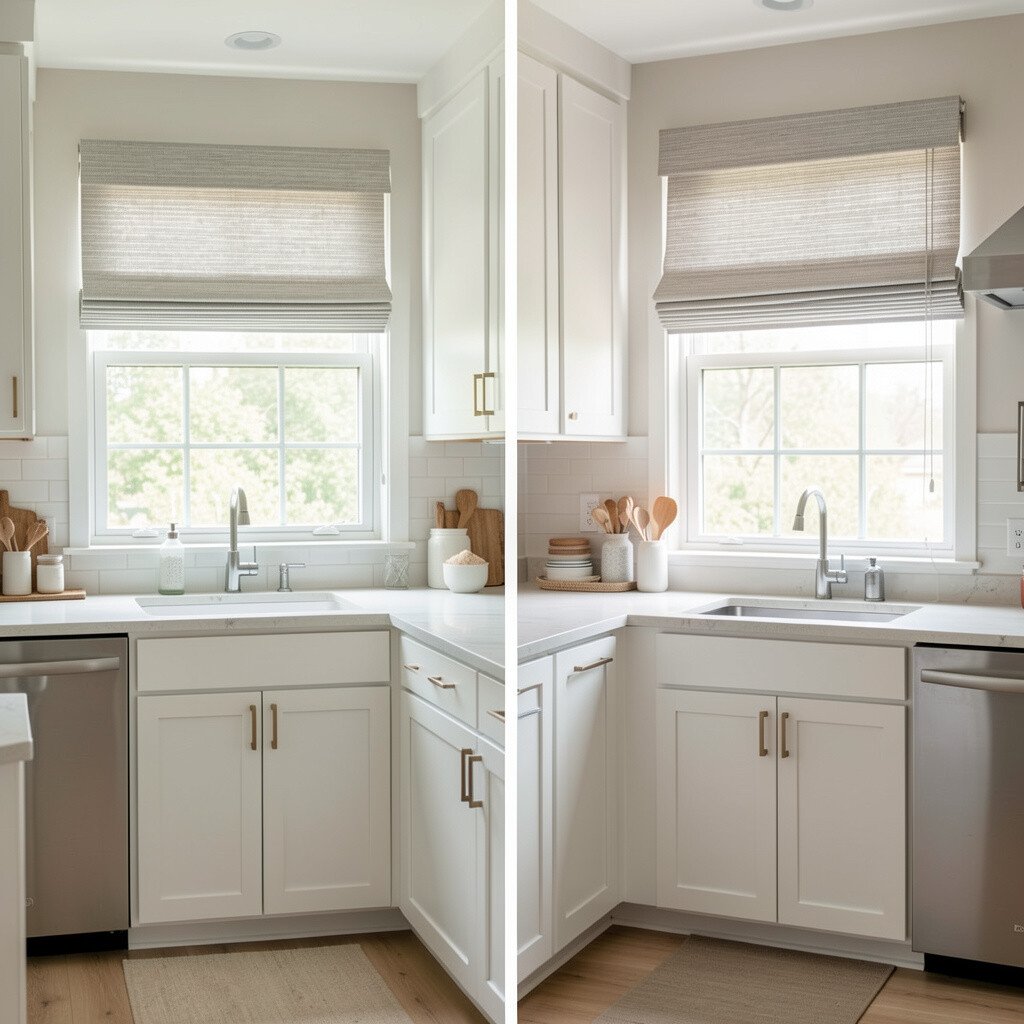
Before, window areas felt unfinished, and glare or privacy concerns made you adjust blinds constantly. After, updated curtains or shades softened the light and made the kitchen feel more private and calm.
Pick materials that handle kitchen conditions, like washable cotton blends or moisture-friendly roller shades. Keep the hardware color in step with faucets and lighting so it feels coordinated. For a practical tip, choose a hem length that won’t brush countertops and snag when you open drawers.
17. Appliance Styling With One Color and Clear Zones
Appliance Styling With One Color and Clear Zones
Before, appliances looked scattered, mixing finishes and making the kitchen feel less put together. After, a more unified appliance plan created a neat visual line across the room.
Group appliances by use, like coffee tools near the kettle or baking tools near the pantry, so daily tasks don’t tangle. If you can’t replace everything, add matching accessories like trays, canisters, and covers to reduce contrast. Current kitchen makeovers often lean toward “zone” living, where every corner has a job and clutter has fewer places to hide.
For personalization, keep one appliance feature visible that you love, like a bold toaster color or a kettle that sits on a small stand. Cost-wise, the biggest upgrades are optional, while styling items can create a similar look quickly. Start with your most-used items first so the improvement feels immediate every day.
18. Lighting and Decor Harmony With Statement Art
Lighting and Decor Harmony With Statement Art
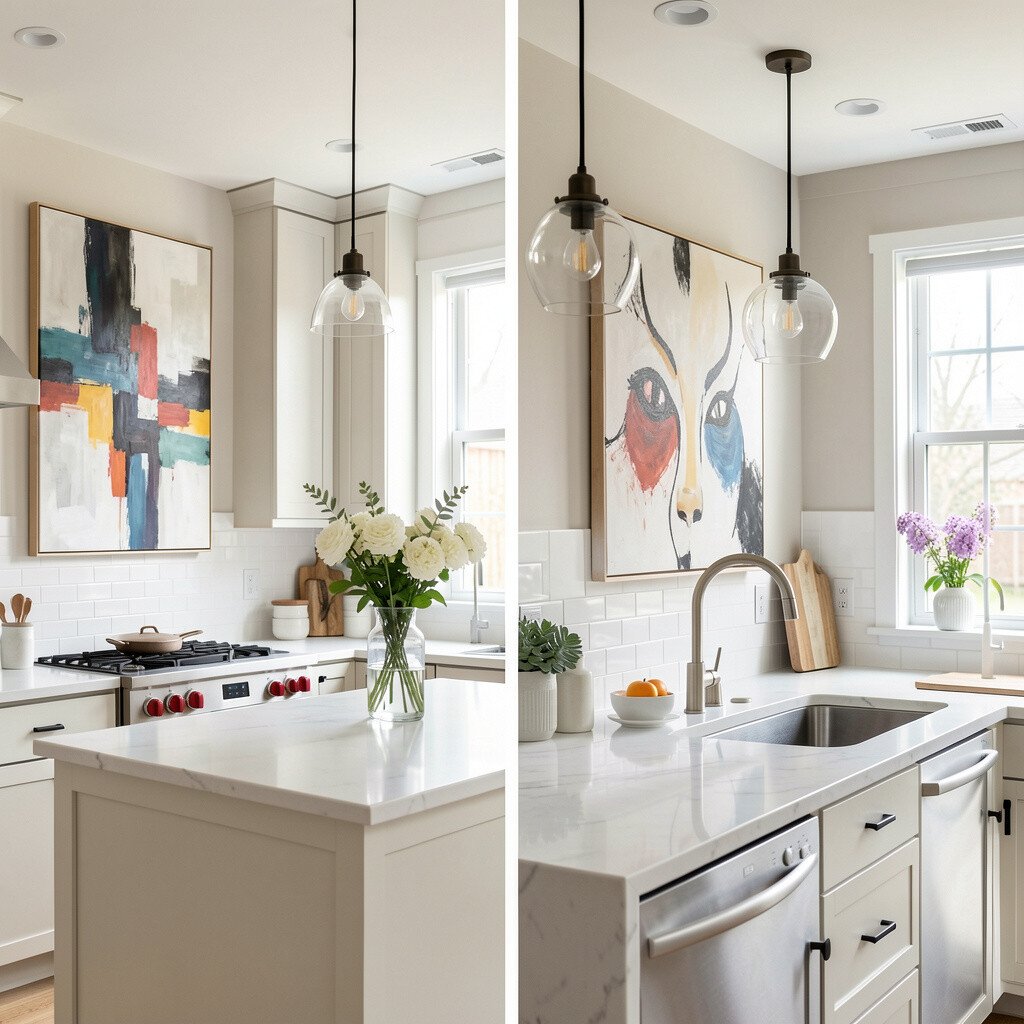
Before, the kitchen felt like it only had function, not a sense of style you could feel. After, coordinated lighting and a meaningful wall piece made the room feel finished and personal.
Choose one statement element, like framed art, a modern clock, or a decorative shelf, then echo its colors in small details like dish towels and cabinet accents. Make sure your lighting helps the artwork look right at night, not just during the day. For practical personalization, place decor where you’ll actually see it while standing at the counter, so it feels like part of your cooking routine.
This approach is unique because it doesn’t require full remodeling, yet it changes the emotional feel of the space. A cost consideration is to set a small budget for one main piece and a few matching accessories rather than many random items. When you keep the palette consistent, even simple decor looks intentional and creates a strong before-and-after difference.