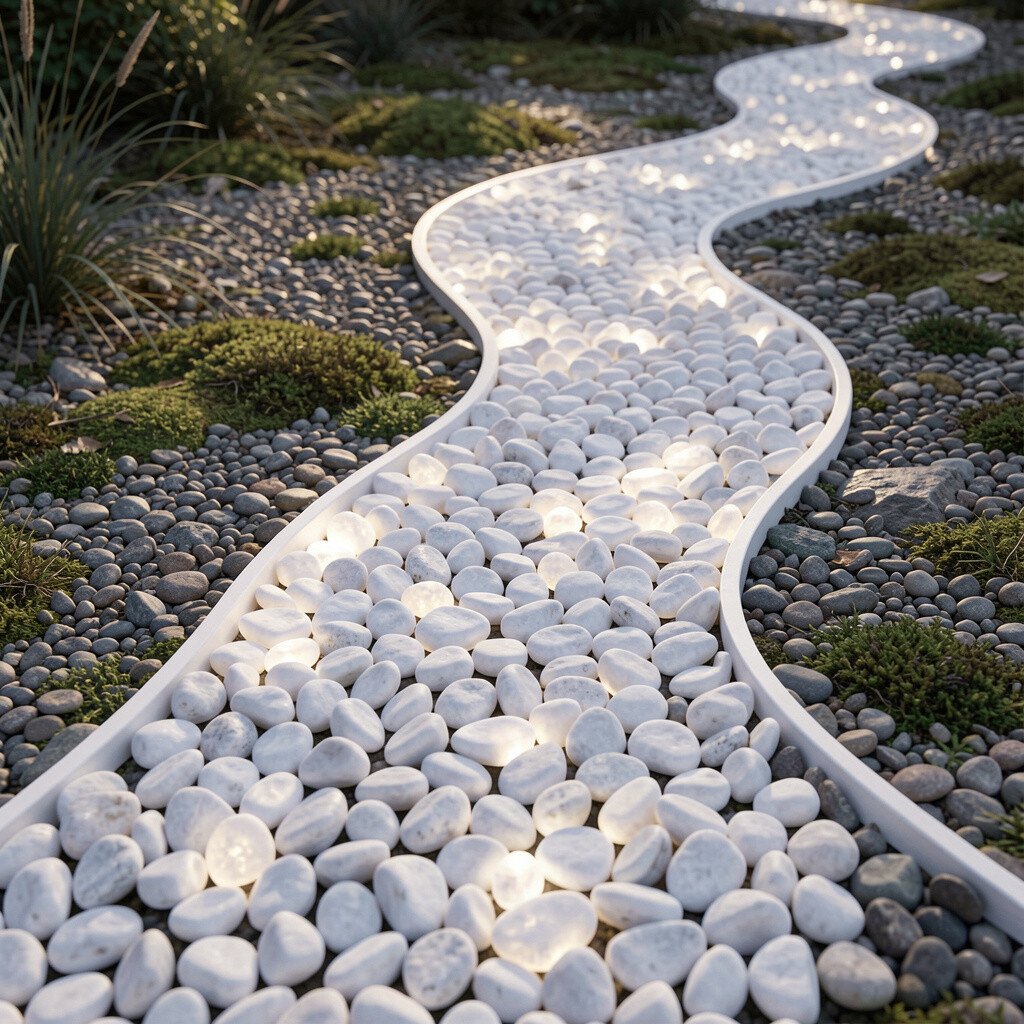
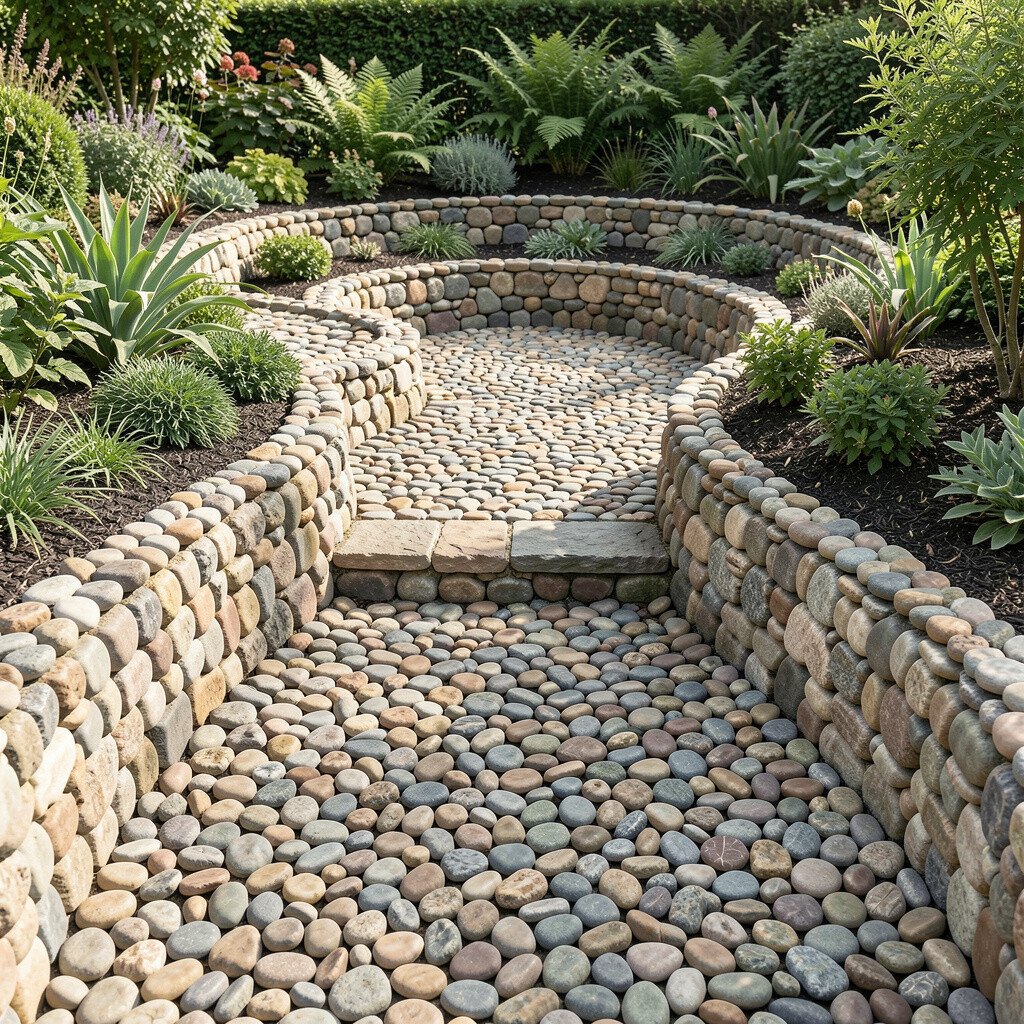
A ribbon of pale pebbles can look like moonlight across your lawn. The soft color brightens shady corners and makes small spaces feel larger.
To keep the line crisp, use a hose to sketch a gentle curve before you dig. Compact the base well, then spread pebbles to a steady depth for a smooth, even walk.
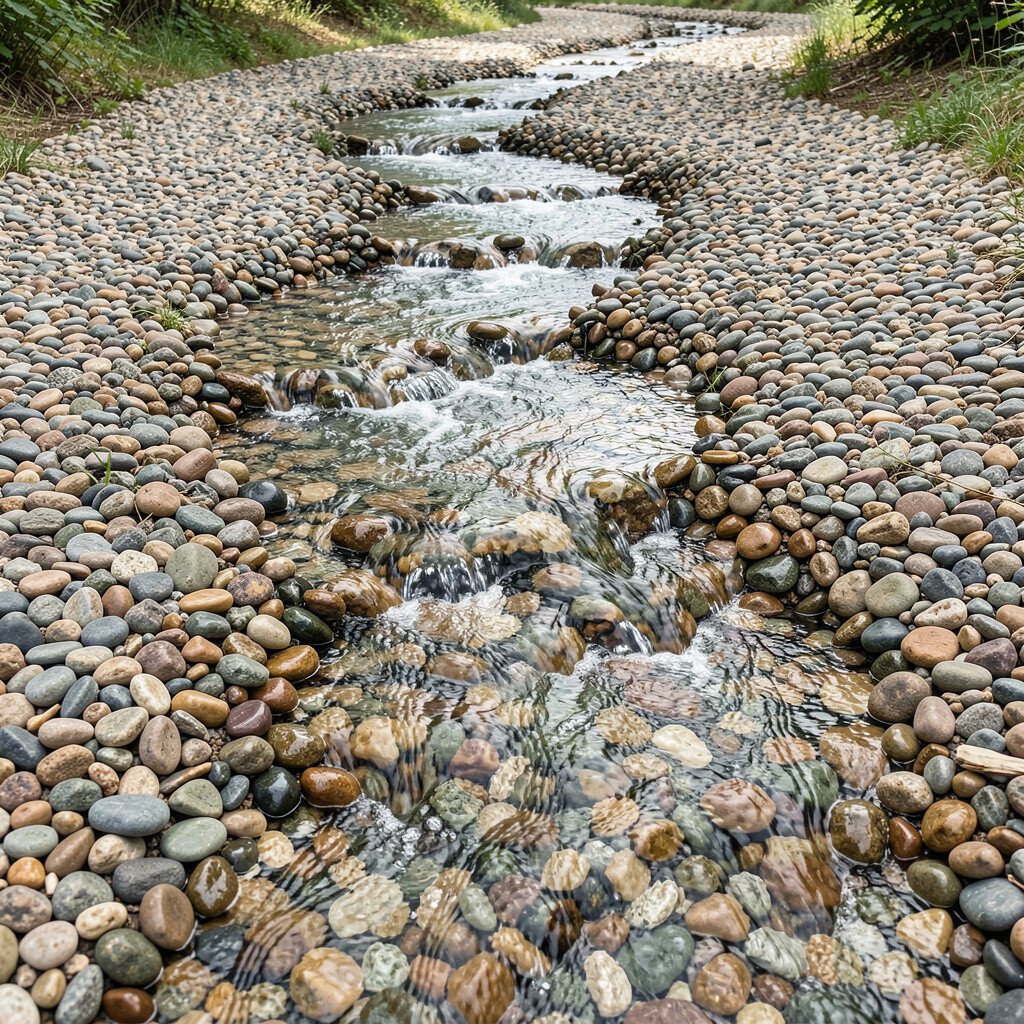
2. River-Style Pebble Flow Across Beds
River-Style Pebble Flow Across Beds
Picture a winding “river” of small stones that slips between flower beds. The moving shape draws the eye and makes planting areas feel connected.
Use a wider bed on the outside of the curve so the path feels natural. Add a thin border of larger stones to help the pebble flow stay in place.
For practicality, lay landscape fabric under the stones and clear the area of roots first. This helps reduce weeds so you spend less time pulling and more time enjoying blooms.
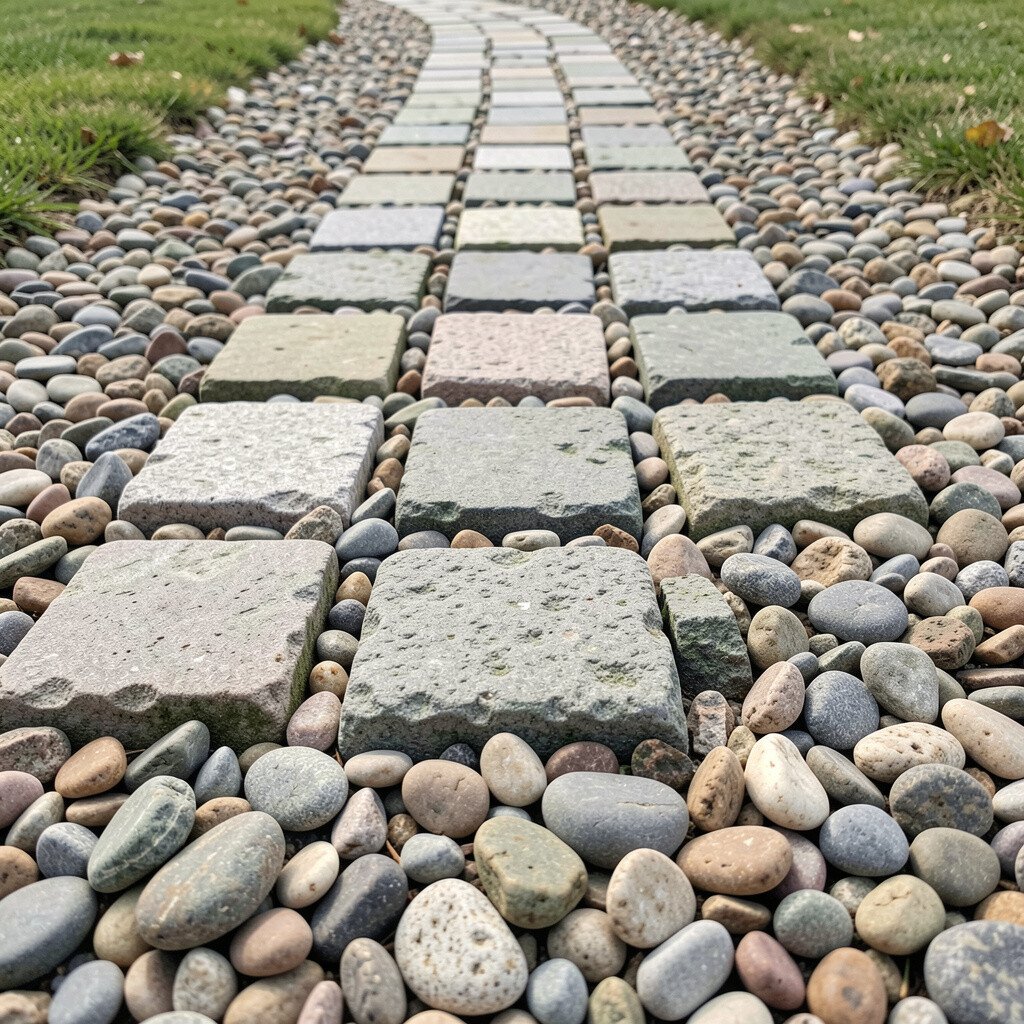
3. Sturdy Pebble Stepping Squares
Sturdy Pebble Stepping Squares
Set chunky stone slabs into a pebble path for a comfy, sturdy step. The contrast between flat steps and tiny pebbles feels friendly and modern.
Choose slabs that match your patio or fence color so the whole yard looks planned. Leave small gaps for pebbles to sit, and rake pebbles into the spaces after installation.
For personalization, swap the slab size to fit your stride, or place them in a slightly offset pattern. If you like a softer look, pick irregular stepping stones with rounded edges.
Keeping costs reasonable is easier when you use reclaimed paving slabs mixed with affordable crushed stone. You’ll get a high-end look without paying for all-new materials.
4. Mosaic Border Using Broken Tiles
Mosaic Border Using Broken Tiles
A thin border made from broken ceramic tiles can add a playful sparkle. When light hits the fragments, the path looks different at different times of day.
Use flat, stable tiles and seal them properly so they won’t lift or crack with freeze-thaw cycles. Keep the border narrow and consistent so it stays neat and walkable.
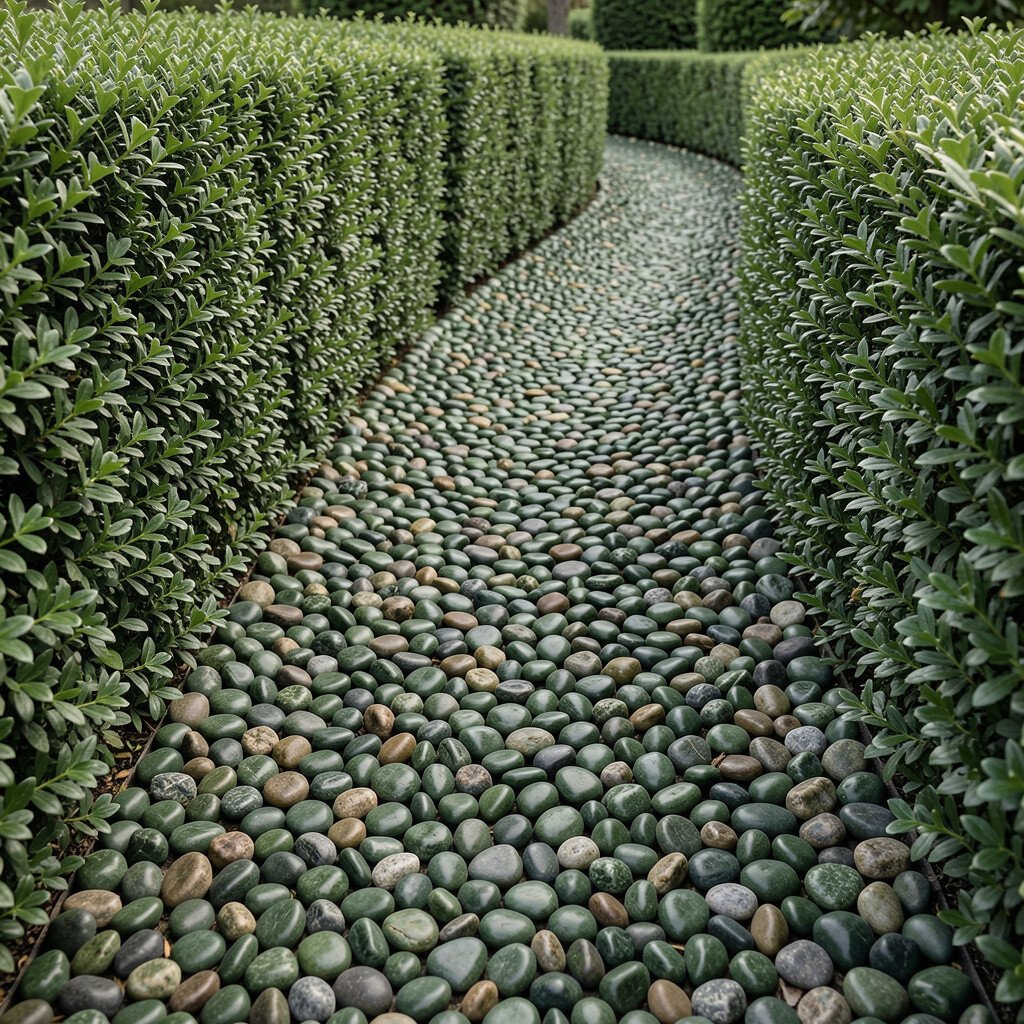
Imagine pebbles tucked beside a low hedge like a tidy frame around your greenery. The green and stone combo makes the whole garden feel calm and crisp.
Install a shallow edging trench and set edging boards or metal strips to hold the stones. This keeps the pebbles from drifting into the lawn.
For a personal touch, choose pebbles with warm undertones that match your plant leaves. Even simple herbs and small shrubs look richer next to a uniform stone color.
6. Color-Blocked Pebble Checker Stripe
Color-Blocked Pebble Checker Stripe
A checker stripe path brings a cheerful, designed look without feeling too busy. You can use two pebble colors like soft gray and sandy beige for a classic vibe.
Mark off sections with string lines so each block stays straight. Use the same stone size across colors to keep the texture consistent underfoot.
If you want it to feel more relaxed, make the “squares” slightly uneven, like handmade craft. That tiny irregularity makes the pattern look natural and charming.
7. Terracotta Pebble Lane Near Pots
Terracotta Pebble Lane Near Pots
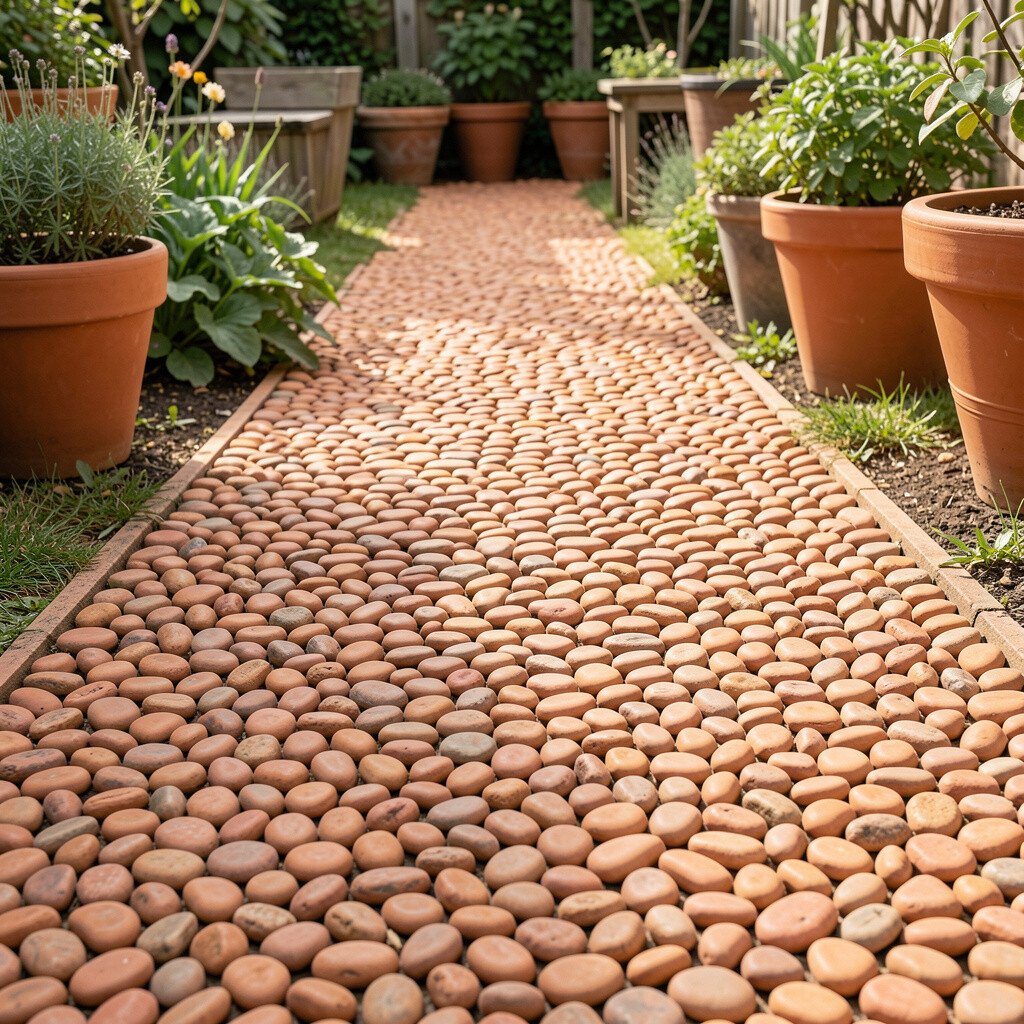
Terracotta-colored pebbles look perfect next to clay pots and sun-loving plants. They create warm tones that make herbs, lilies, and succulents pop.
Lay the path where you often carry watering cans so the ground stays dry. A compact base under the stones also helps prevent puddles from forming during heavy rain.
To personalize, mix in a few darker pebbles to mimic aged terra-cotta. This gives depth and keeps the path from looking flat.
8. Black and White Contrast Path With Thin Lines
Black and White Contrast Path With Thin Lines
Black and white pebbles give a bold, clean look that feels modern. Thin lines or a simple center strip can guide the eye without overwhelming the yard.
Use a narrow strip down the middle and larger gravel on the sides for an easy design. Keep a consistent pebble size so the surface feels smooth when you walk.
9. Pebbles With Embedded Sea Glass Glints
Pebbles With Embedded Sea Glass Glints
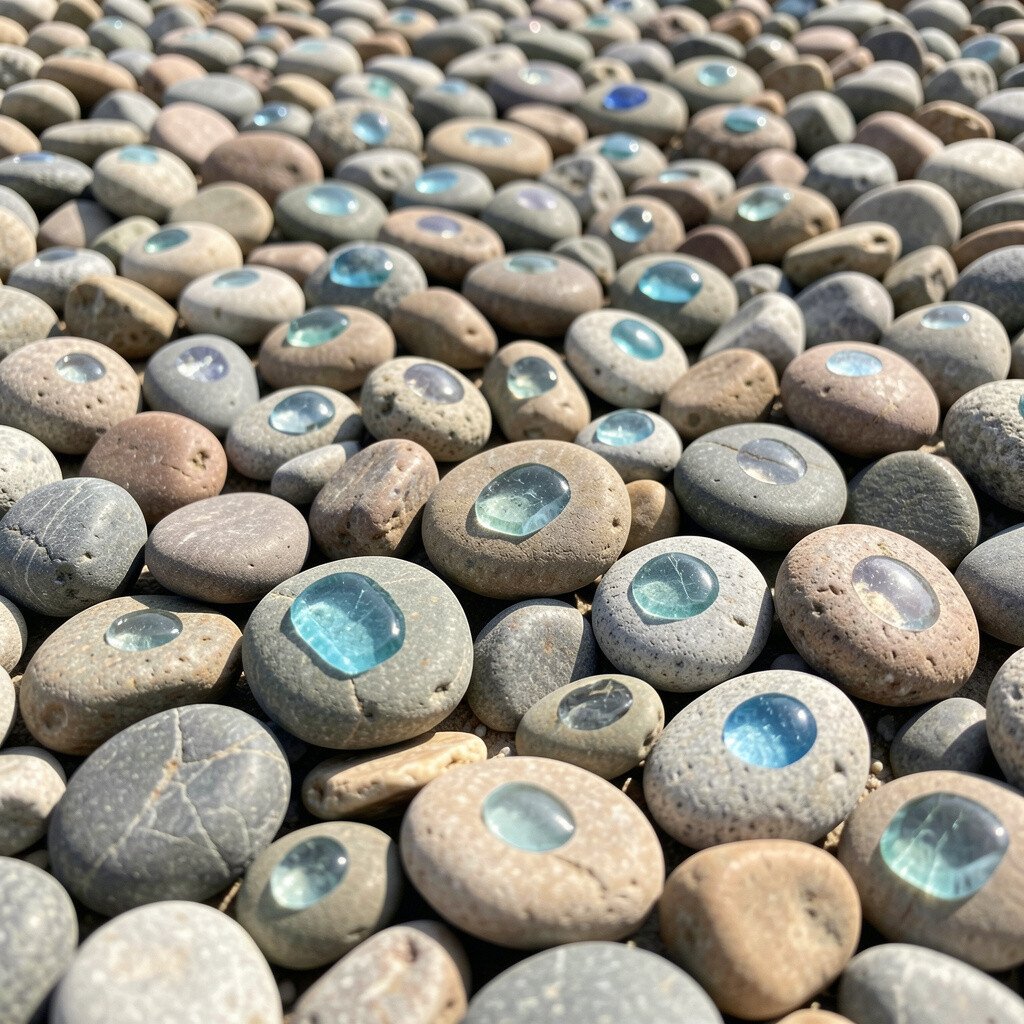
Sea glass can create tiny glimmers under sunlight, like bits of calm water. Even a small amount scattered across a pebble bed feels special and artistic.
Set flat pieces into the pebbles and pack them gently so they stay level with the surface. Use clear edging stones around the edges to keep the sea glass from shifting.
If your area gets heavy rain, slope the surface slightly so water drains away. That small shape detail helps the path stay tidy and safe.
10. Wildflower Meadow Edges With Pebble Stops
Wildflower Meadow Edges With Pebble Stops
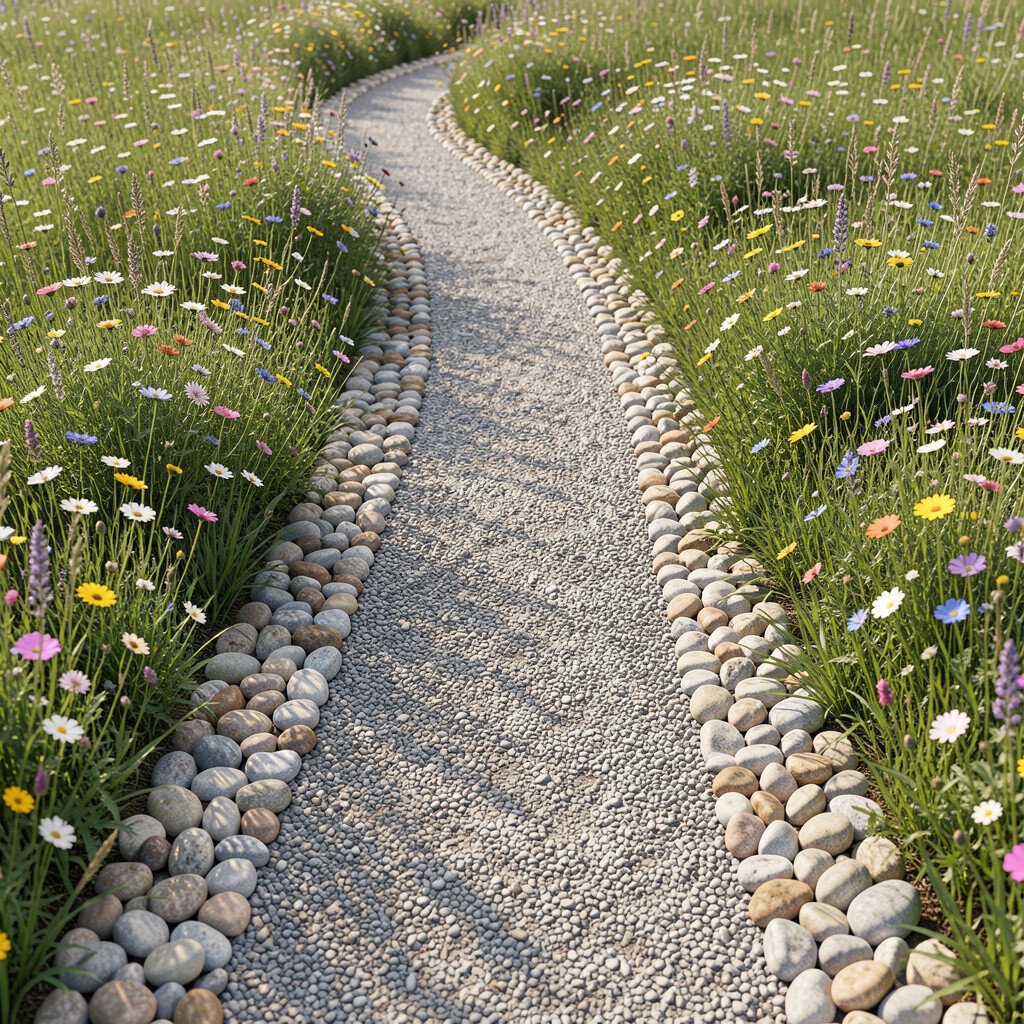
Instead of a solid border, use pebbles to outline the edges of a wildflower area. The stones help define where mowing stops and where flowers begin.
Keep the pebble layer thin at the outer edge and thicker near the path line. This makes the transition feel natural while still creating a practical boundary.
For personalization, add a few “islands” of pebbles near blooming patches to make the design feel intentional. It’s a small change that makes the whole bed look curated.
11. Pebble Path With Log Border for Rustic Charm
Pebble Path With Log Border for Rustic Charm
A log border gives a warm, rustic look that matches wooded gardens and backyard cabins. The wood and stone together create a natural color story.
Choose logs that are thick enough to sit firmly and cut them so the top stays flat. Treat the wood lightly with outdoor sealant to help it last longer in wet seasons.
Use smaller pebbles inside the log border for a smooth walk. It also helps keep the surface from feeling too gritty underfoot.
12. Raised Pebble Bed Steps for Sloped Yards
Raised Pebble Bed Steps for Sloped Yards
If your yard slopes, raised pebble sections can make the path feel safe and steady. The steps break up the grade and give you an easy walking line.
Build each level with firm edging and compacted gravel underneath. This prevents pebbles from sliding downhill and helps the shape hold over time.
For personalization, choose a gentle curve along the slope so it feels elegant rather than harsh. Pair the steps with plants like ornamental grasses for a soft, lived-in look.
Budget-wise, you can source edging materials and gravel locally to cut delivery costs. Even small sections done well look impressive, especially in tricky spots.
13. Pebble Mosaic Letters for a Welcome Walk
Pebble Mosaic Letters for a Welcome Walk
Add a message using pebbles arranged into simple letter shapes. A warm welcome feels even better when it’s right at the front path.
Start by drawing letter outlines with string or chalk so the curves stay neat. Use a slightly finer pebble for the letter “fill” so the strokes look smooth.
For personalization, match the font style to your home vibe, like playful rounded stones for cottage looks. You can also place a small symbol like a leaf or star next to the letters.
14. Terraced Pebble Bands With Plant Encircles
Terraced Pebble Bands With Plant Encircles
Terraced bands of pebbles create a layered look that feels like outdoor landscaping artwork. Each band can pair with a different plant group for variety.
Make each terrace shallow enough to maintain easily, then install edging to hold the stone line. Compact the base so the pebbles don’t sink over time.
To personalize, repeat a favorite plant along each terrace edge, like thyme or dwarf lavender. That repeating shape helps the garden feel cohesive.
For cost control, reuse edging from old projects and buy pebbles in bulk when local suppliers offer discounts. A little planning can stretch your budget farther than you expect.
15. Pebble Path Through Shade With Warm Bronze Edging
Pebble Path Through Shade With Warm Bronze Edging
A pebble path through shade can still feel inviting when you warm it up with bronze edging. The metal adds a subtle shine that stands out against dark soil.
Choose bronze or copper-toned edging for a soft glow that doesn’t look flashy. Keep pebbles light to bright so the path looks clean even in low light.
If your shade area stays damp, select pebbles that drain well and avoid very fine dust-like gravel. A slightly larger stone size can keep the surface from packing down.
16. Circular Pebble Loop Around a Garden Feature
Circular Pebble Loop Around a Garden Feature
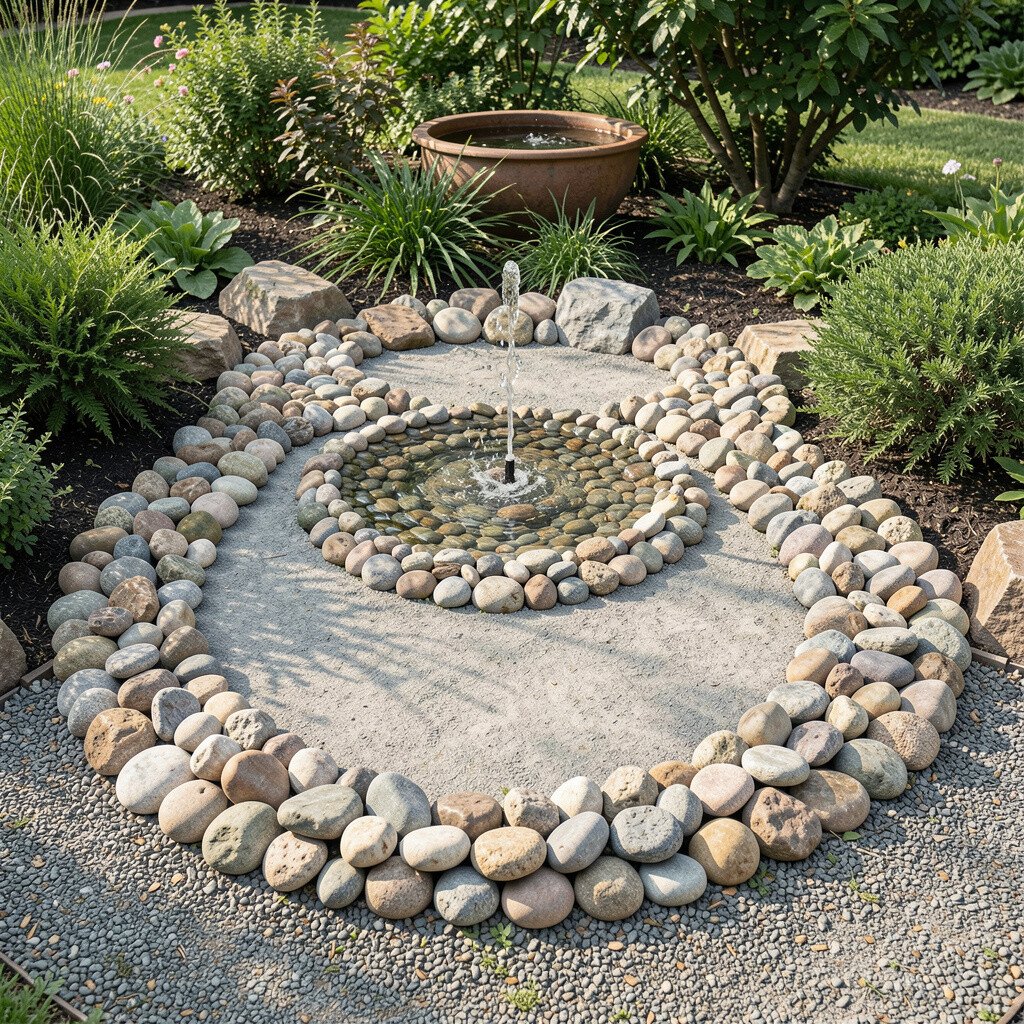
A circular pebble loop around a birdbath or sculpture looks like a mini stage for your favorite piece. It creates a natural gathering spot and encourages people to slow down.
Place the feature centered, then build the pebble loop with a steady width. Keep the circle smooth by using flexible edging materials that curve easily.
For personalization, add a ring of larger stones inside the loop to frame the center feature. It’s a simple trick that makes the focal point feel intentional.
17. Cobble-Look Pebbles for a Classic Walkway Feel
Cobble-Look Pebbles for a Classic Walkway Feel
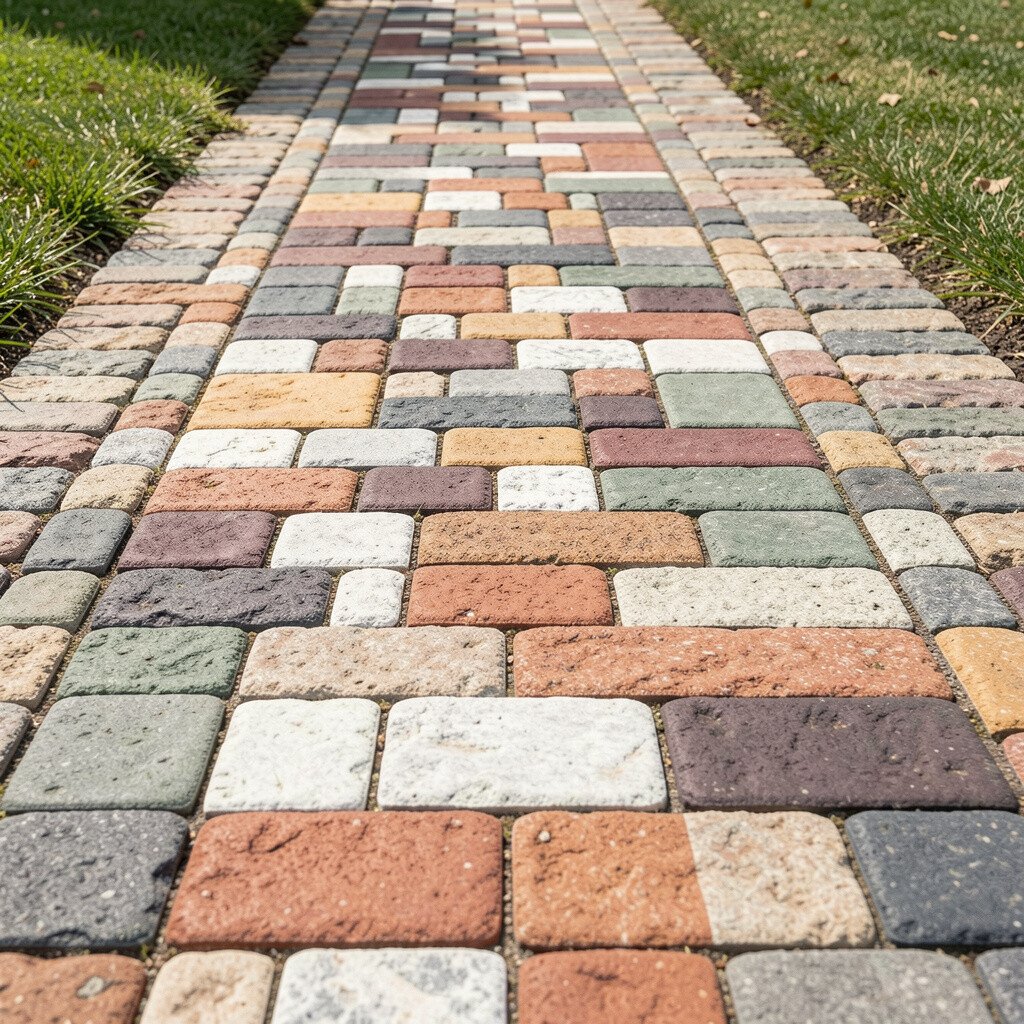
Cobble-look pebbles give a timeless look without the heavy feel of true cobblestones. The rounded texture feels comfortable underfoot while still looking elegant.
Use this style near entrances because it pairs well with brick steps and classic siding colors. Keep the stone layer even so it doesn’t look patchy after a few seasons.
For practical upkeep, use a rake with wide spacing to pull leaves off without digging into the stones. That small routine keeps the path bright and neat.
18. Pebble and Mulch Hybrid for Low-Cost Garden Zones
Pebble and Mulch Hybrid for Low-Cost Garden Zones
A pebble and mulch hybrid can save money and time while still looking neat. Pebbles work best for walk zones, while mulch can soften the edges around plants.
Set a clean border line where you switch from pebbles to mulch so the layout feels intentional. This also helps you manage weeds because the mulch area stays contained.
To personalize, choose pebble colors that match mulch undertones, like warm beige with dark bark. The blend makes the path feel natural instead of sharply separated.
19. Vertical Accent Edges With Stone Slats
Vertical Accent Edges With Stone Slats
Vertical stone slats along a pebble path create a crisp, architectural border. The up-and-down texture makes the path look styled, even when plants are sparse.
Plant a thin line of low groundcover behind the slats for a living backdrop. This helps hide the edging base and keeps the border looking smooth.
For safety, make sure the slats are stable and slightly below the pebble surface so shoes won’t catch. A little adjustment during installation prevents future wobbling.
20. Patterned Pebbles With Geometric Center Medallion
Patterned Pebbles With Geometric Center Medallion
A geometric center medallion can make a simple path feel like a courtyard. Think diamonds, chevrons, or a small circular “stamp” in the middle.
Use masking tape and a string guide on the ground to place the pebble pattern carefully. Choose a contrasting pebble color so the medallion pops without needing extra decorations.
For personalization, echo shapes from nearby garden elements like lattice panels or fence lines. The visual connection makes the whole yard feel like one coordinated design.
If you want a budget-friendly method, keep the medallion small and use cheaper pebbles for the rest of the path. You still get high impact where it matters most.
21. Seasonal Color-Shift Pebble Top Layer
Seasonal Color-Shift Pebble Top Layer
Using a pebble base with a thinner top layer lets you change the look with the seasons. In spring, add light tones for freshness, and in autumn, switch to warm browns for coziness.
Build the path with a steady base so the top layer can be added or lightly raked off later. Use edging that stays firm so small changes don’t cause stones to drift.
For personalization, mix two or three colors in small swirls rather than a strict pattern. This keeps the design lively and makes each season feel like a new page.
From a cost standpoint, you can reuse the base and only buy smaller amounts of new pebbles for the top. It’s a flexible approach that matches current garden trends toward easy refreshes.