16+ Common Wall Texture Mistakes To Avoid For Better Walls
Your walls can look amazing or oddly unfinished depending on a few small choices. The good news is that most fixes are easy once you know what to watch for.
Texture never hides problems the way paint can. Dust, loose drywall paper, or oily spots will keep the texture from sticking and can make it crack later.
Start by cleaning the walls so they feel smooth to the touch, then scrape any bumps and patch holes. Prime when the surface is new, repaired, or uneven, because primer helps the texture grab evenly. This small step usually saves time and money since you avoid redoing sections after they fail.
2. Choosing Texture Without Testing First
Choosing Texture Without Testing First
It’s tempting to commit to the first look you like, but walls can react differently than samples. Lighting, wall temperature, and even how your roller behaves can change the final feel.
Before you texture the whole room, test a small section with your real tools and real mix. View it at different times of day so you can see shadows and shine. When you do this, you get a version you can trust and you reduce waste from mistakes that are hard to undo.
Many people also match the texture style to the room’s use, like calmer finishes for bedrooms and more durable finishes for busy hallways. That way the look fits the space, not just the mood. If you rent equipment or buy specialty products, testing helps you avoid buying extra materials you won’t need.
3. Mixing Too Thick Or Too Thin
Mixing Too Thick Or Too Thin
The texture mix should feel workable, not watery and not chunky. If it’s too thick, the texture can drag, leaving heavy ridges that look rough. If it’s too thin, it may sag or apply unevenly, leaving a patchy surface.
Use the manufacturer’s guidance and mix thoroughly until it looks consistent. Add small amounts of water if needed, then remix and check the flow again. Consistency matters because it controls how the pattern forms and how it dries.
When you adjust your mix, do it gradually and write down what you changed. That simple habit helps you repeat the same results next time. It can also lower costs because you won’t throw away a nearly right batch.
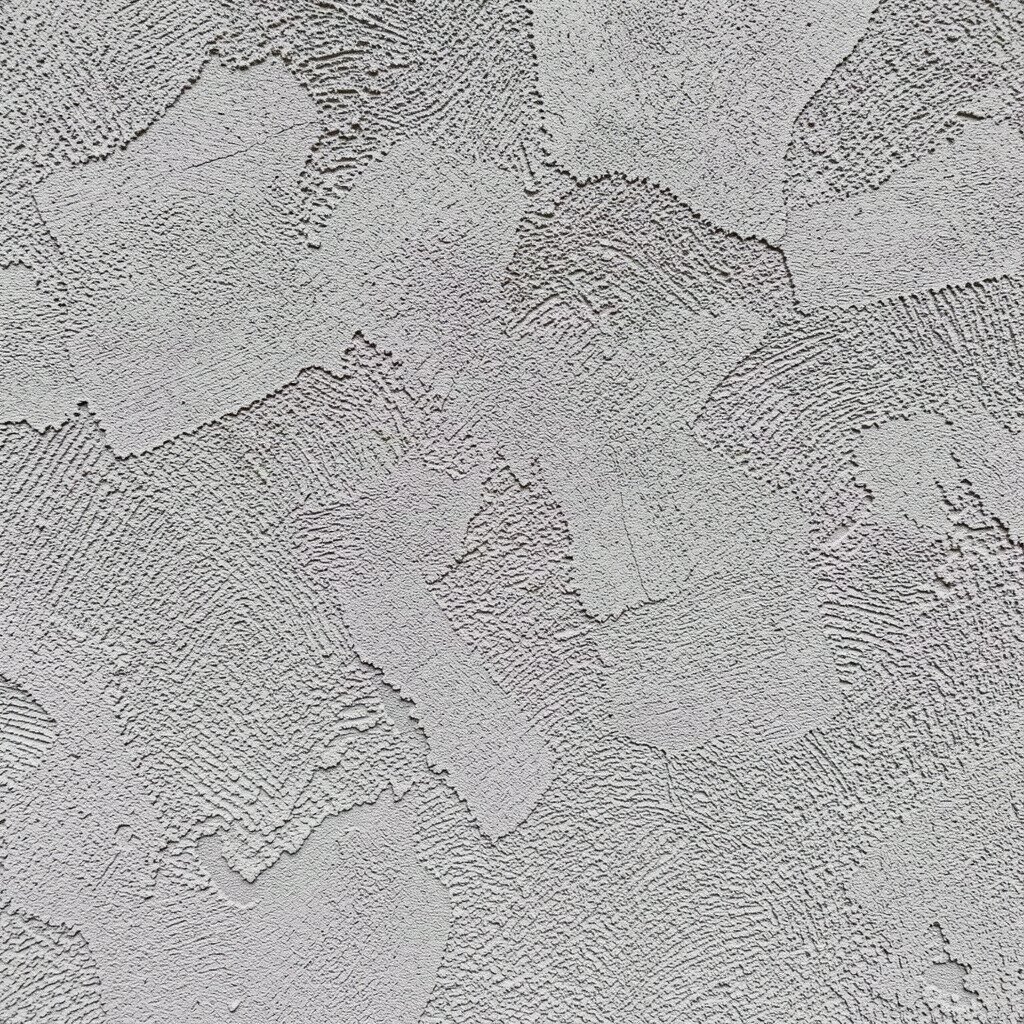
When you spread texture randomly, the wall can end up looking like it has different moods. You might see areas that are heavier, lighter, or missing pattern entirely.
Work in steady sections so the pattern stays consistent across the wall. Keep your strokes similar in speed and pressure, and overlap edges slightly before the material starts to set. This creates a smooth visual flow and helps the finish look intentional rather than accidental.
5. Pressing Too Hard With Rollers Or Trowels
Pressing Too Hard With Rollers Or Trowels
More pressure can feel like it makes the texture “stronger,” but it often crushes the pattern. That can create dents, uneven peaks, and a finish that looks messy up close.
Use light to medium pressure and let the tool do the work. If you want sharper ridges, focus on tool choice and material consistency instead of brute force. You’ll also get a more even dry time, which keeps the texture from cracking.
Try using scrap boards or spare drywall to dial in your pressure before tackling the main walls. It’s a quick way to personalize the exact level of detail you want. Better control usually means fewer redo days and less spending on replacement supplies.
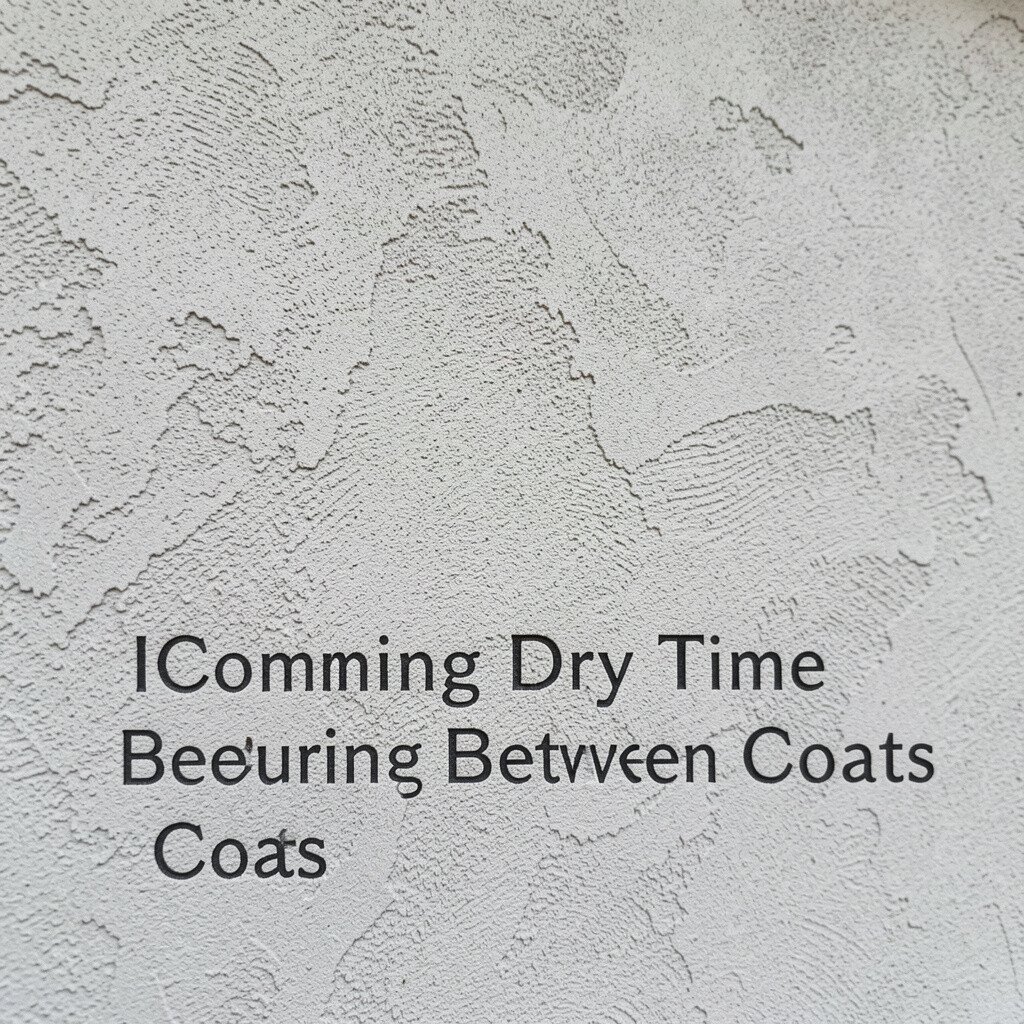
6. Ignoring Dry Time Between Coats
Ignoring Dry Time Between Coats
Texture that gets recoated too soon can lift, smear, or blur the pattern. That leads to a wall that looks soft and inconsistent instead of crisp and clean.
Follow the recommended dry time and check the wall by touch, not guesswork. Humidity and airflow can change drying speed, so let conditions guide you. When you wait properly, the finish develops the right hardness and a steadier look across the whole room.
7. Overworking One Area Until It Looks Different
Overworking One Area Until It Looks Different
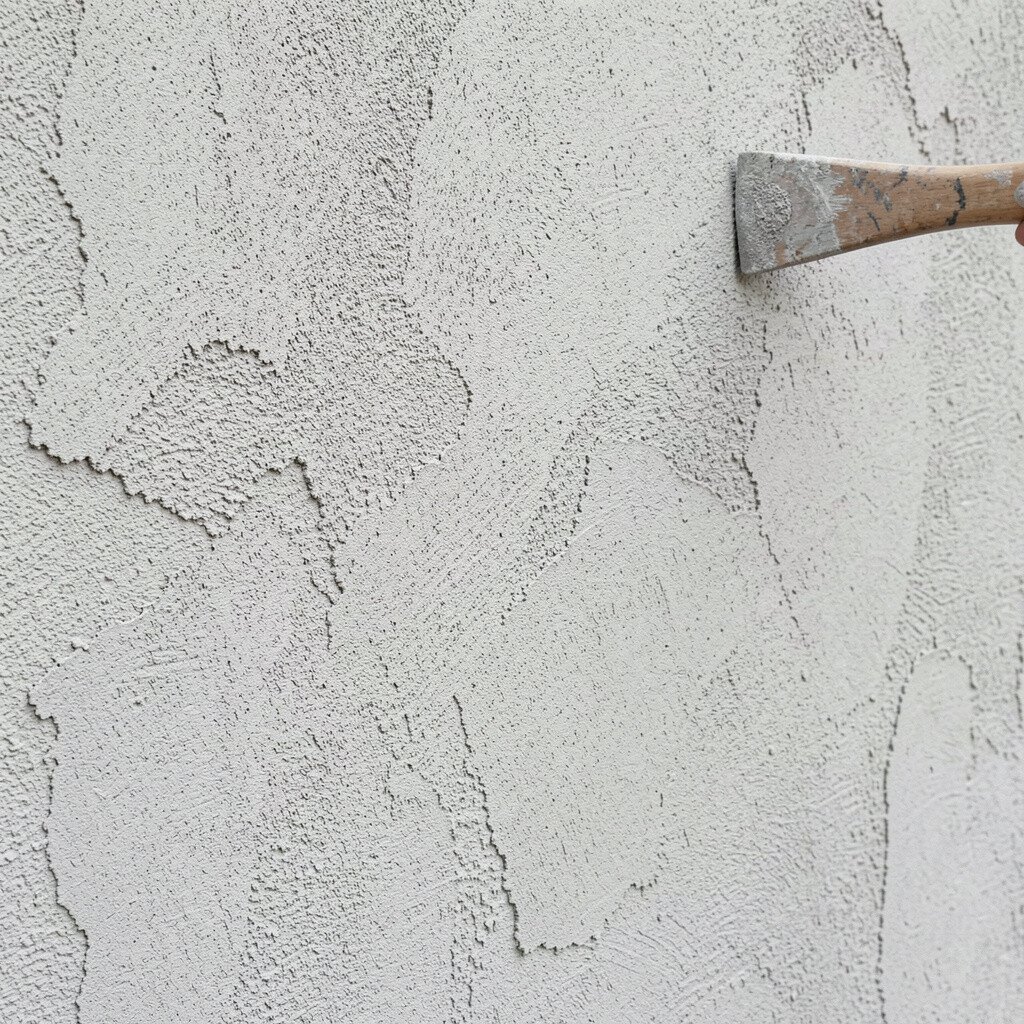
Going back and forth on the same spot can make it look darker, thicker, or glossy as it catches light. Texture should be treated like a timed painting moment, not a forever project.
Once you lay down the texture, keep moving with the flow of your section. Use a consistent rhythm and stop adjusting when the material starts to set. This keeps the finish uniform and gives you clean edges that look intentional.
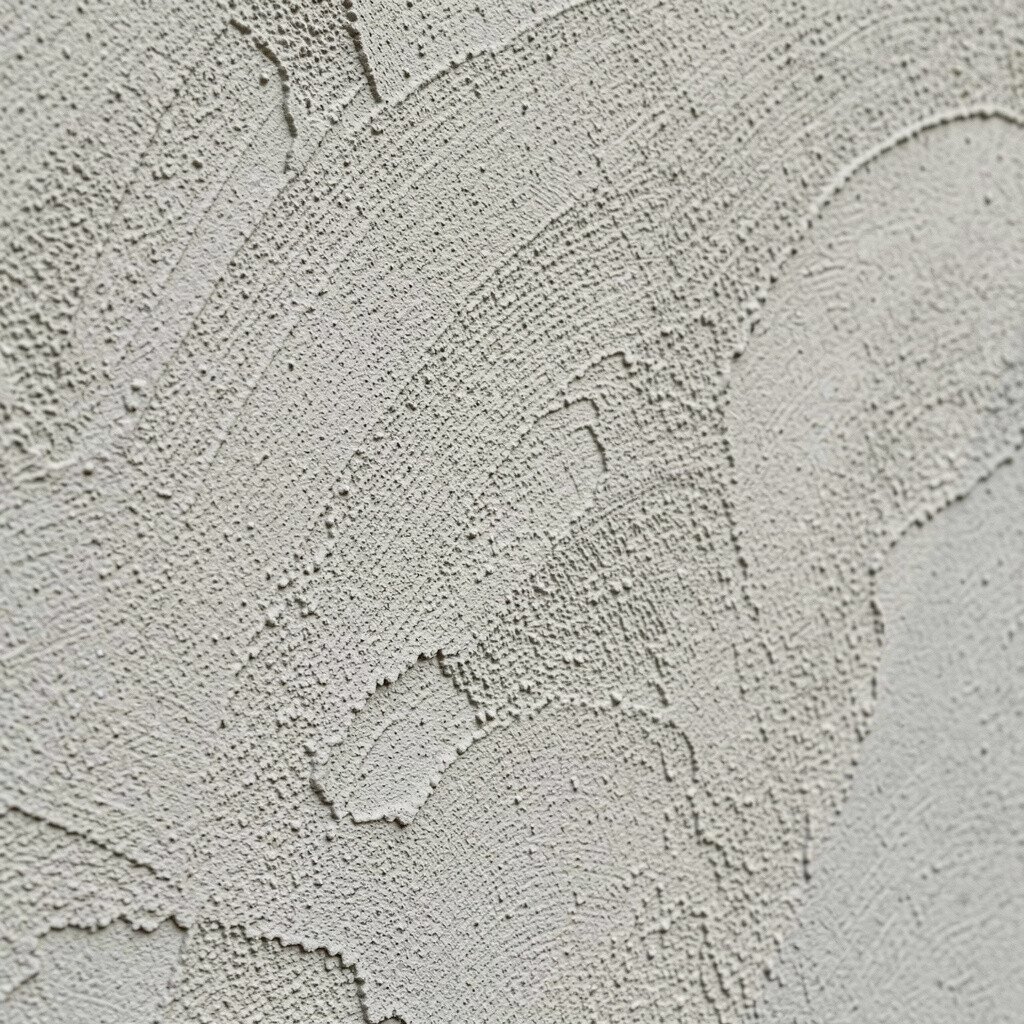
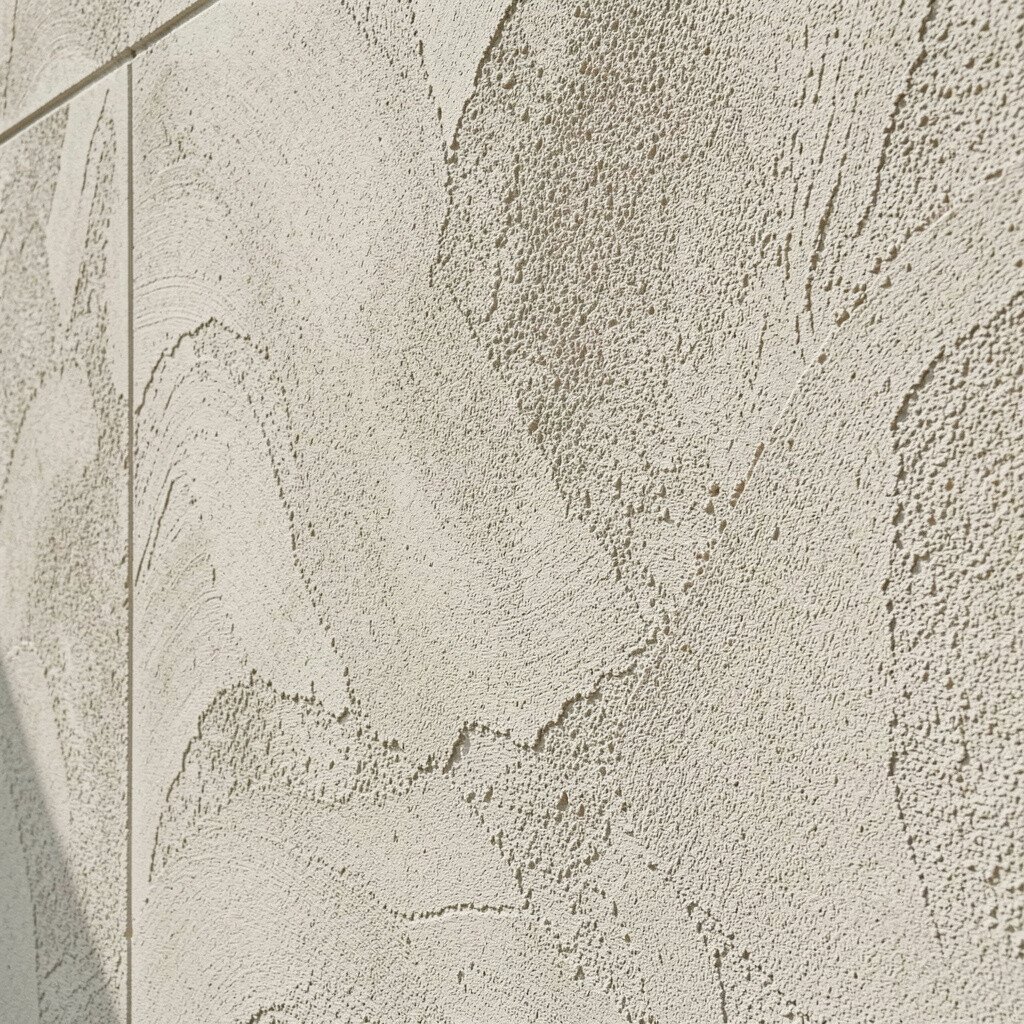
Many homeowners love modern looks where texture looks light and even, like subtle plaster effects. That style depends on restraint and timing, so less fussing usually produces a better result. You’ll also avoid extra labor, which is a cost win even if materials were already purchased.
8. Mixing Different Batches Without Keeping Track
Mixing Different Batches Without Keeping Track
If one batch dries differently from another batch, the wall may show a color shift or pattern change. Even small differences in mix ratio can create visible seams.
Mix enough for a section and keep the same ratio across it. If you must mix again, use the same water amount and dry product measurement each time. A notebook helps here, especially if you’re personalizing the look for multiple rooms.
9. Forgetting About Lighting When Choosing the Pattern
Forgetting About Lighting When Choosing the Pattern
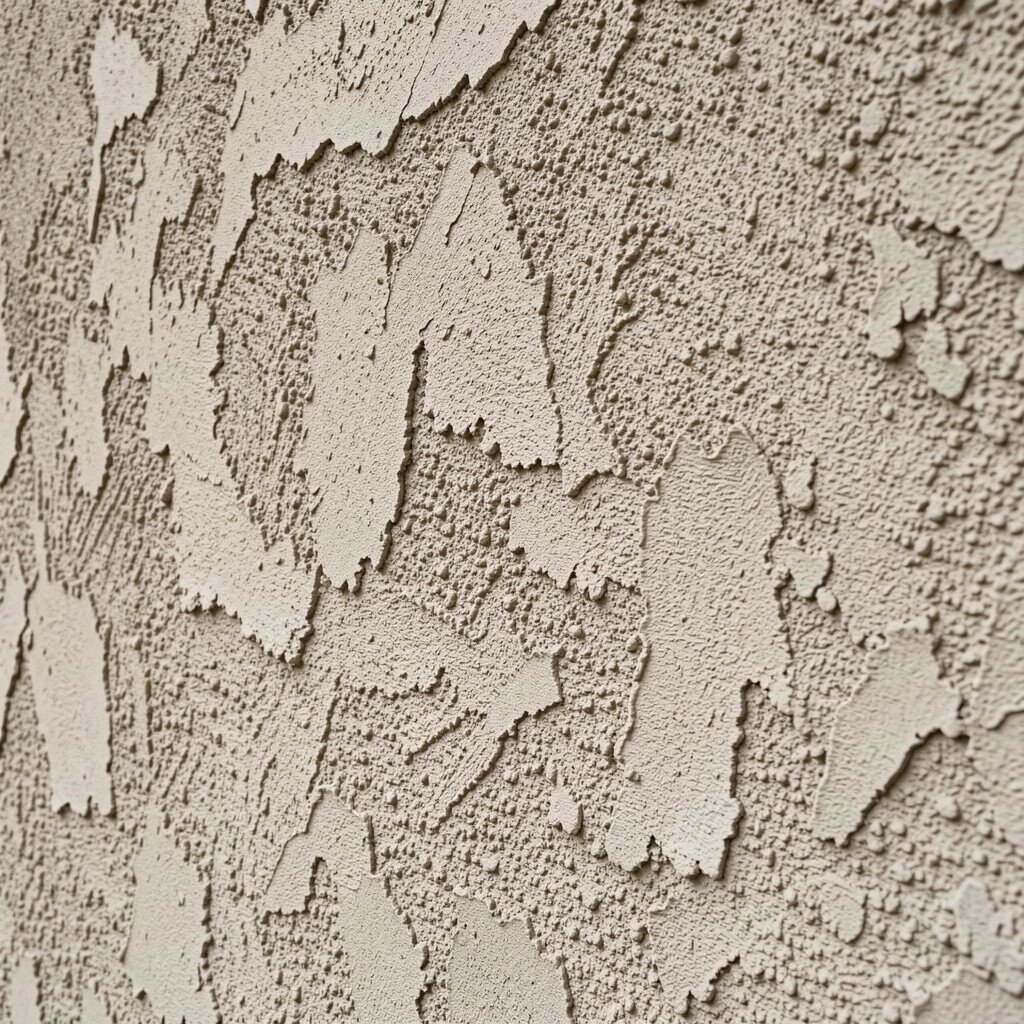
Texture is basically shadow made real, and shadows depend on light direction. Under bright overhead lights, some textures can look dramatic in a bad way.
Look at your wall under the lighting you’ll actually use, including any lamps. Consider how hallway lights strike the surface, since angles can make bumps stand out. Matching the texture scale to the room lighting keeps the wall from looking overly busy.
Right now, many people like smooth, low-contrast finishes because they feel modern and easy to clean. That trend works well for small rooms where heavy texture can swallow space. You can still get personality by choosing a subtle pattern instead of skipping texture altogether.
10. Choosing a Rough Texture for Places That Need to Be Cleaned Often
Choosing a Rough Texture for Places That Need to Be Cleaned Often
Deep ridges can trap dust and make wiping harder, especially in kitchens, hallways, and near doors. If you pick a very textured finish there, everyday cleaning can feel like work.
Think about how the room gets used and how often you want to wipe the walls. If you want a textured look but easier upkeep, consider finer patterns or lower-profile finishes. This helps you get the uniqueness of texture without giving up comfort.
Some homeowners also add a clear topcoat made for textured surfaces to improve cleanability. That can add cost, but it can save time long-term. When budgeting, compare the extra product price to how often you’ll clean and how careful you want to be.
11. Not Protecting Floors, Trim, And Fixtures
Not Protecting Floors, Trim, And Fixtures
Texture is messy, and it loves to travel. Even careful people end up with splatter on baseboards, windowsills, and floors.
Cover floors, mask trim, and protect outlets before you start. Keep a damp cloth handy for small smudges while the material is still fresh. Clean edges help the final look feel polished, which is where most of the “designer” effect comes from.
12. Painting Too Soon Or With the Wrong System
Painting Too Soon Or With the Wrong System
Paint that goes on before the texture cures can seal in moisture and change sheen. That can make the wall look uneven, especially once sunlight hits.
Let the texture cure fully and then use the right primer and paint plan for the surface. Many people choose a bonding primer for textured walls so the paint spreads evenly. When the coating system fits the texture, the finish looks smoother and the color feels more true.
13. Creating Texture That Feels Like It Has No Purpose
Creating Texture That Feels Like It Has No Purpose
Some walls get texture just because texture is popular, not because it suits the space. If the pattern is too bold for the room size, it can feel heavy and distracting.
Match the texture to the vibe you want, like airy and subtle for living rooms or more durable and low-profile for busy areas. You can personalize the look by mixing scales, such as keeping one wall gentler and letting a feature wall carry more character. When the texture has a job, it looks intentional and stylish rather than random.
This approach also supports budget control because you may use fewer materials on calmer walls. Plan where you want the drama and where you want the calm so you don’t overspend on texture you don’t need. It’s a small strategy that makes the result feel higher-end.
14. Using The Wrong Tools For Your Chosen Finish
Using The Wrong Tools For Your Chosen Finish
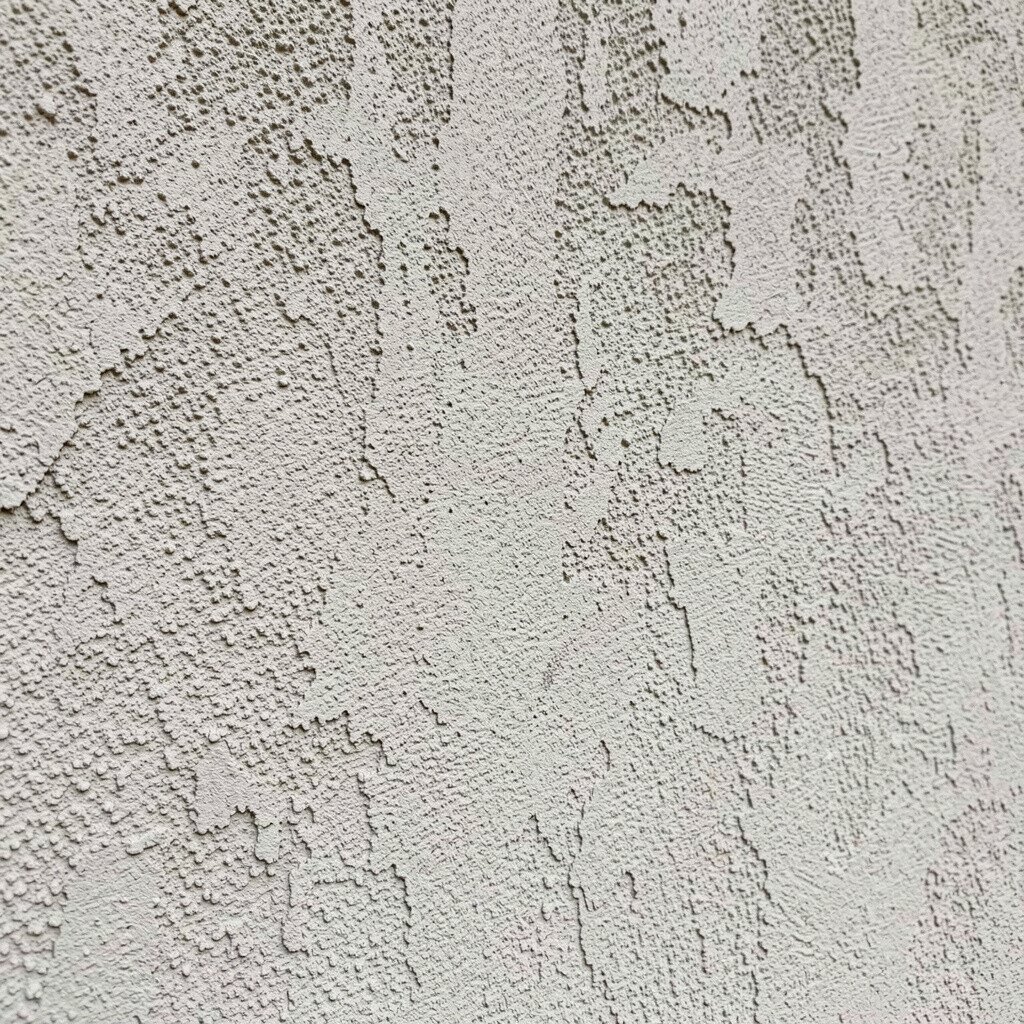
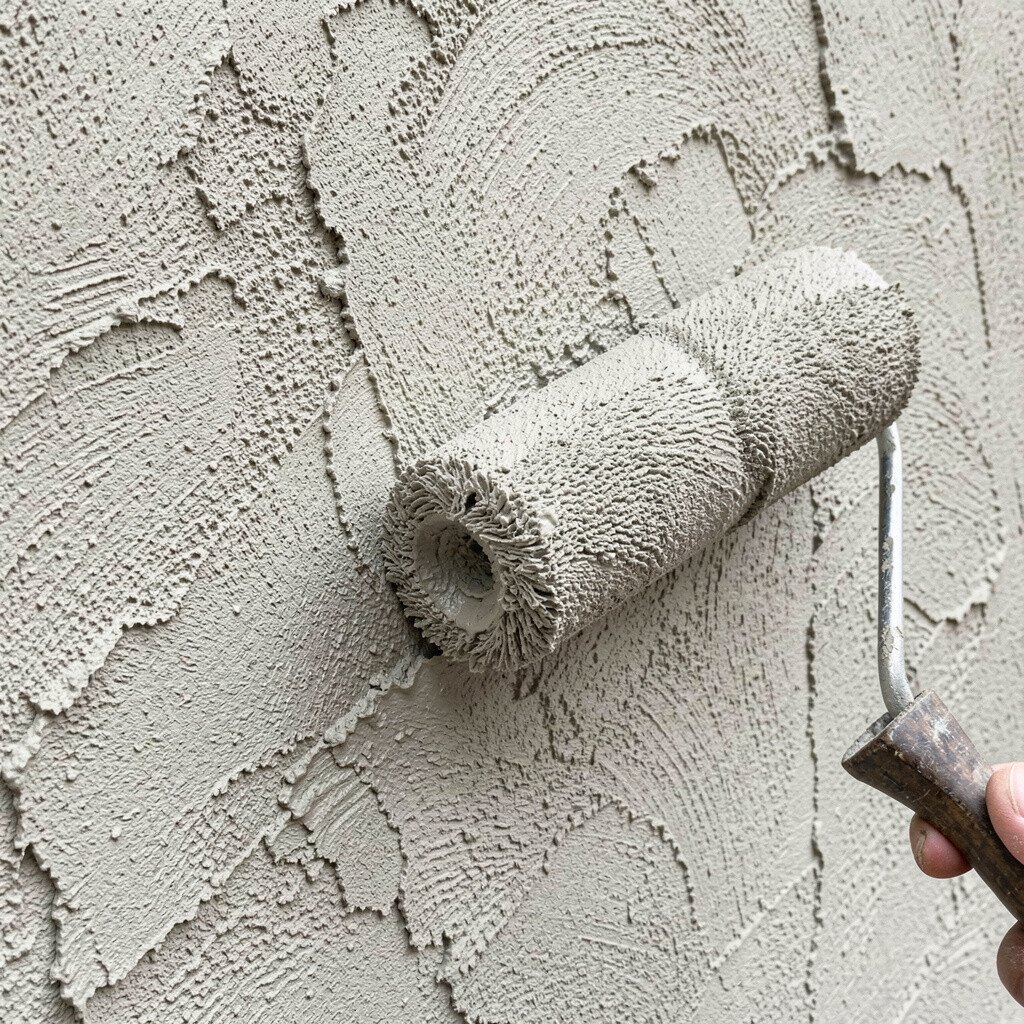
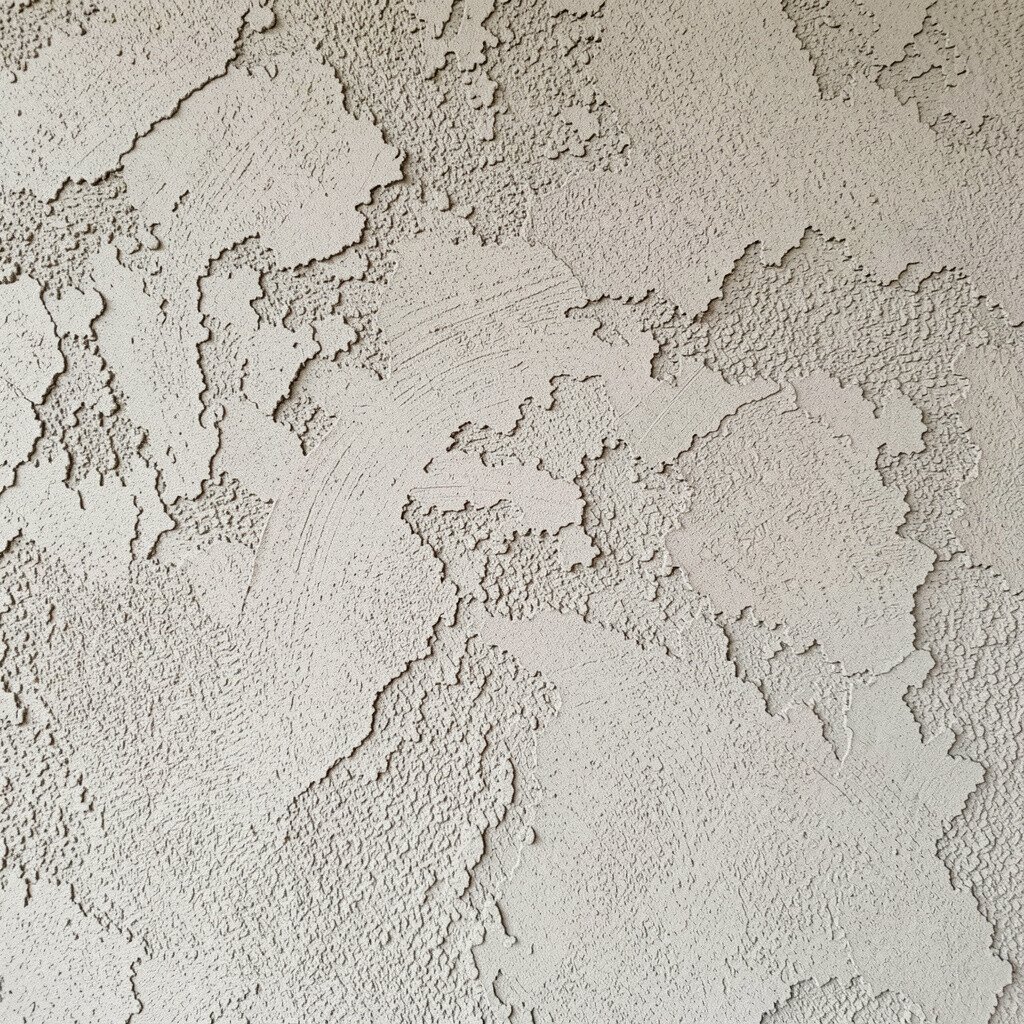
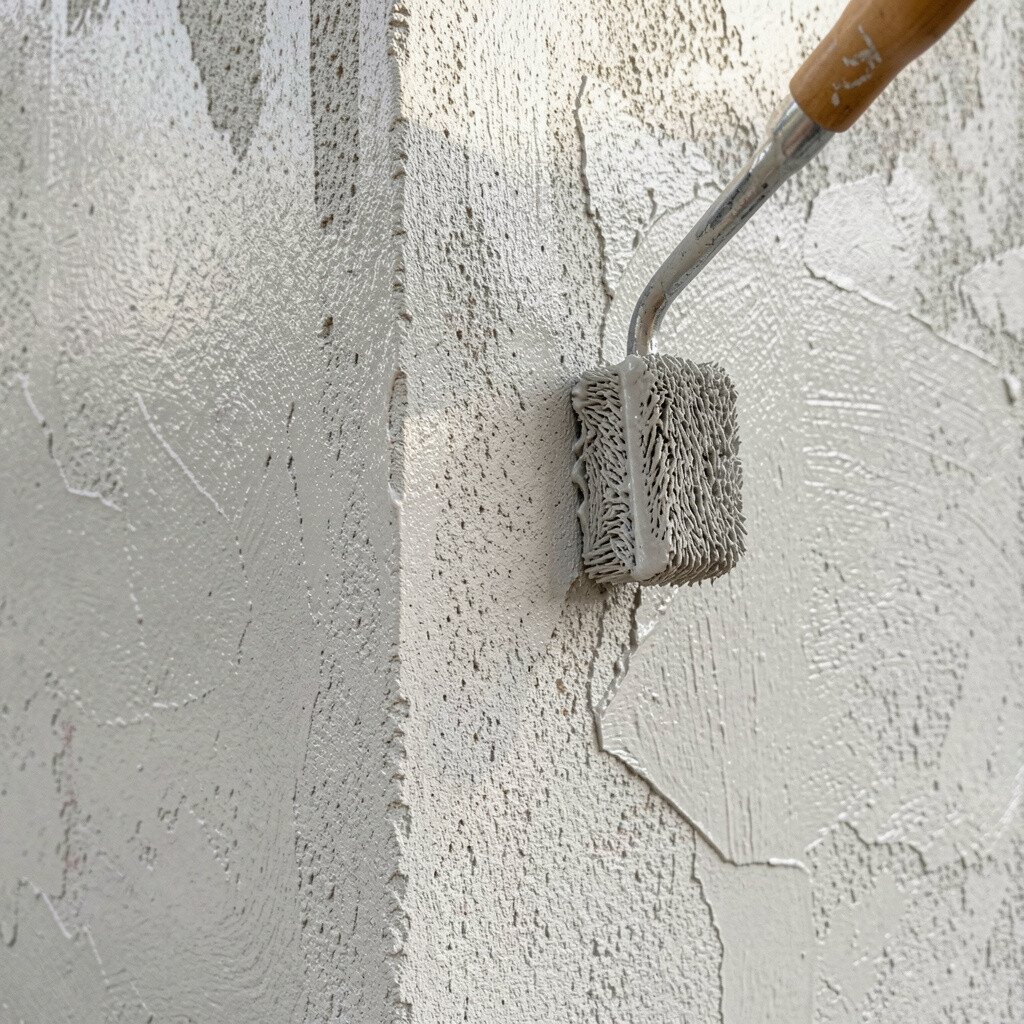
Tools change the outcome more than people expect. A roller nap, trowel size, or sprayer setup can create texture that looks nothing like your reference photo.
Choose tools that match the product and the pattern you want, then practice with them on a scrap surface. Keep the tool clean between sections so the texture doesn’t build up and cause random lumps. Better tool choice leads to clearer lines and a more unique finish that still feels consistent.
15. Neglecting Temperature, Humidity, And Airflow
Neglecting Temperature, Humidity, And Airflow
Wall texture doesn’t dry in a vacuum, and room conditions can change how it sets. Too much humidity can slow curing, while cold rooms can make the material stiff and harder to apply.
Set up airflow with fans when appropriate, but avoid blasting one area too hard. Keep the room within a typical comfortable range for the products you’re using. When you control these factors, you reduce cracking and you get a smoother, more professional final texture.
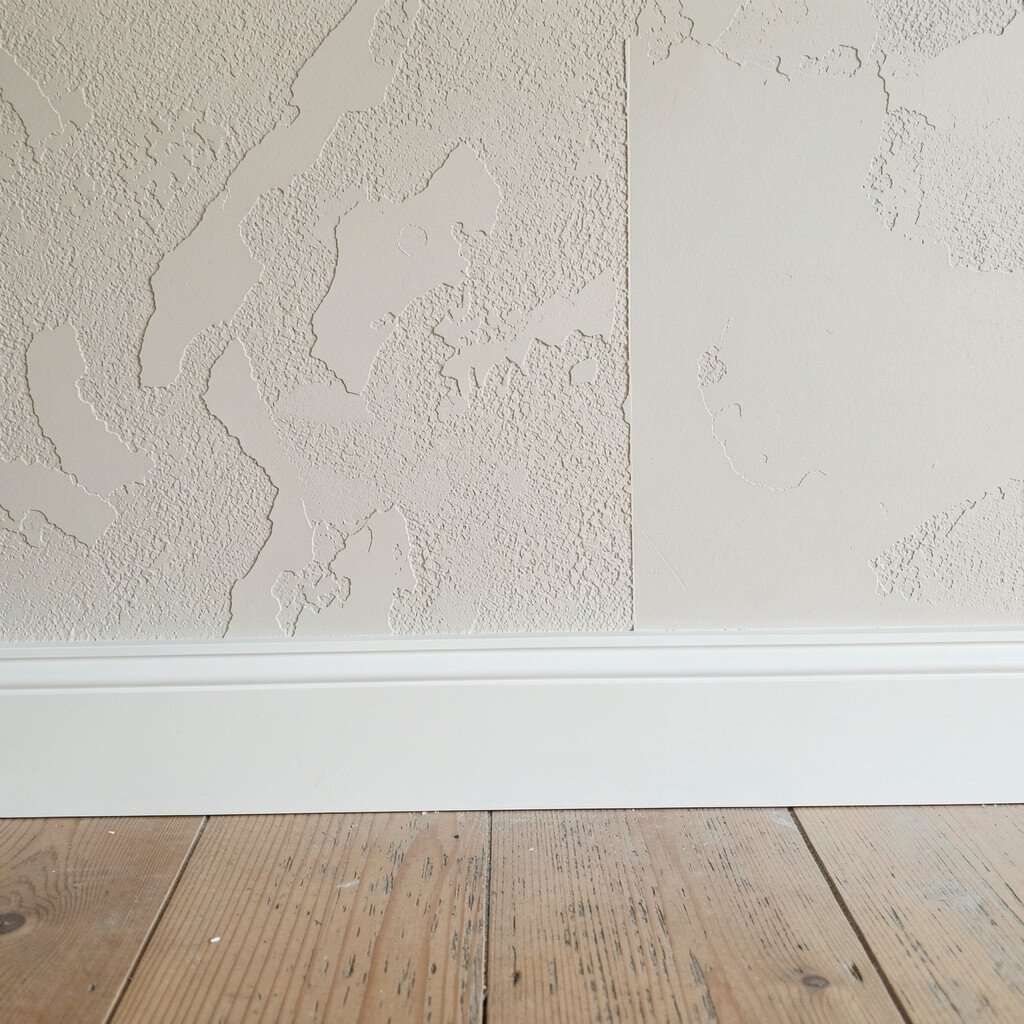
16. Forgetting About Seams, Corners, And Transitions
Forgetting About Seams, Corners, And Transitions
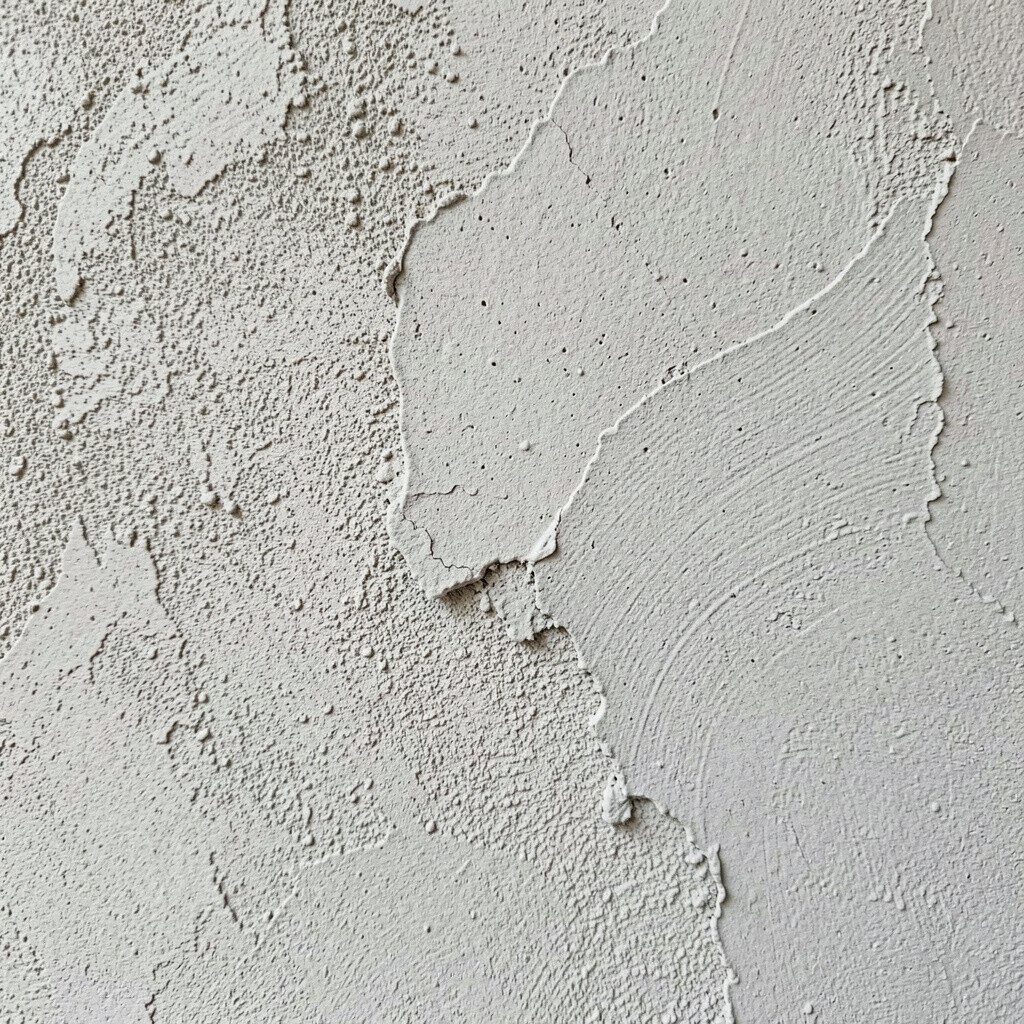
Corners and seams are where walls often show their real story. If you don’t plan how texture wraps edges, you can end up with visible lines or “holes” where it didn’t land.
Work carefully around corners and overlap lightly at transitions so the texture blends. Use a smaller tool for tight areas so you can keep the pattern consistent. This is also where personalization shines, since you can decide whether corners should be slightly sharper or more blended based on the look you love.
Taking time here can cost a little more in labor, but it usually prevents costly rework. It also helps you avoid the “patchwork” look that makes newer walls feel older. When the transitions look smooth, the whole room feels more finished.
17. Waiting Too Long To Fix Mistakes
Waiting Too Long To Fix Mistakes
Small texture problems can grow if you ignore them, like tiny ridges that turn into obvious shadows. Once it cures fully, fixing can mean scraping, patching, and retexturing the area.
Check your wall as you work and address issues early, such as smoothing stray peaks or blending edges before the material sets. If you spot a problem after drying, assess it first and decide whether a targeted patch or skim coat is enough. Acting quickly keeps the wall’s uniqueness without turning one mistake into a bigger project.
It can also help your budget because quick fixes require less material and less labor. If you’re aiming for a current look, like subtle plaster-style texture, precision matters. The sooner you correct problems, the more your final finish will match the modern vibe you’re going for.